

How to Draw a Light Switch
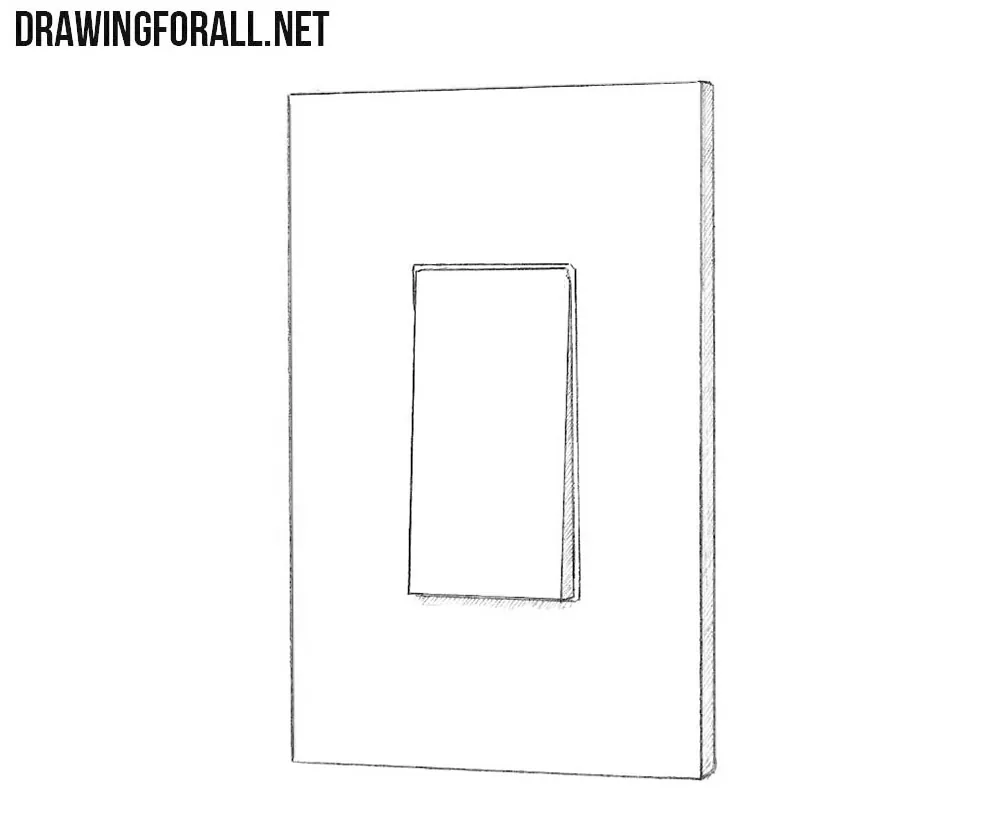
There are simple objects all around us that look very easy to draw, yet even drawing them has its own nuances. In this step-by-step tutorial, we will show you how to draw a rectangular light switch and create volume using simple methods.
How to draw a light switch step by step
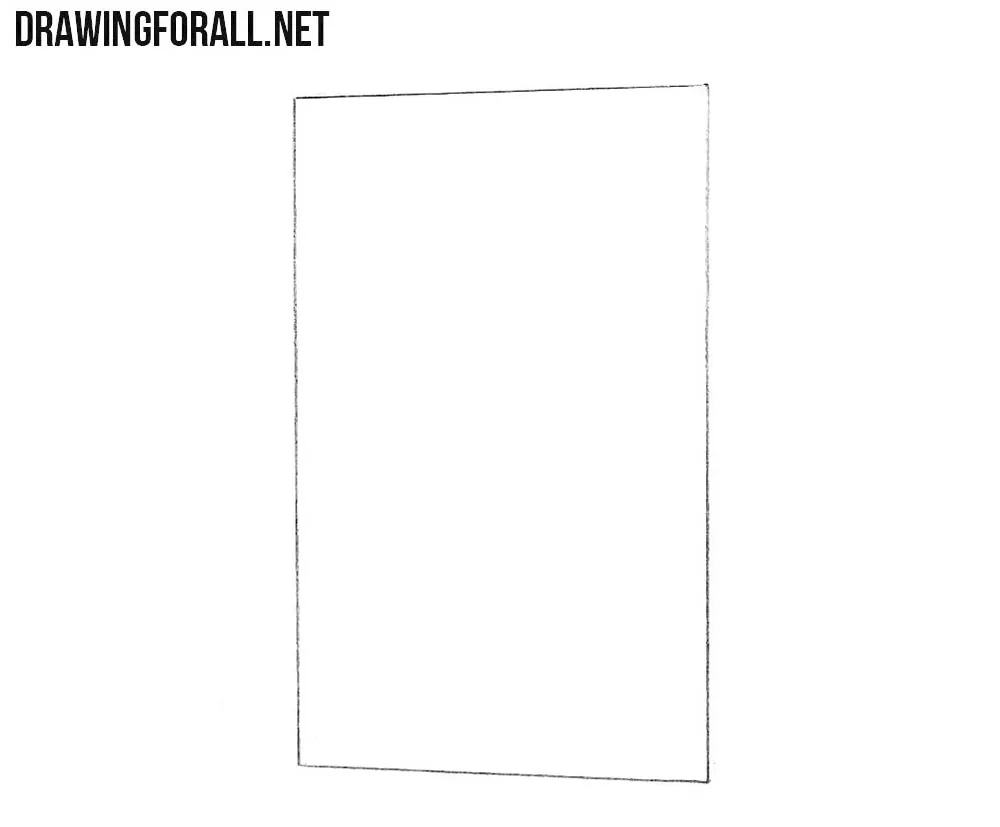
Step 1: Outline the light switch plate
First, draw a parallelogram for the switch plate. Its corners appear slanted because we are viewing it at an angle. Try to draw it without a ruler. You do not have to reproduce the dimensions of our example exactly. Your socket can be more square or more elongated horizontally.
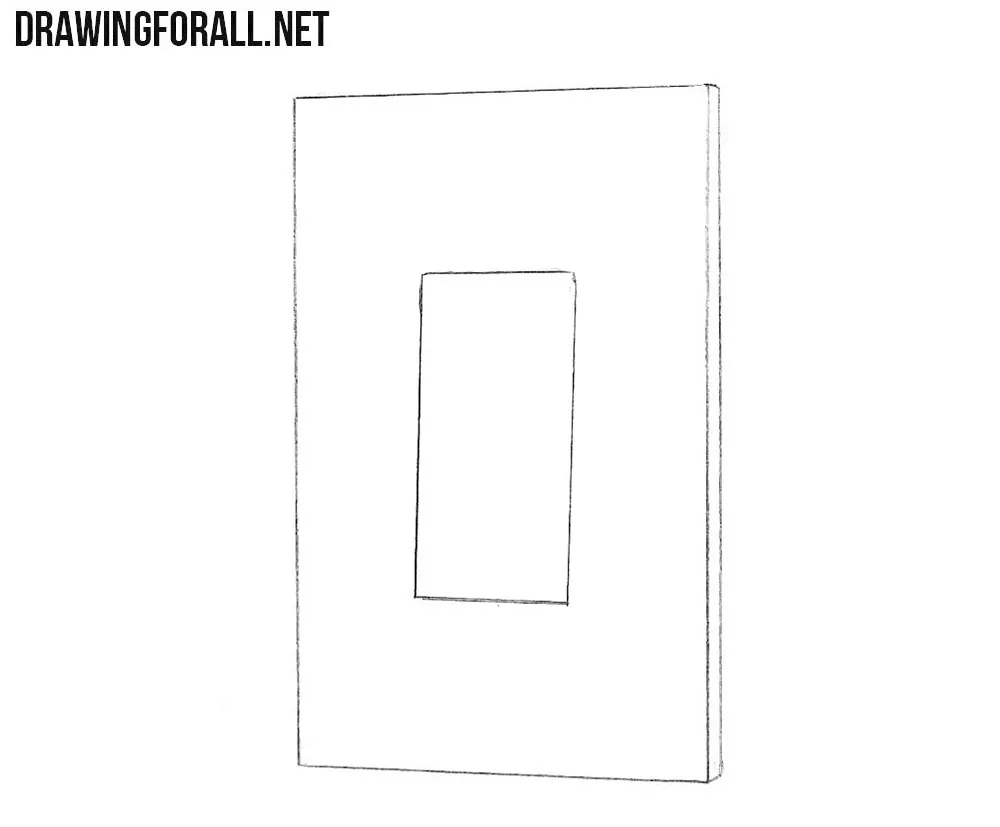
Step 2: Add the switch and border
Draw another parallelogram inside the first for the switch itself. Add a border along the right side of the outer plate to show its thickness. The button should be slightly tilted relative to the base. Center the switch on the plate and make it about half the plate’s height, with broad margins around it.
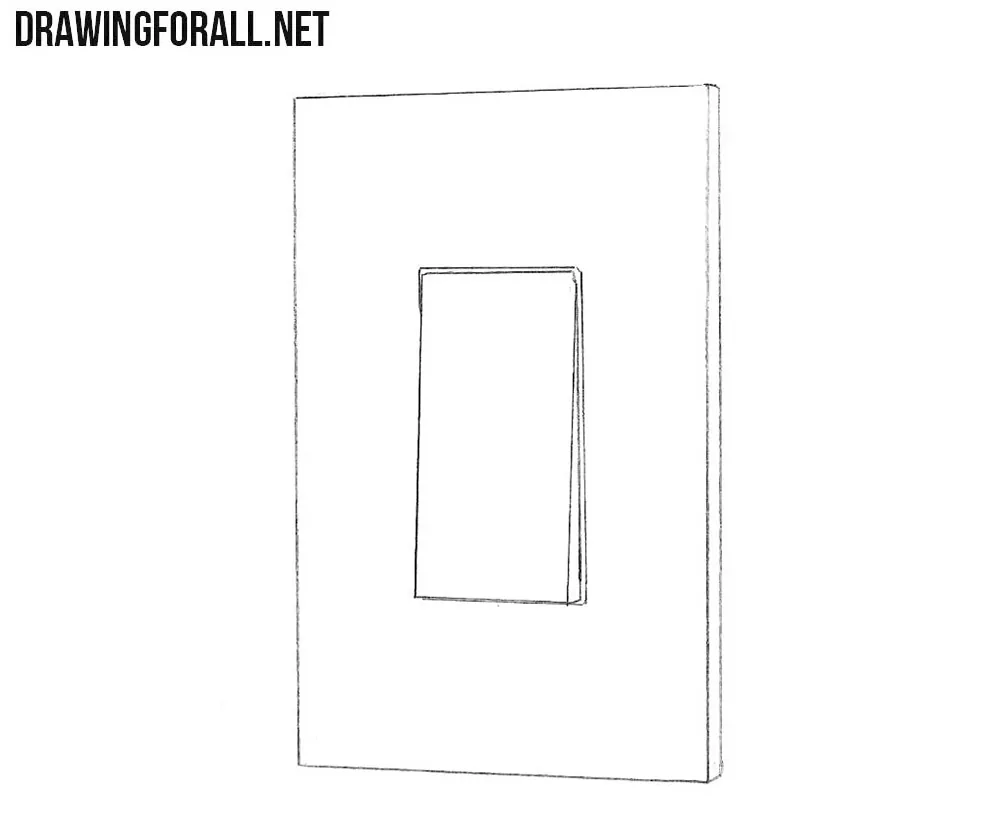
Step 3: Draw the inner switch border
From the upper right part of the switch, draw a line running downward parallel to the side edge of the switch base. This should create a triangular shape on the side that widens toward the bottom and shows the tilt of the button relative to the base. This conveys whether the switch is in the on or off position. Then indicate the frame around the button.
Step 4: Shade the switch’s right edge
Finally, add light shading along the border on the right side. Use short diagonal strokes inside this side of the plate and along the switch’s right edge. Add a thin band of shadow directly beneath the switch, with a few strokes extending onto the plate. Leave the front surfaces white.
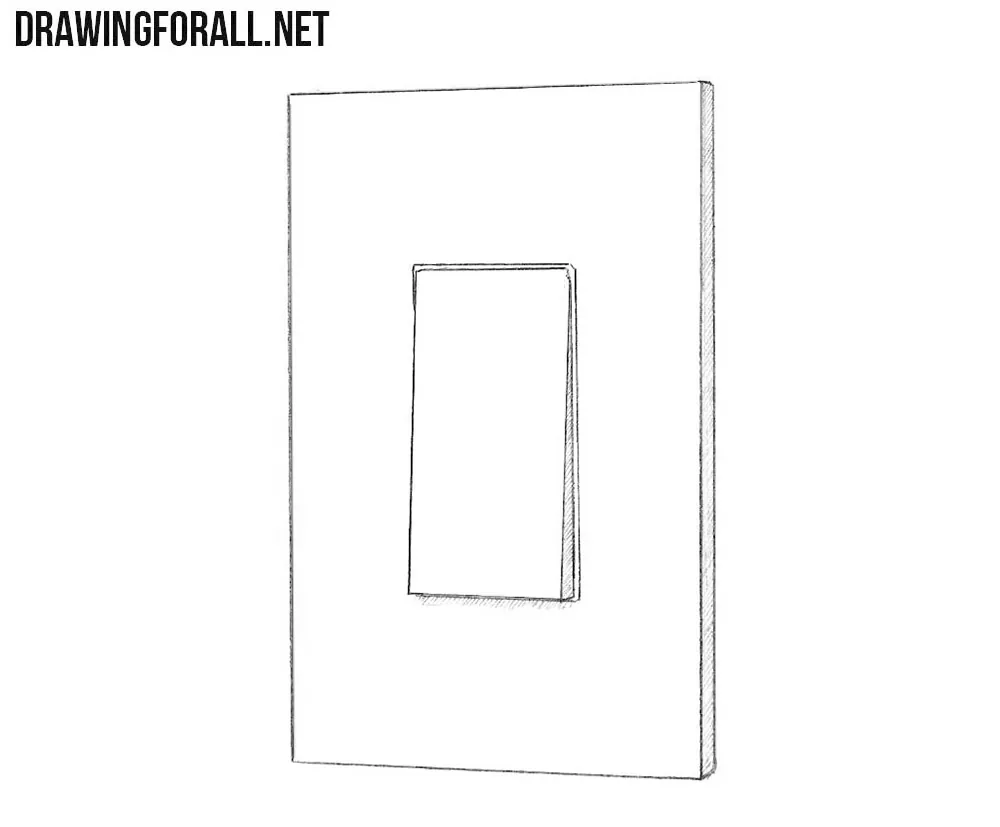
Volume is easier to convey when an object has obvious three-dimensional forms and clear changes in plane. With simple objects like this, those changes are much more limited, but even small transitions between surfaces can create convincing volume if handled correctly.
A light switch is usually quite flat, but both of its main parts still project slightly from the wall. The base itself usually stands out a little from the wall surface and has a front plane and narrow side planes.
The switch itself also projects from the base, especially on the side that tilts outward when the switch is pressed. These raised forms catch light on one side and create shadow on the opposite side.
This is why hatching on the side surface, in contrast with the unshaded illuminated surface, creates a sense of volume. You can use exactly the same principle when drawing an electrical socket or any similar object.
Constructing and shading such objects largely follows the basic principles of drawing a cube, where you also depict planes facing in different directions and shade them according to the lighting.




Thank you so much. It really helped my daughter with her poster.
We are very glad that our site is useful. Thanks for using our drawing tutorials.
thanks bro it helps for my performance task ^^