How to Draw a Coffee Maker
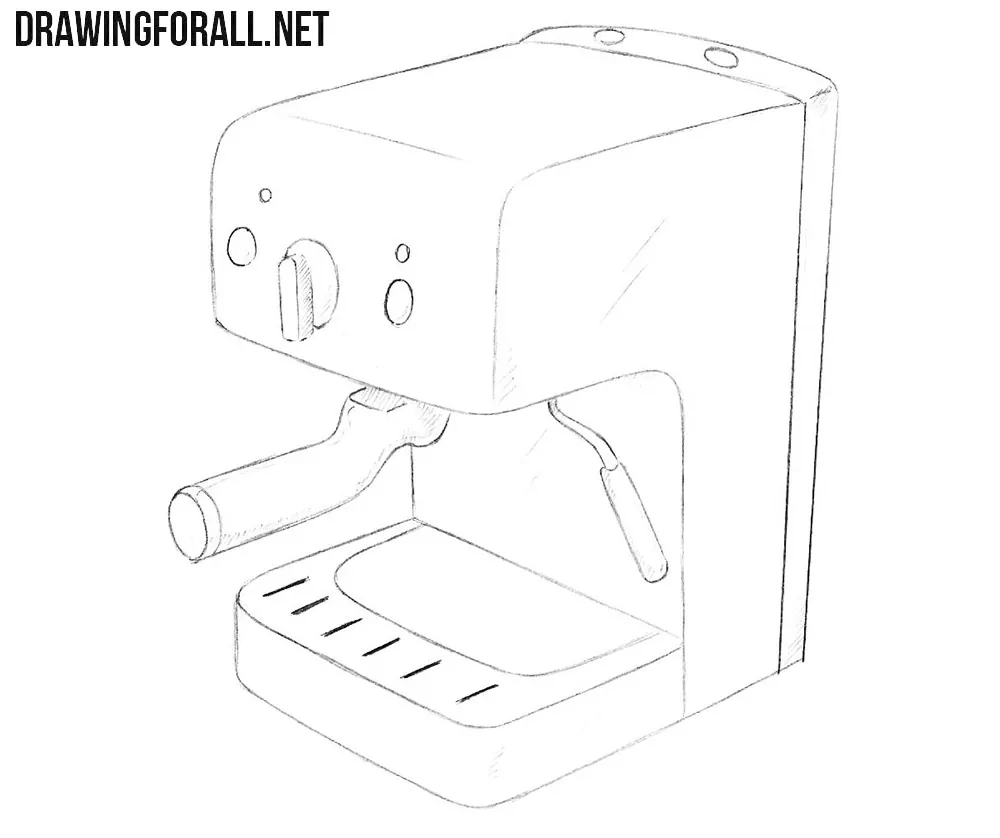
Many household appliances are easier to draw once you understand the simple geometric volumes behind their design. A coffee maker is a good example: most of its body can first be constructed as a box in perspective, with the details added afterward. Here, we will show you how to draw a coffee maker using this approach.
How to draw a coffee maker step by step
Step 1: Sketch the coffee maker
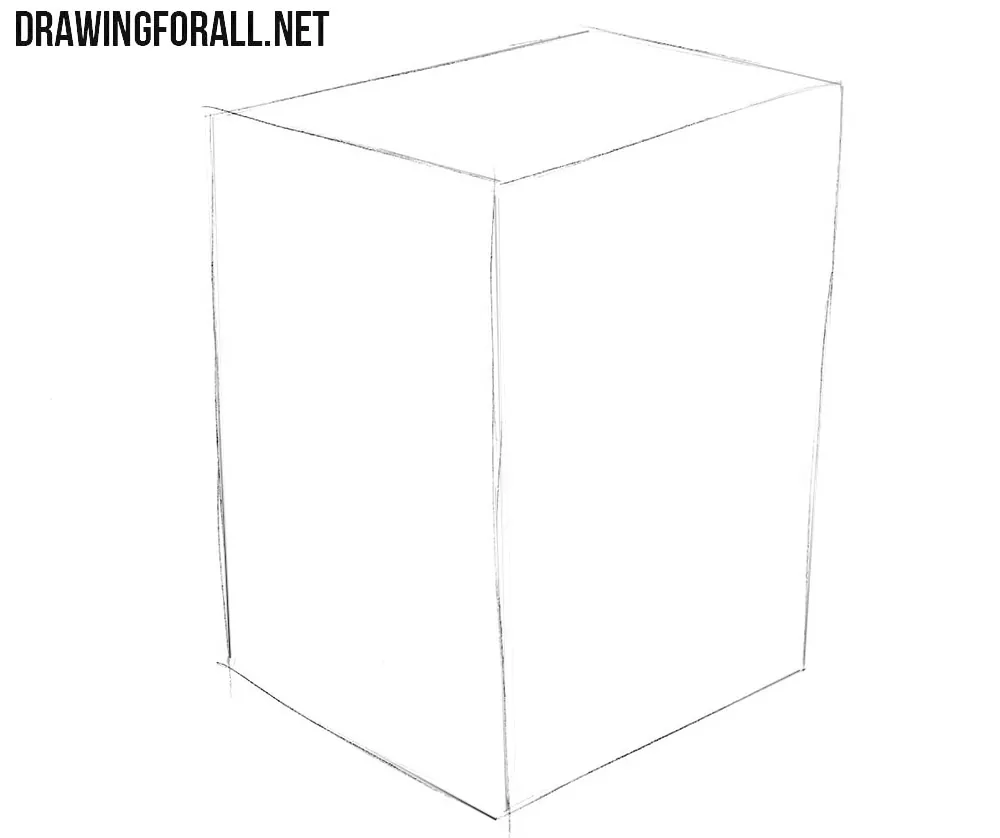
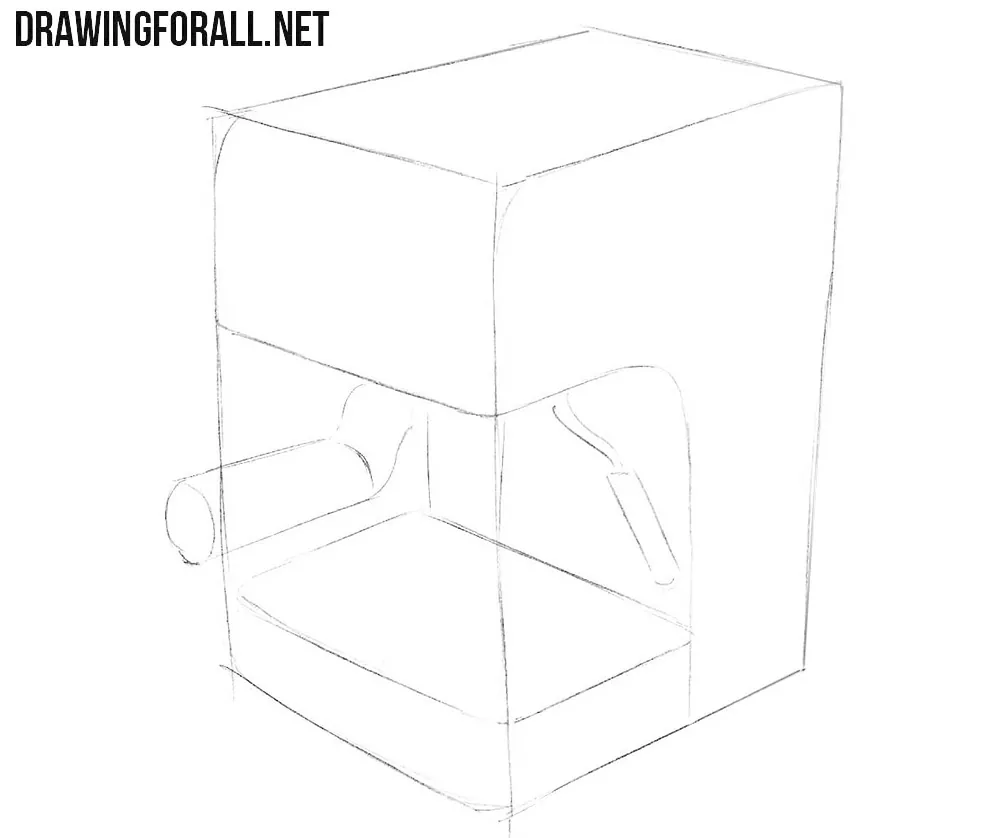
First, sketch the coffee maker in the shape of a rectangular box. Mark the front, side, and upper planes before adding the details. The corresponding edges of the coffee maker should follow the same perspective direction. You can sketch the base of this coffee maker using a ruler, but you will improve your drawing skills more if you draw it by hand.
Step 2: Add the coffee maker details
There are many models of coffee makers. Many of these machines have right angles. We chose to draw a coffee maker with rounded corners. So, in this step, draw the rounded edges and sketch the outlines of the lever and coffee spout. Keep the basic volume from the previous step visible beneath these new contours.
Step 3: Draw the coffee maker controls
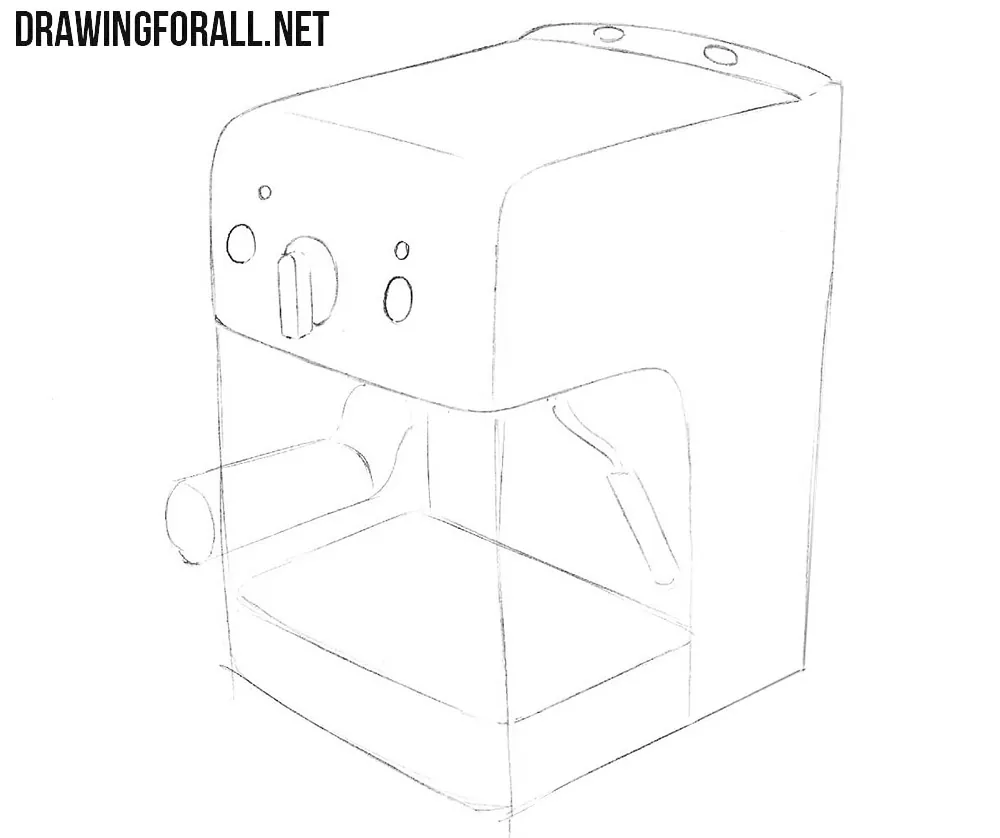
Draw the buttons on the top and front panels of the coffee maker in detail. You can arrange the buttons and various indicators to your taste. You can, for example, draw a touch panel or a button to launch a nuclear bomb.
Step 4: Draw the drip tray and spout
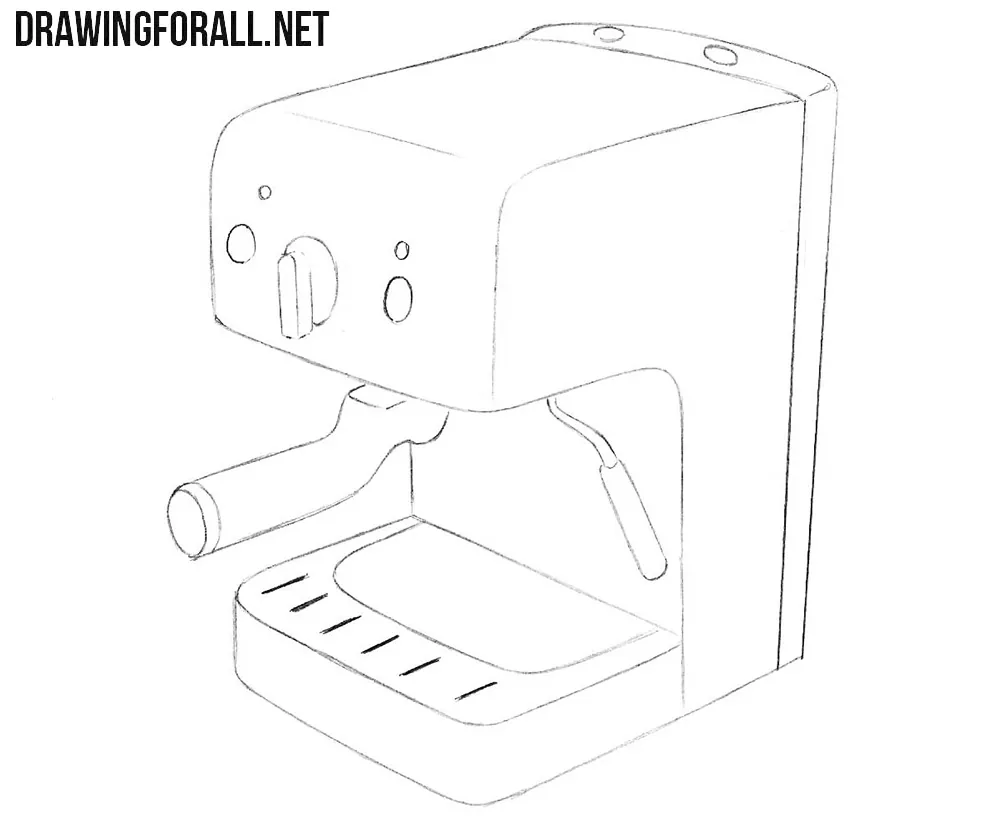
Draw the details at the bottom. This area usually includes a grate and a drip tray for collecting liquid. Draw the parallel lines of the grate according to the perspective of the lower plane, and show the thickness of the drip tray with its front and side edges. In the same step, draw the final contours of the lever and coffee spout.
Step 5: Add shadows to the coffee maker
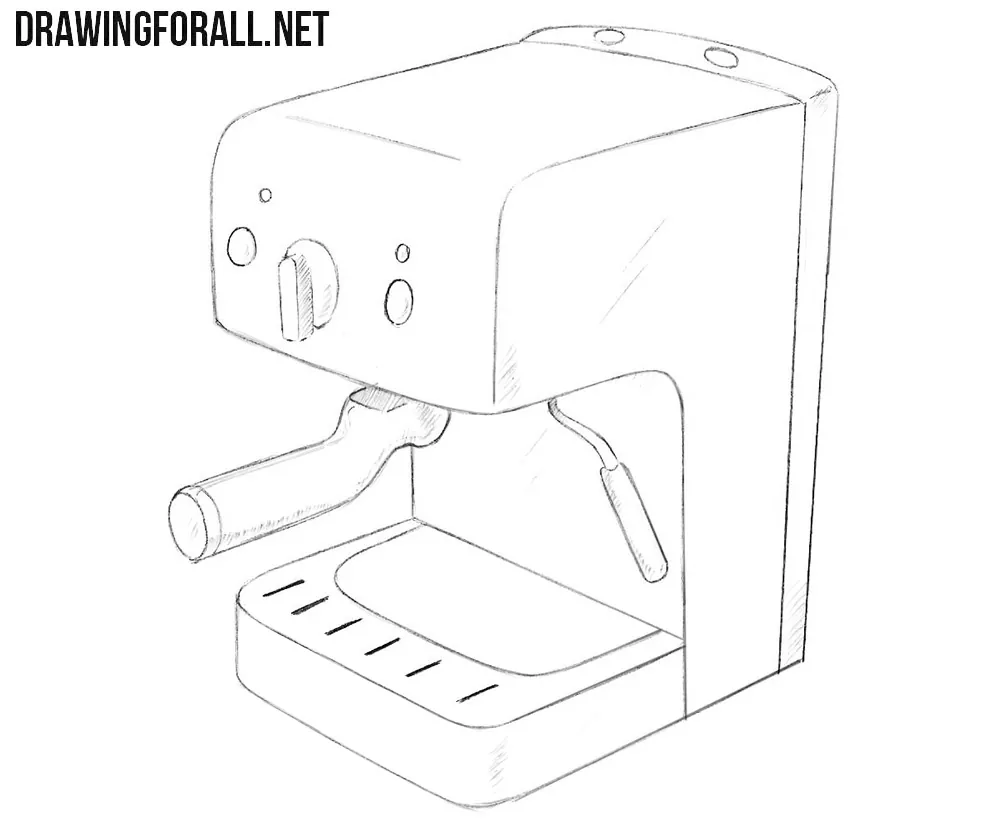
Determine the light source before you start drawing the shadows. Then, based on its direction, begin adding hatching to the surfaces of the coffee maker and its parts that face away from the direct light. Draw cast shadows from the spout and handle, as well as beneath the machine itself. Use a few long strokes to indicate highlights and reflections. This is enough to give the drawing volume.
Drawing coffee makers of different designs
Coffee makers come in many different shapes, so try drawing another model after completing this tutorial. Look at its overall form first and determine which simple geometric volumes are hidden behind the exterior design.
For example, a taller coffee machine can still be based on a rectangular box, but the shape and placement of the details may be completely different. Block in the main volume first, then place these smaller parts on its surfaces according to perspective.
This tutorial also completes our small series about coffee and the things needed to make it. You can return to the beginning of this series and draw a coffee cup to work with a completely different form.