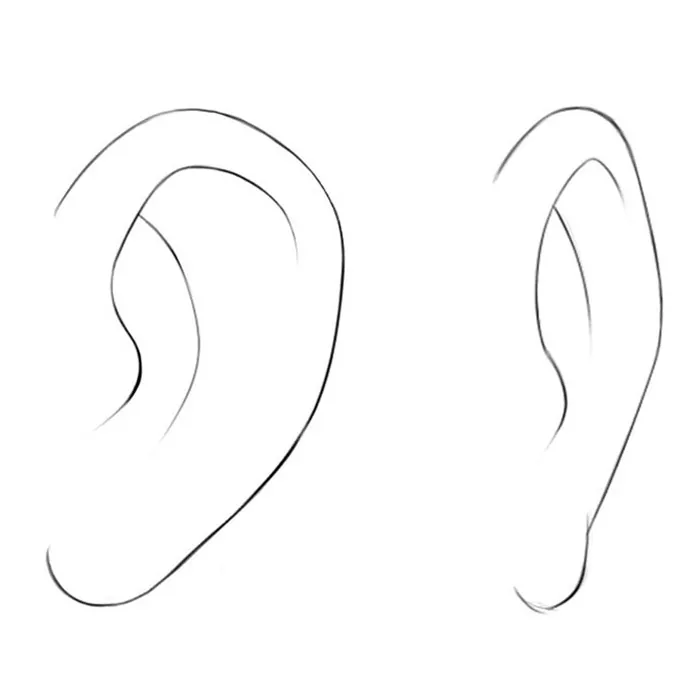
How to Draw Ken Kaneki
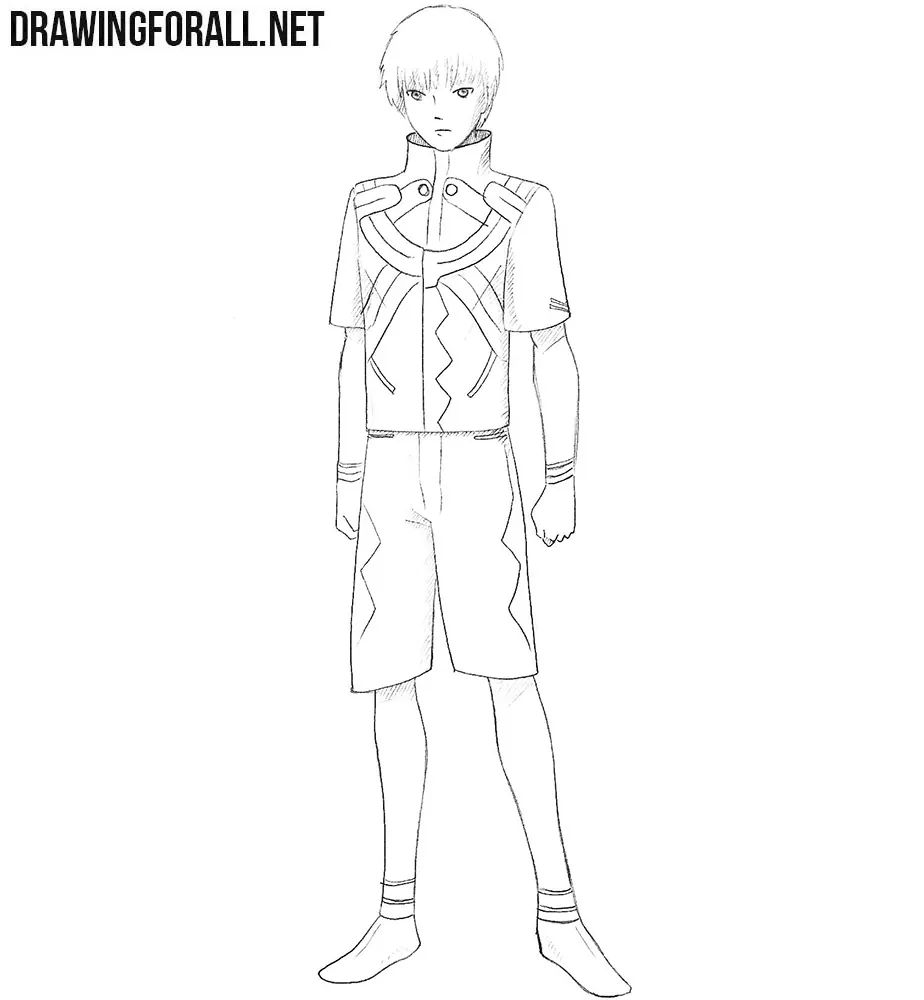
InThis tutorial will show you how to draw Ken Kaneki from Tokyo Ghoul, the series’ main protagonist and a human-ghoul hybrid. Here the character will be dressed in his characteristic outfit.
As usual, we draw the anime character in a static pose. You can change the pose by drawing the arms or legs in different positions.
How to draw Ken Kaneki step by step
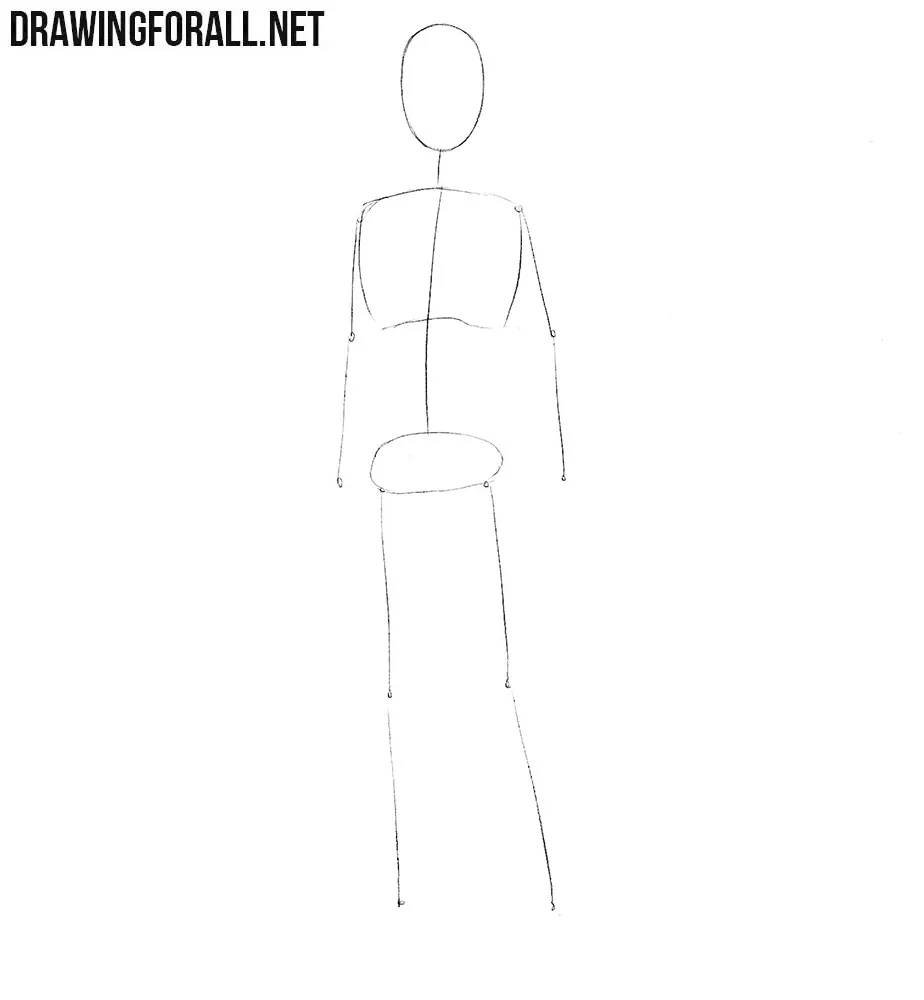
Step 1: Sketch Kaneki’s basic figure
This first step is not particularly different from the first stages of drawing tutorials about other people or characters. As you probably know, at the beginning of all our guides we draw a stick figure. Since we are drawing an anime character, Ken Kaneki’s head is a little bigger than the head of an average person. Otherwise, we draw a usual stickman – first sketch the head as an oval, then draw the skeleton of the torso with simple lines. Keep the shoulders and pelvis almost horizontal and place the feet apart.
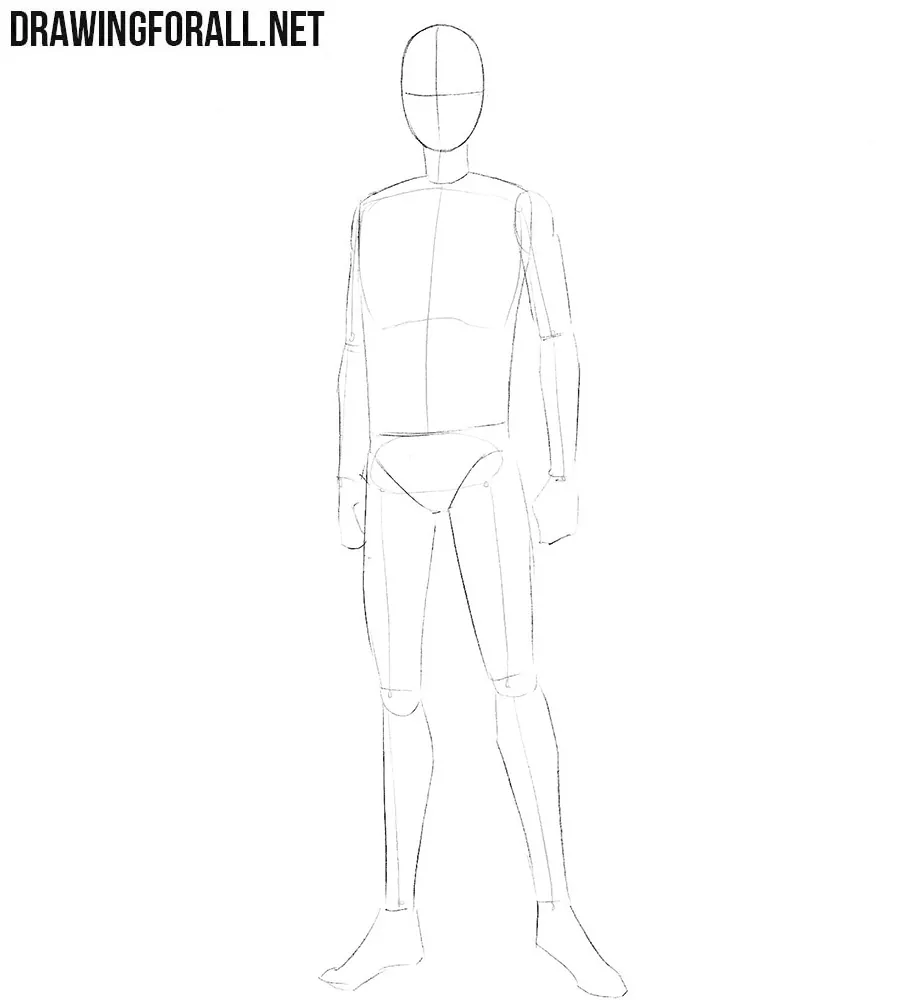
Step 2: Add volume to the anime figure
First, mark two intersecting lines on Kaneki’s face. Under the head, draw the neck as a long, noticeable cylinder. Below this cylinder, sketch out the torso using the lines from the first step as a guide. In addition, draw the contours of the arms as elongated cylinders and sketch out the anime hands. At this stage, indicate each hand as a simple mass without drawing the fingers in detail. Draw the pelvis like an inverted triangle. Draw the legs of the Tokyo Ghoul character in the same way as the arms – in the shape of elongated cylinders.
Step 3: Sketch the hair, face, and costume
This will be the last step of working with the basic lines and shapes of Ken Kaneki. With the help of circles and short lines, sketch the anime eyes, nose, ears, and mouth. Use one rounded shape to mark the contours of Kaneki’s hair. Also, draw the approximate contours of his costume. Use the central axis of the torso to place the high collar and the large curved element across the chest. So, the base of our Tokyo Ghoul character drawing is done, and starting from step four you will draw Kaneki in detail.
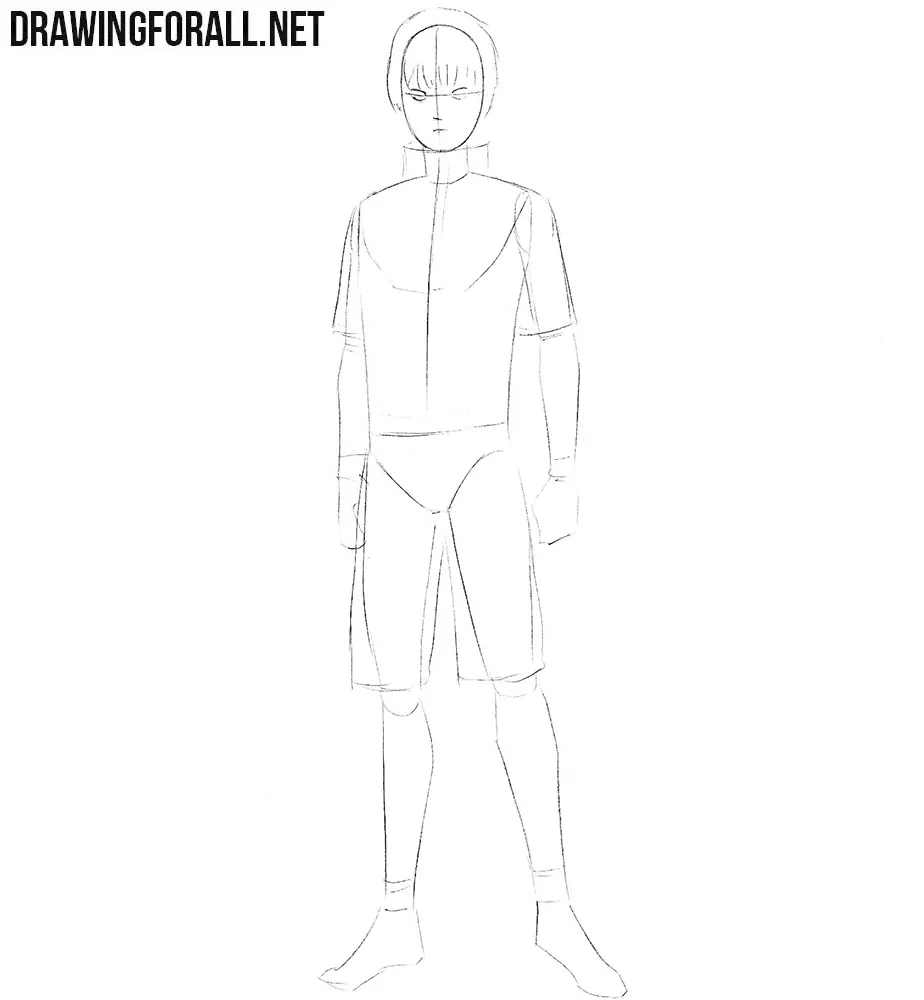
Step 4: Draw Ken Kaneki’s face and hair
To draw the anime face, first carefully trace the outlines of the head and facial features using dark, clear lines. Narrow the lower part of Ken Kaneki’s face toward the chin and draw the lower edge of the hairstyle with separate pointed locks. At the end of this step, remove the guidelines from the face and head.
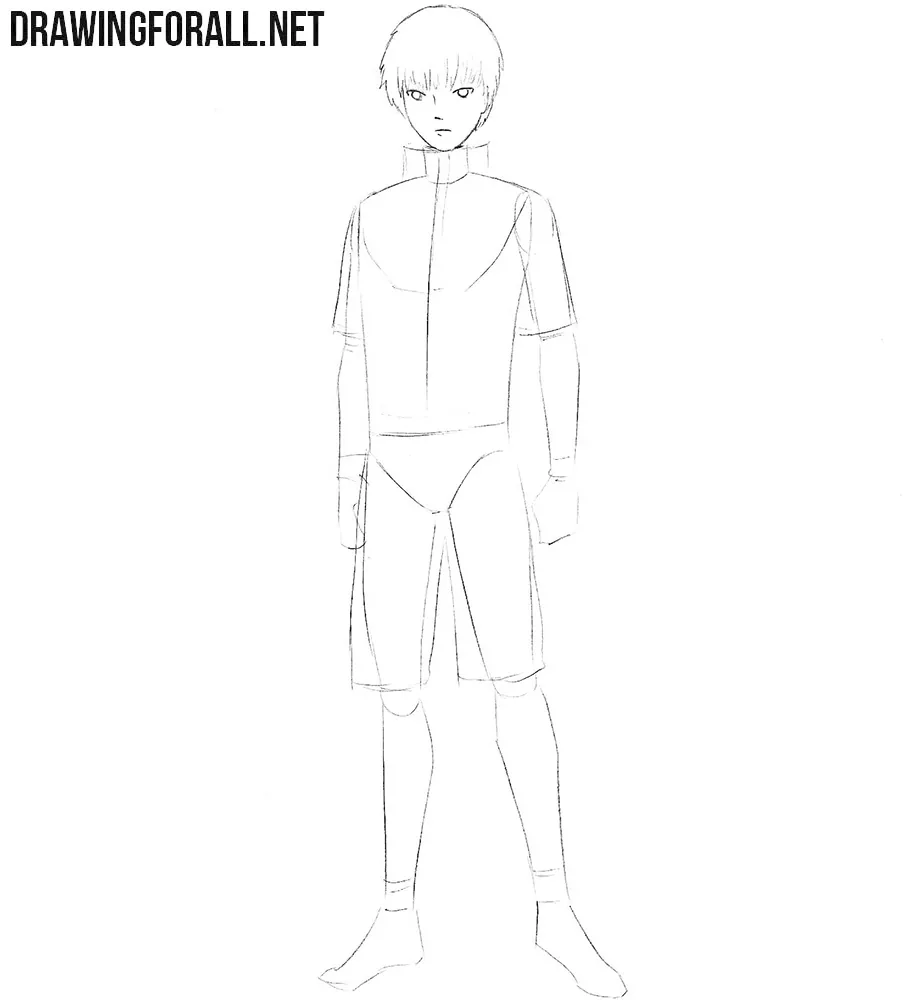
Step 5: Draw the high collar and chest details
Now it is time to start working with the final torso lines of Kaneki’s costume. First, draw a semicircular shape under the high collar. After that, draw another semicircle near the edge of the ribs. These curved elements lie over the volume of the chest, so their curvature should correspond to the form of the torso. At the end of this step, add simple straight lines to complete the details on the torso. Erase the guidelines from this area.
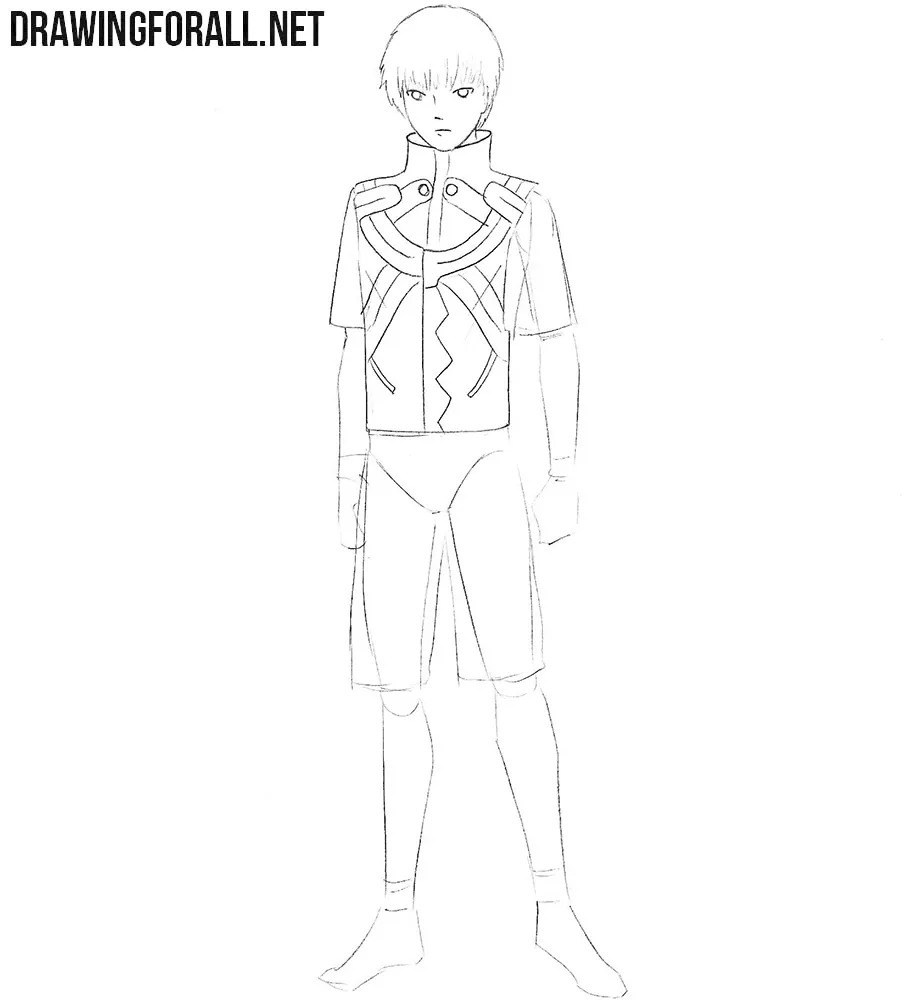
Step 6: Draw the sleeves, arms, and fists
Draw Kaneki’s wide, short sleeves and thin arms. You should emphasize the contrast between the wide sleeves and thin arms. Our tutorial on drawing anime hands can be useful when drawing his clenched fists. First construct each fist as a simple form aligned with the forearm, then indicate the knuckles and thumb. Draw Ken Kaneki’s wrist bands so that their contours curve around the cylindrical forms of the forearms.
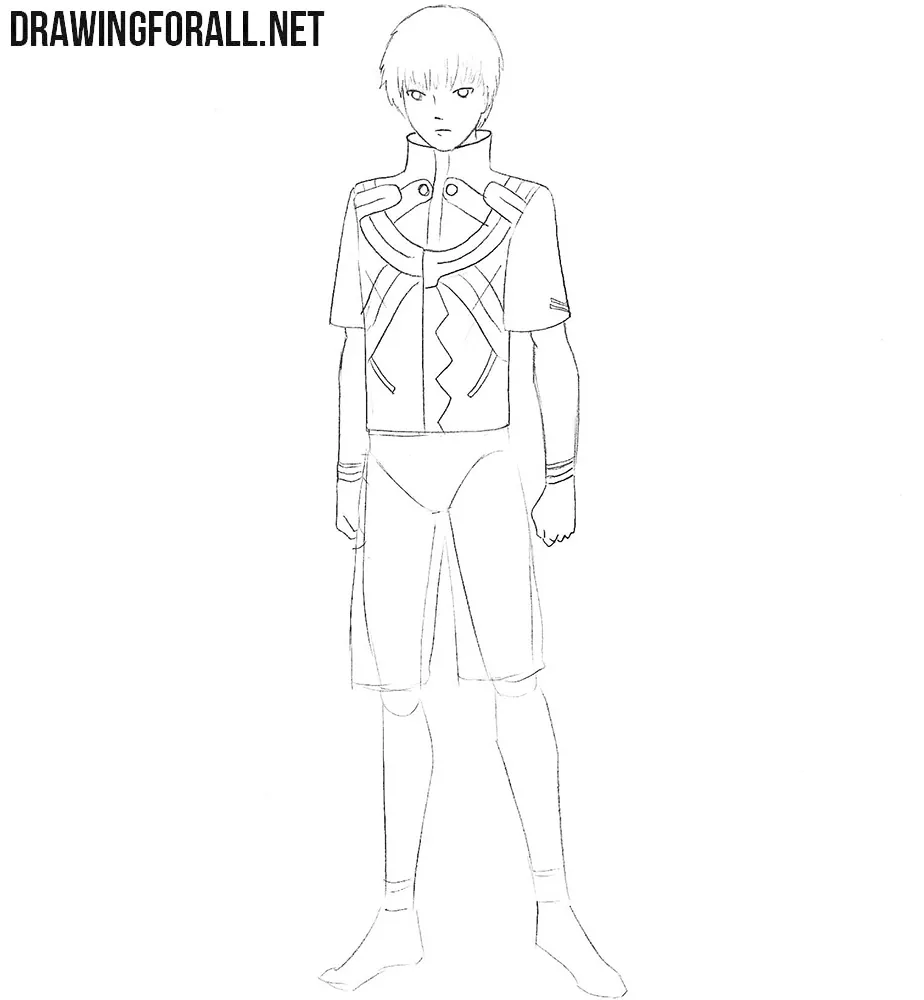
Step 7: Detail the shorts and boots
Add some folds and decorative lines to the anime character’s shorts. Let the shorts follow the direction of the thighs and place the main folds where the fabric changes direction near the crotch and sides. Construct the boots as solid forms around the feet. Don’t forget to erase all the extra lines that we drew in the first three steps.
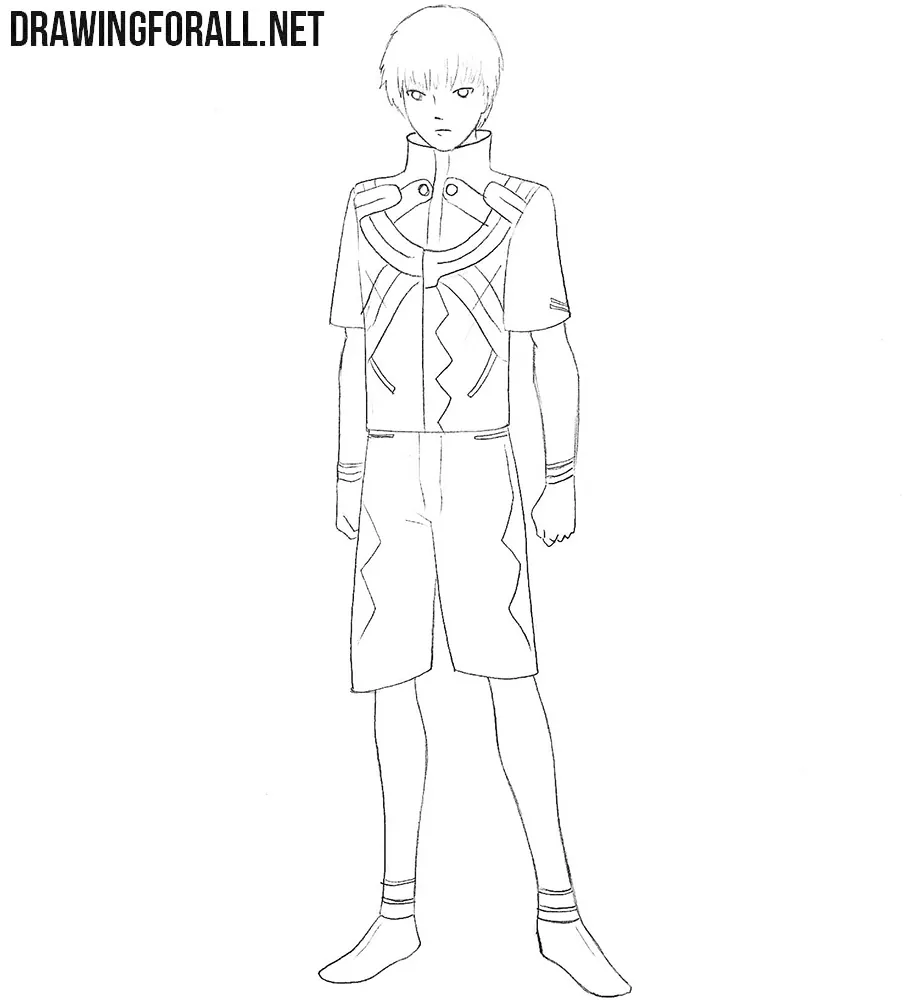
Step 8: Add shadows to Kaneki
First, determine the light source and add shadows to the least illuminated areas. Draw the shadows with dense hatching. Make the tone deeper inside Kaneki’s high collar and beneath the parts of the costume that overlap other forms. On the arms and legs, change the direction of the strokes according to their cylindrical volume. Add a second layer of hatching to make individual areas darker.
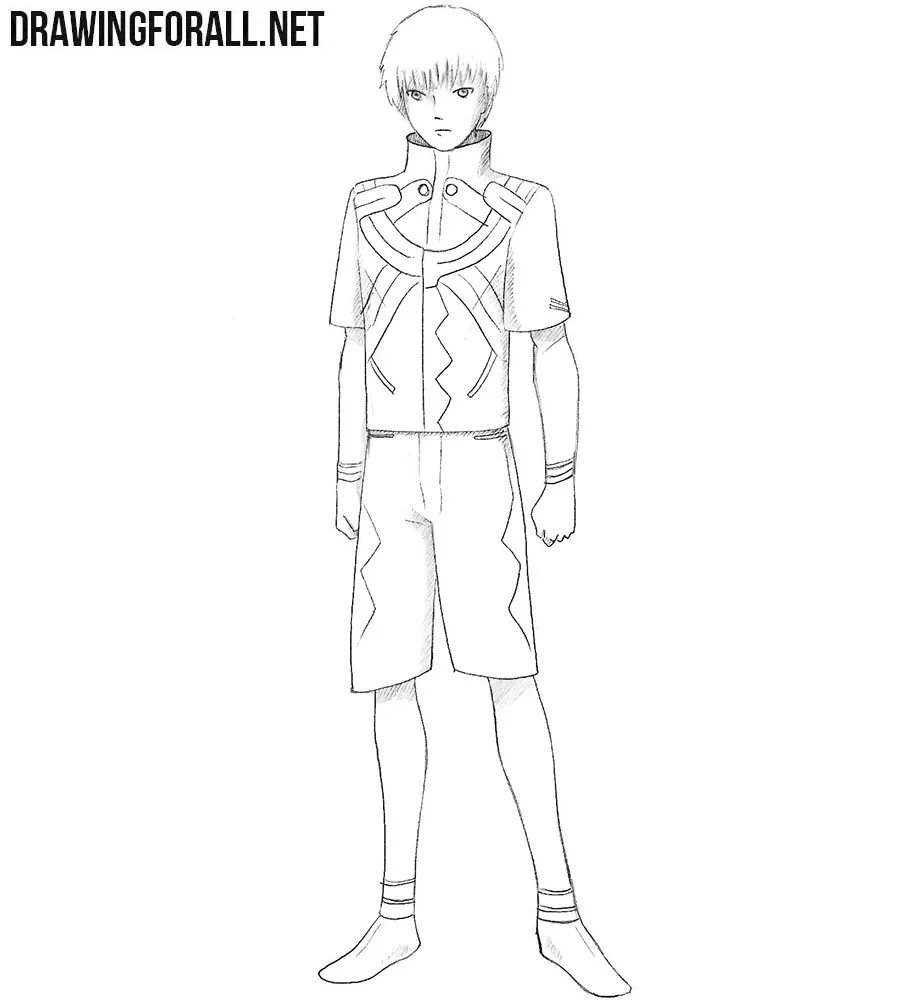
This was a drawing guide in which we showed how to draw Ken Kaneki from the popular anime Tokyo Ghoul. You can also slightly change Kaneki’s appearance by changing his hairstyle or clothing.
If you have visited our other drawing tutorials about characters from manga and anime, then you most likely noticed how similarly they are drawn.
So you can safely use the skills you learned in this tutorial to draw other anime characters. The first three steps are about the same for all the characters; the differences are mainly in the details.
You can also improve your skills in drawing this particular Tokyo Ghoul character by drawing him in different poses, different costumes, and from different angles.