

How to Draw an Audi A4
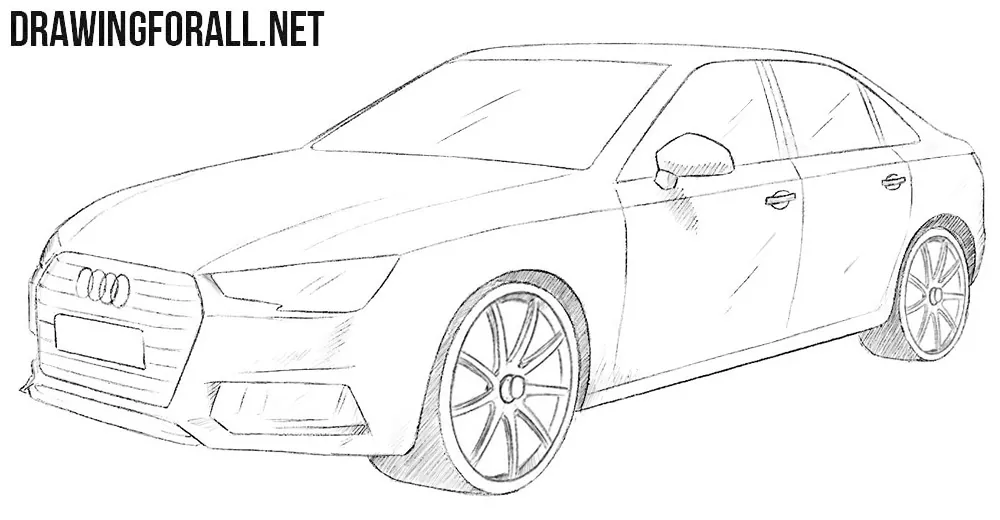
In this step-by-step tutorial, we will show you how to draw an Audi A4 from one of its earlier generations. However, since the model’s overall design philosophy has changed very little over the years, you can easily adapt the techniques and steps below to depict any generation.
How to draw an Audi A4 step by step
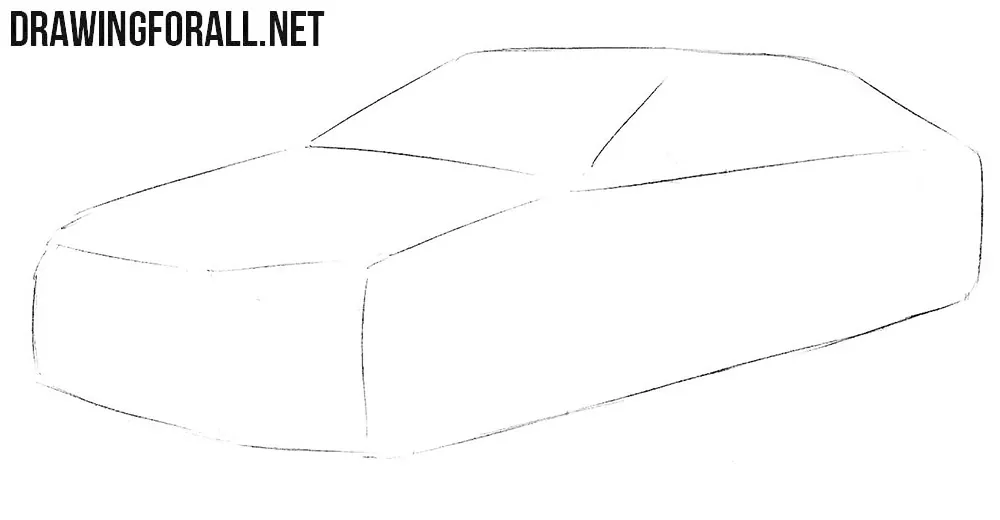
Step 1: Outline the Audi A4’s body
First, establish the overall shape of the Audi by outlining the main contours of its body. Mark the lower body as an elongated box viewed from the front and side. Above it, sketch the cabin with a sloping windshield, a low roof, and a relatively short rear deck. Draw the side edges receding toward the right to convey the perspective.
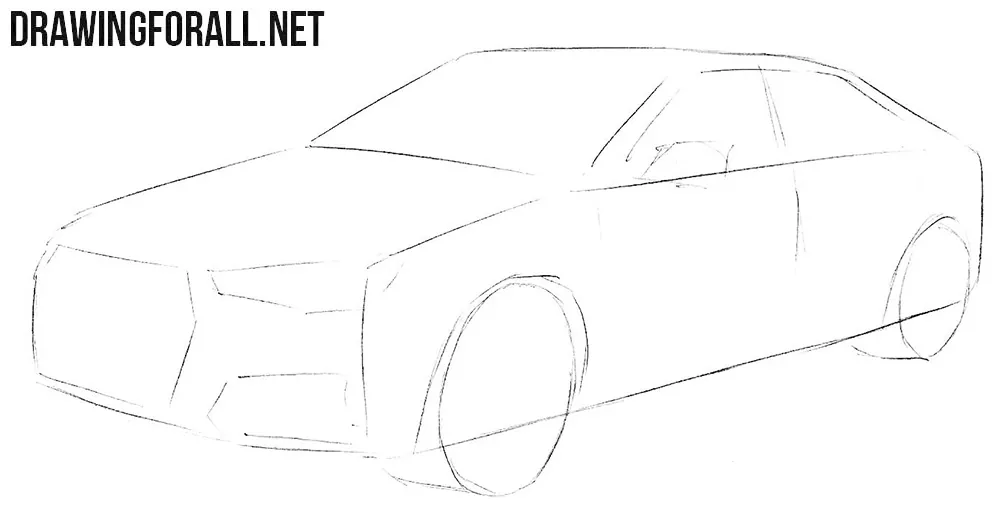
Step 2: Sketch the car’s main details
The main contours are in place, but the car still looks like a box. Now add the main details. Use light lines to sketch the shape of the grille, headlights, side mirrors, doors, and wheels. Place the grille on the front plane and mark the lower bumper openings beneath the headlights. Sketch the visible wheels as ellipses, with the rear wheel smaller in perspective. Outline the wheel arches just above them.
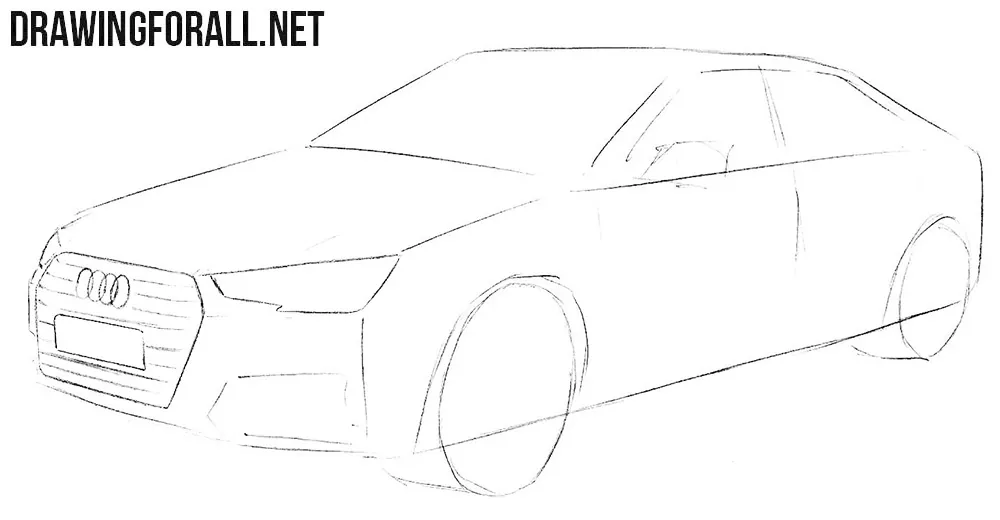
Step 3: Define the grille and headlights
With the basic contours and details in place, begin refining the drawing. Use clear, dark lines to trace the grille and the Audi’s angular headlights. Outline the grille’s beveled corners and add horizontal slats. Draw the Audi emblem and license plate. Use four overlapping rings for the badge above the plate. Draw both details at the same perspective angle as the front of the sedan.
Step 4: Draw the hood and bumper
Use clear, dark lines to draw the contours of the hood. Add the long crease lines that run from the grille toward the windshield. Then move down to the bumper and draw the fog lights and its lower edge. Outline the trapezoidal recess on the visible side and the narrow horizontal light inside it. Add a second line along the bottom lip of the bumper. Erase the unnecessary guidelines from the front of the Audi A4.
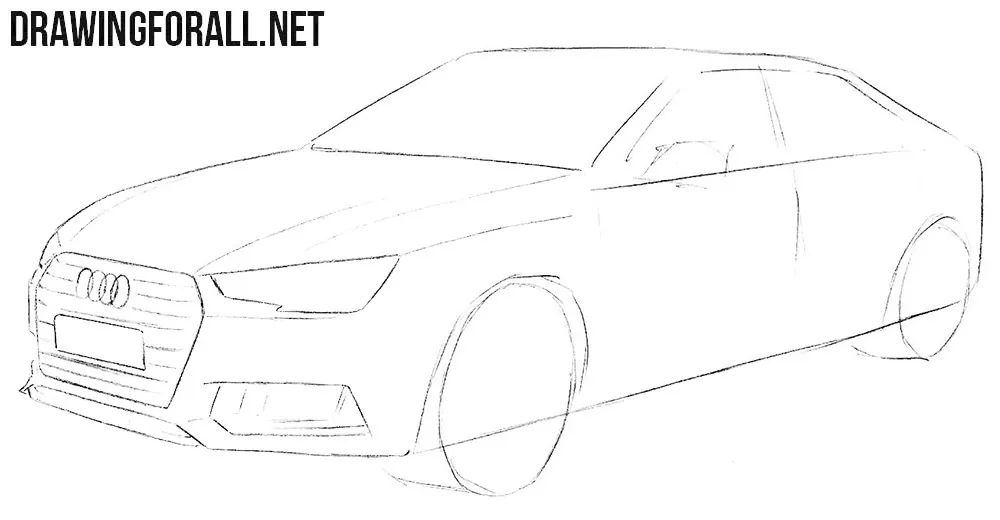
Step 5: Refine the roof and windows
Move up from the hood and carefully trace the roofline as it curves toward the rear of the car. Next, draw the window outlines and side mirror. Leave a narrow strip between the windshield and roof contours. Divide the side glazing with paired lines for the pillars, including the small triangular window at the rear. Outline the mirror housing and its short mounting base. Erase the unnecessary guidelines from the upper part of the Audi.
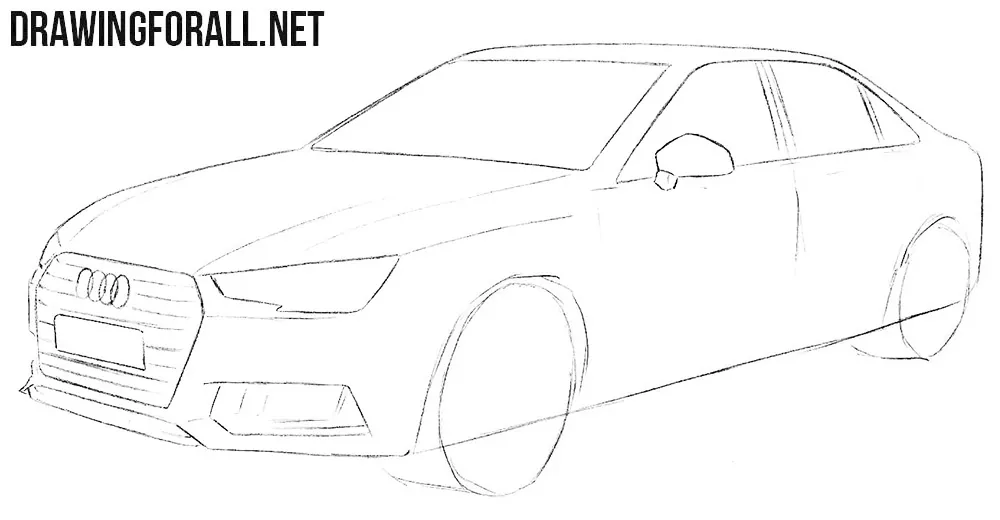
Step 6: Detail the doors and lower body
Continue the roofline to define the visible rear of the car. Draw the doors below the windows, then add the door handles. Align the door divisions with the window pillars and sketch the handles as short horizontal shapes. Add the Audi A4’s side crease beneath the windows and a narrow sill between the wheel arches. Trace the lower edge of the body and erase the remaining unnecessary body guidelines.
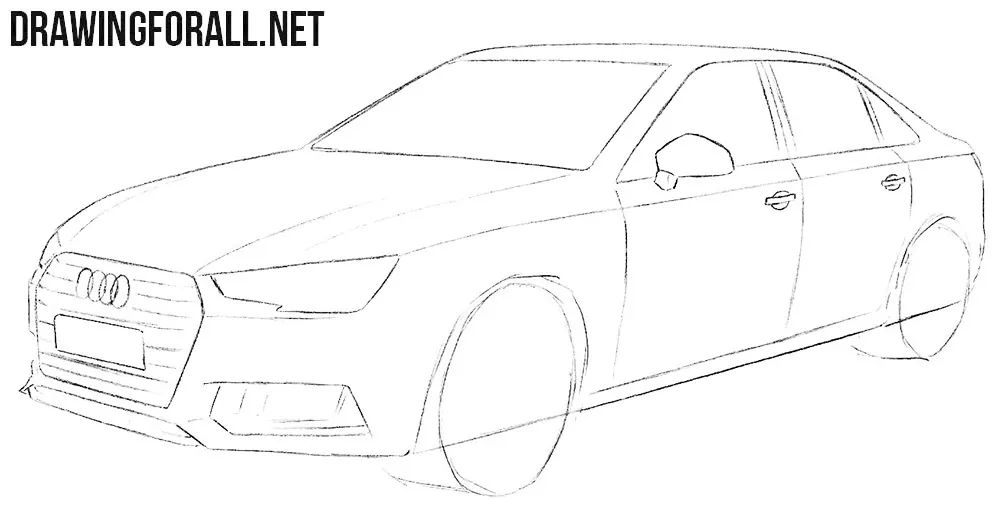
Step 7: Carefully draw the wheels and rims
The wheels and rims are probably the most difficult parts to draw. Carefully trace the wheel contours with smooth, even curves. Take the same care when drawing the rims. Draw nested ellipses for the tire edges and rim borders, then mark the small central hubs. Add the spokes radiating from each hub. Follow the perspective of each wheel.
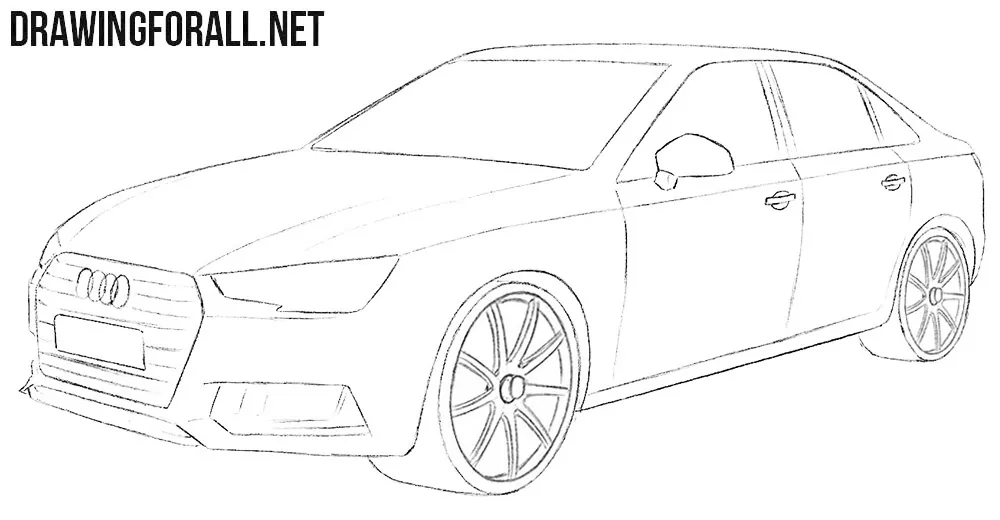
Step 8: Shade the body and glass
The Audi A4 drawing is almost complete. Add shadows with dense hatching to give the body more volume. Darken the tire surfaces beneath the wheel arches, the underside of the mirror, and the lower bumper recess. Apply lighter strokes along the sill and near the front wheel arch. Use long strokes to indicate reflections on the glass. Add a few similar diagonal marks on the headlights.
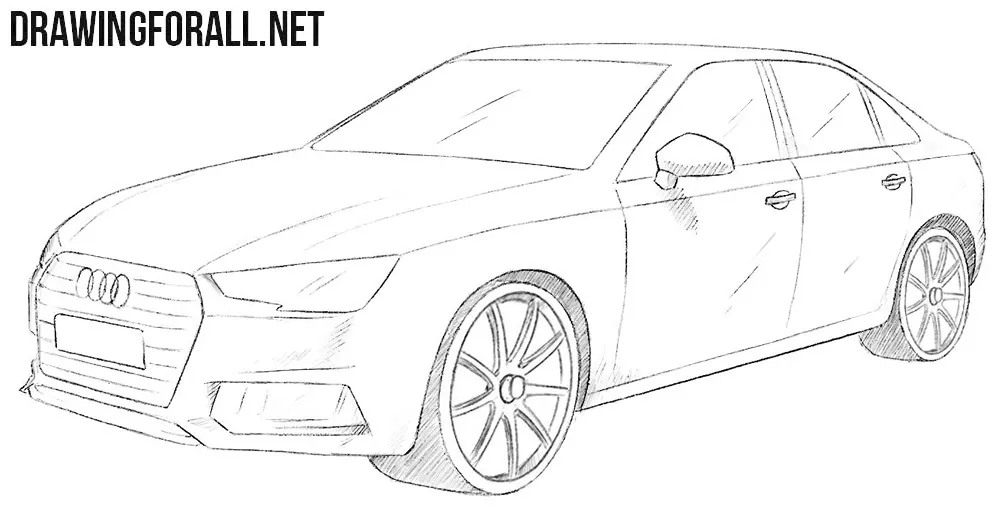
In addition to the different body styles that appeared over the years, there are also many variations within a single generation.
These can include sportier versions, coupes, convertibles, and so on. You can also use the steps from this tutorial when drawing each of these variations.
Simply change the contours slightly at the step where you draw a particular detail, such as the rear end or the bumpers. For example, make the bumper more aggressive and sporty, add a spoiler, or simply leave out the roof if you want to depict a convertible, ending it at the top of the windshield.
Similar principles are also used when drawing an Audi R8, although there are some very important nuances. But that is another story.
By the way, if you want to see how brand styling works with the other two members of the German trio, try drawing a Mercedes-Benz CLS with our tutorial and study our guide on drawing a BMW X5.



Thanks for that. I liked it.
Wow
I cant get the roof right no matter how many times i try it looks funny with the front windshield.. pretty hard drawing but its occupying my mind and i have an Audi. thanks
I like drawing