

How to Draw a Cowboy
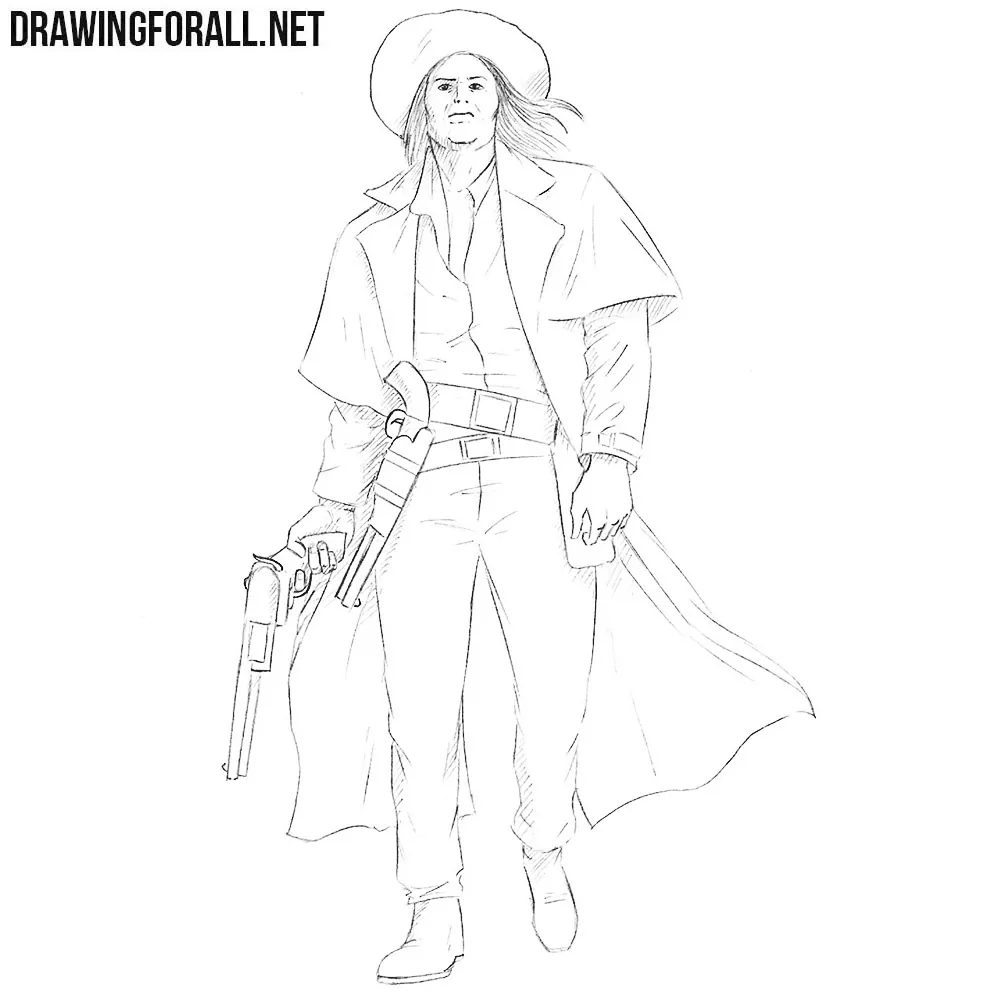
We are all familiar with the image of a cowboy, although the details may differ in our minds. Here we will show you how to draw a cowboy wearing a characteristic hat and a long coat, with revolvers in his hands.
During the drawing process, you can replace the weapons in his hands or slightly change the elements of his clothing. But characteristic details such as the hat should remain unchanged.
How to draw a cowboy step by step
Step 1: Sketch the cowboy’s figure
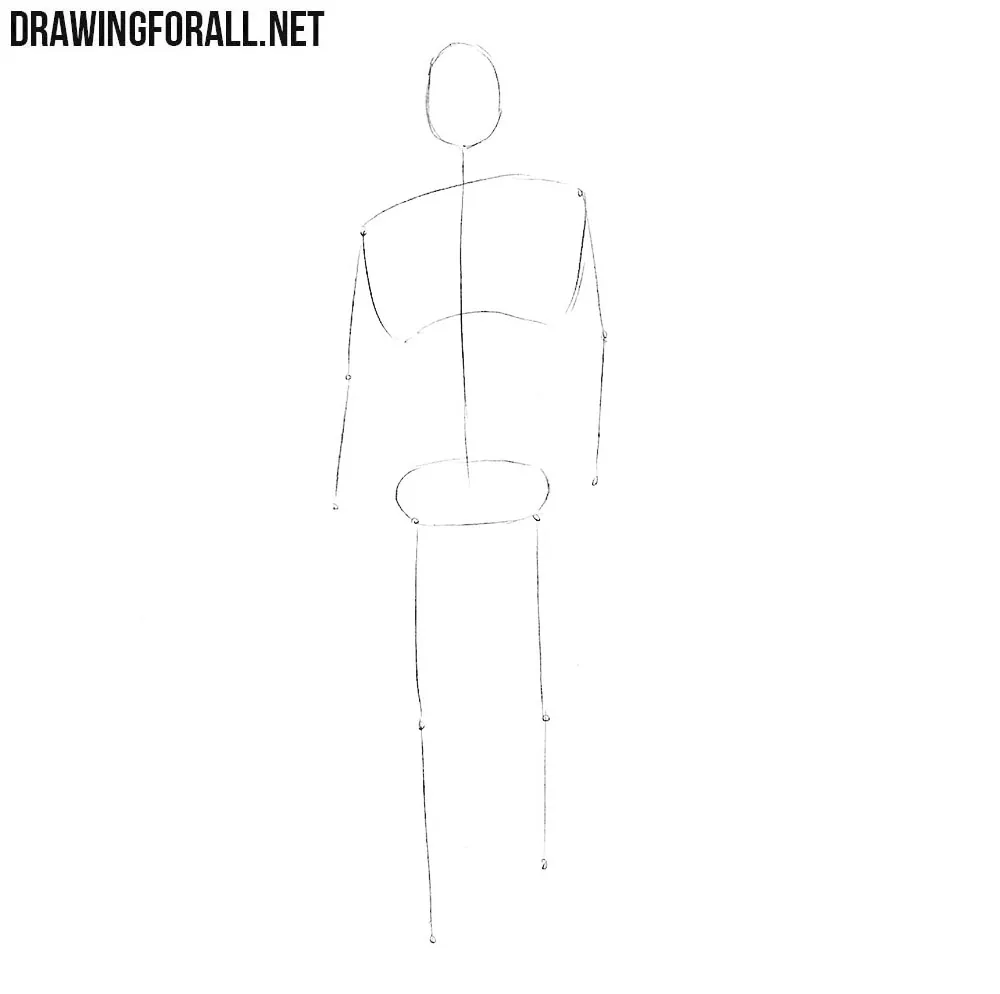
First, sketch the cowboy’s oval head and a line for the neck that continues into the spine. Next, outline the chest and pelvis with simple shapes. Use straight and slightly curved lines to mark the arms and legs, paying attention to the position of the shoulders, elbows, knees, and feet.
Step 2: Build the basic body forms
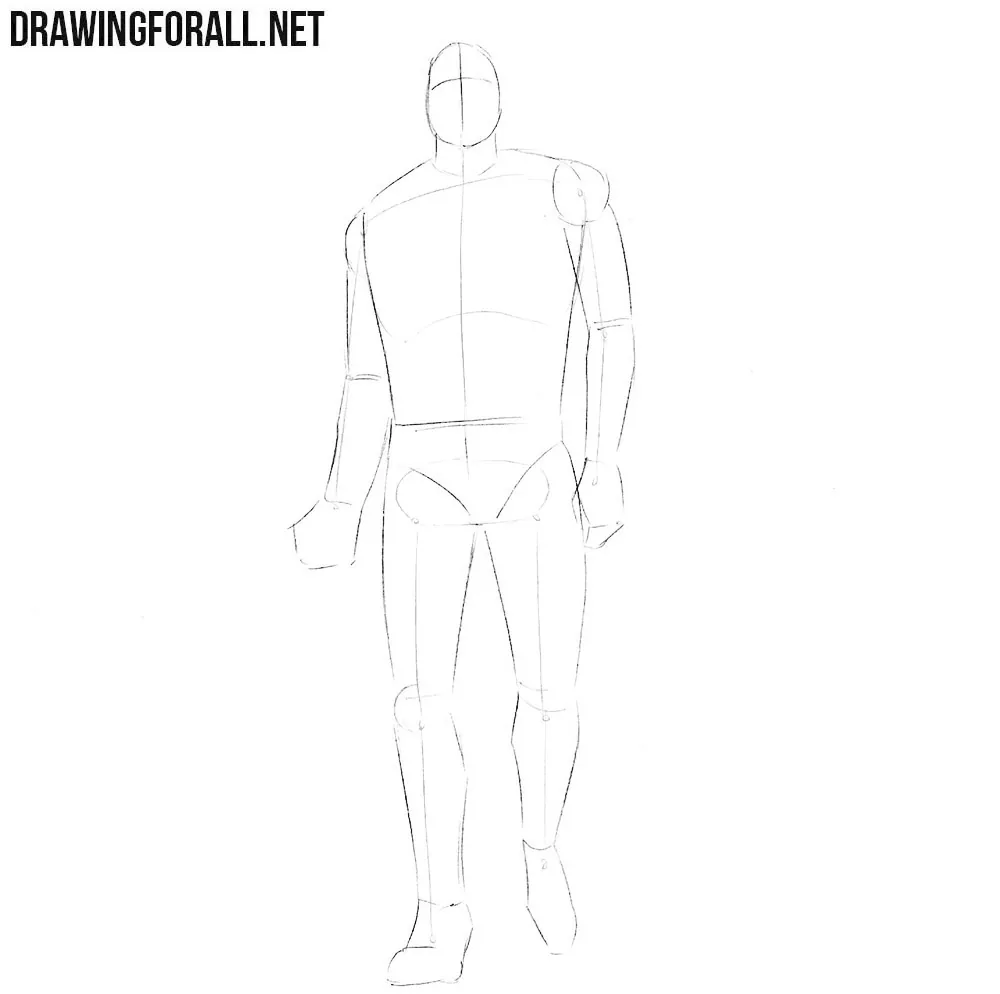
Draw two simple lines that intersect near the center of the cowboy’s slightly raised face. These guidelines will help place the facial features later. Next, outline the neck and torso. Sketch the pelvis as a simple triangular shape, then outline the arms and legs using cylinders. Make the upper arms and thighs slightly thicker than the forearms and lower legs. Finish this step by sketching the hands and feet with simple forms.
Step 3: Outline the cowboy’s clothing
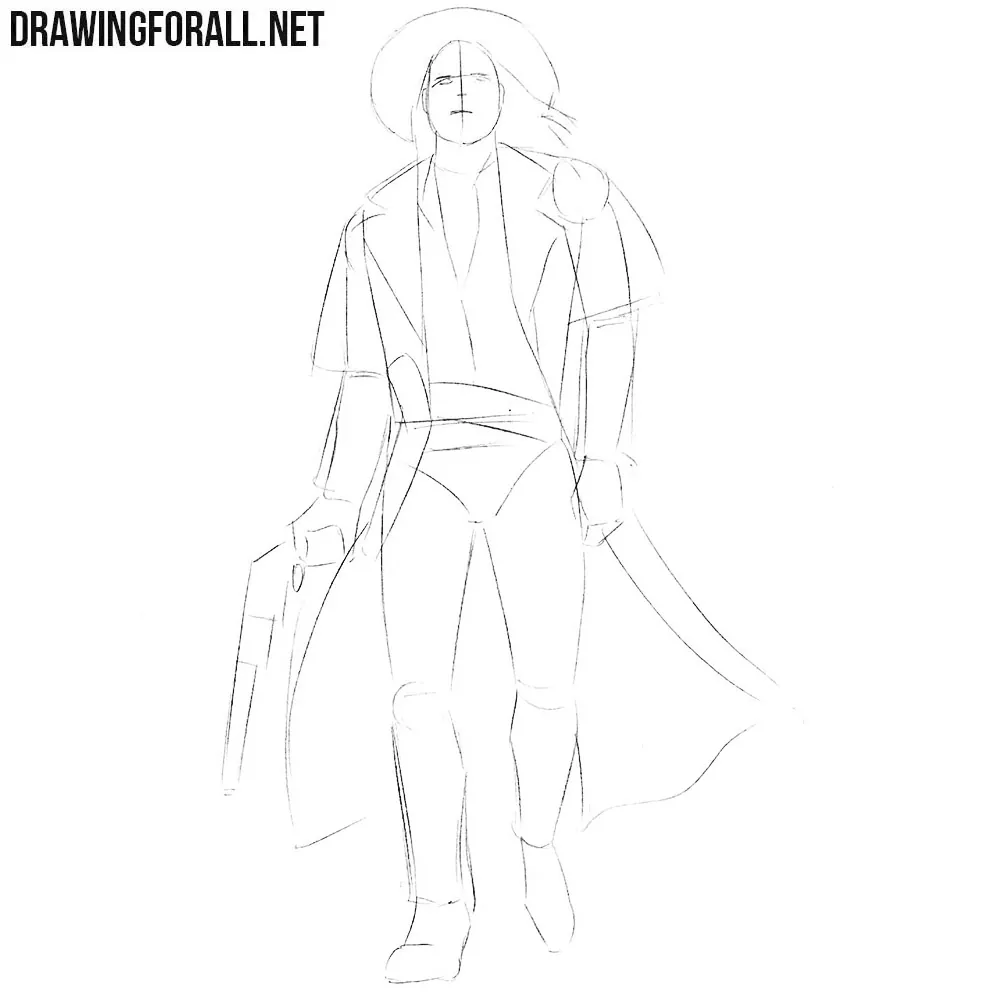
Now outline the main details of the cowboy. Use the intersecting facial guidelines to sketch the eyes, nose, and mouth. After that, draw the characteristic cowboy hat, starting with its crown and wide brim. Move slightly lower and draw the coat, which hangs from the shoulders. Finally, outline the revolver in the cowboy’s hand.
Step 4: Draw the face and hat
Starting with this step, draw the final details using clear lines. Carefully draw the cowboy’s eyes, nose, and mouth, following the guidelines from the earlier steps. Next, refine the contours of the face. Draw the hat and add the long hair beneath. You can also draw a mustache or sideburns.
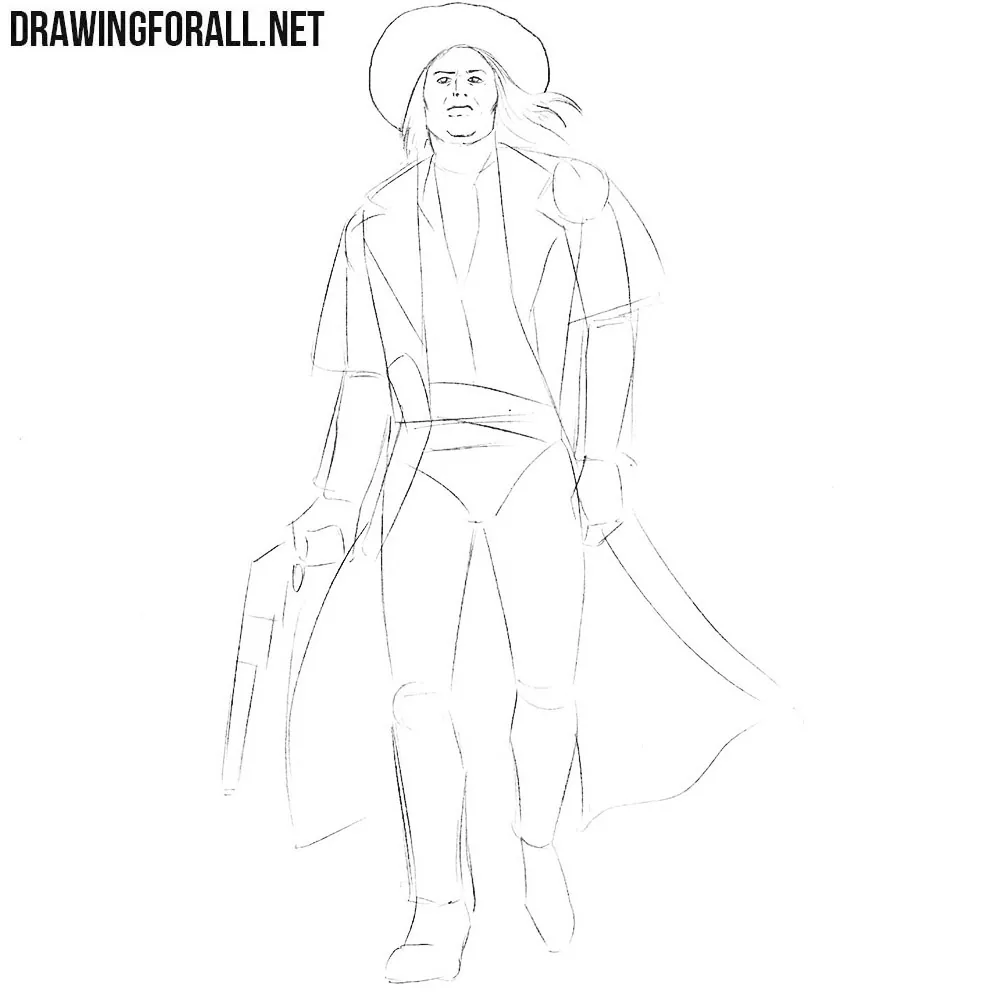
Step 5: Refine the shirt and coat
Move lower and draw the contours of the cowboy’s neck. Then carefully outline the shirt and the very wide lapels of the coat. Add the necessary folds to the fabric. Use short, curved lines for smaller folds and longer lines for the main edges of the coat. Finish this step by erasing the unnecessary guidelines from the torso.
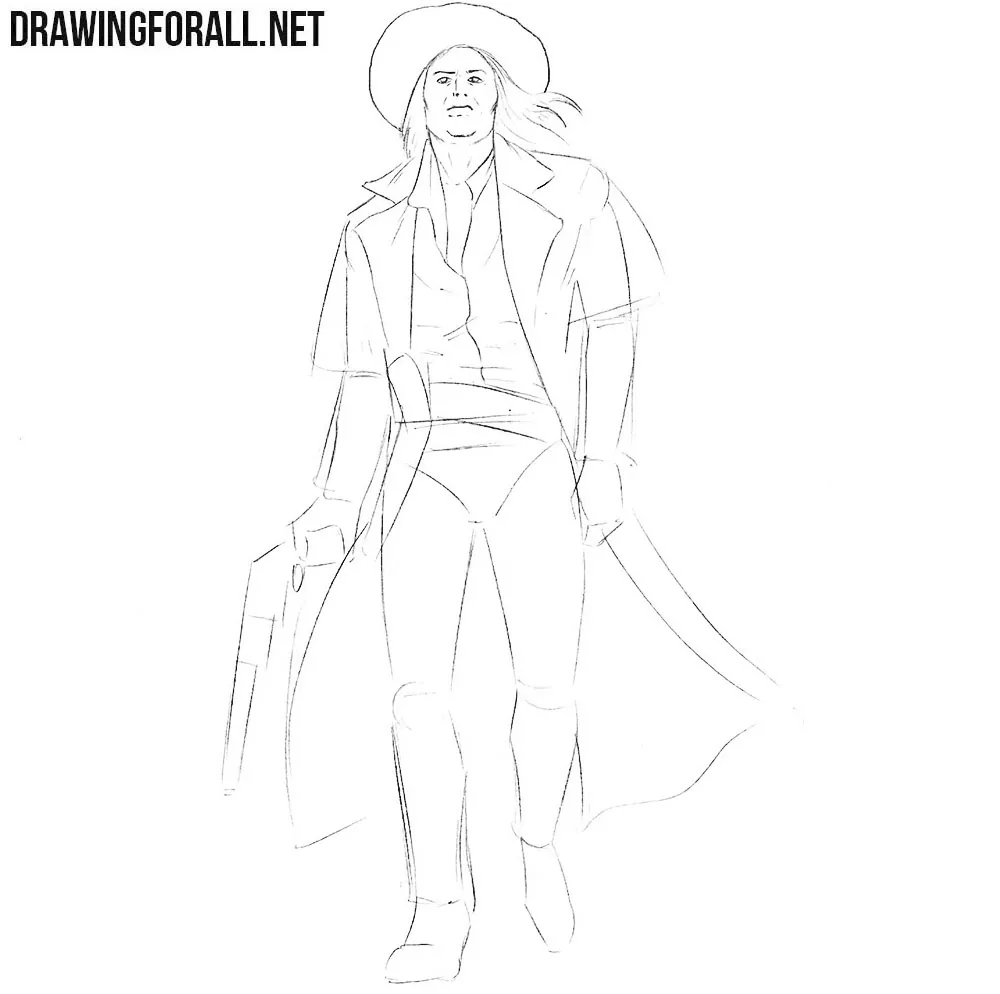
Step 6: Draw the arms and revolvers
First, refine the contours of the sleeves, adding the necessary folds around the elbows and wrists. Follow the cylindrical forms of the arms beneath the fabric. Next, draw the hands, one of which grips a long cowboy revolver. Pay attention to the position of the fingers. Draw the second revolver hanging from the cowboy’s belt.
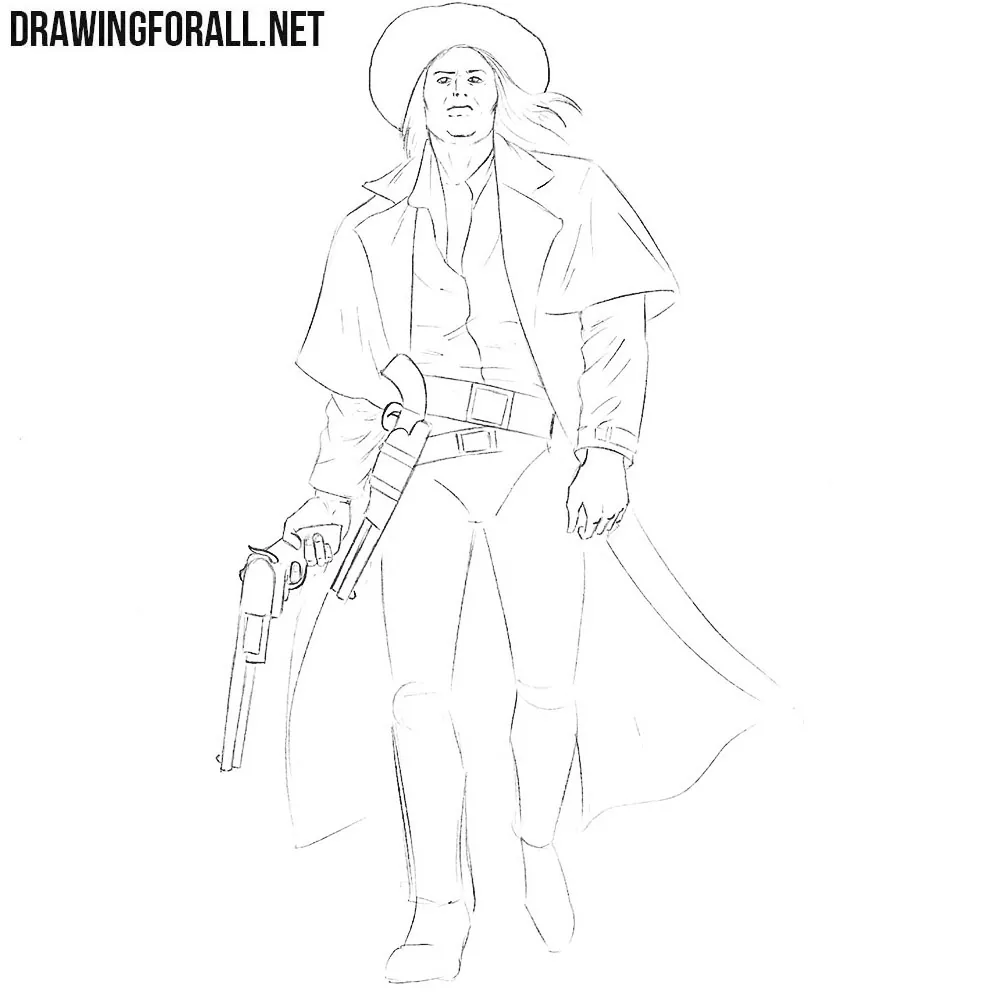
Step 7: Finish the pants and boots
Now draw the lower part of the cowboy’s body. Use long, clear lines to draw the pants in detail, adding folds around the knees and where the fabric gathers above the boots. Make the folds follow the direction of the legs and the way the fabric hangs. Draw the cowboy boots, finish the long coat and erase the remaining guidelines.
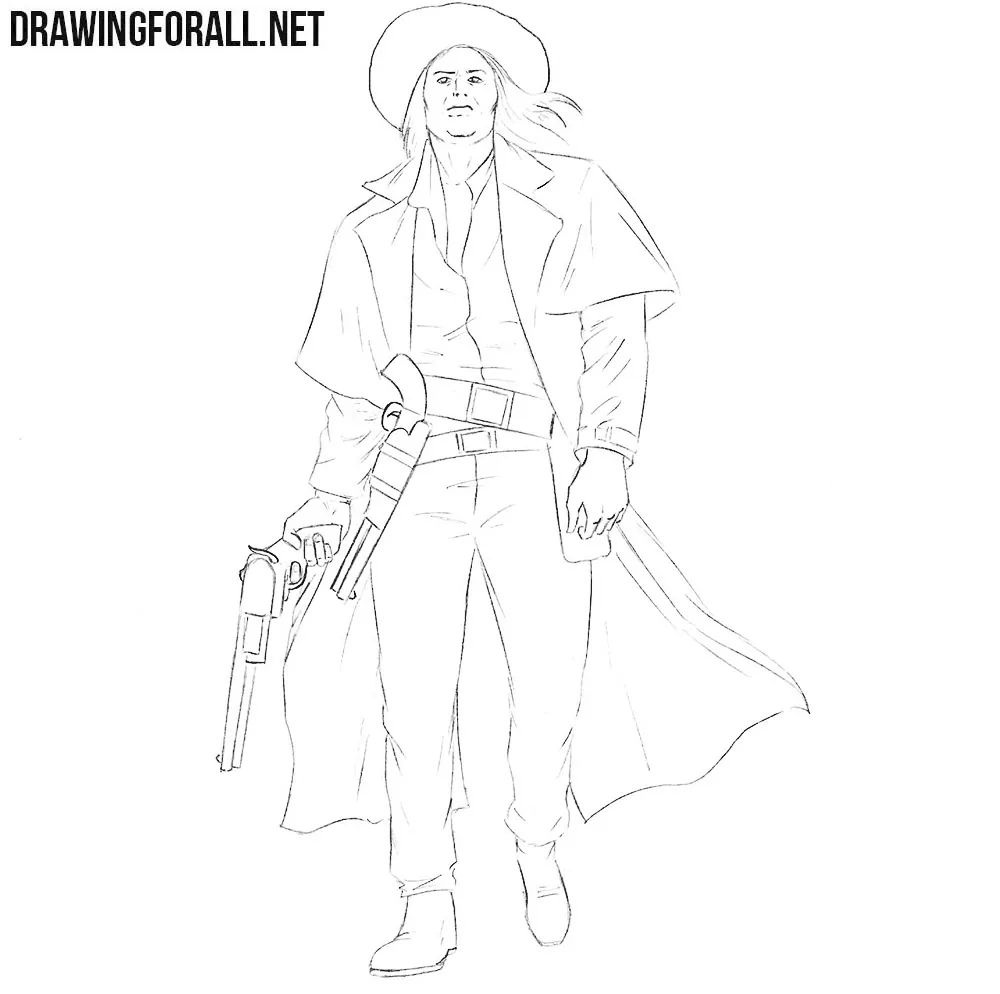
Step 8: Add shadows with hatching
The cowboy is almost complete, but the drawing still needs more volume. First, determine the direction of the light source. Then add shadows with dense hatching in the areas that receive less light. Apply the strokes according to the forms of the face, clothing, and legs.
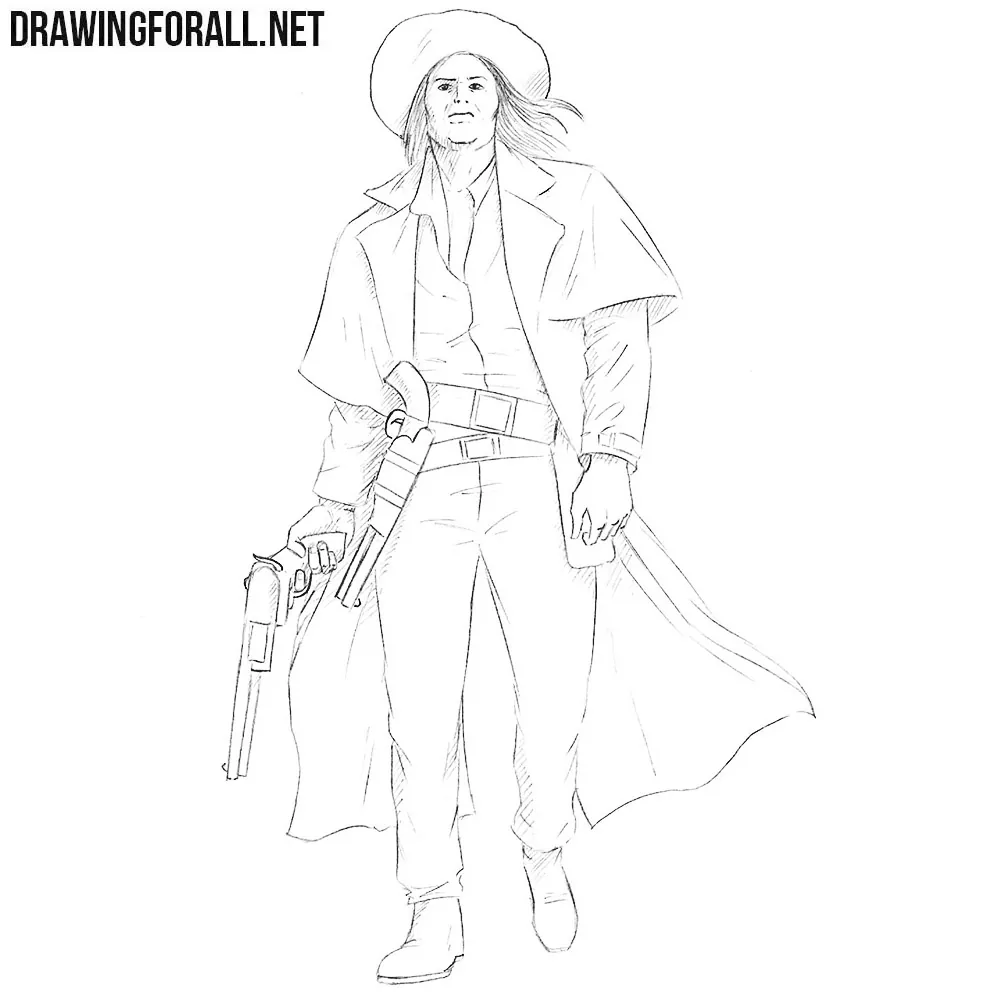
So, you have drawn a cowboy in a fairly realistic style. You can add more halftones and shadows if you want to make your drawing look even more realistic.
You can also change some of the facial features and body shapes. If you feel that you do not yet know how to depict the human figure well enough, first learn how to draw a man using our step-by-step tutorial, where we explain all of this in detail.



I think that along with the cowboy should be a Native American.