

How to Draw Chibi Natsu
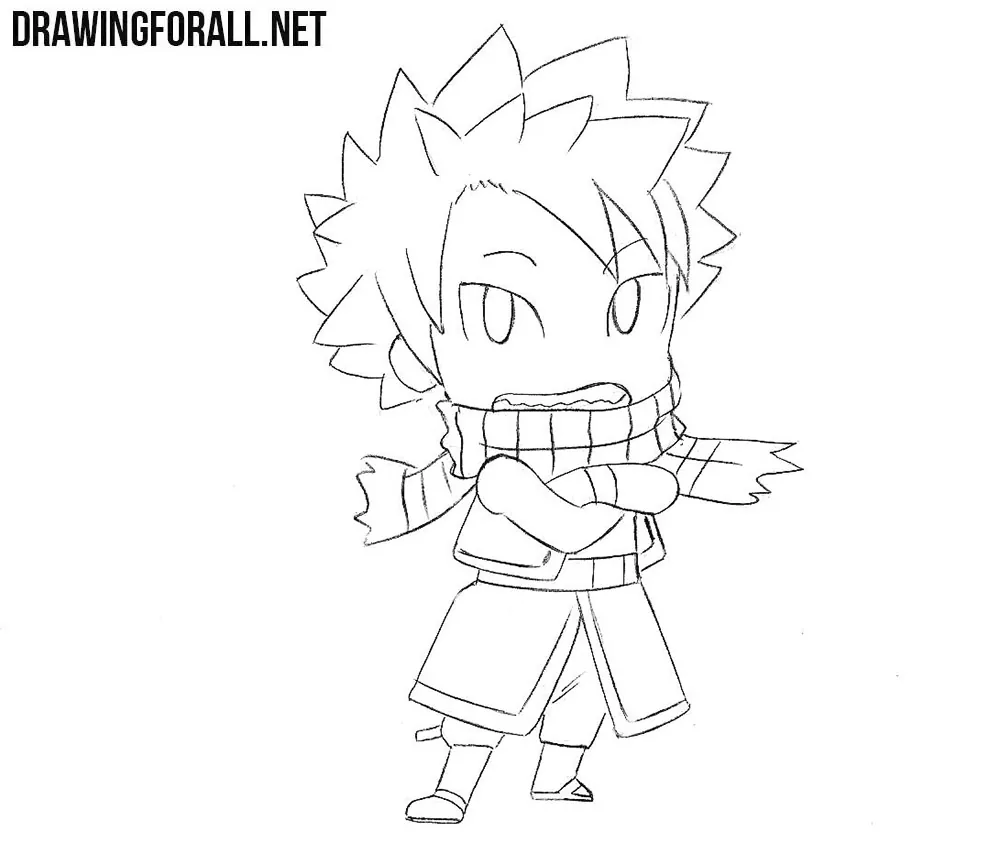
Natsu is a character from the anime and manga series Fairy Tail. Here we will show you how to draw chibi Natsu, depicting his characteristic hairstyle and costume elements in a simplified and exaggerated style.
As usual, we will follow our basic principles of drawing chibi characters and apply these skills when adding the elements and details that make Natsu look like himself.
How to draw chibi Natsu step by step
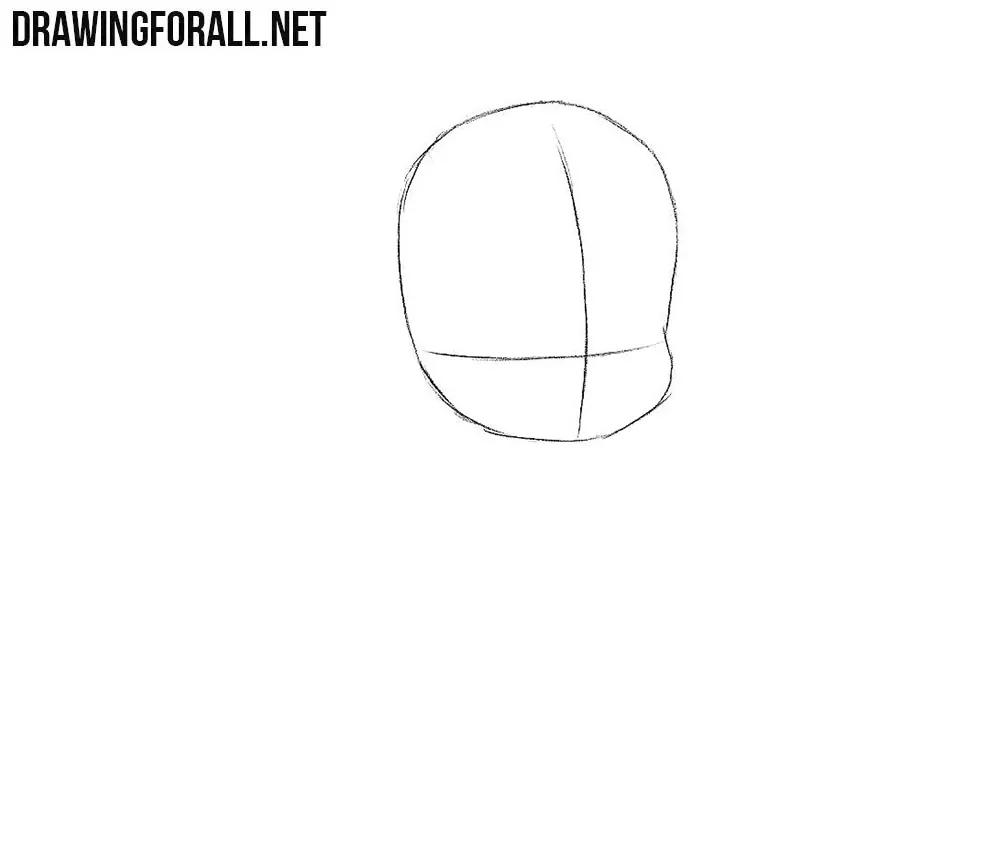
Step 1: Sketch Natsu’s large head
Start by sketching Natsu’s head as a large, rounded shape. Draw a vertical guideline down the face and a curved horizontal line across it. These lines will help you position the facial features and show the direction of the head. Use light strokes.
Step 2: Outline the small body
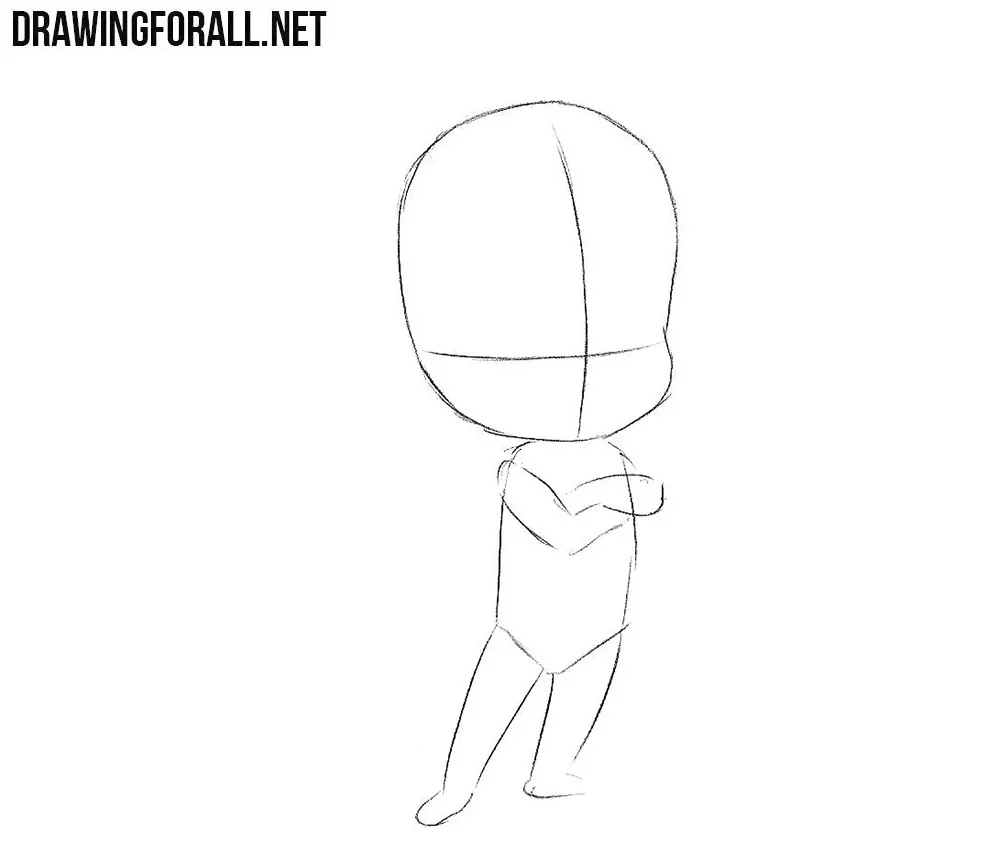
Below the head, sketch a small torso and mark the positions of the arms and legs. Use simple, slightly tapered forms for the limbs. Notice that chibi Natsu’s entire body is approximately the same height as his head.
Step 3: Sketch the characteristic details
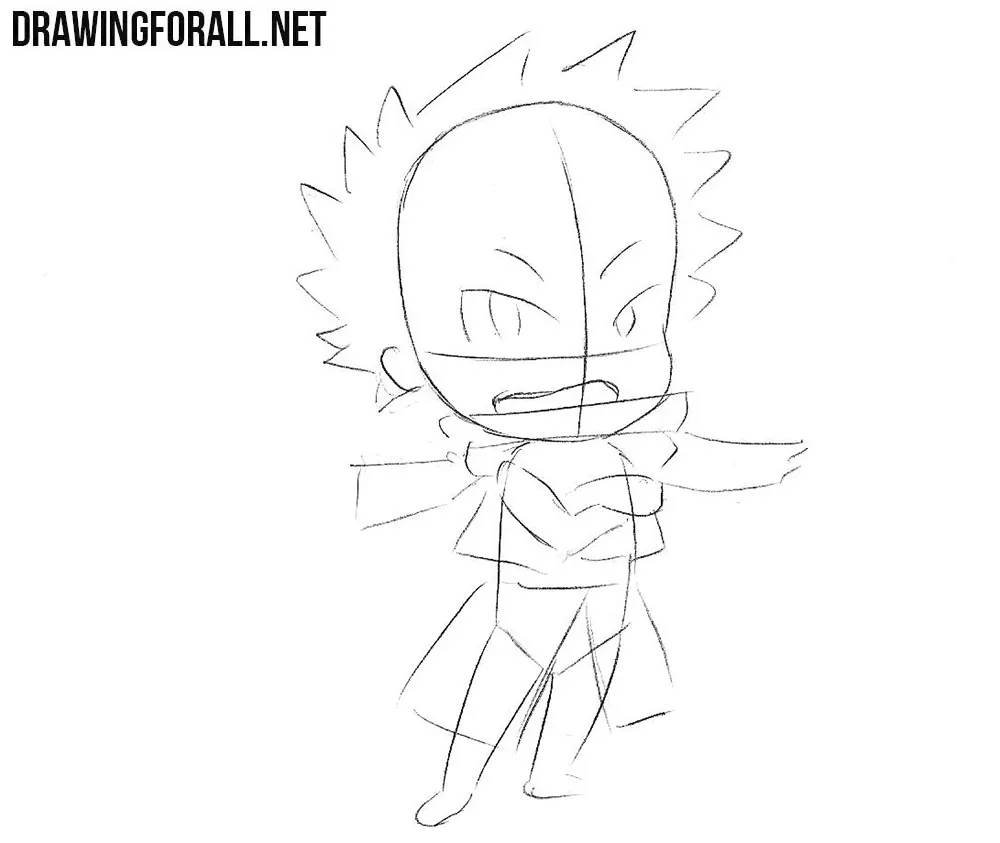
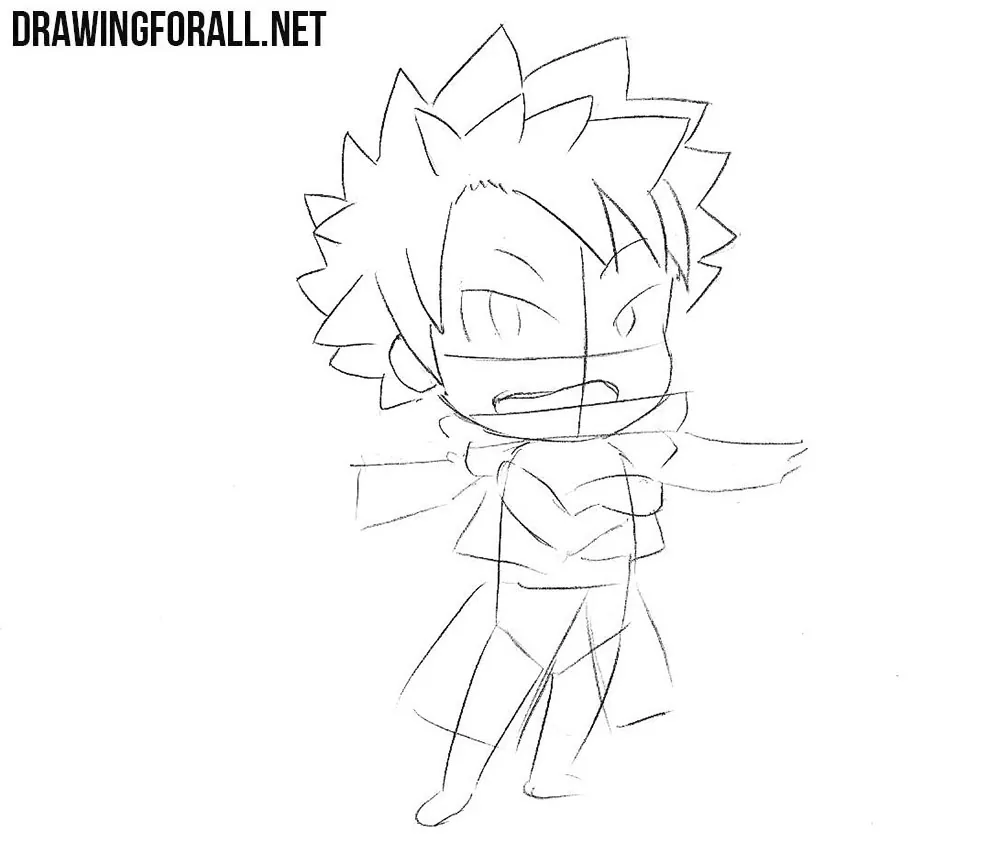
Outline Natsu’s spiky hair around the head, then mark the large chibi eyes, ear, and mouth. Draw the scarf wrapped around his neck, with one end hanging downward. Next, lightly outline the clothing and its main folds. Don’t press too hard on the pencil.
Step 4: Refine Natsu’s spiky hair
Using clear, dark lines, carefully refine the contours of Natsu’s hair. Draw the individual locks as sharp, pointed shapes of different lengths. Leave the construction lines inside the face for now.
Step 5: Draw the face and scarf
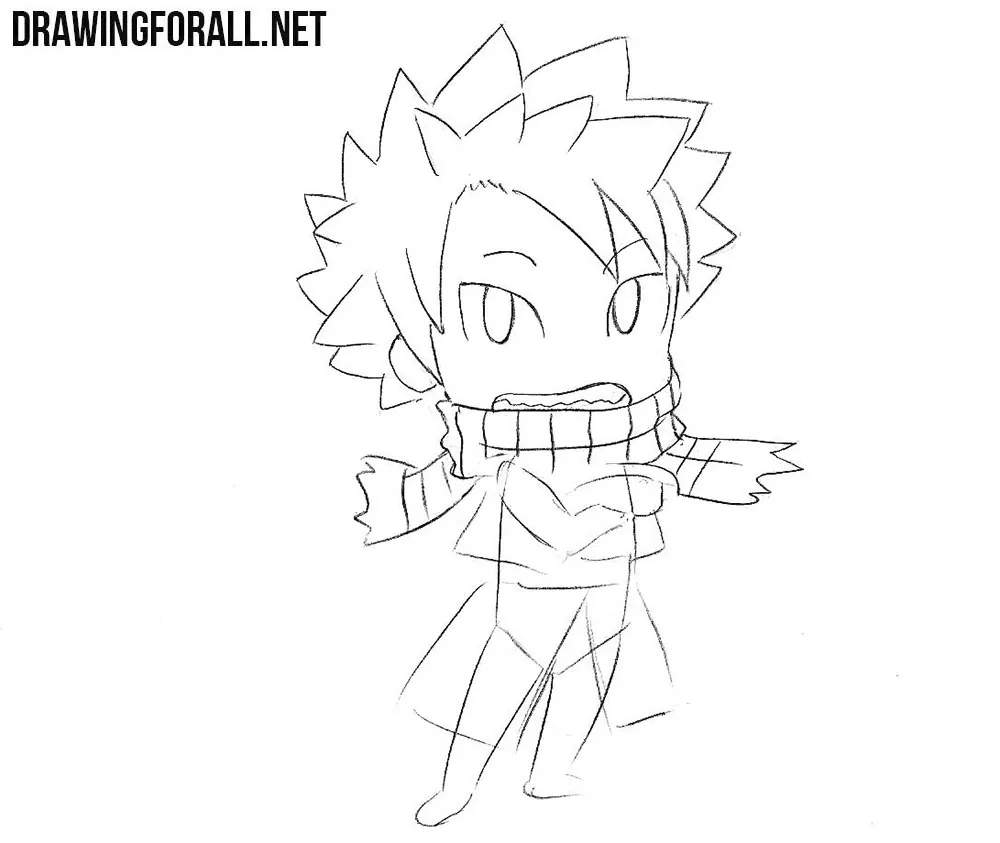
Now carefully draw Natsu’s large eyes, pupils, eyebrows, and mouth. Follow the facial guidelines to position the features correctly. Next, refine the contours of the scarf and draw its characteristic striped pattern. Add a few curved lines to show the folds in the fabric. Erase the unnecessary guidelines from the face.
Step 6: Refine the arms and torso
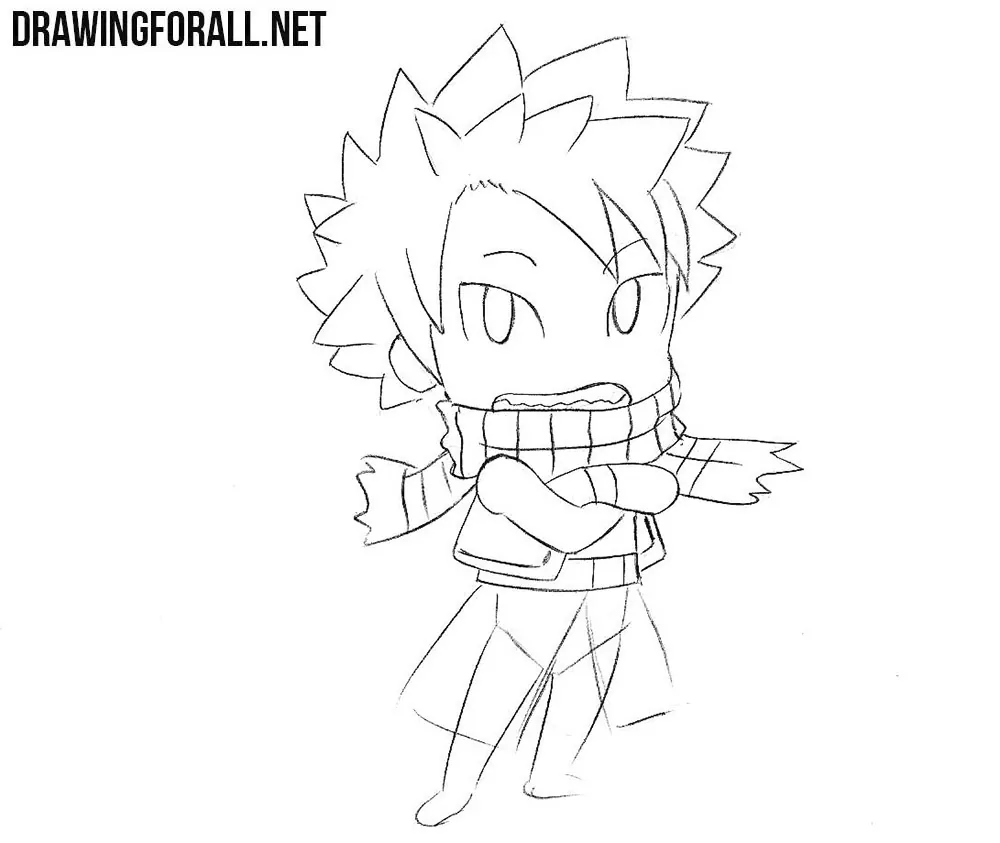
Move down to the upper body and refine the contours of Natsu’s torso and arms with clear, dark lines. Draw the clothing details and define the shapes of the hands. Remember that the arms are very short and simplified compared to those of a normally proportioned figure. Remove the unnecessary construction lines from the upper body.
Step 7: Complete the legs and clothing
Finish the drawing by refining the contours of Natsu’s short legs and the lower part of his clothing. Draw the shoes and add the remaining folds and details. Finally, erase all the construction guidelines and correct any uneven contours. You should now have a clean line drawing of chibi Natsu.
The most characteristic features of this character that should be preserved are, of course, his spiky hairstyle, scarf, and costume elements.
These features alone are enough for viewers familiar with the character from the anime to understand who they are looking at. We used exactly the same principle when showing how to draw chibi Naruto, a character with a fairly similar hairstyle.
As usual, we used a fairly simple line drawing technique without shadows or colors, which you can add yourself after finishing the drawing.
For more practice with this style, try our tutorial on how to draw chibi Vegeta, where we use similar simplified proportions but different facial features, hair, and clothing.





thank u but one comment: you forgot the fairy tale symbol on his left arm