

How to Draw a Hoe
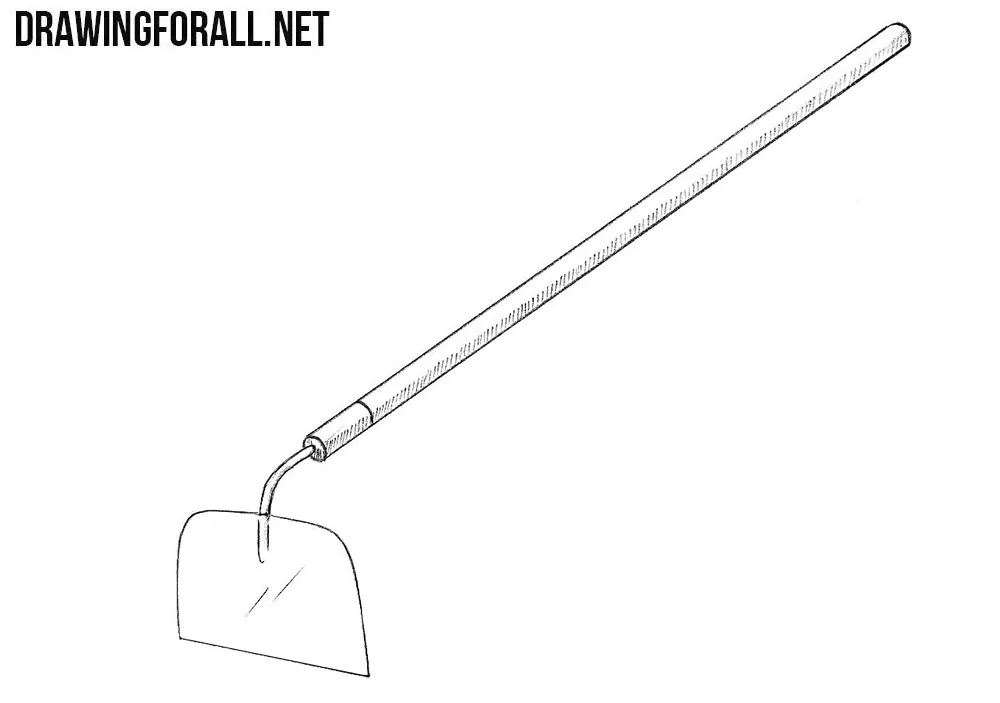
A hoe is one of the simplest objects to draw. In this tutorial, you will learn how to draw a hoe consisting of two simple forms. At the end, you will see how to add shadows and highlights using simple hatching.
How to draw a hoe step by step
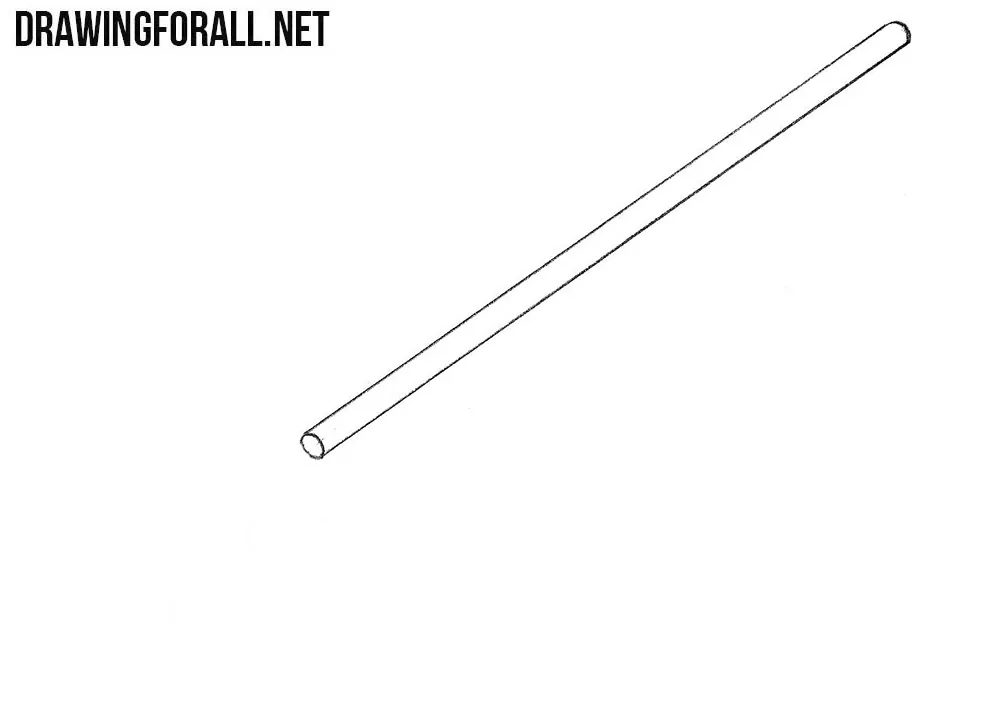
Step 1: Sketch the long handle
So, first of all, sketch the handle of the hoe in the form of a long and thin cylinder. Try to make the sides of the handle smooth and parallel to each other. At this stage, use fairly light lines so that you can easily correct the shape if necessary.
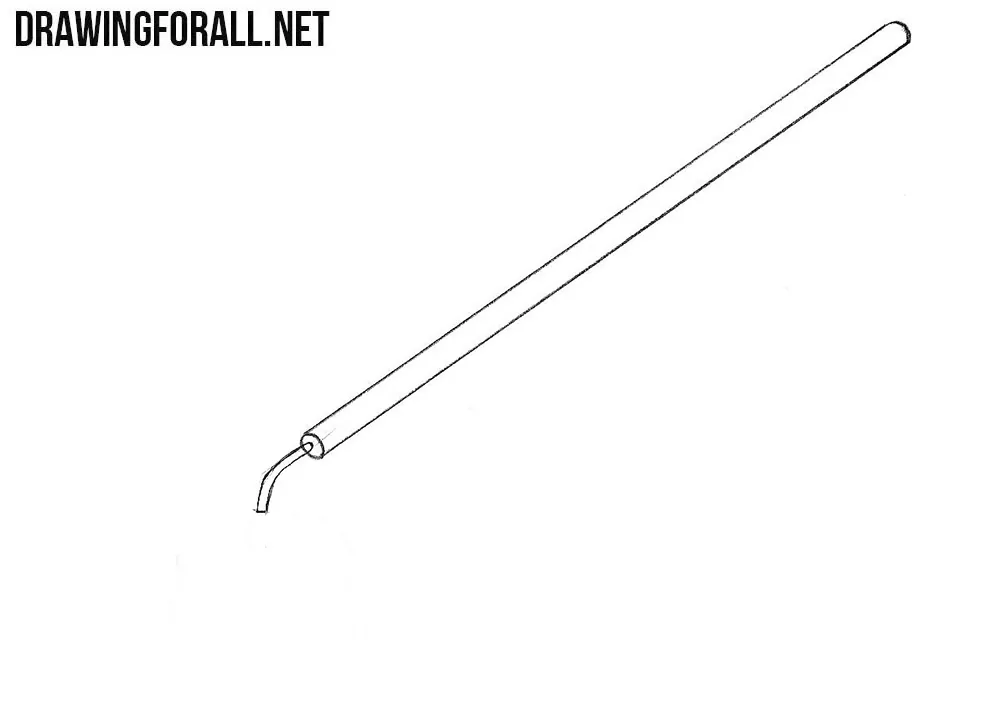
Step 2: Add the metal holder
Now draw the metal holder at the lower end of the handle using a couple of curved lines. This part should smoothly connect the handle with the blade of the hoe. Make the lines simple and pay attention to the angle at which the holder extends from the handle.
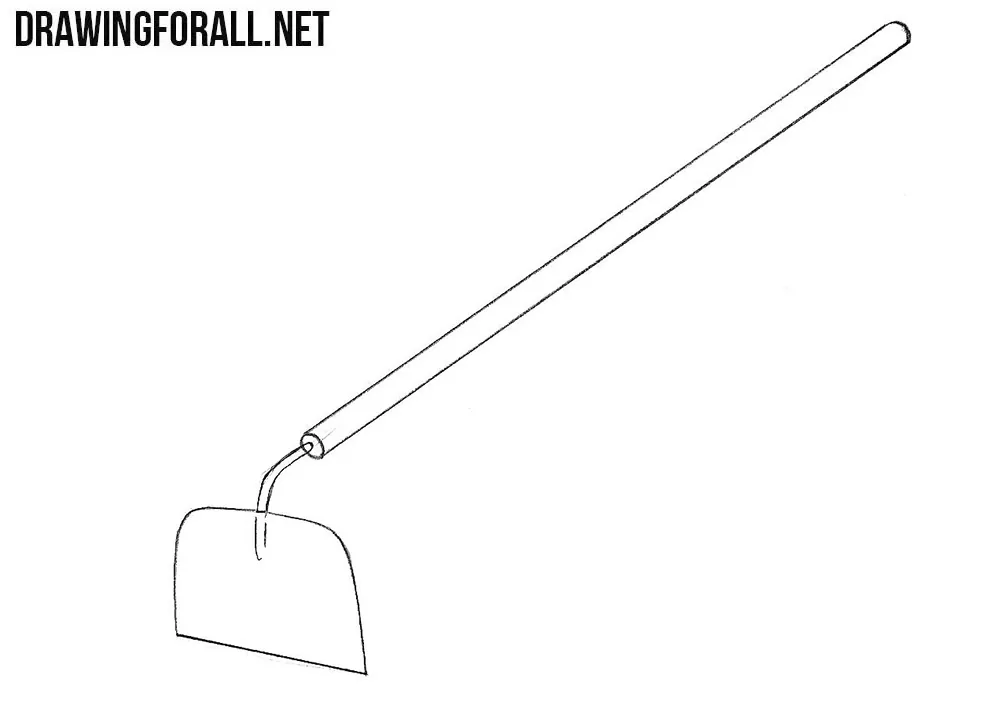
Step 3: Draw the hoe blade
Make the blade wide at the bottom. Note that there are many different types of hoe blades, so you can change its shape if you want to draw another version of this tool. After that, refine the main contours and erase the unnecessary lines.
Step 4: Add highlights and shadows
Using a pair of strokes, add highlights to the metal blade of the hoe. After that, draw shadows using short and dense hatching. You can also add hatching to the handle and metal holder to give the entire drawing more volume.
This tutorial was extremely simple, as are most tutorials on such basic everyday objects. They consist of simple forms and are just as simple in construction as they are in drawing.
It is precisely the simplicity of their forms that allows an artist to draw such objects and give them a convincing appearance, since there is no need to create many complex elements and combine them together convincingly.
To continue practicing, try to draw a hammer, which also consists of a couple of simple forms – a head and a handle. Or draw a screwdriver, which is also based on simple cylindrical forms.





It’s easy and helpful
Yes,it is
every body is a learner