How to Draw Wolverine

This tutorial will show you how to draw Wolverine – one of the most iconic and powerful superheroes in the Marvel universe.
A key member of the X-Men team, Wolverine is both a warrior and a survivor – a relentless mutant who has endured every kind of hardship and still stands unbroken.
This lesson will be especially useful for those who have already drawn superheroes before but want to improve their skills and make their drawings look more professional. Here, we focus on the most recognizable and classic comic-book version of the character.
So, let’s move on to the tutorial and sketch Logan in his classic black and yellow costume.
How to draw Wolverine step by step
Step 1: Sketch the head and spine of Logan
Before you start drawing Wolverine, you need to take a look at the shapes. As we already mentioned, the superhero in our example is drawn in the classic Marvel way, which is distinguished by anatomically correct and realistic proportions. So, first, mark the position and pose of Logan with the help of lines and ovals, sketching Wolverine’s head and spine. Then, sketch the vertical and horizontal facial guidelines.

Step 2: Draw Wolverine’s arms and leg guides
Now sketch the remaining parts of Wolverine’s basic framework by outlining his shoulders, arms, and legs with very light, simple lines. You can mark the shoulder, elbow, and knee joints as small circles, and sketch the hands and feet as larger ovals. This is only a rough sketch that will later be erased, but it’s essential for establishing the correct proportions and body posture.

Step 3: Outline the mask shape and mouth area
One of Wolverine’s most recognizable features is his costume, especially the mask. Lightly outline the opening for the mouth with smooth lines that form clear angles at the upper corners on both sides. Then, use smooth and curved lines to draw the ears of Wolverine, keeping them symmetrical. To check the symmetry of your Wolverine drawing, look at it in a mirror, this is a common technique used in both academic and comic book drawing.

Step 4: Sketch Logan’s chest, shoulders, and arms
Next, begin adding volume and “flesh” to the comic book character skeletal structure. Starting from the top, draw the torso of Wolverine as a large oval with faint contour lines. Then add the shoulders as two round shapes that flow into the upper and lower arms. Using simple lines, lightly draw Wolverine’s claws. Different comic book artists portray Wolverine with varying levels of muscle mass, so you can make his arms bulkier or leaner depending on which version you prefer.

Step 5: Sketch the superhero’s pelvis and legs
Repeat the same process for the legs, that is build up the form by sketching the upper and lower leg sections, marking the knees as light circles or ovals. Notice that the legs should widen slightly around the mid-thigh and the calves, and narrow near the knees and ankles. By changing the leg position, you can make your superhero drawing look more dynamic and unique.

Step 6: Draw out Wolverine’s mask and eyes
Now it’s time to give your Wolverine sketch a more finished look and start drawing the face. Working from top to bottom, trace the outlines of the head and mask with clean, dark lines using either a pencil or a fineliner. This will give the drawing a smoother and more complete appearance. Next, draw the eyes and add wrinkles on the bridge of the nose. Fix any inaccuracies from the previous steps and once again check the symmetry of both sides of the mask.

Step 7: Draw Logan’s mouth and teeth
Finish drawing Wolverine’s head by sketching the open mouth with sharp teeth and an intense expression. Pay special attention to his iconic Wolverine fangs and aggressive look. To complete Logan’s face, refine the outlines of the jaw and other facial details, adding wrinkles, nasolabial folds, and the lower lip for a more defined, finished appearance.

Step 8: Darken the torso muscles and add suit lines
Continue refining the upper body by outlining the chest muscles with smooth, controlled lines. Add the pectorals and the line of the sternum, making sure both sides stay symmetrical. Then draw the shoulder pads or armor plates, they should fit naturally over the deltoids. On the shoulder and sides of the torso, sketch vertical and horizontal stripes – these are part of Wolverine’s classic suit design.

Step 9: Draw Wolverine’s arms and gloves
Strengthen the outlines of the shoulders, biceps, triceps, and forearms. Keep the muscle shapes clear and natural, without sharp or broken lines. Add the outlines of the gloves, marking where the glove line crosses the forearm. Depending on the version of the Wolverine costume, the gloves can be shorter or longer, with or without pointed edges. You can slightly change the position of the arms.

Step 10: Detail the fists and adamantium claws
Refine the hands by sketching each finger individually with clear, confident strokes. Then draw the claws coming from the back of each hand. They should be long, smooth, and slightly curved, tapering to sharp points. Use dark, even lines to make the claws appear metallic and solid. Remember about perspective: the claws should slightly converge as they extend toward the viewer.

Step 11: Detail the superhero’s upper legs
Work on the thighs, outlining the upper leg muscles with long, curved lines. Define the quadriceps and the inner thigh area but avoid excessive detail, trying to keep it stylized as in most superhero drawings. After finishing the outlines, erase the remaining guidelines from the upper legs. Always check the leg proportions against the torso – the knees should sit roughly halfway down the figure.

Step 12: Outline the lower legs and boots
Move lower and draw the calves and boots. Refine the contour of the lower legs, showing the calf muscles and the narrowing toward the ankles. Sketch the boots in your preferred version – they can have wide tops with sharp angles in the classic comics or simpler shapes from modern movies. Clean up any leftover construction lines and make the boots symmetrical. Add folds, seams, or armor details to make them look more finished.

Step 13: Shade Wolverine in comic style
On the mask, use tight cross-hatching or solid black to paint the ears. Use a similar heavy fill for areas of solid black typical of comic pages, such as strips on the boots and torso. You can also indicate body hair on arms and forearms with short directional strokes. Draw the cast shadow to give the comic book character a dimensional look. As a final check, review the silhouette.

Other ways to draw Wolverine
How to draw Wolverine in a different pose and costume
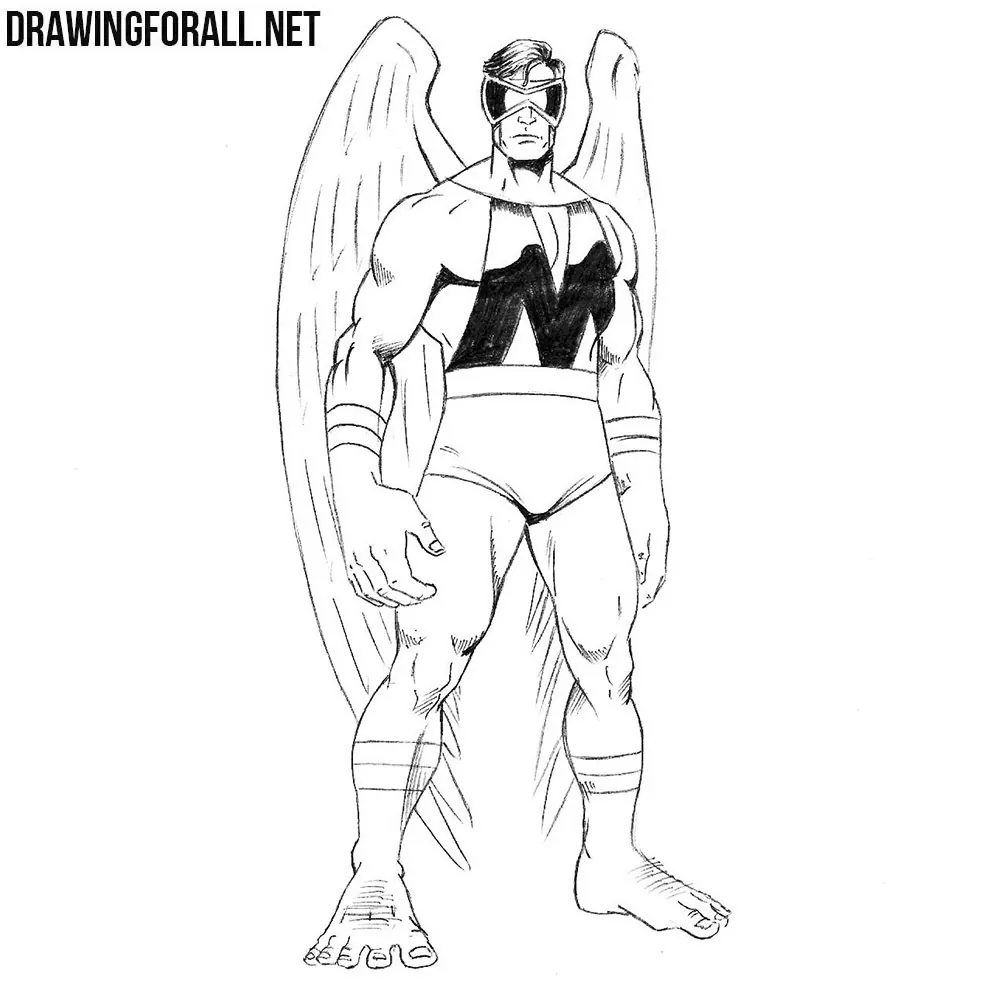
In this lesson, we used a completely different pose to depict Wolverine and also introduced another version of his costume, which appeared slightly later than the one shown in the main tutorial.
Here you can see how the same general drawing principles and techniques can be applied to the same character, but in a different costume and stance.
In this version, Wolverine is depicted standing upright, without the fighting lean of the previous tutorial. The body lines are constructed strictly vertically, starting with a simple skeletal framework.
This version of the suit has a somewhat different overall shape and detailing, as well as a distinct color palette if you plan to color the drawing.
Muscles are conveyed through simple geometric shapes. The head is drawn with the classic “ears” of the mask. The brown suit differs from the yellow and black in that it has a different layout and different design lines.
In this example, we also chose to apply darker and more contrasting shadows to give the illustration a stronger comic-book style and emphasize the powerful look of the character.

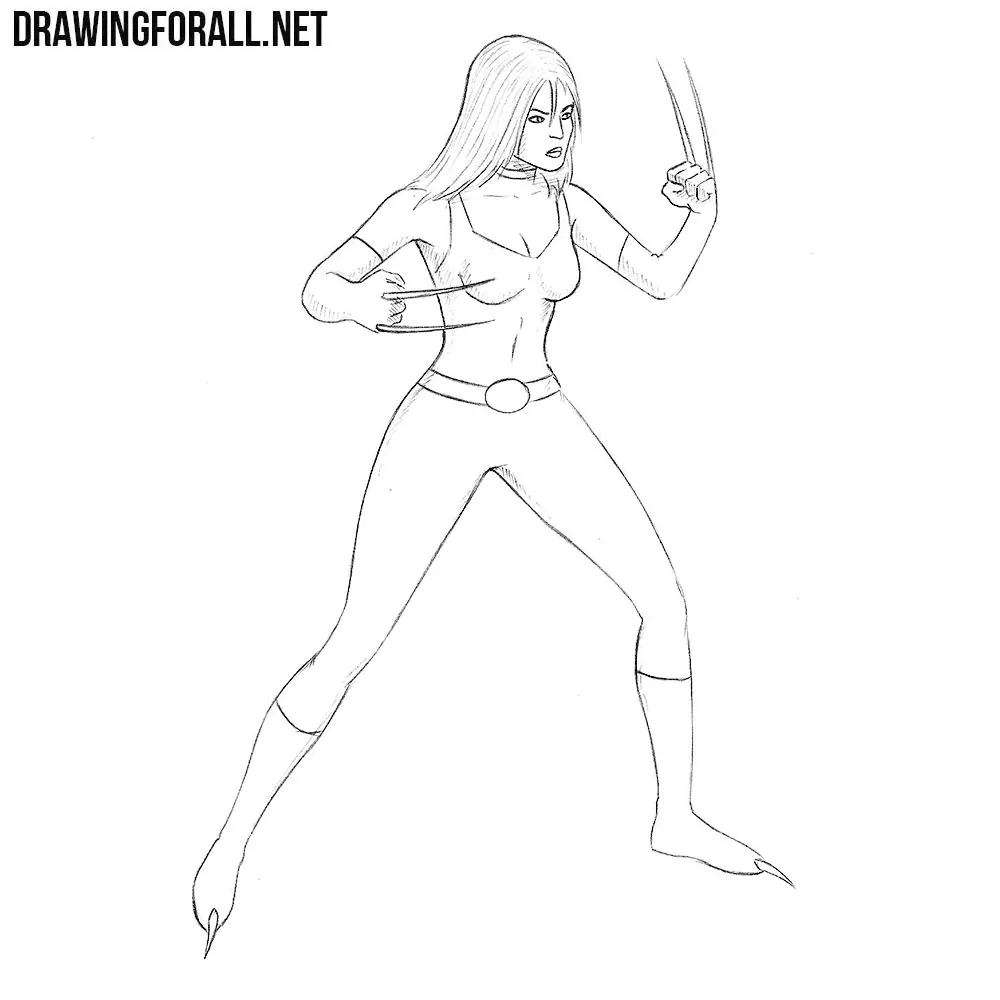
Easy way to sketch Wolverine
If the previous tutorials seemed a bit too complex and you’d like to start with something simpler and more basic, this easy Wolverine drawing tutorial is a perfect choice.
Here, everything is intentionally reduced to the most fundamental shapes and structures. The pose is similar to the one used in the previous tutorials but with a much lower level of detail.
Shadows are also excluded to make the drawing process even more straightforward. The method follows the same general approach – starting with a simple skeleton, then building up the main volumes and shapes, and finishing with clean outlines and basic details – but avoids any unnecessary complexity or deep anatomical construction.

Drawing Wolverine for kids
In this version, we simplify the drawing process even further for those with little or no experience. The pose is very similar to the main Wolverine drawing tutorial shown earlier on this page, but the level of detail is reduced even more to make it as easy as possible to start drawing comic characters.
The mask and costume details resemble the classic version, yet without shadows or small elements to keep the structure even more clear and simple.
You can also experiment by drawing Wolverine in an alternate costume or decide whether to show his claws extended or retracted – both options work well for this simplified approach.

In this lesson, you learned how to draw Wolverine in several ways: in a fighting pose with his classic costume, in an alternative pose and outfit, and in a simplified version suitable for kids and beginners.
We hope you enjoyed this tutorial. Don’t forget that we also have drawing lessons featuring other members of the X-Men team. For example, you can learn how to draw Professor X or other legendary superheroes.
We have a large collection of drawing tutorials based on the Marvel Universe. Using a similar method, you can draw Spider-Man or other popular characters.
New heroes and villains from this vast world continue to appear on our site, and we’ll be glad if you join us to learn how to draw superheroes and supervillains.
To make sure you don’t miss new drawing lessons, subscribe to our updates on social media.


awesome
Thanks! Glad you liked the drawing tutorial.
Thank u guys for teaching me how to draw a pear
Happy it helped you learn how to draw. Keep practicing your sketches.
Wowww!! Thanks
Appreciate it! Glad you enjoyed the step-by-step drawing.
s0 c00l
Thanks! Drawing can be really cool once you get into it.
hello
Hi Susie!