How to Draw Rainbow Dash
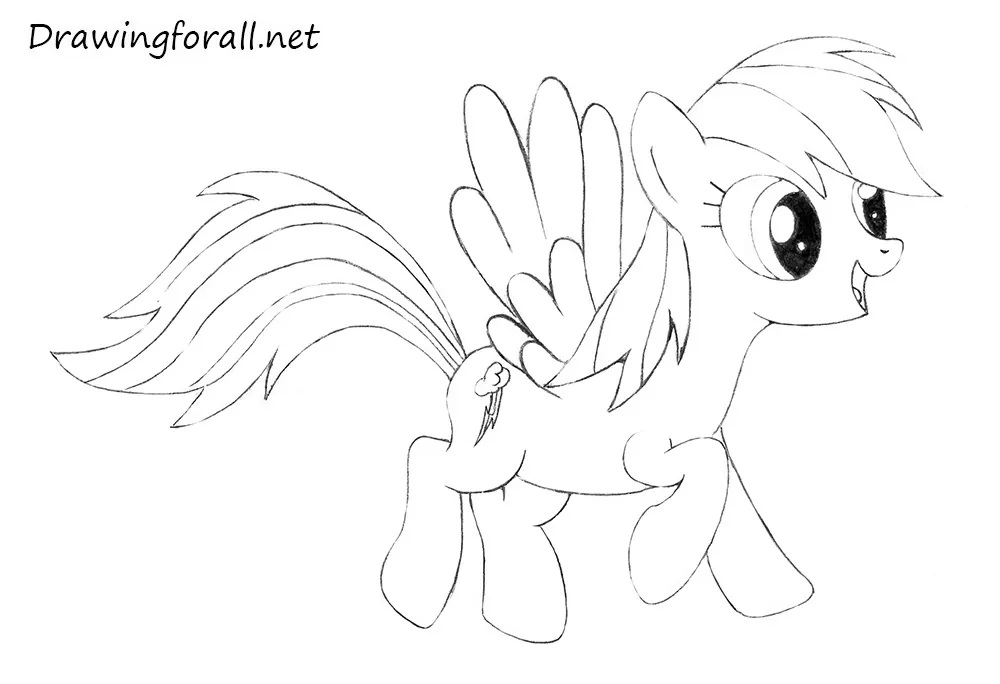
Hello, everybody! Today’s drawing lesson we decided to dedicate to the cartoon character from the My Little Pony, namely a pony named Rainbow Dash. Like our first lesson of this series, in which we talked about how to draw a pony Twilight Sparkle, today’s drawing lesson is very simple, but we decided to make it very simple and divided the lesson into several steps. So, let’s start the lesson and learn how to draw Rainbow Dash.
Step 1
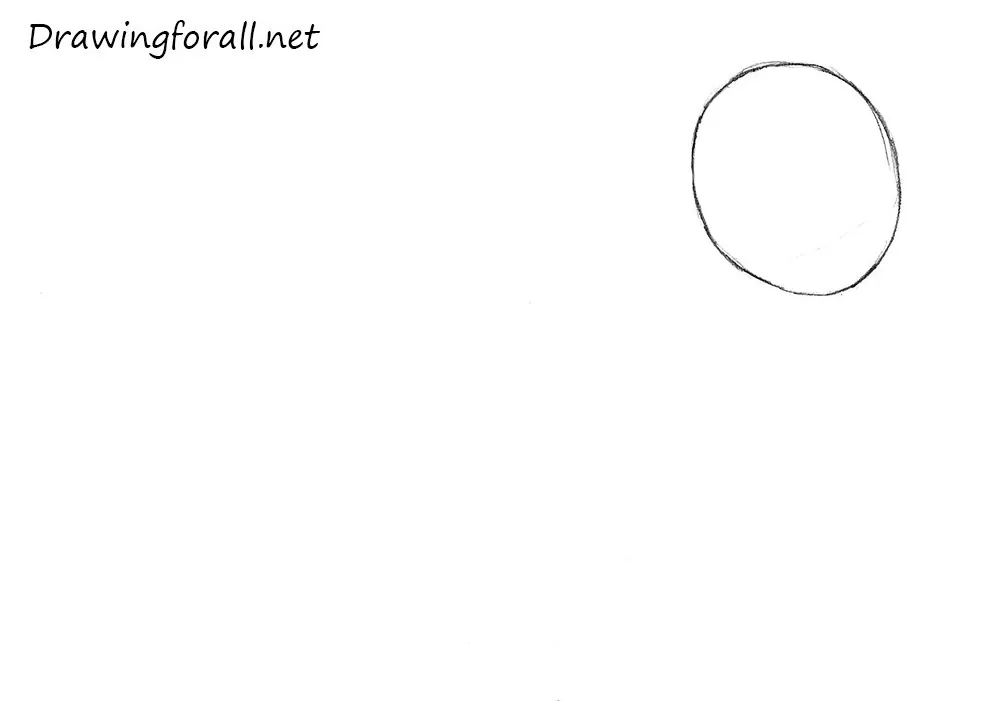
At first draw an oval in the upper right side of the paper. This oval will mean the head of our pony.
Step 2
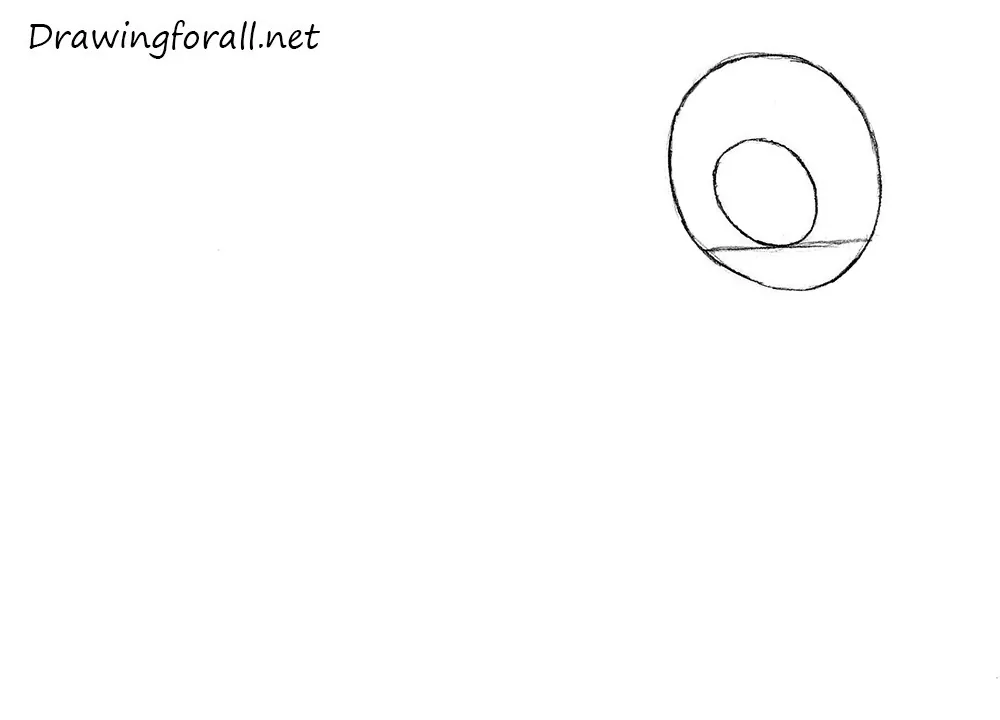
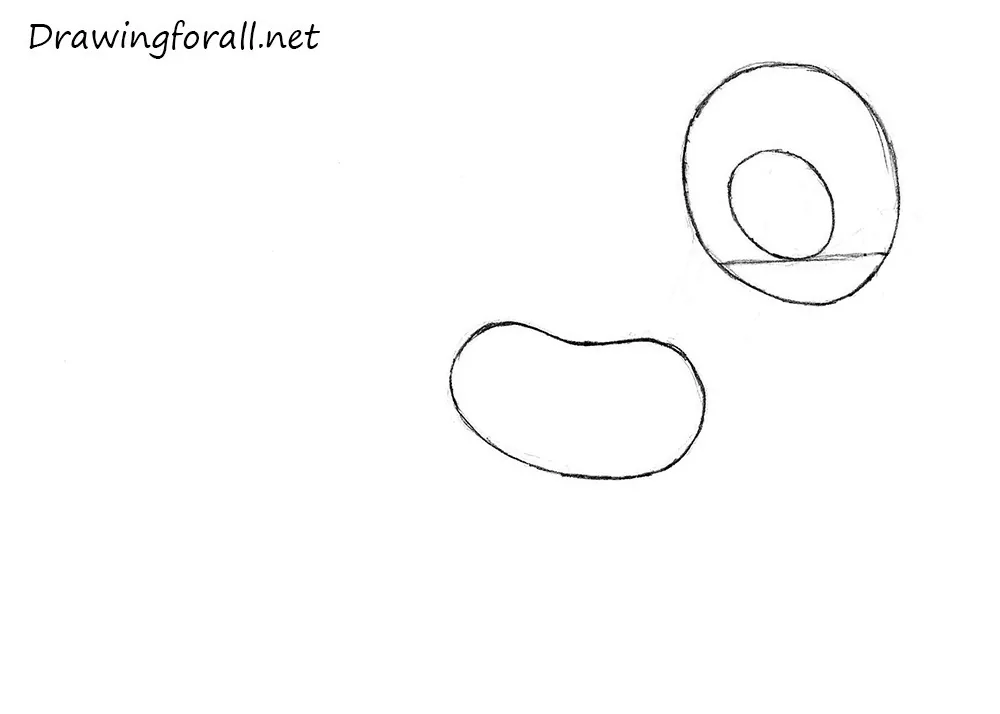
Now draw a horizontal line at the bottom of the oval. Draw an oval above the line, that means the eye.
Step 3
Draw the figure as in our example, as a guide for the torso.
Step 4
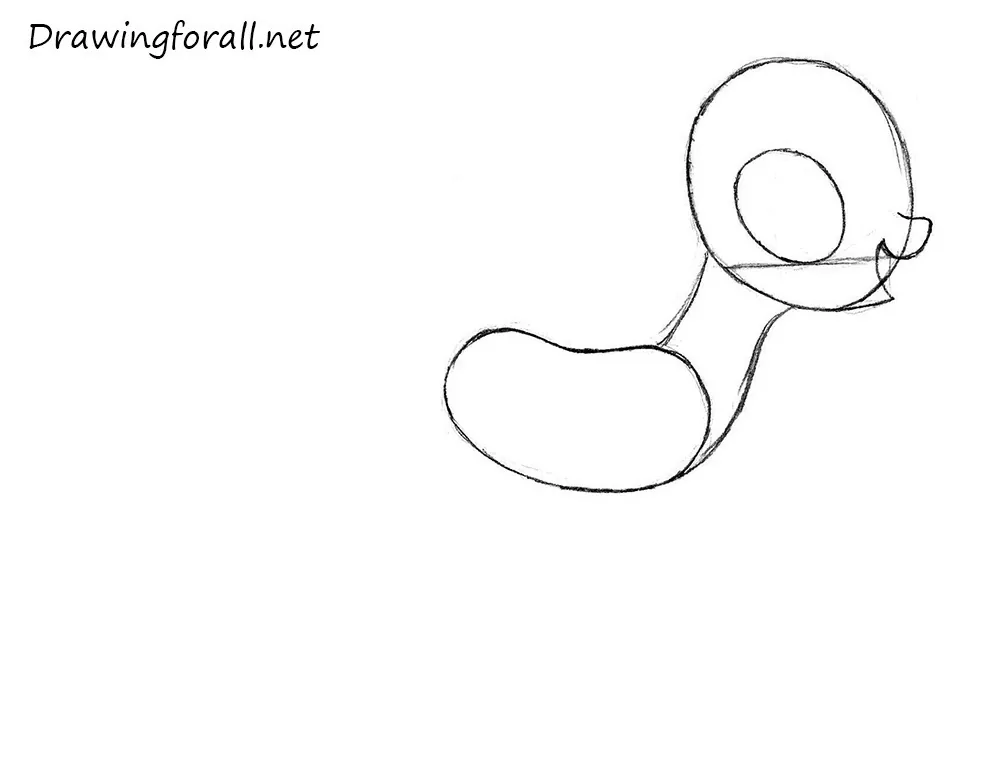
Using a couple of lines, connect the head with the torso. Also sketch out the mouth and nose, as in our example.
Step 5
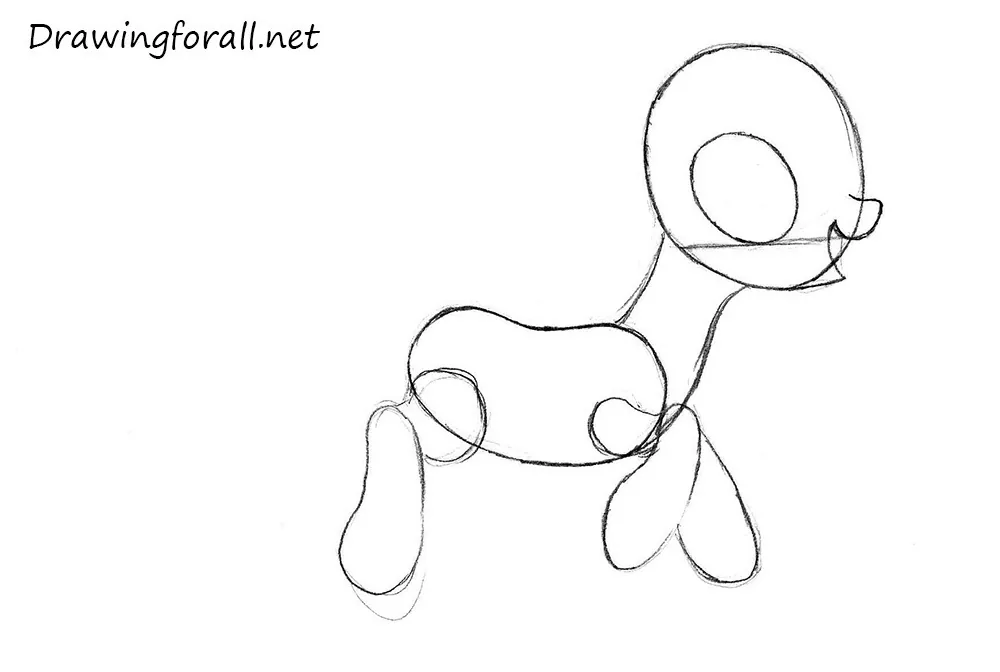
Continue drawing pony. Using curved ovals sketch out the legs.
Step 6
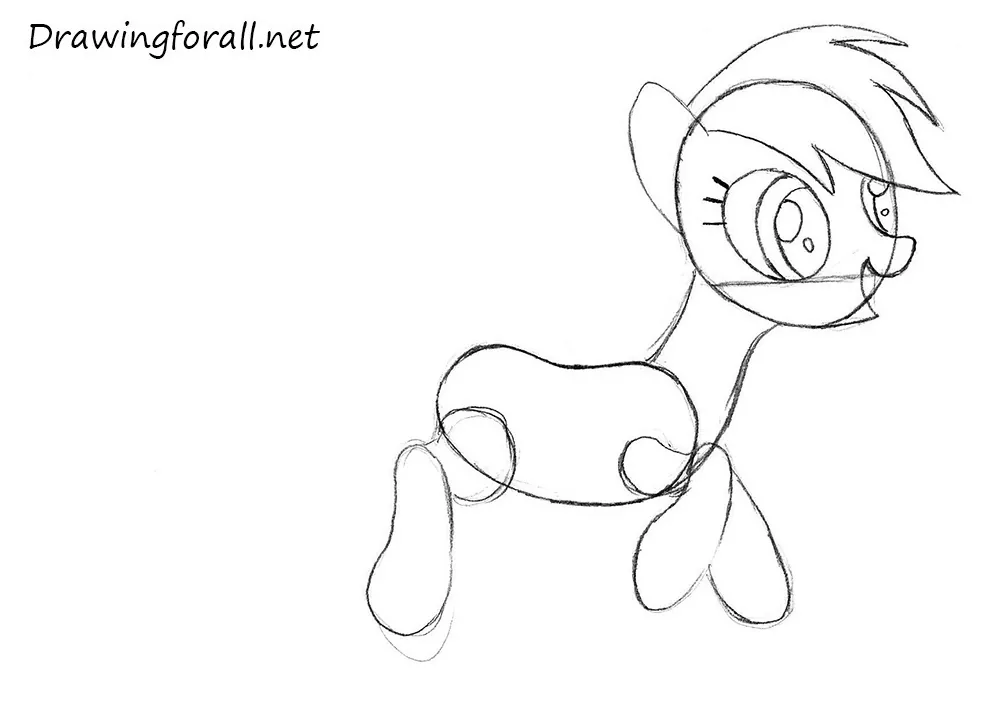
Draw the outlines of the ear. Draw the hairline as in our example. Draw the eyelashes and glare in the eyes.
Step 7
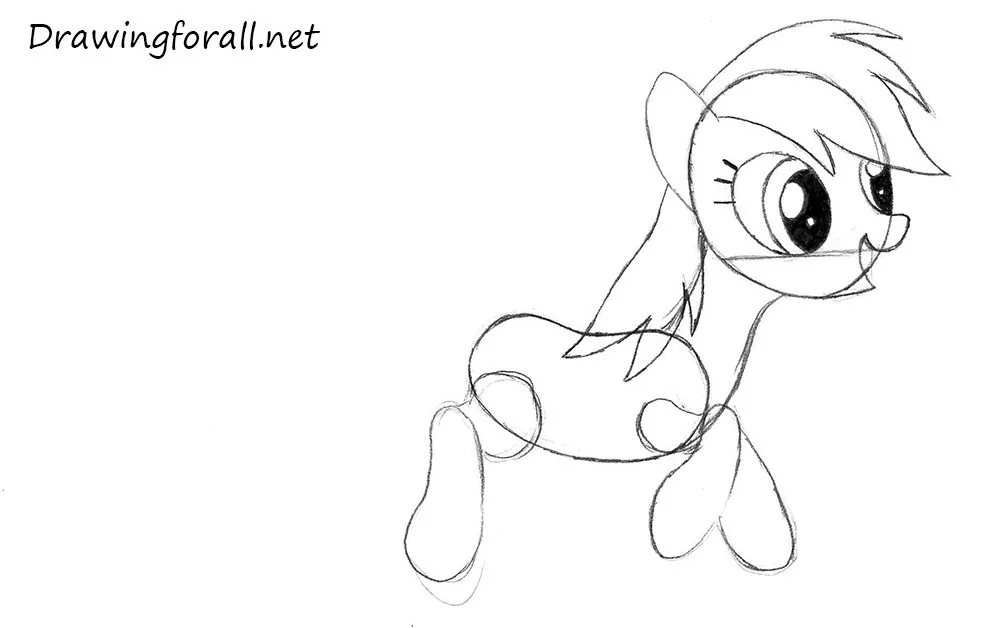
Paint the pupils in the eyes. Draw the remaining part of hair as in our example.
Step 8
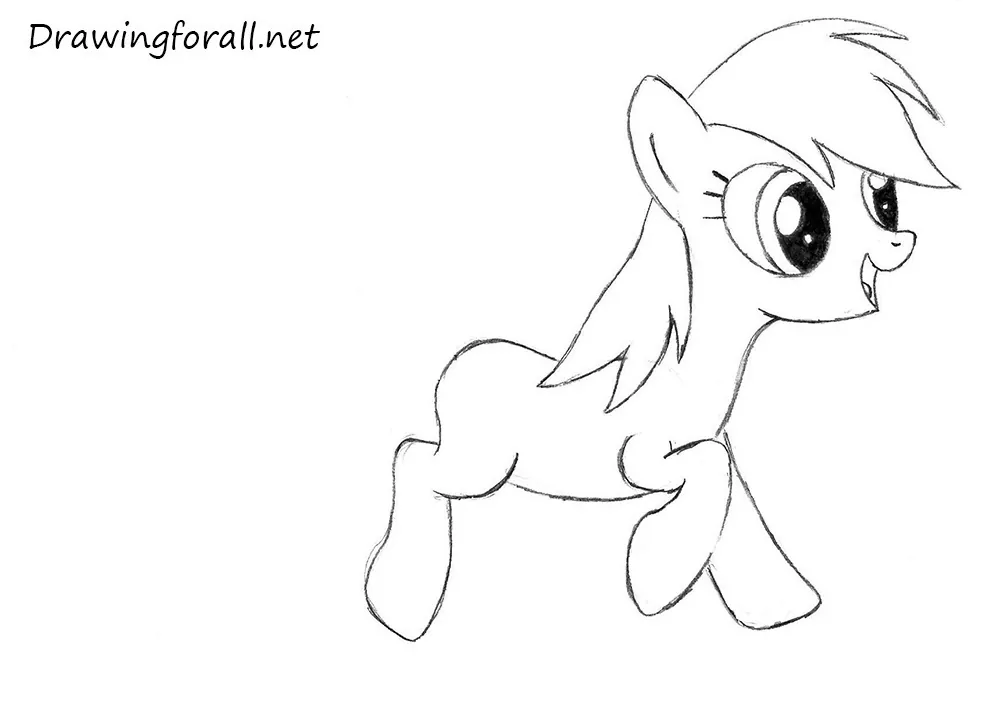
Erase the guidelines and unnecessary strokes. Circle the lines and make them clean and smooth.
Step 9
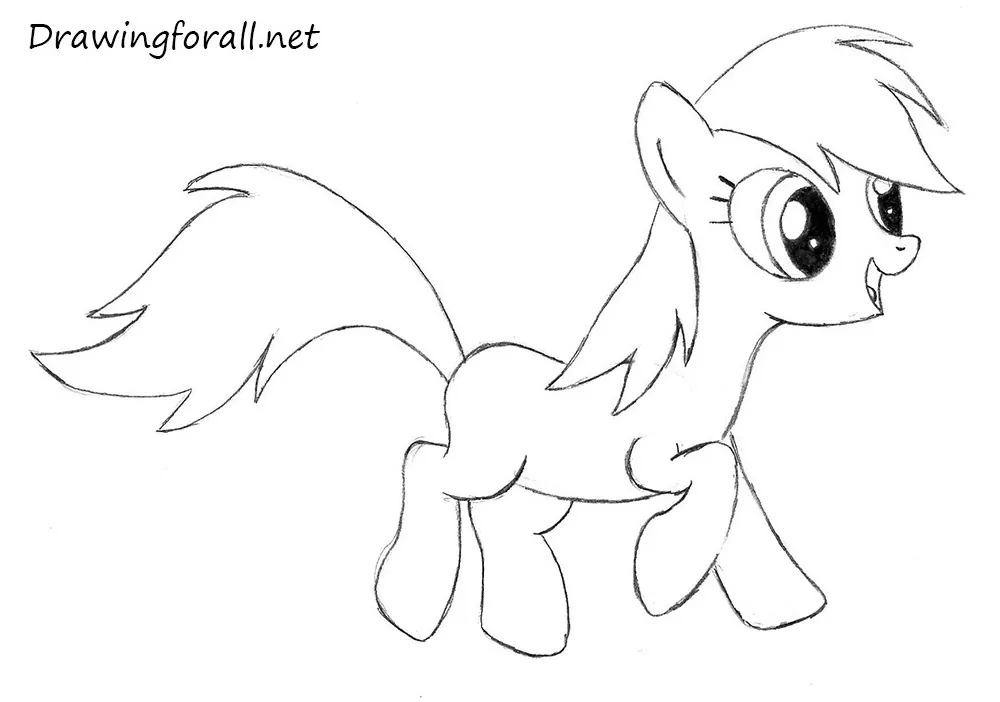
Draw the remaining leg and tail.
Step 10
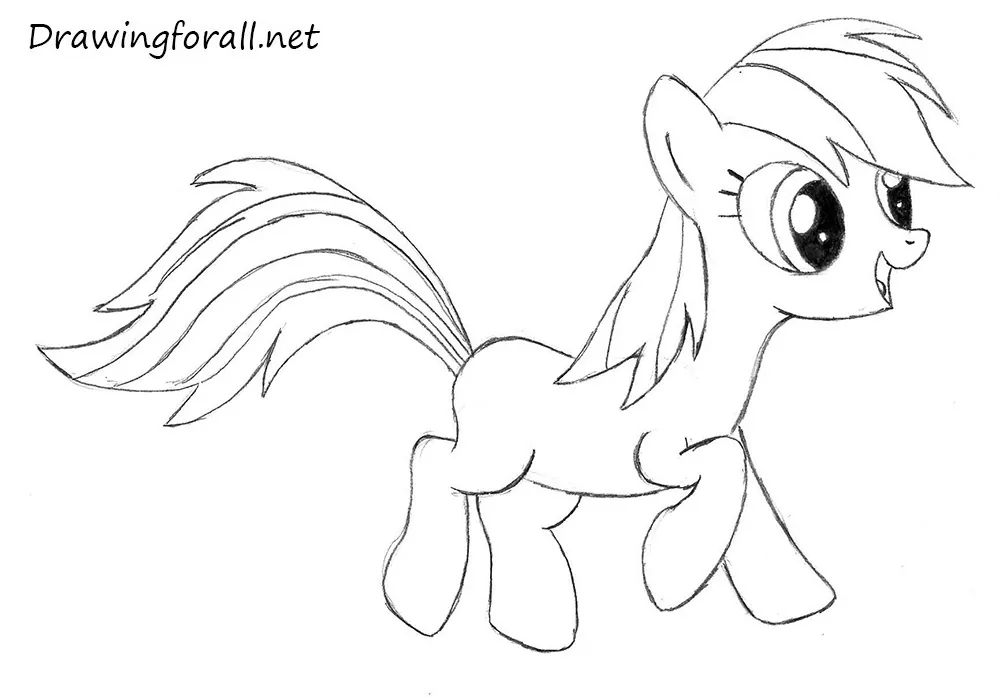
Draw the lines on the tail and hair, using long and smooth lines.
Step 11
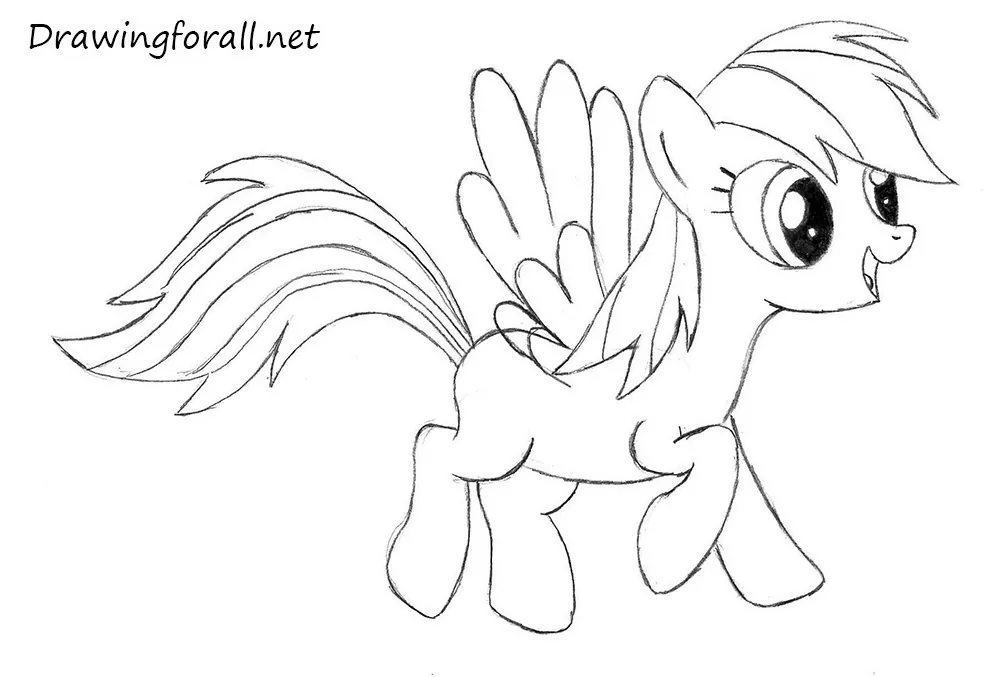
In this step, we draw one of the main distinguishing features of Rainbow Dash – the wings. They should be placed at the back of the Rainbow Dash, right behind the mane.
Step 12
The final step of the tutorial in which we draw a small cloud on the right hip of our Rainbow Dash.

It was a drawing lesson devoted to how to draw Rainbow Dash from My Little Pony. Stay with us – we have a lot of tough drawing lessons!


