How to Draw an Exercise Book
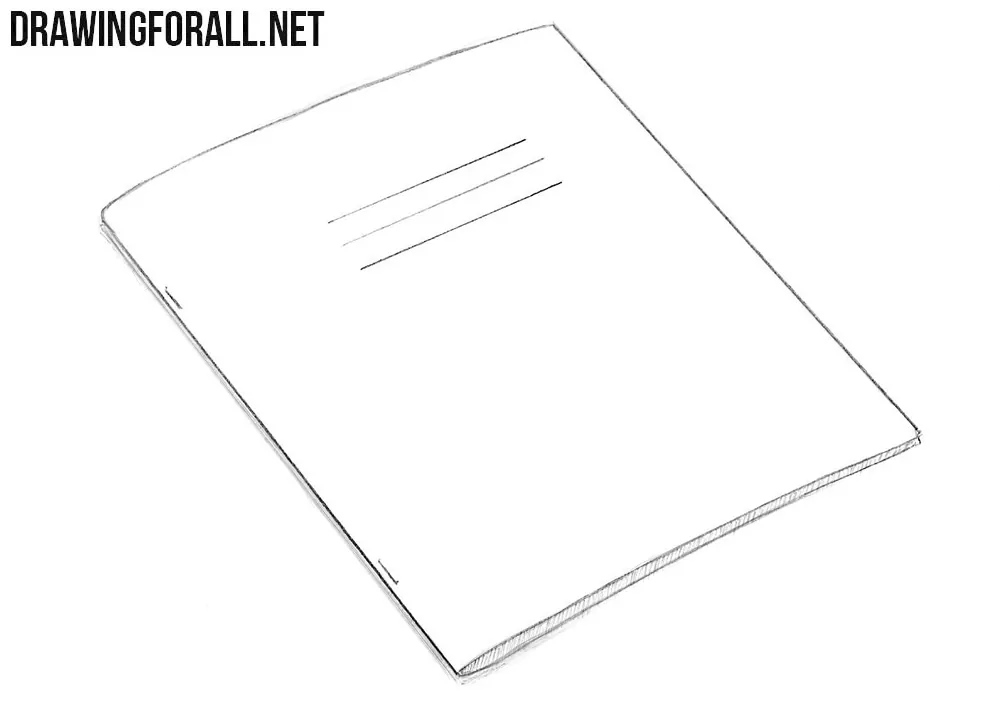
In previous tutorials we showed how to draw a book and how to draw a closed book. In this step-by-step tutorial, we will show you how to draw an exercise book in slight perspective and demonstrate how even such a simple object can be given volume in a very simple way. For this, we will use a few light shadows in the final step.
How to draw an exercise book step by step
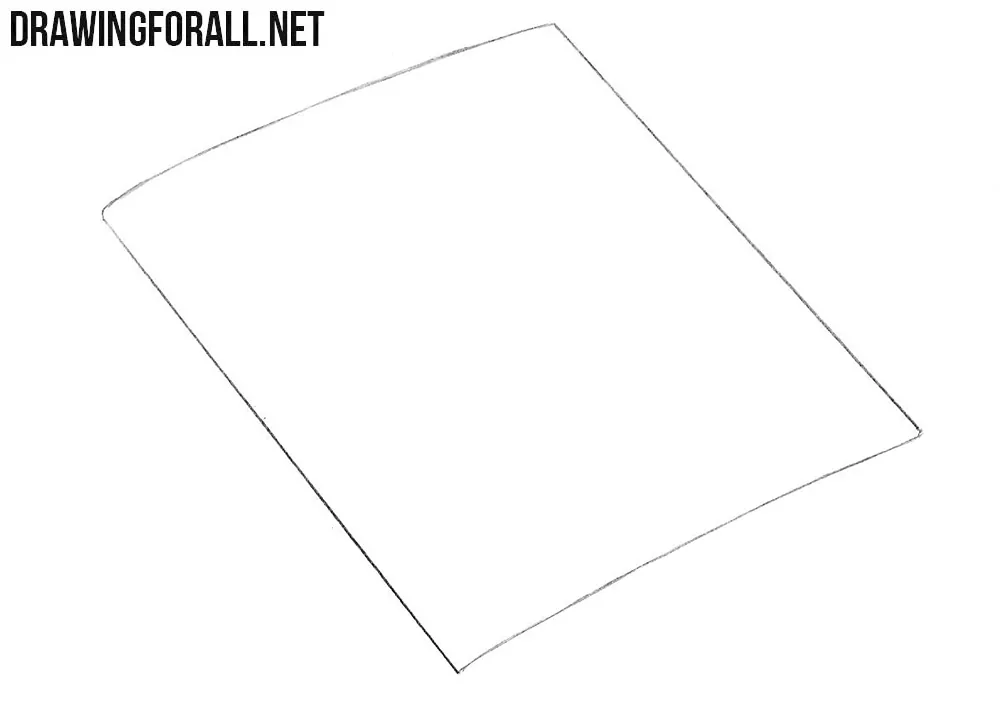
Step 1: Sketch the exercise book’s upper edge
An exercise book is a fairly simple object, so the first step will also be very simple. Outline the basic shape of the closed notebook as a rectangle in perspective. At this stage, this figure represents the upper plane of the exercise book cover. The long sides move slightly closer to each other toward the far edge, and the far edge itself appears shorter than the one closer to us.
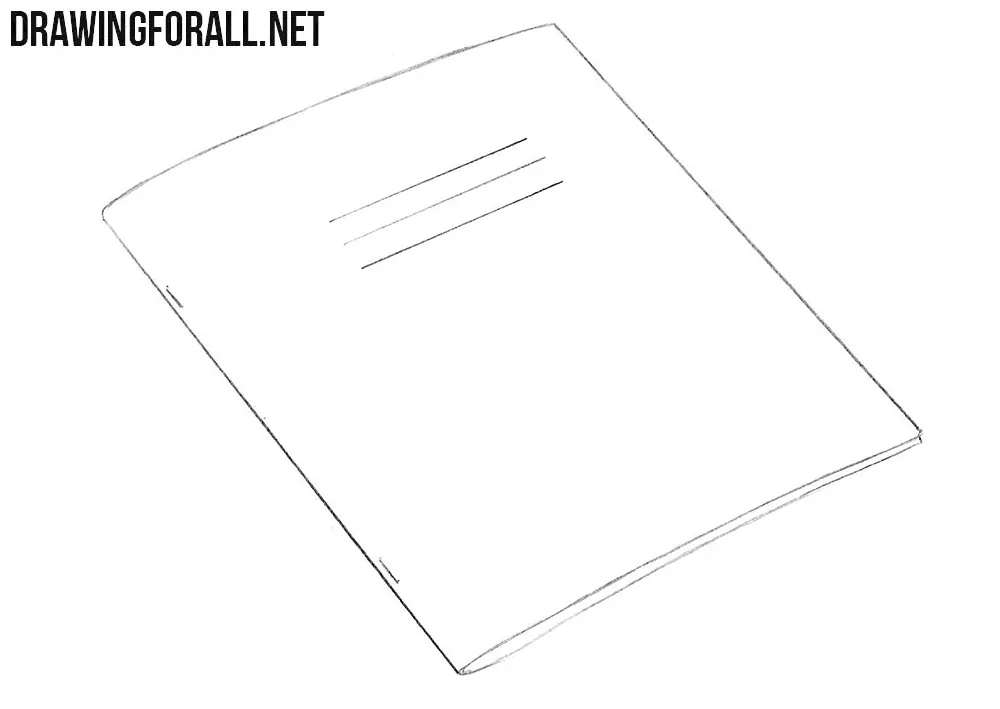
Step 2: Add the cover, staples, and thickness
To give the rectangle the appearance of an exercise book, draw another line along the lower edge to show its thickness. Show this thickness only along the sides that are visible from our point of view. Add two staples along the left binding edge and three parallel lines near the center of the notebook cover. The three cover lines should lie in the same plane as the cover and continue the perspective of the exercise book.
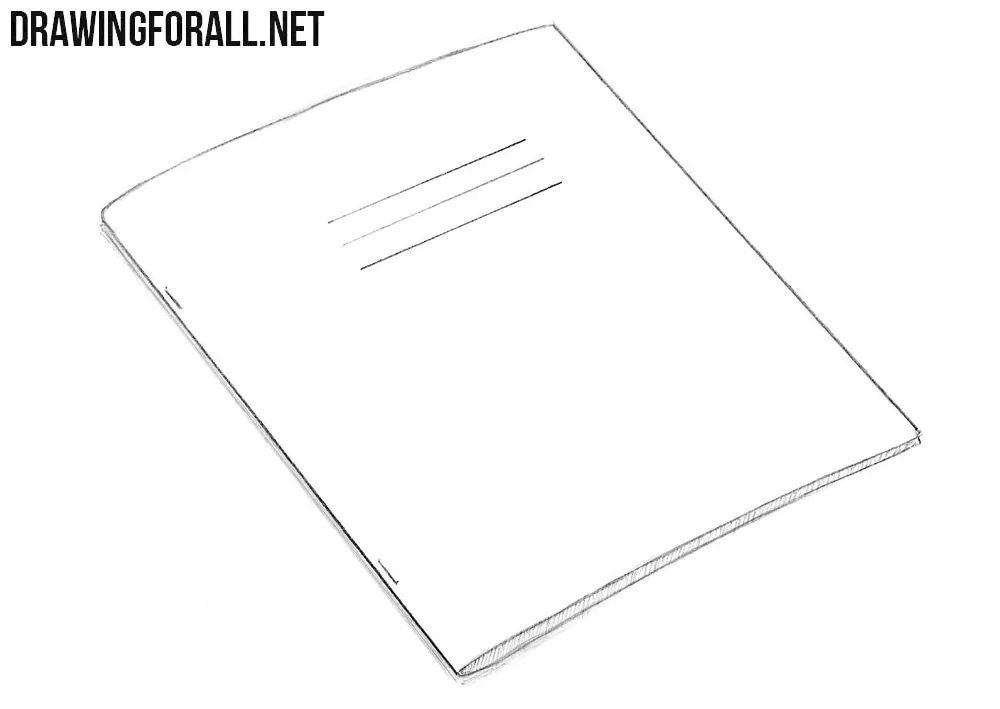
Step 3: Shade the notebook edges
The visible side edge consists of the compressed pages of the notebook. Fill this edge with even hatching. Beneath the notebook, draw a very subtle cast shadow. This difference in contrast with the upper surface will create volume in the drawing.
Visually, a notebook is very similar to a book in the way it is drawn. The main difference is that a notebook is usually thinner, has a soft cover instead of the hard cover found on many books, and its pages are fastened with staples rather than a spine.
When closed, a notebook visually looks like a rectangle with a thin side edge. This is exactly what we depicted in this drawing tutorial.