How to Draw an Elk Head
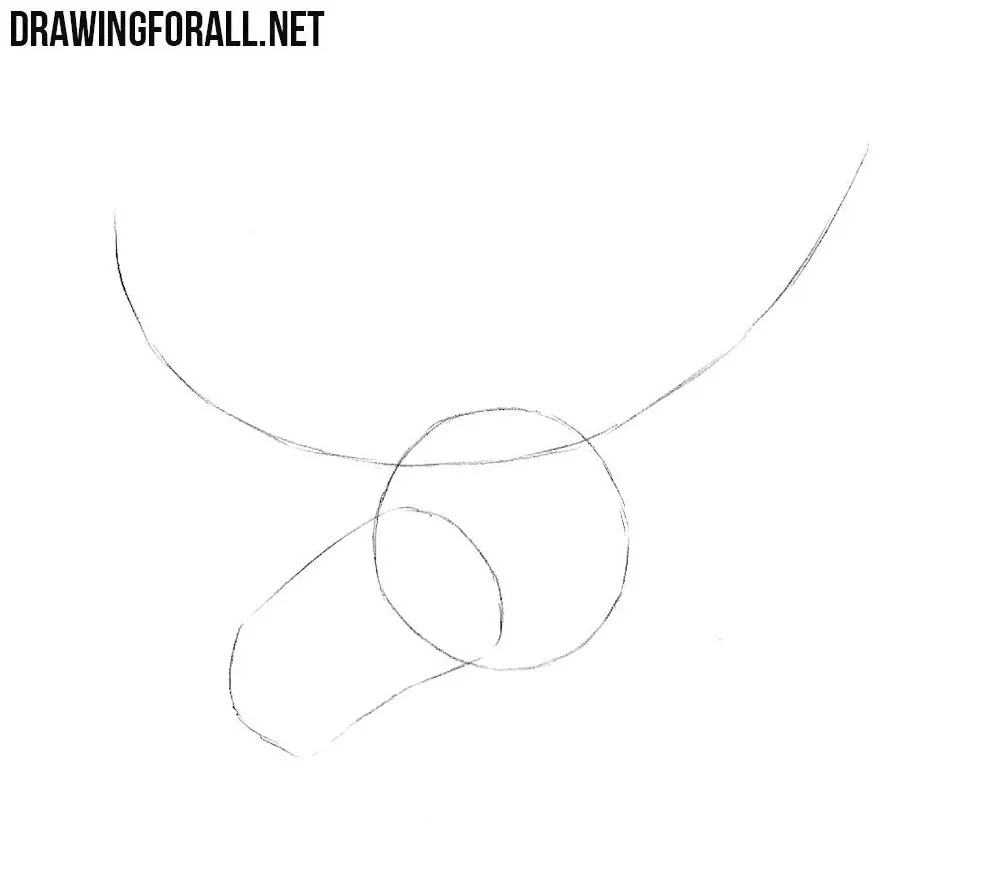
Step 1
So, as always, begin the drawing lesson with circles and ovals. We are sketching an elongated head of an elk, which is divided into two parts – the forehead and the humped nose. Sketch out the horns and move to the next step.
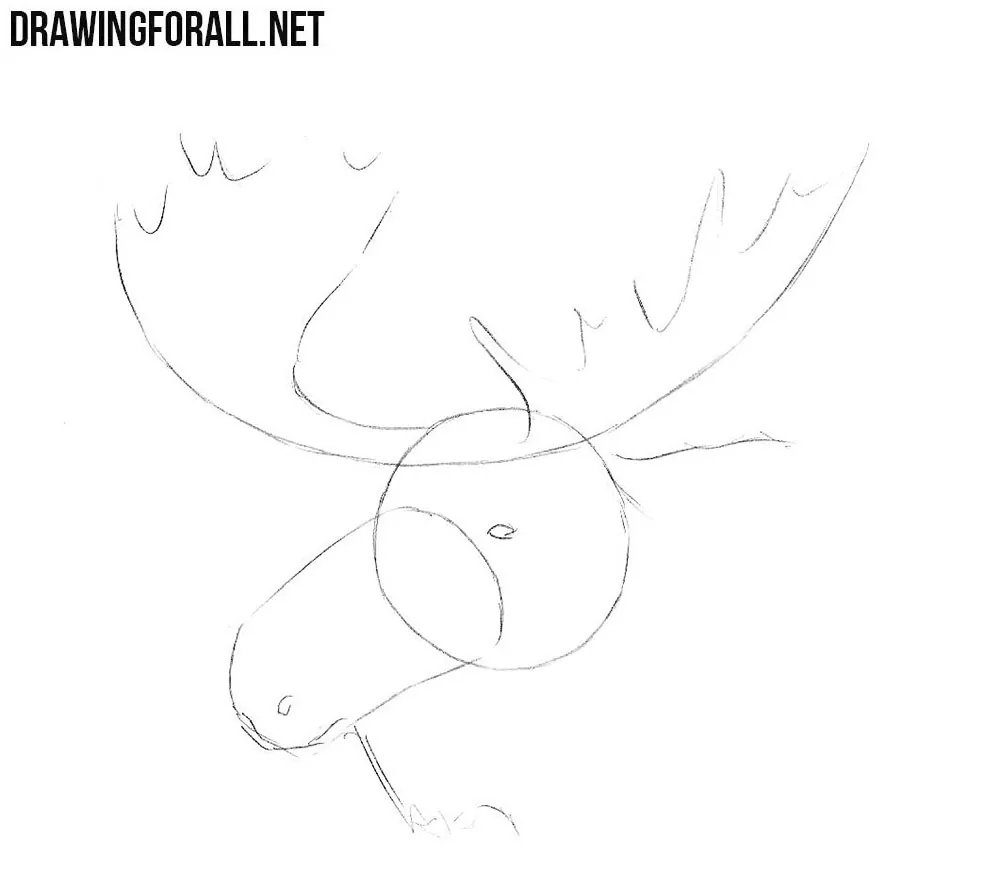
Step 2
Make the outlines of the elk head more realistic. Sketch out the nose, mouth, eyes and neck. With the help of light lines draw branches of the horns.
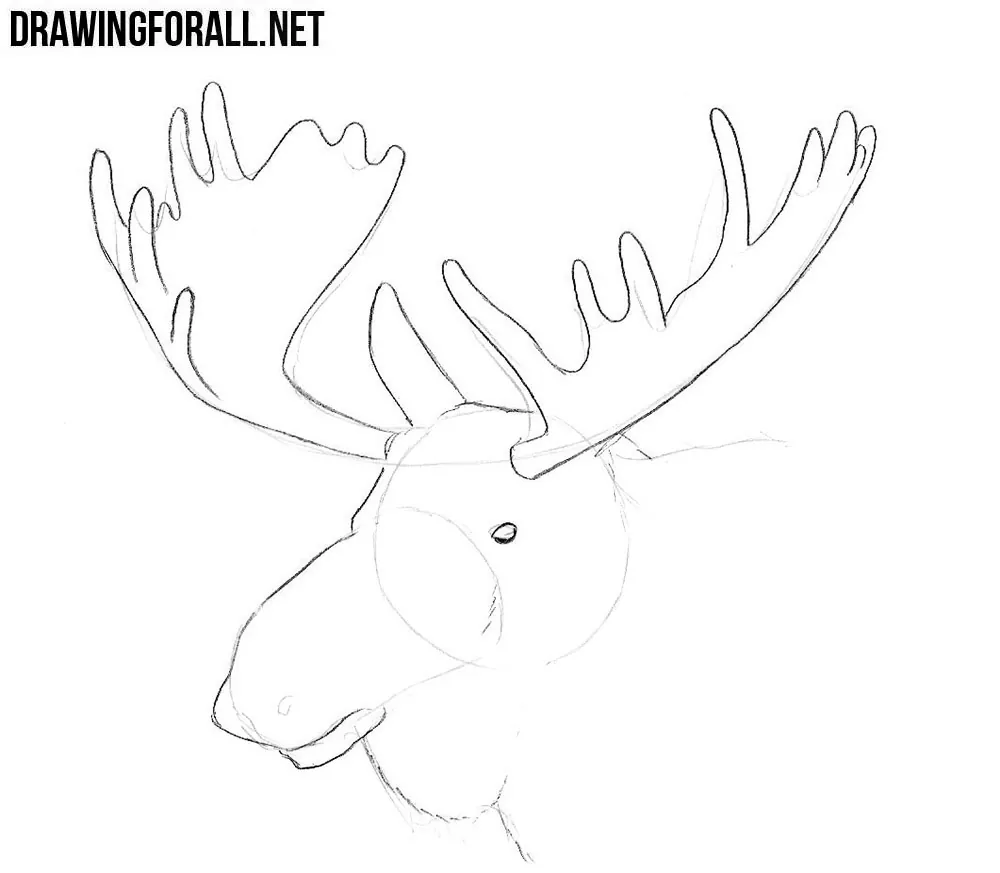
Step 3
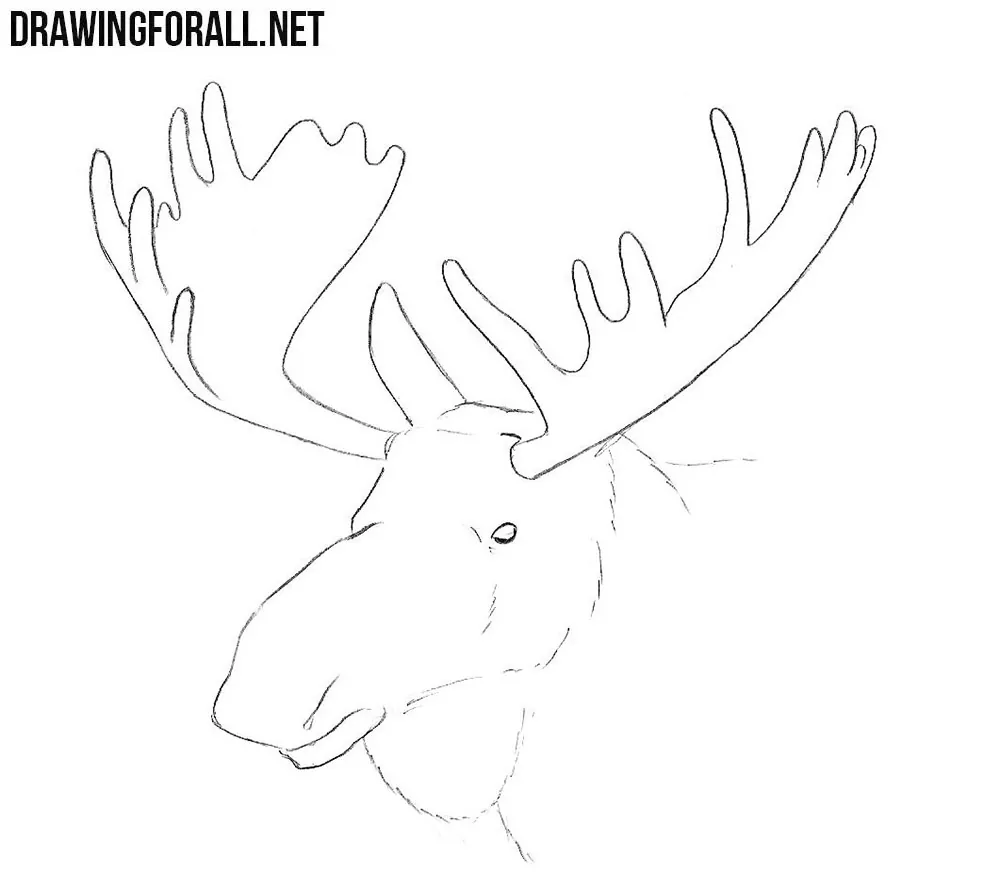
Now we need to form finished contours. Using dark and sharp lines draw out the branched horns and contours of the head.
Step 4
The simplest, but no less important step of the drawing lesson about how to draw a head of an elk. Here we just need to erase all the unnecessary guidelines and add a few details.
Step 5
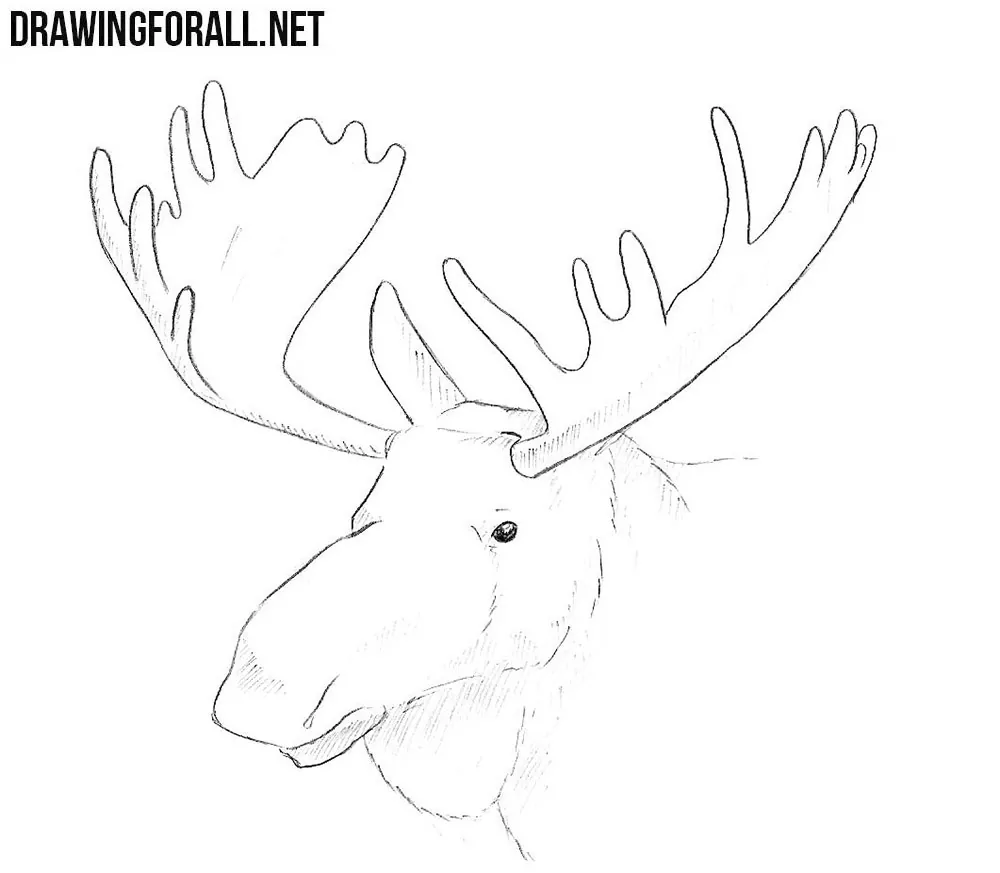
Here we need to add shadows to our moose’s head. Add hatching carefully to avoid making the drawing too dark.

So, the head of an elk is drawn. You can leave it black and white or add colors. Also you can help us to evolve and continue to please you with new drawing lessons. You just need to share this drawing lesson and subscribe to us in social networks.


This is a moose, not an elk.
What annoys me the most is when people mistake moose for elk. or deer for elk. Or ANYTHING for elk!(no offense though)
Just what I was thinking