How to Draw an Electric Kettle
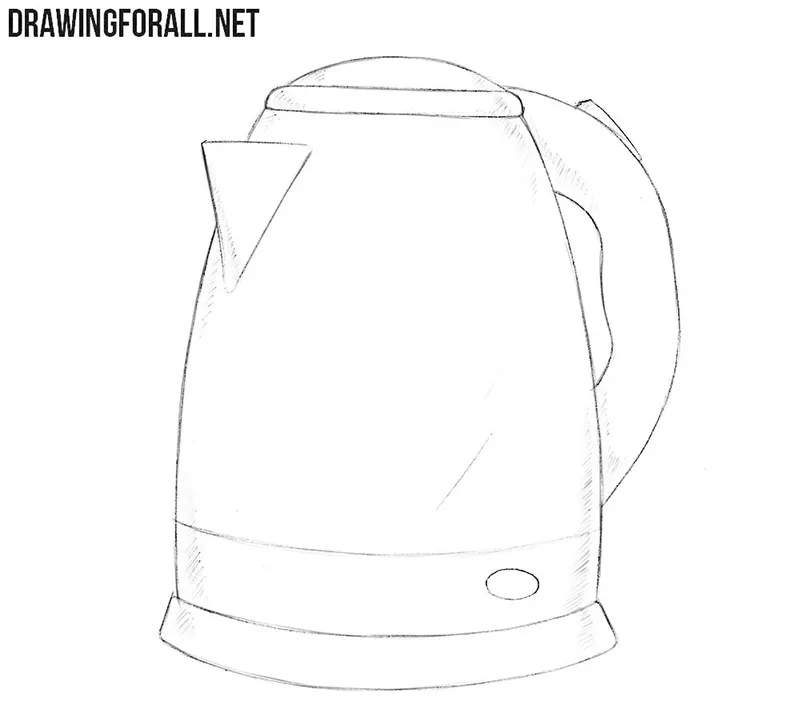
An electric kettle is a familiar household object with a fairly simple form. Here, we will show you how to draw an electric kettle and reproduce the characteristic features of this object using simple geometric forms.
How to draw an electric kettle step by step
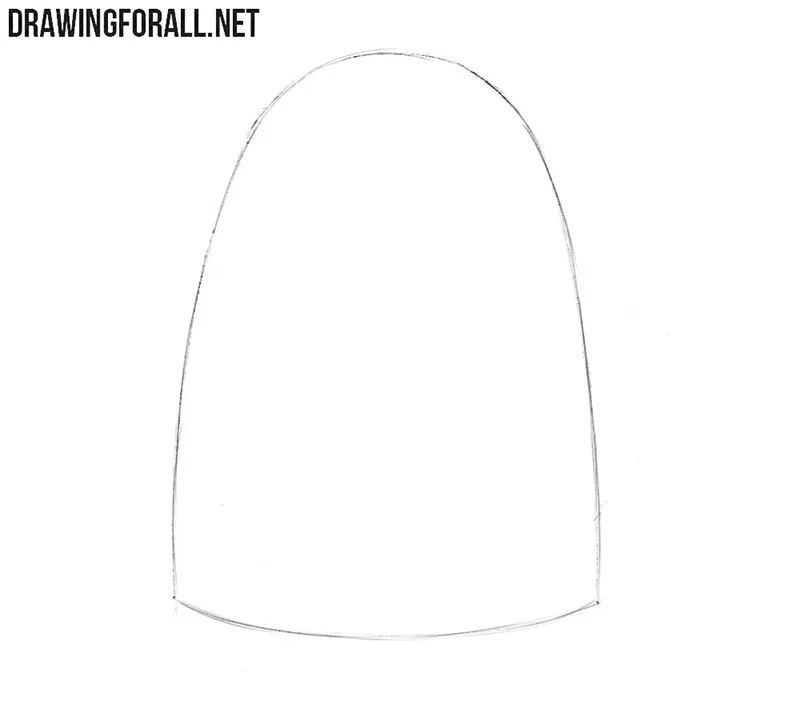
Step 1: Sketch the electric kettle body
Start with the main body of the electric kettle. Sketch an elongated oval-like shape with light lines. The body should be wider in the lower part and narrower toward the top.
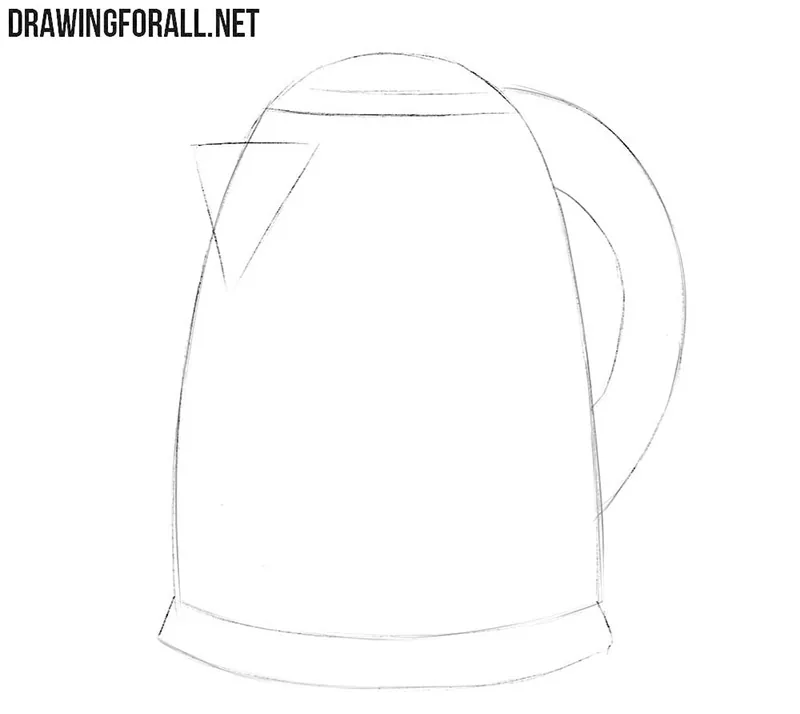
Step 2: Add the spout and handle
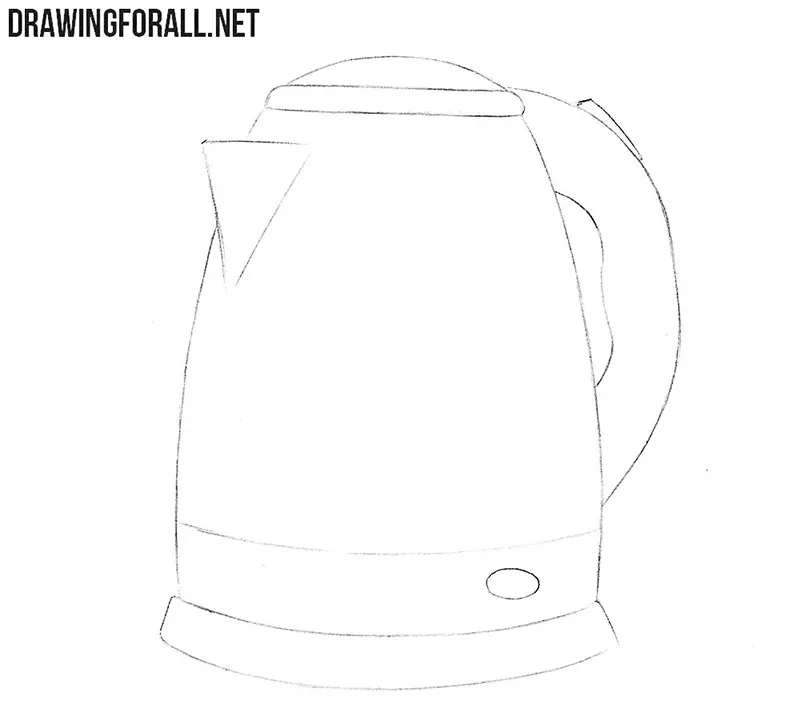
Now add the main parts of the electric kettle. Sketch the spout on one side and the large curved handle on the other. Add the lid at the top, following the rounded form of the body, then draw the circular power base underneath.
Step 3: Refine the kettle contours
Trace the contours with darker, cleaner lines and erase the unnecessary guidelines. Refine the shape of the spout and handle. Complete the lid and base more clearly, then add the power button and a small indicator light. Check the entire silhouette before moving on to shading.
Step 4: Add shadows to the kettle
The electric kettle is almost complete. Determine which side receives less light and add shadows with hatching. Place darker tones along the side of the body, under the lid, and near the base where the forms turn from the light. Let the hatching follow the rounded surface of the kettle.
Electric kettles come in many different designs, and the same basic drawing method can be used for most of them.
Try changing the height and width of the body, the shape of the handle, or the length of the spout. Pay attention how these details change the overall appearance of the object.
Next, you can draw a regular kettle. If you want to better understand the basic form behind the body of the kettle, practice how to draw a cylinder.