How to Draw an Alien for Beginners
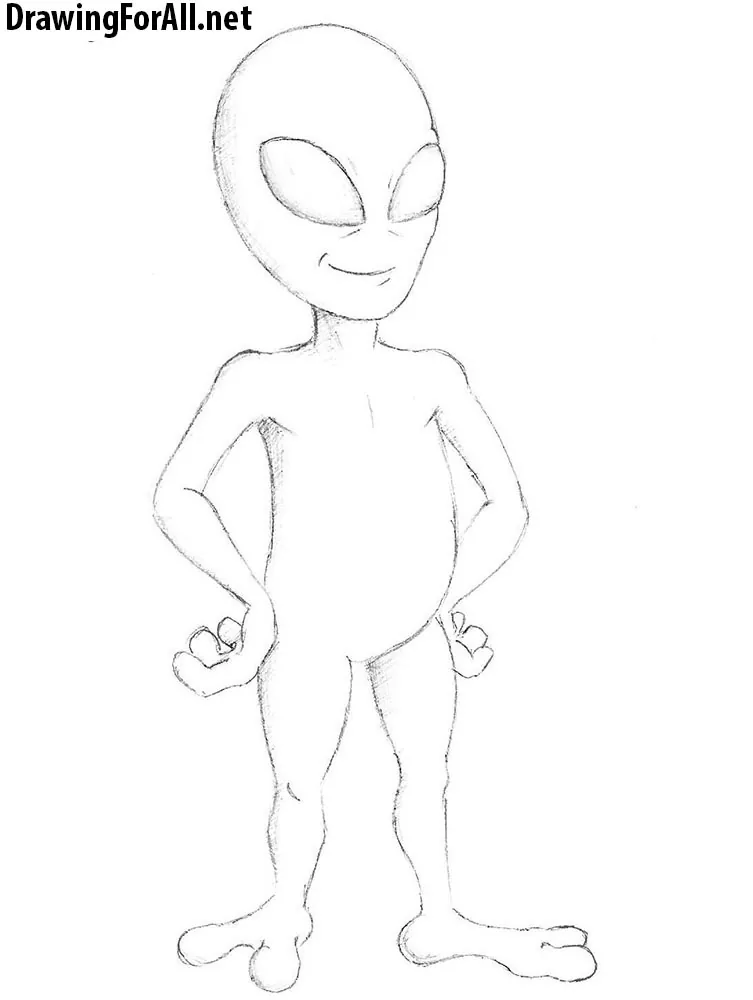
Today we present you a new drawing lesson – we tried to make this lesson simple and completed at the same time. We decided to draw an alien, doing it in the classic view. However, a reservation – in our lesson the alien looks friendly and charming, the stereotypical aliens rather frightening. But in today’s lesson will be just a funny alien – let’s learn how to draw an alien for beginners!
Step 1
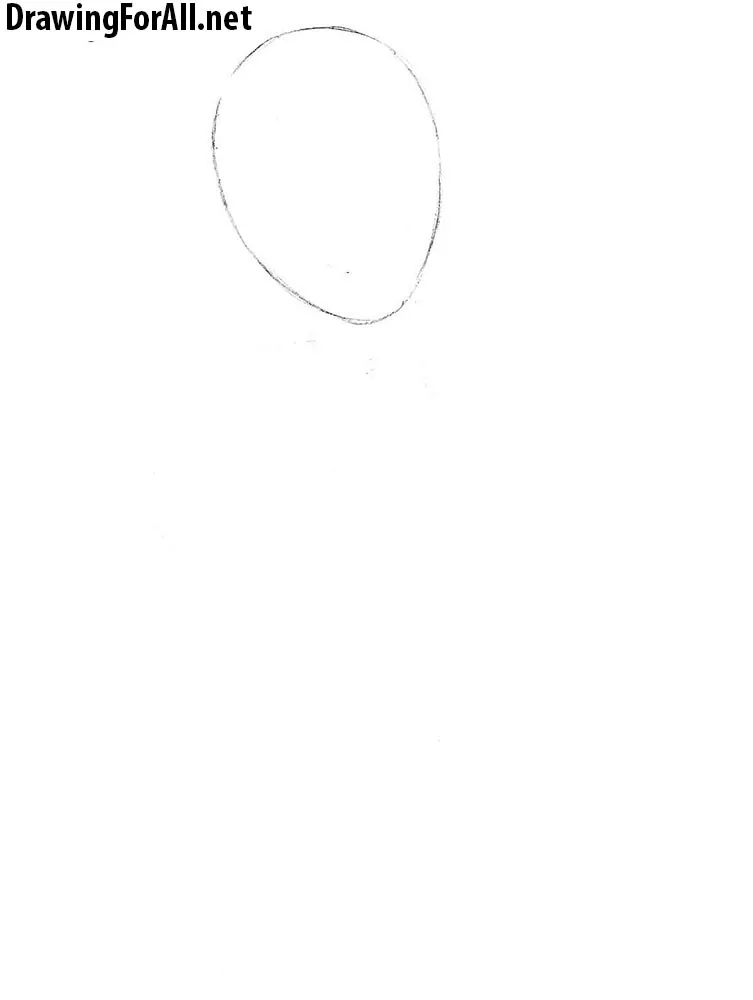
At first we outline an oval shape, similar to an inverted egg. Usually, when we draw the people, we begin to draw their heads with the this figure, subsequently making them less similar to eggs. But in this lesson the head of the aluen will be similar to an egg until the end of the lesson.
Step 2
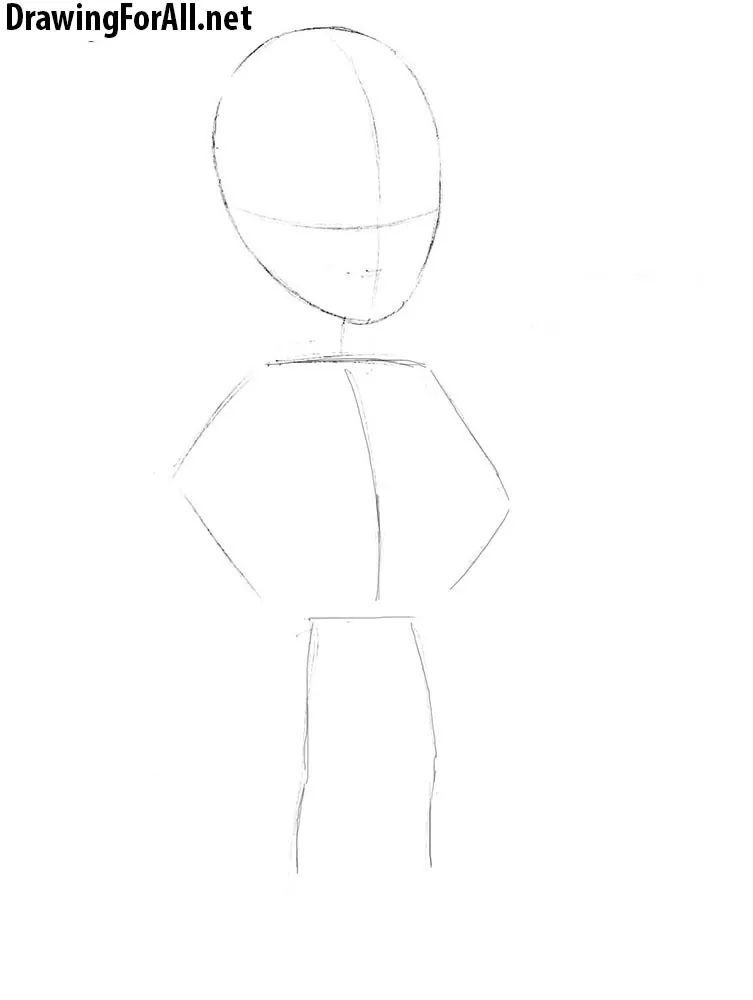
Mark the face using a couple of lines, one of which is horizontal, will show the position of the eyes, and the other, vertical, shows us the symmetryof the face. Note that the eye line is lower than the visual center of the head – it is close to the chin, much stronger than to the forehead. In the same step we draw the skeleton of the alien.
Step 3
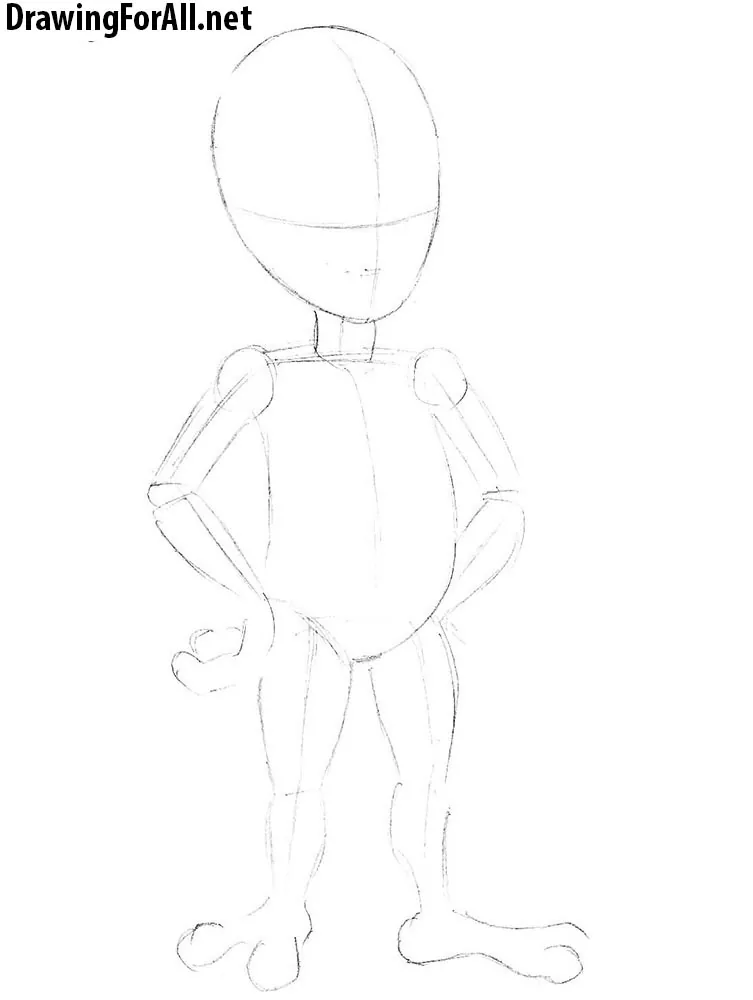
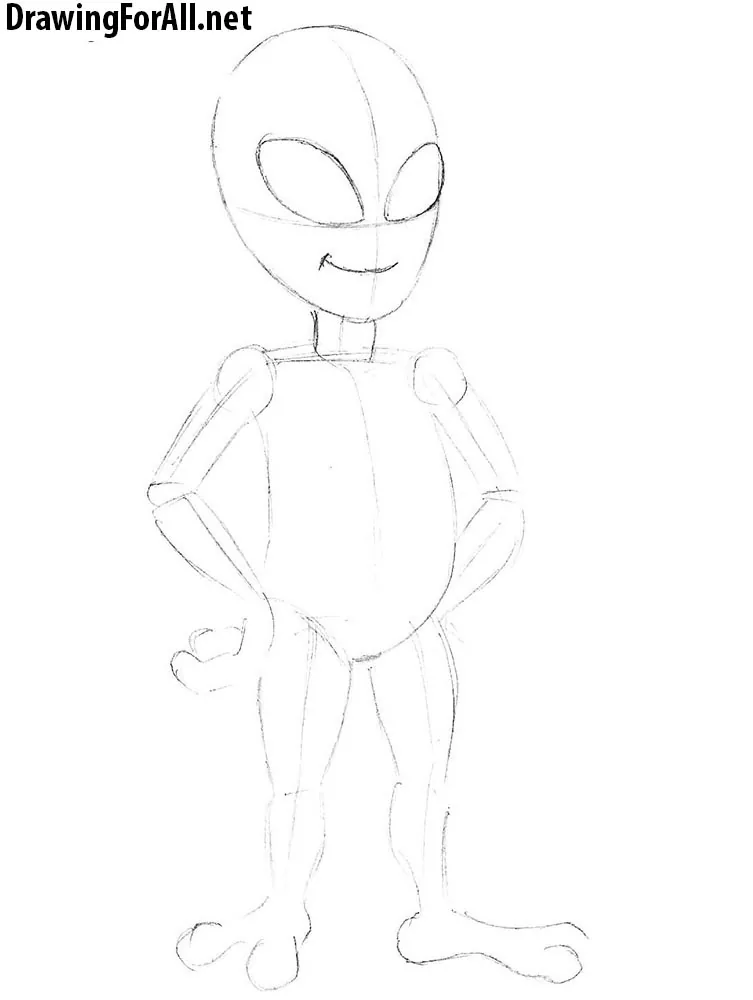
And we continue the tutorial on how to draw an alien for beginners. Now, let’s draw the figure of the alien. Draw the arms in the shape of cylinders, denote joints using rounded figures. Under the head outline the neck (slightly longer than human neck), below it draw the torso – it is slightly extended downward. Draw the legs, which consist of cylindrical shapes.
Step 4
Today we draw the alien in a very simple style, so any problems with the facial features should not be, especially if we consider that there on this alien are very few of facial features – only the eyes and mouth. So, draw the eyes in shapes of rugby ball, and then draw the mouth, using a pair of curved lines.
Step 5
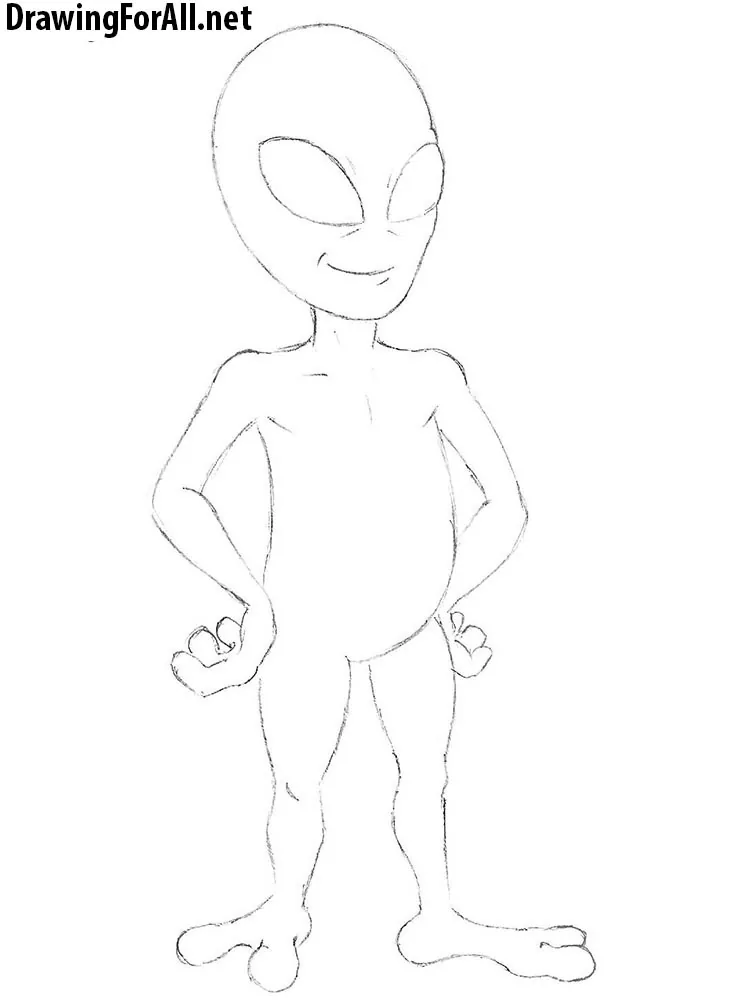
Erase the extra lines from the previous steps. Draw a few short lines under the eyes and a line just below the mouth. Also denote a pair of lines on the chest. By another stroke outline the location of the knee on the leg. Clean up the entire pattern, circle the contours to get something like this:
Step 6
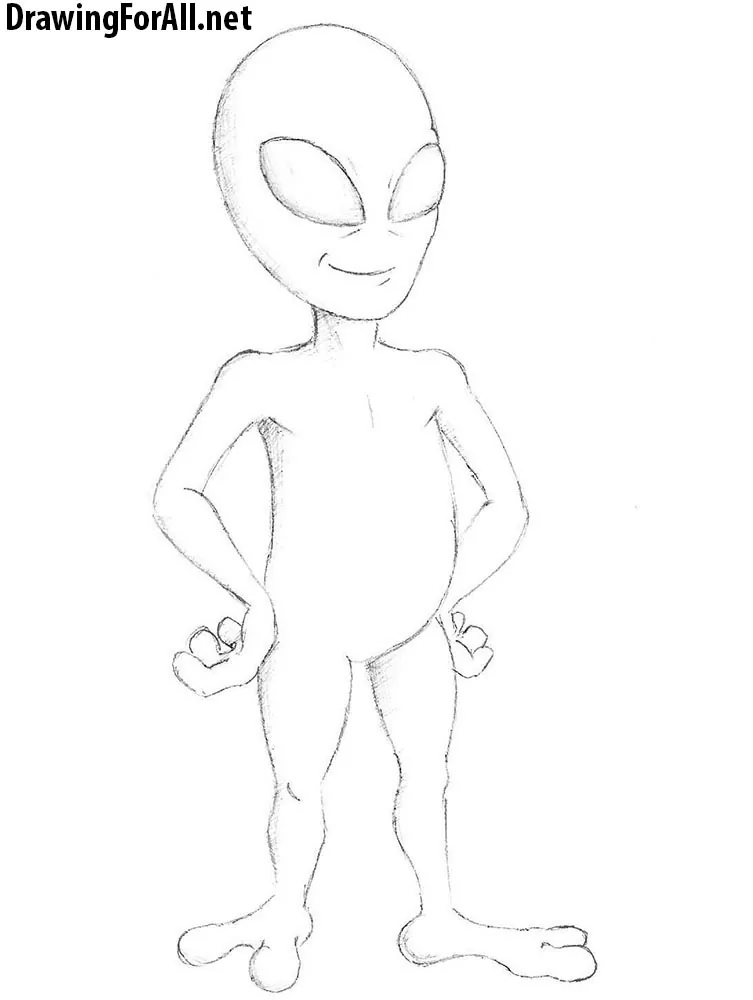
Our lesson devoted is nearing completion. To give it a finished look, we add some shadows. Light falls on our character from the front, so we need to add shadows to the areas, where the light doesn’t falls, ie the back of the head, the back of the torso and legs. Add shadows using very light cross-hatching.


Awesome
Thank you!
thank you
I traced it