

How to Draw a Western Dragon
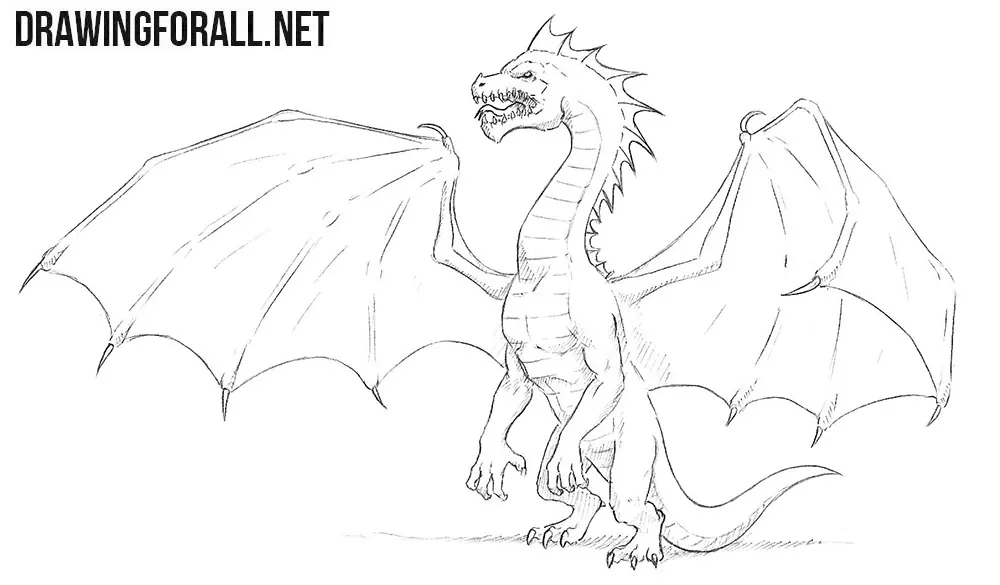
Dragons or creatures resembling them exist in the culture and folklore of most countries around the world, and one of the most recognizable images is the Western dragon. In this step-by-step tutorial, we will show you how to draw a Western dragon and focus specifically on the features that give it this characteristic appearance.
Here we will show you how to depict it rearing up on its hind legs with its wings spread, but by keeping the basic principles of the tutorial in mind, you will also be able to draw it in other poses.
How to draw a Western dragon step by step
Step 1: Sketch the Western dragon’s skeleton
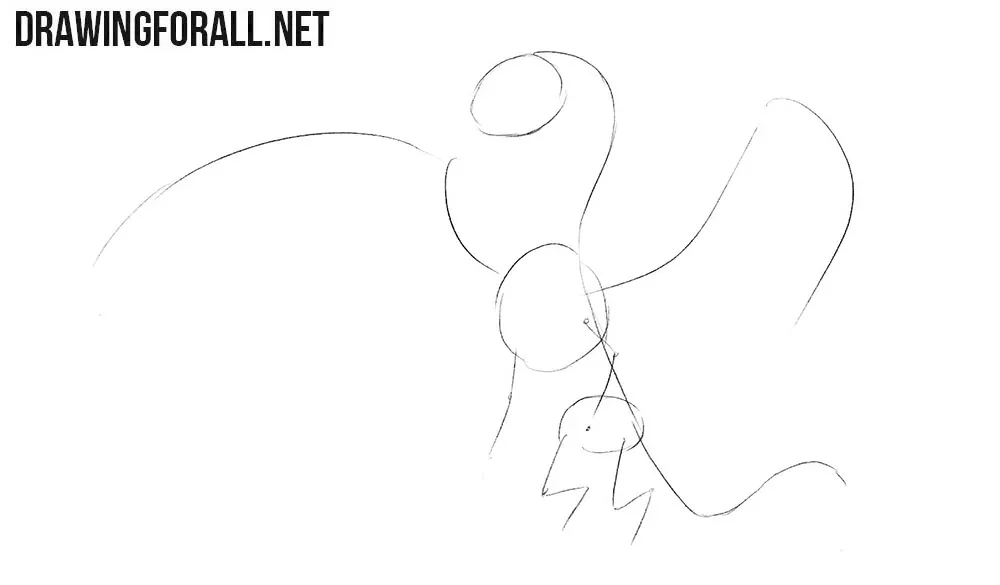
A Western dragon usually has four limbs plus wings and a long tail, so start by indicating all these parts. First, sketch the dragon’s head, then draw a long line for the neck that continues into the spine and then into the tail. Next, indicate the arms and legs, as well as the upper edges of the wings, using very light lines.
Step 2: Outline the neck and limbs
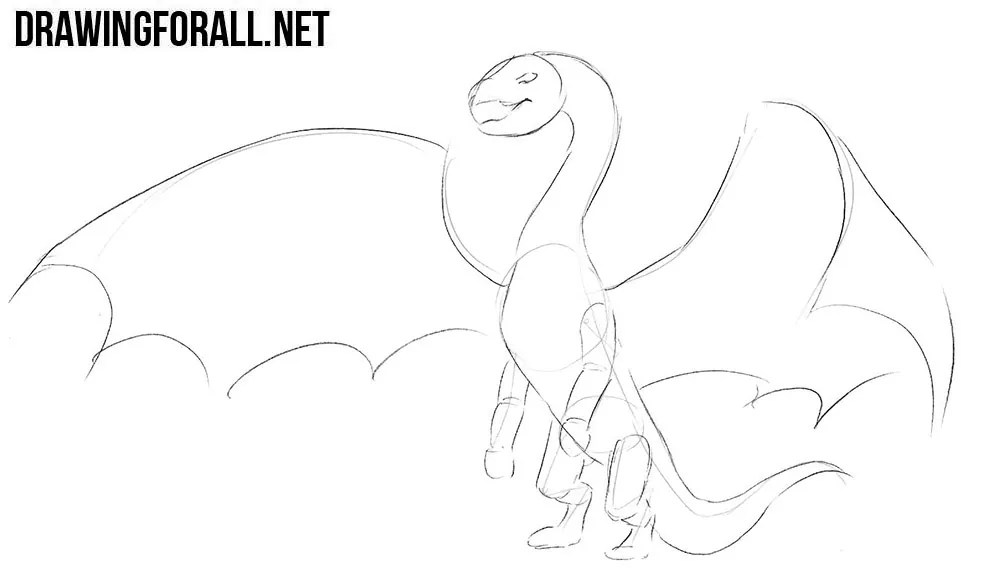
Outline the fearsome mouth and fierce eyes. Sketch the neck as a flexible cylindrical form and the tail thick at its base and tapering toward the tip. Use simple geometric shapes to outline the dragon’s arms, legs, and wings. Draw large ovals for the thighs and smaller forms for the forearms. Add inward-curving edges and pointed ends of the wing membranes.
Step 3: Add back spikes and claws
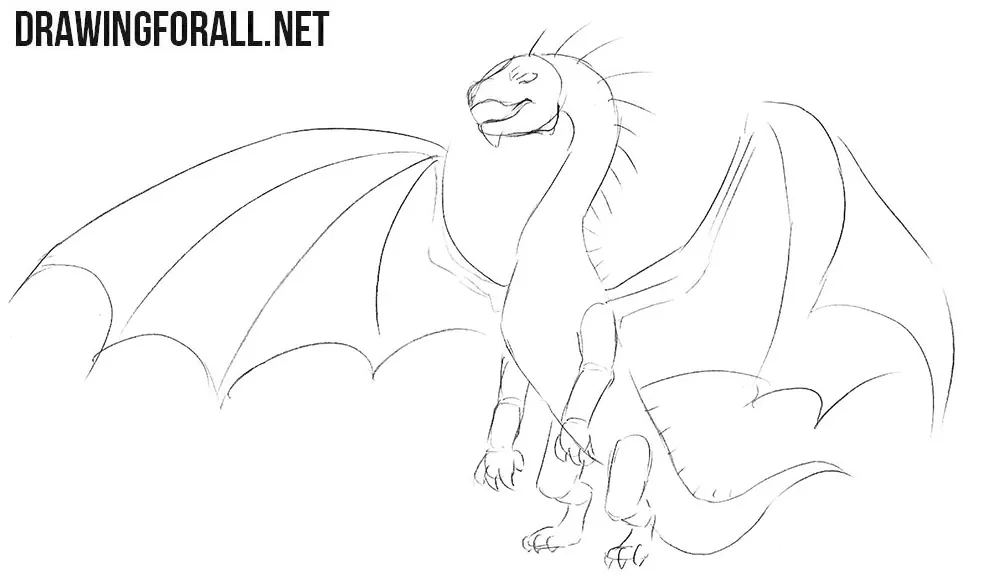
Add some basic details to the dragon’s body. Outline the head and the spikes along the spine. Mark the tallest spikes behind the head and shorter ones farther down the neck and back. Next, sketch long lines inside the wings and sharp claws on the hands and feet. Draw the wing supports spreading from the upper joints toward the membrane tips. Outline the fingers hanging below the wrists and the toes spread across the ground.
Step 4: Detail the dragon’s open mouth
Now refine the details of the Western dragon drawing. Use clear, dark lines to carefully draw the large mouth with sharp teeth and a protruding tongue. Draw separate rows of pointed teeth along the upper and lower jaws. Add the nostril near the end of the snout and short creases around the mouth. Next, outline the dragon’s head, draw the eyes, and erase the guidelines from the head.
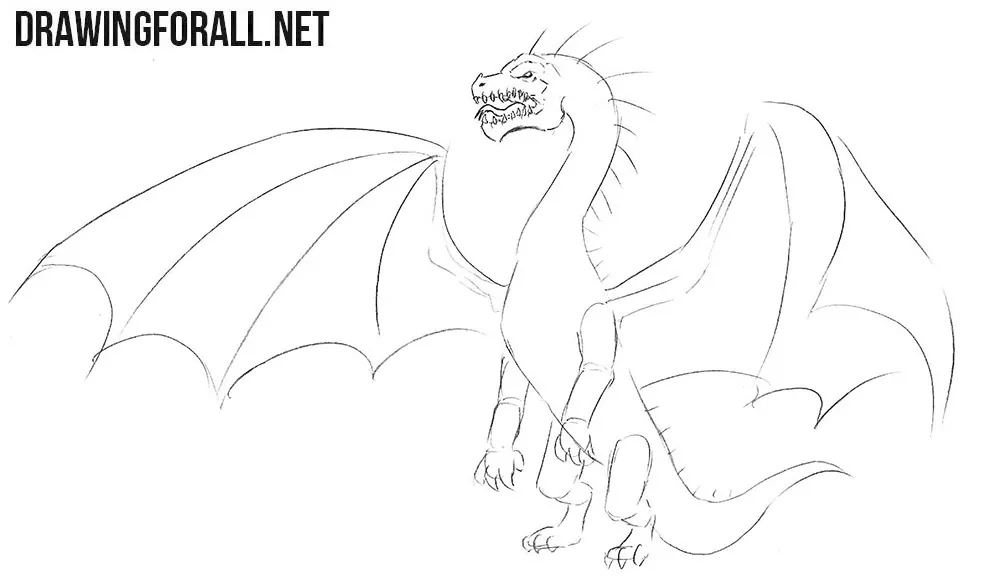
Step 5: Draw the neck and crest
Now work on the neck of the fearsome dragon. Continue the head contours into the long neck. Next, draw the large crest along the back of the neck. Draw the pointed tips with curved notches. Mark a narrow strip down the front of the throat and divide it into plates with transverse lines. Draw these lines slightly curved across the neck’s cylindrical surface.
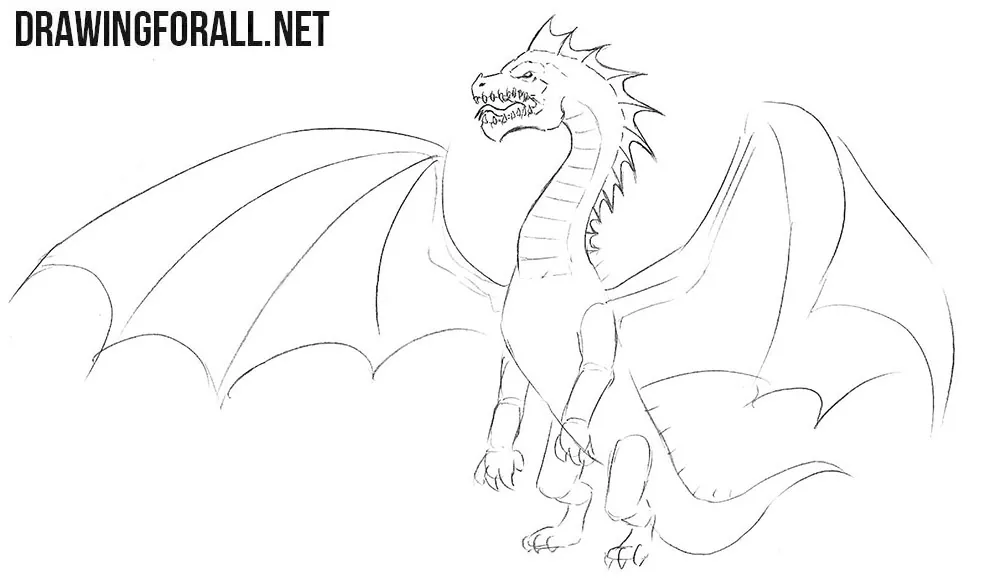
Step 6: Refine the torso and arms
Continue the neck lines to define the dragon’s torso. Extend the throat plates down the chest and belly, with wider sections across the chest and smaller ones near the pelvis. Next, draw the arms, which should resemble the muscular arms of an athlete. Trace the bulges of the upper arms and forearms. Draw the hands with sharp claws and remove the guidelines from the upper body.
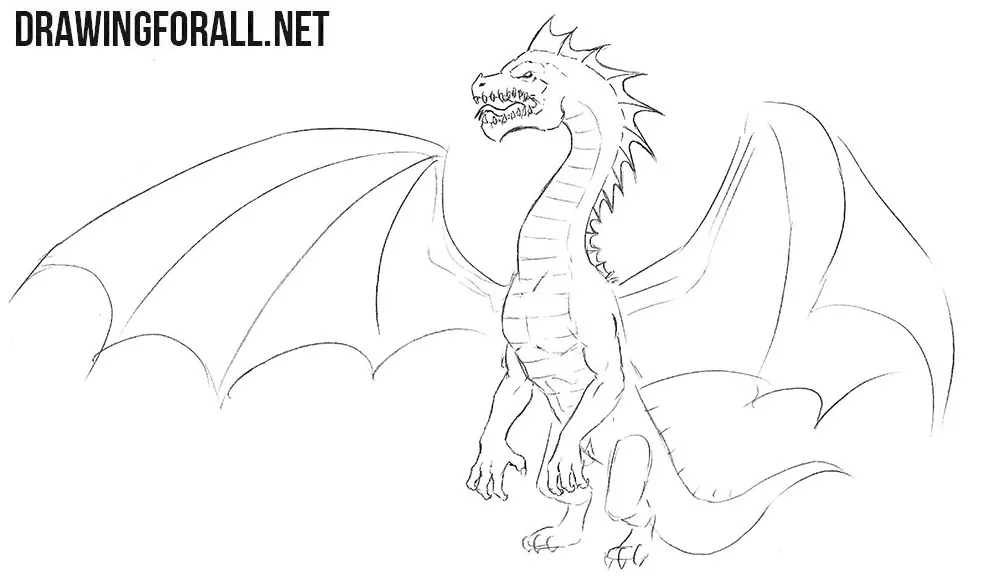
Step 7: Complete the legs and tail
Move on to the lower part of the dragon’s body. Continue the torso lines into the legs, which resemble those of a crocodile or another reptile. Draw the nearer thigh overlapping the tail’s base and outline the bent lower legs beneath the thighs. Separate the toes and add a hooked claw to each tip. Next, draw the long tail and erase the unnecessary guidelines from the lower body.
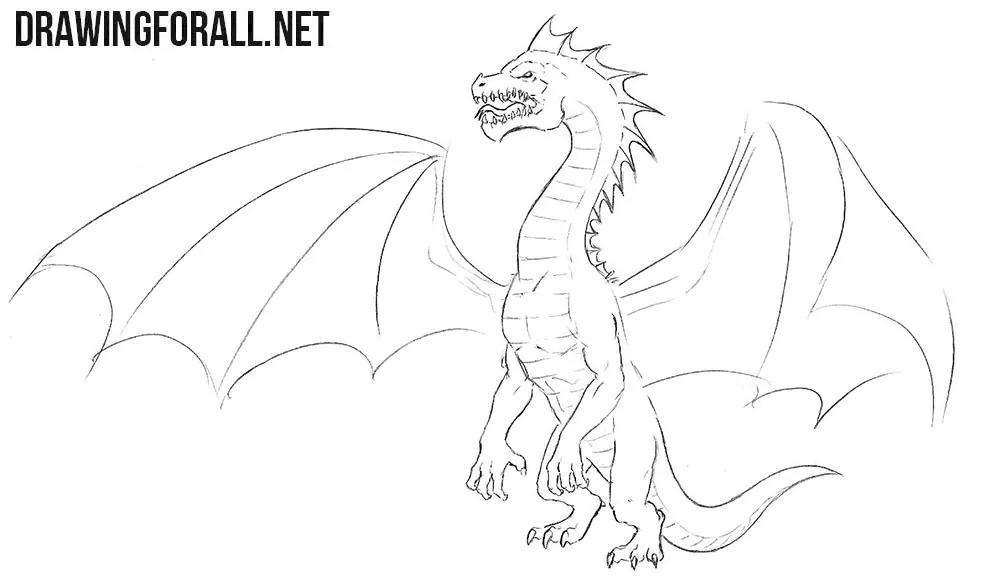
Step 8: Trace the wings and joints
Finish the dragon’s outline by carefully tracing the large wings and defining their joints. Draw the leading edges with paired contours to show their thickness. Add the small curved claws at the upper joints and pointed tips along the lower edges. Use long, broken lines for the folds. Erase all remaining guidelines before moving on to the shadows.
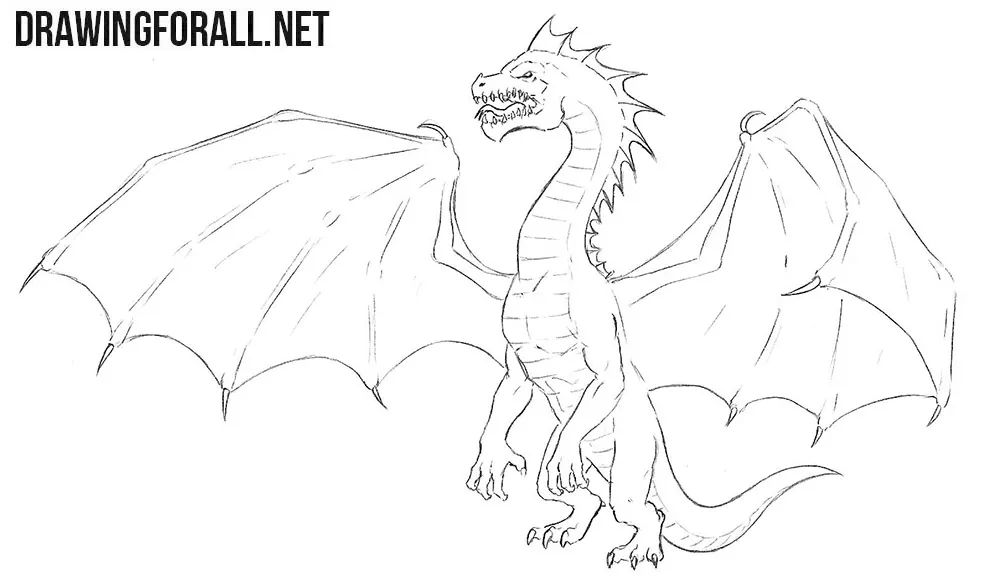
Step 9: Add shadows to the dragon
The Western dragon drawing is almost complete; only the shadows remain. First, decide where the light comes from. Then use hatching to shade the areas of the dragon’s body that receive the least light. Add shadow beneath the jaw and wing roots, along the side of the torso, and between the legs. Finally, draw a cast shadow across the ground beneath the feet and tail.
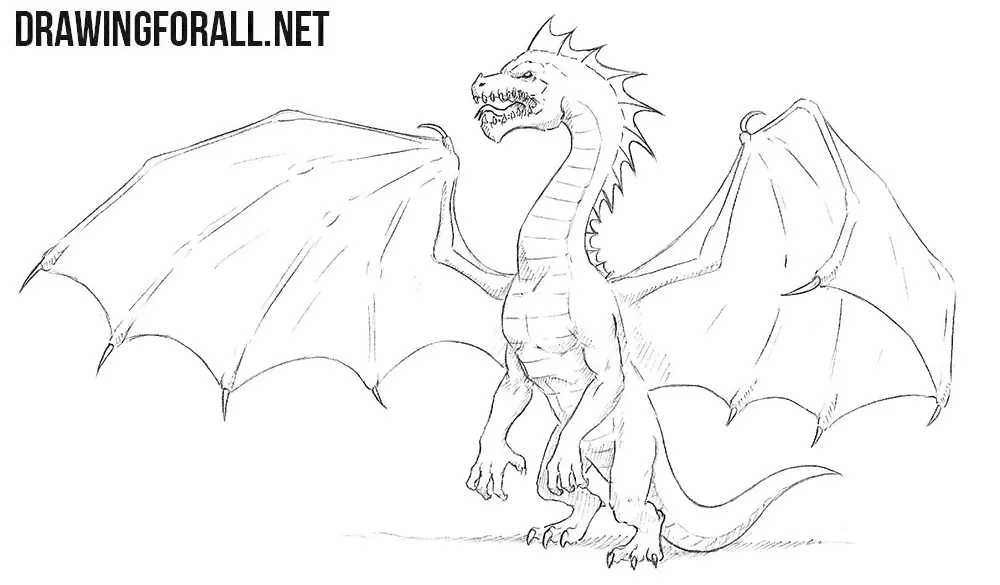
The steps of this tutorial follow the basic principles of drawing dragons but focus specifically on the important features that identify this creature as a variation from European folklore. Four limbs plus wings, a reptilian face, a characteristic crest or spikes along the back, and scaly skin are the main features of this type of dragon.
Beyond that, depending on the region, period, or particular work, the dragon may have different details. For example, its build may vary, it may be thinner or more muscular, and its colors, wing size, and many other features may differ.
To see the difference clearly, you can study our tutorial on drawing a Chinese dragon, which has completely different proportions and significantly different details.
We showed you how to depict a Western dragon standing on its two hind legs, but you can also draw the dragon standing on all four legs using the principles shown above.




thank you, thank you, thank you i have just won a competition by this drawing, thank you ,thank you, thank you
Continue to draw out the heads. The one on the left needs to have the nose and mouth drawn in, and the head to the right has the jaw line and eyes all drawn in too.
im going to draw this soon, its a great and amazing drawing. good job to whoever designed this drawing and method of drawing it.
Thank you very much.
I added some extra details, it looks awesome 🙂
this. is. amazing. I managed to follow along good
This website is a life changer. Now my fav thing to draw is dragons (I also recommend putting in the search bar on google “Wof dragons” and than it will come up with a cool selection of dragons (btw Wof is a book series short for wings of fire ) thankyou so much
its lit
It took a while but it was great