How to Draw a Turkey
Our site has existed for several years, and during our entire existence from time to time we are asked to show how to draw a turkey. The tutorial is ready, so let’s start the process of drawing.
Step 1
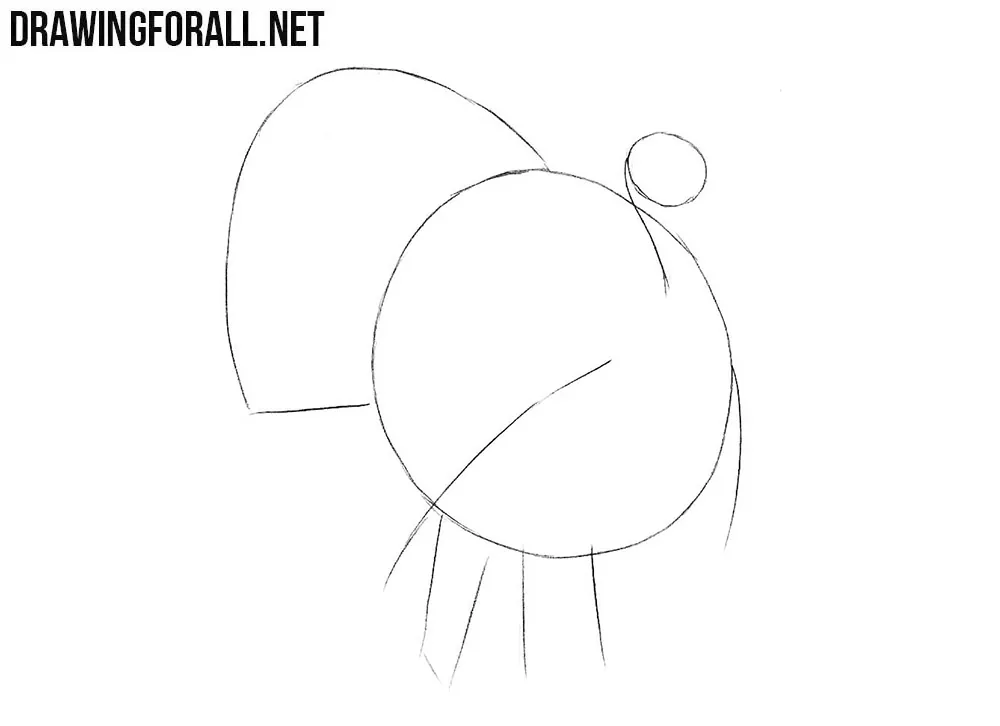
First of all draw a very large circle – the torso of a rounded turkey. Then draw a round head and connect it to the torso with a curved line.

Step 2
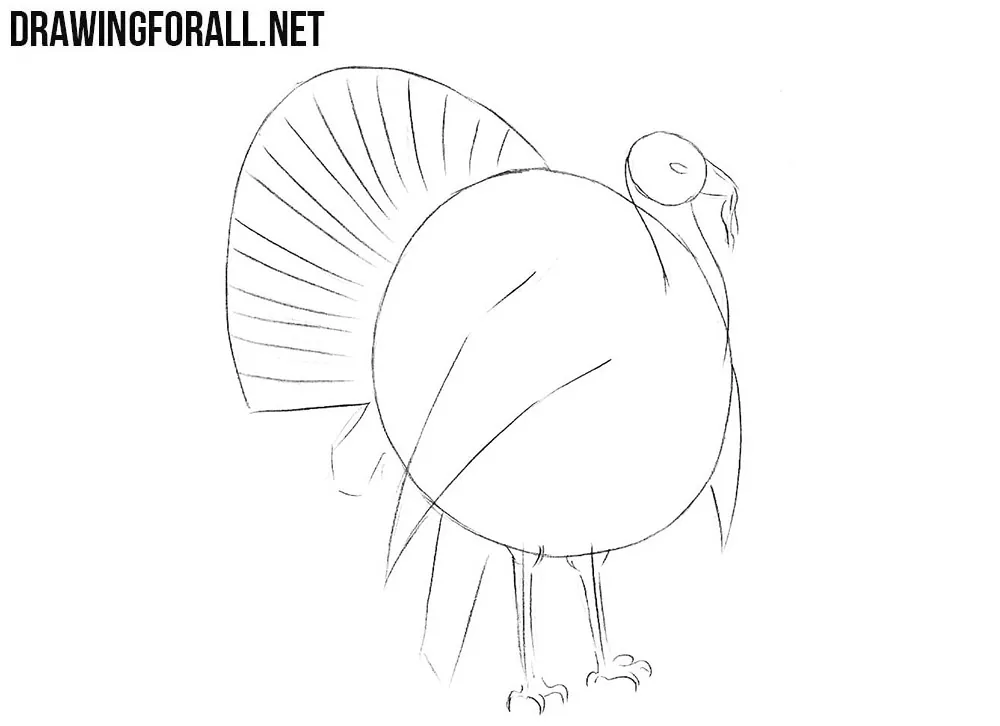
Now add lines of wings and a large lush tail. In the lower part sketch out the location of the legs.
Step 3
Sketch out a small eye and a beak. Next make the neck, wings and legs thicker. Draw the claws and the outlines of feathers of the tail.
Step 4
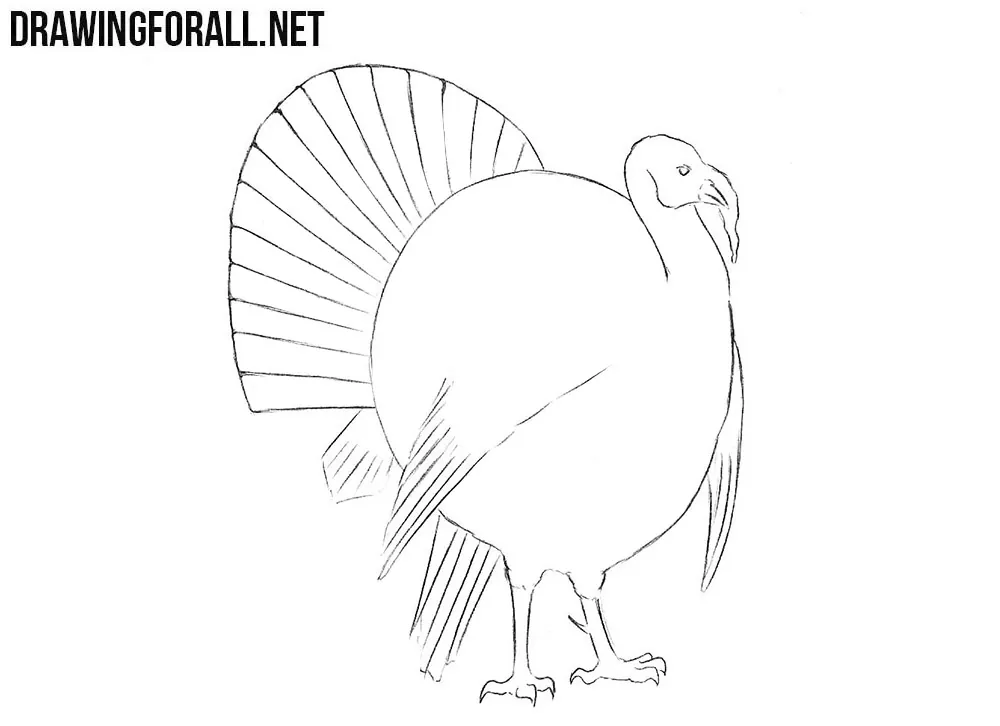
Using an eraser delete all guidelines. By clear and dark lines draw out the outlines of the turkey and draw details, such as outlines of the feathers.
Stpe 5
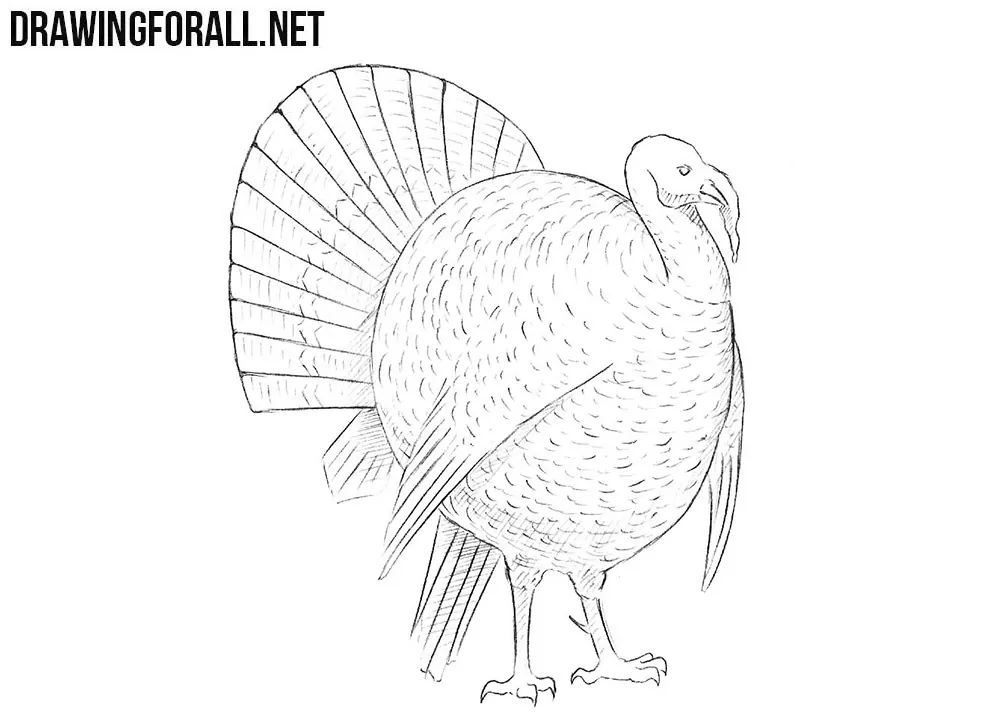
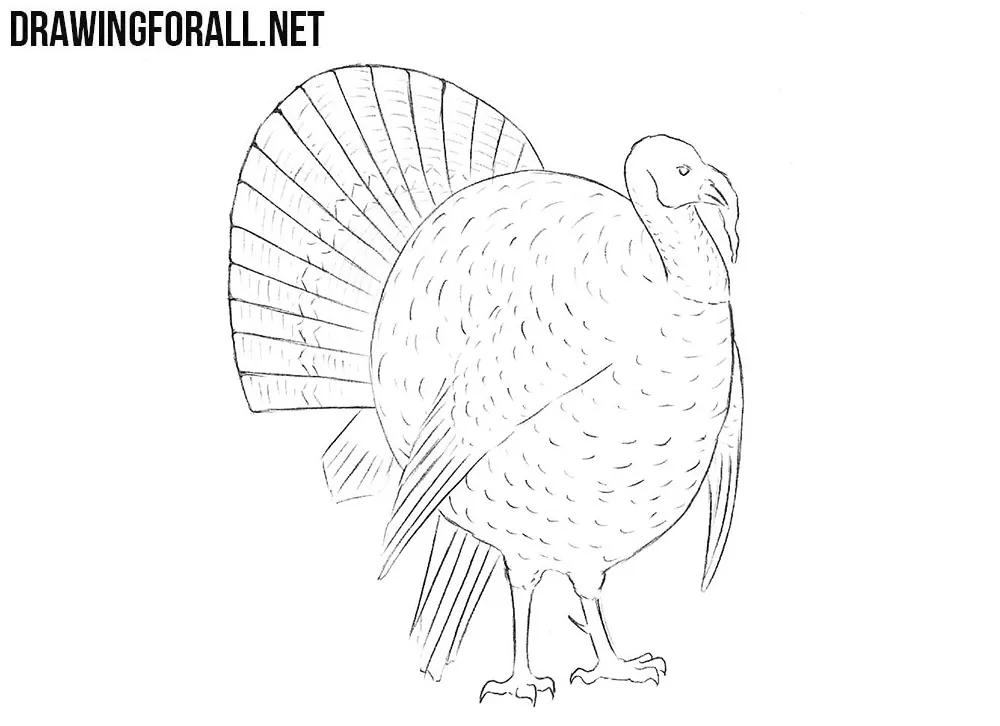
A very painstaking step of the lesson about how to draw a turkey. Here we will need to draw the outlines of all the small feathers as in our drawing.
Step 6
The turkey drawing is almost ready. We have only to add some shadows by hatching. If you followed our instructions, then you will get such a realistic turkey.
The most important thing in drawing is practice. Only practice will help you become a real cool artist. Draw the turkey first using our example. Then, using the principles from this lesson, try to draw a turkey in another pose or from the other side. So practice more and more often visit our site for new drawing lessons.