

How to Draw a PSP
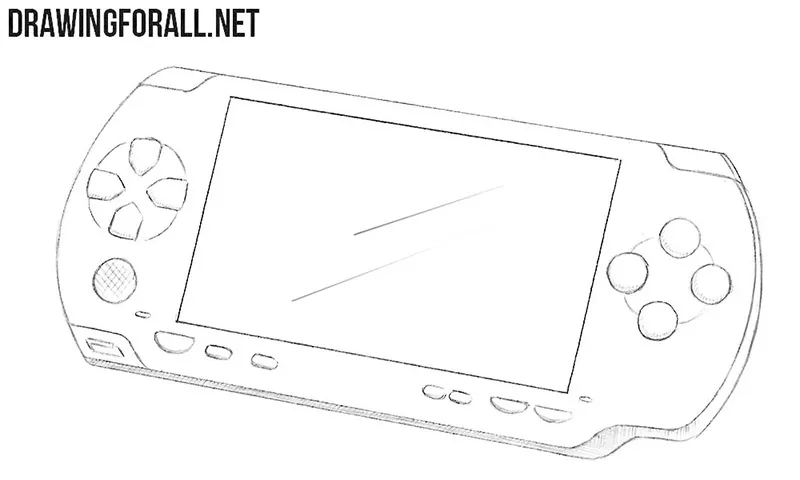
The appearance of the PSP is probably familiar to everyone who loves games. In this tutorial, we will show you how to draw a PSP step by step and convey the appearance of this gaming console.
Despite the large number of details, the basic form of this portable game console is quite simple. First, we will draw the general shape of the device and then gradually add the screen, buttons, and other controls.
How to draw a PSP step by step
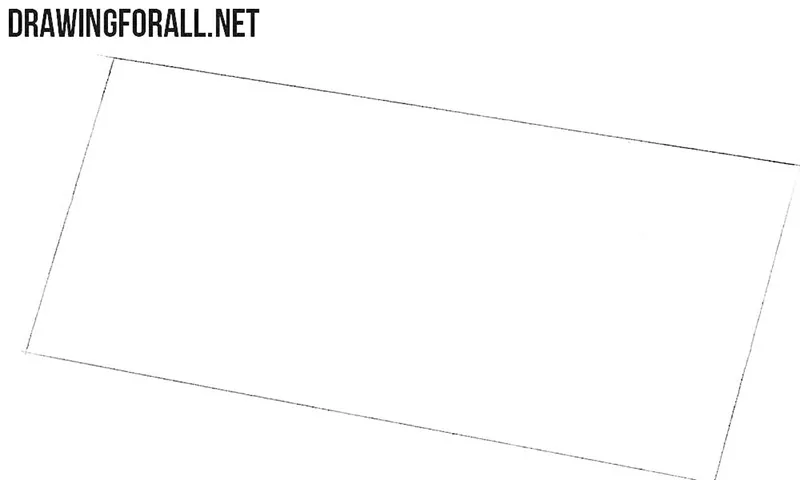
Step 1: Sketch the basic PSP shape
Block in a regular parallelogram to create the basic shape and set the angle of the PSP. If you want to depict the console from a different perspective, the initial shape will change accordingly.
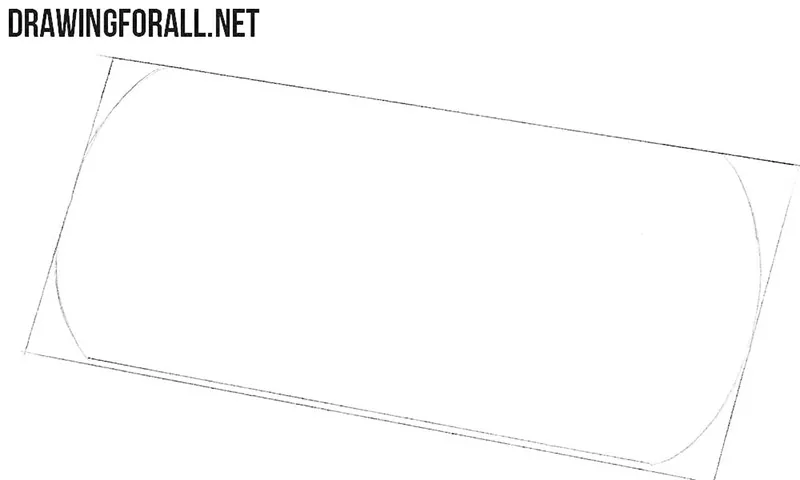
Step 2: Round the corners of the console
Now using the sharp corners as guidelines, draw the smooth edges of the gaming console. Try to make the left and right sides symmetrical.
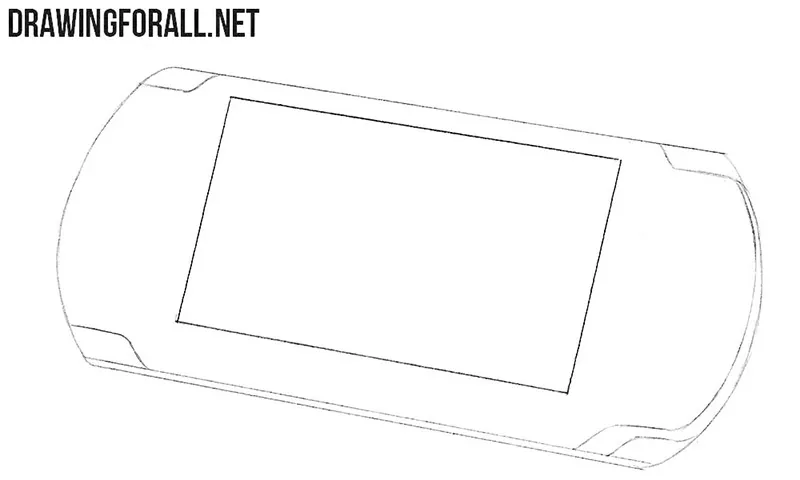
Step 3: Draw the PSP screen
In this step, draw the contours of the large rectangular screen in the center of the PSP. Then indicate the areas for the controls on the left and right sides. Pay attention to their placement relative to the screen and the outer edges of the console.
Step 4: Add the main PSP controls
Now draw the main controls on both sides of the screen. If you find it difficult to draw all the details at once, first outline two circles to set their size and placement. Pay attention to the distances between the controls, screen, and outer edges of the console.
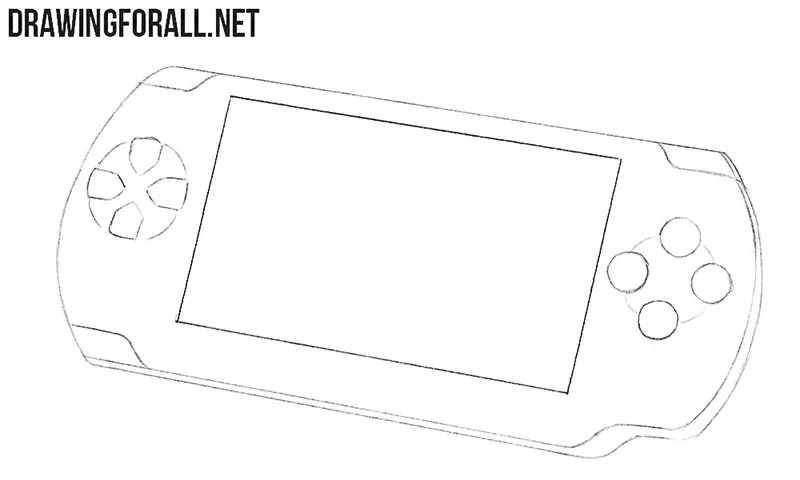
Step 5: Draw the smaller PSP buttons
Now add the smaller buttons along the lower part of the PSP. Compare their size and placement with the screen and the main controls drawn in the previous step. These details should follow the angle of the console.
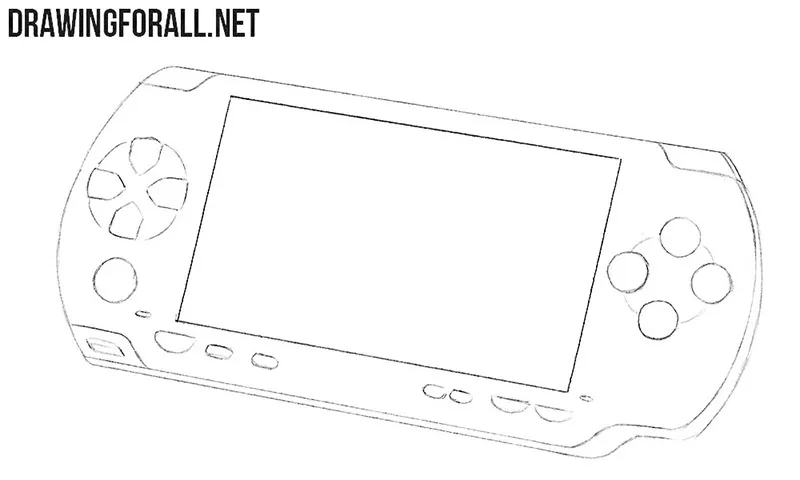
Step 6: Add the final details and shadows
Add shadows to the buttons and side sifted of the body. Then draw the small textured pattern on the analog stick. After that, draw two oblique lines across the screen to indicate reflections. Check the entire PSP drawing and correct any lines or details if necessary.
As you can see, drawing a PSP is not particularly difficult if you first depict the general shape and just then gradually add the smaller details. The most important thing here is to correctly place the details in relation to each other.
If you want to continue drawing electronic devices, try our tutorials on how to draw a smart watch and how to draw a VR headset. These devices have very different shapes, so they will give you a different kind of practice.



My favorite video game is the Call of Duty Series.
easy