How to Draw a Simple Dog
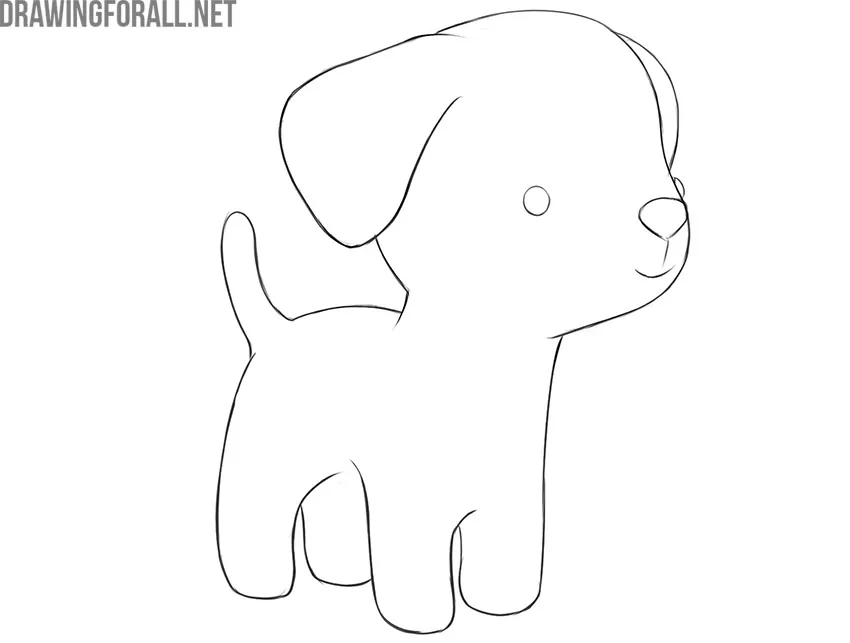
In this drawing guide, we will show you how to draw a simple dog. This is one of those tutorials designed for aspiring artists and those who need to practice drawing simple shapes. Try to use light strokes without too much pressure on the pencil. Check back regularly with our illustrations and you will get great results!
Step 1
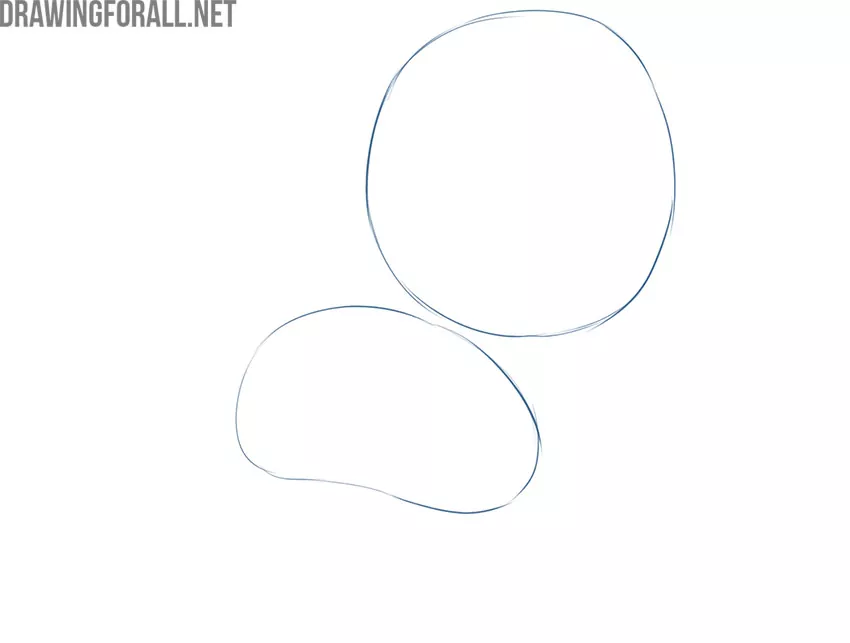
So let’s start this guide on how to draw a simple dog. Firstly, draw two rounded shapes to represent the body and head of our lovely pet. According to the cartoon style, the character’s head should be significantly larger than the body. You are probably used to this feature if you visit the category with chibi drawing tutorials.
Step 2
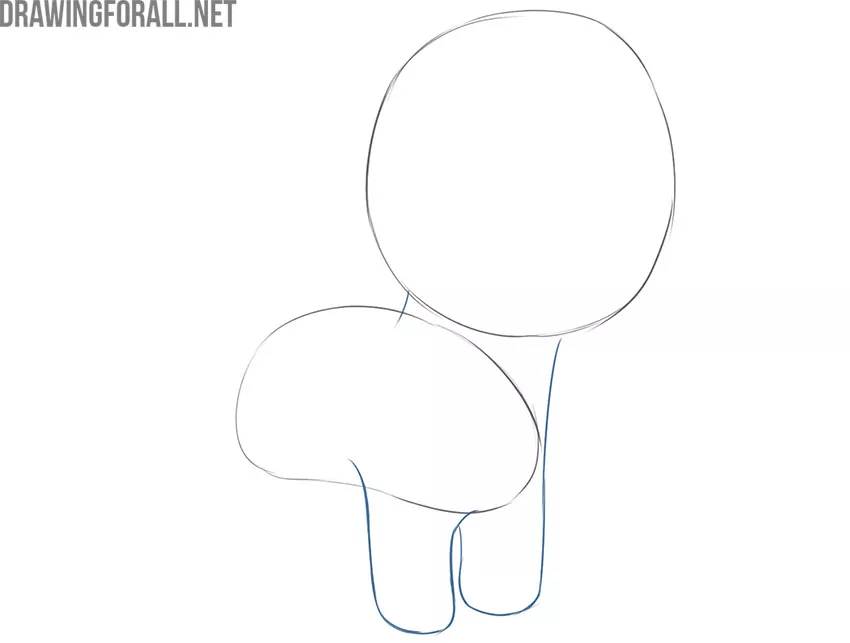
Connect the two shapes from the previous step using two lines. The back line is very short. The front line is much longer. As you can see, the front line continues into the outlines of one of the front legs. Do not forget to draw also the outlines of one more paw as in our sample.
Step 3
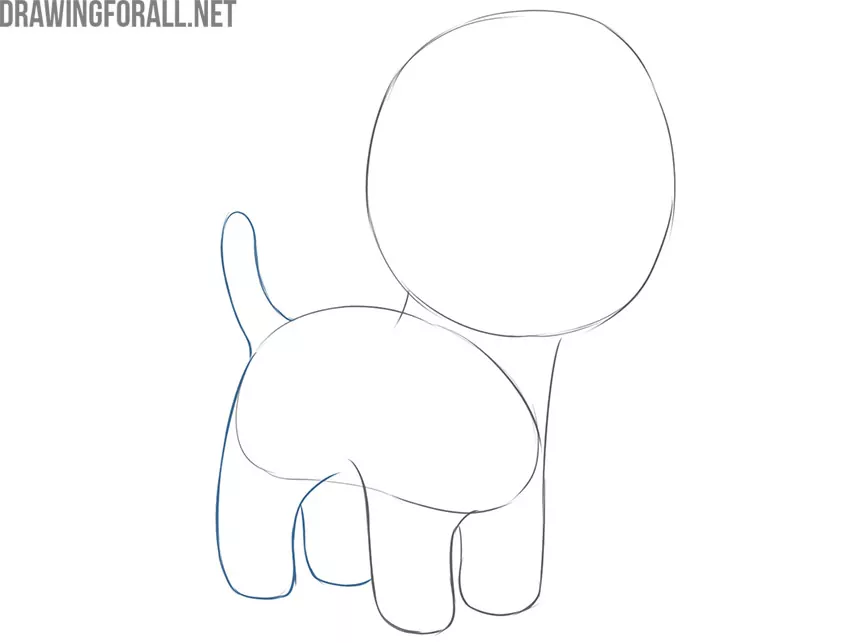
A little more action and we have a great dog drawn in a very simple style. If you look closely, you will see that this step has two lines. The first line forms the tail and front paw of our dog. The second line forms the smooth, rounded contours of the hind leg. The legs closest to us form an arch, inside which the hind leg is located.
Step 4
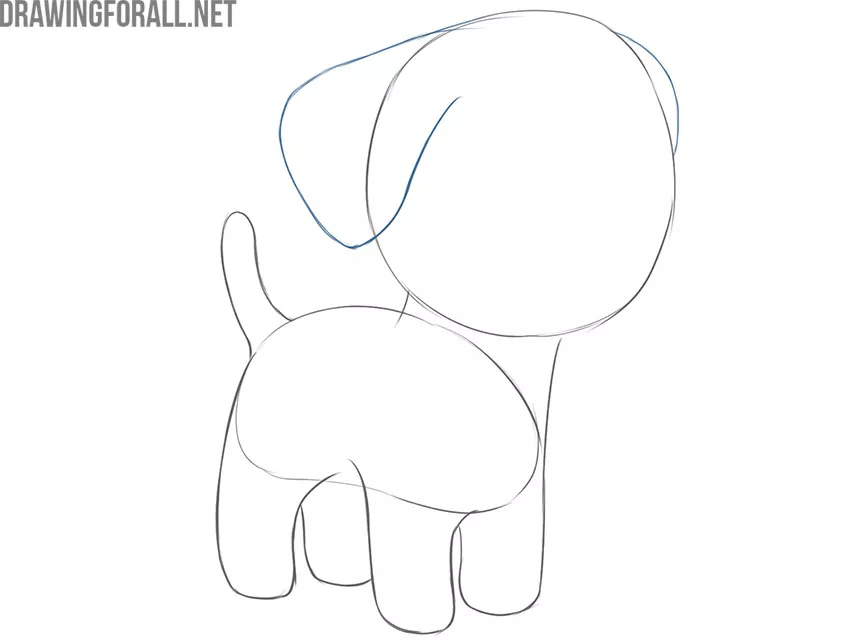
Our dog’s ears, like all other parts of the body, look very simple. Draw two more rounded shapes that are located on the lateral sides of the head. You can choose any shape for this pet’s ears. For example, triangular ears that are placed vertically will look great here.
Step 5
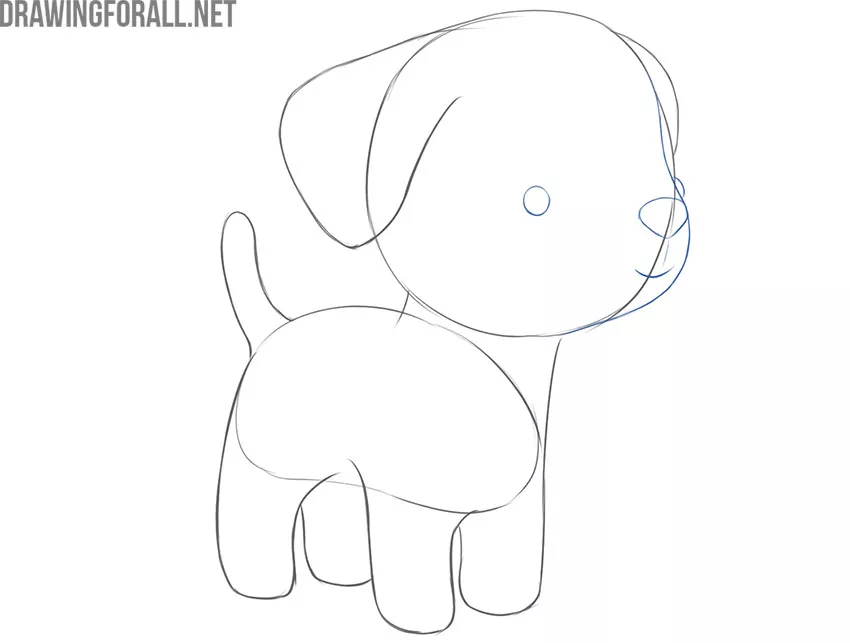
Draw the outlines of the protruding part of our dog’s face. This is actually a little more complicated than you might think. To avoid confusion, first, draw the nose as an inverted triangle. Pay attention to the ratio of the nose to the head contour. After that, draw a smooth line that goes over the top of the dog’s nose.
Step 6
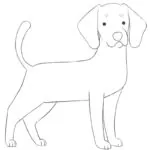
Delete all unnecessary guidelines. Check that all proportions and shapes are correct. Add accessories, shadows or wool texture if you want to complicate your art a little.

We hope this was a really helpful drawing guide. If your drawing is very different from what you originally intended, you need to find the step in which you made an inaccuracy and correct it. You can also bring your drawing to a mirror. In the reflection, you can see even the smallest mistakes.
We really tried to create a cool tutorial. Let us know in the comments how well it worked.


i did it thank u so munch u help me do it
Uhm mine didn’t turn out great but eh I’m not an artist anyways 😭
Mine either but hey thats ok! Ithink.🥚🧇
I so bad at this one can you do an better one next time that is cuter
how is this so hard? its very easy. mine turned out pretty much the same and I wasn’t even trying
omg same
Bro yes this is perfect.
Yeah, mine looks SO ugly compared to this! Please do something easier! Thanks! TTTTTwwwwwTTTTT
soooooooooooooooooooooooooooooooooooooooooooooooooooooooooooooooooooooooooooooooooooo cute!!!!!!!!!!!!!!!!!!!!!!!!!!!!!!!!!!!!!!!!!!!!!!!!!!!!!!!!!!!!!!!!!!!!!!!!!!!!!!!!!!!!!!!!!!!!!!!!!!!!!!!!!!!!!!!!!!!!!!!!!!!!!!!!!!!!!!!!!!!!!!!!!!!!!!!!!!!!!!!!!!!!!!!!!
so cute
hi i like chken
Omg mine turned out so bad