How to Draw a Gameboy
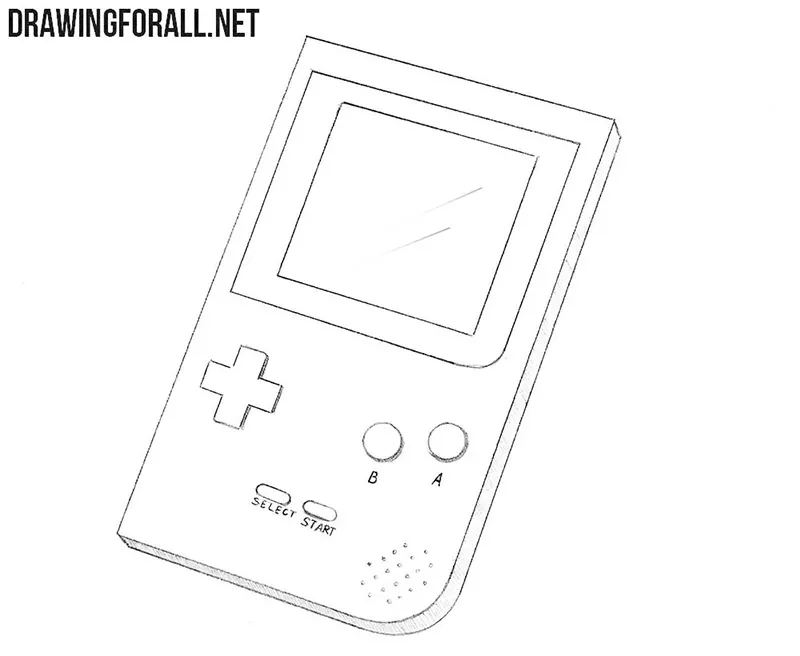
The game console Gameboy is very famous and important. Many people remember this amazing toy with a revolutionary color screen for its time. On the screens of this console appeared such iconic characters as Pokemons, Mario and Sonic. So we start a drawing tutorial on how to draw a Gameboy Color step by step!
Step 1
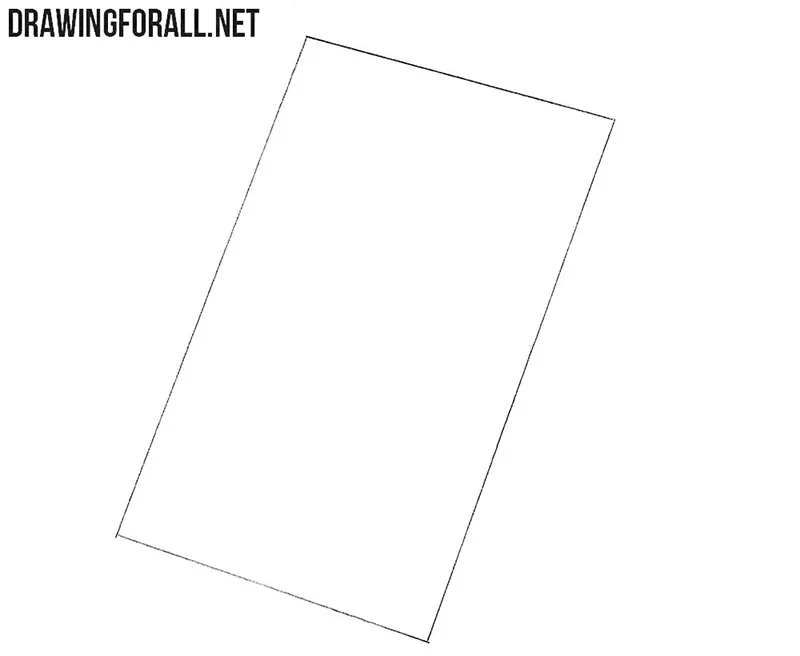
First we draw a parallelogram. If you want to draw a game console in a straight position, you should draw a regular rectangle and proceed to the next step.
Step 2
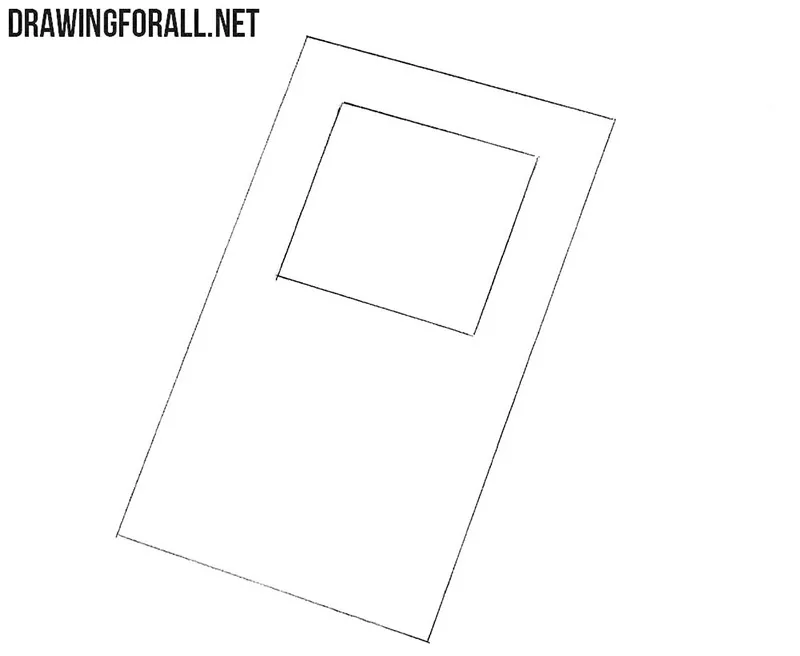
Draw a small rhombus inside the outline of the figure from the previous step. The rhombus should be located at the top of the parallelogram. If you are drawing the game console in a straight position, you should draw a square instead of a rhombus in this step.
Step 3
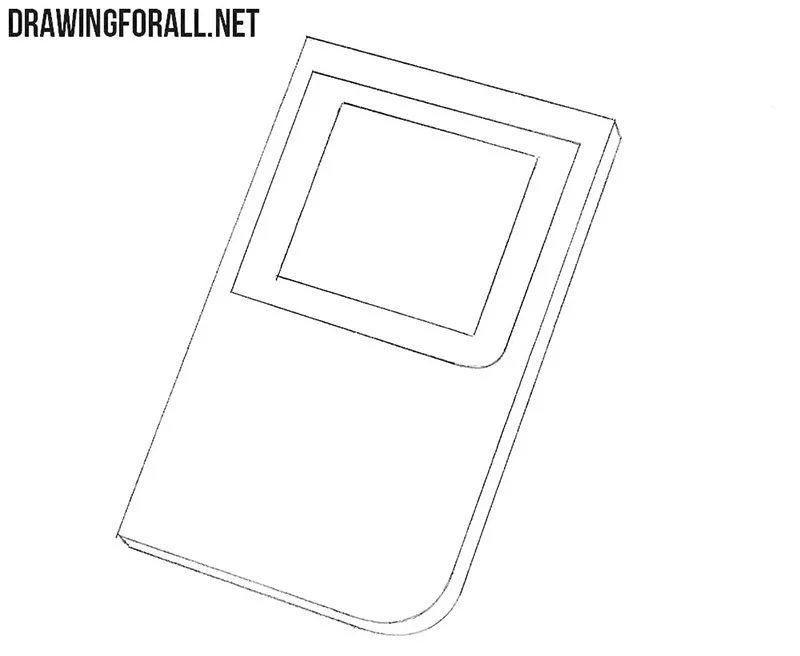
We draw the side face of the console body. Erase the lower right corner and draw instead a smooth, rounded line. After that we draw a rhombus around the small rhombus from the previous step. Please note that one of the corners of a large rhombus should also be rounded.
Step 4
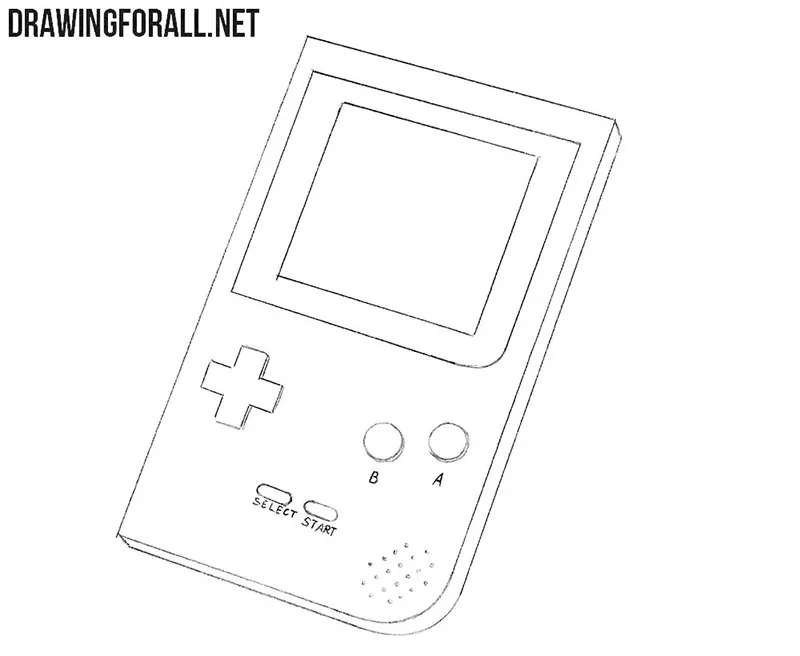
If you once held this iconic game console in your hands, you just remember how the buttons are located on Gameboy’s corpus. So we draw two round buttons on the right, a cross on the left and two small buttons on the bottom. Do not forget about a few round dots in place of the speaker.
Step 5
In this step, we will apply light shading to the side of our game console. Draw a pair of oblique lines on the screen. These details will make the console more realistic.

We just drew a very cool thing. This console for many has become synonymous with the word “childhood.” We accidentally thought about the game console Gameboy and decided to draw it. If you help us with new cool ideas, our site will become better and more useful. We are waiting for you in the comments!



Oooooooh very nice.Just as it looks like
Oh yes
Oh thank u for teaching me.
Thank you too
it was nice and I drew bmo from adventure Time
I would like to thank the creator because it helped me finish me art project.