How to Draw a Professor
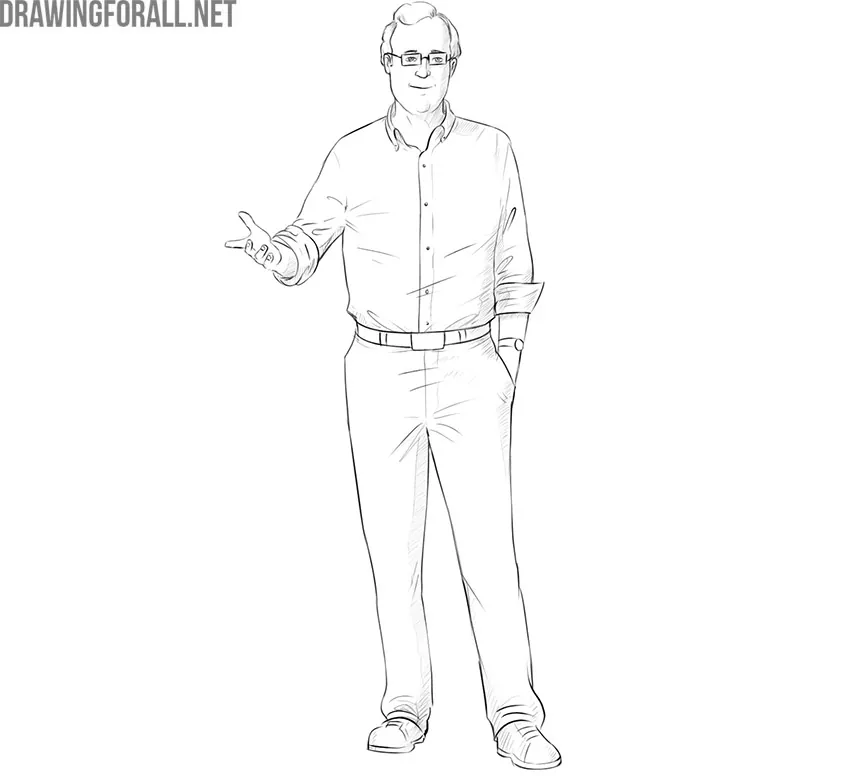
In this drawing guide, we will tell you how to draw a professor. This is not a specific person. We decided to use the stereotypical appearance of a man a little older than middle-aged, who has achieved great success in science.
Step 1
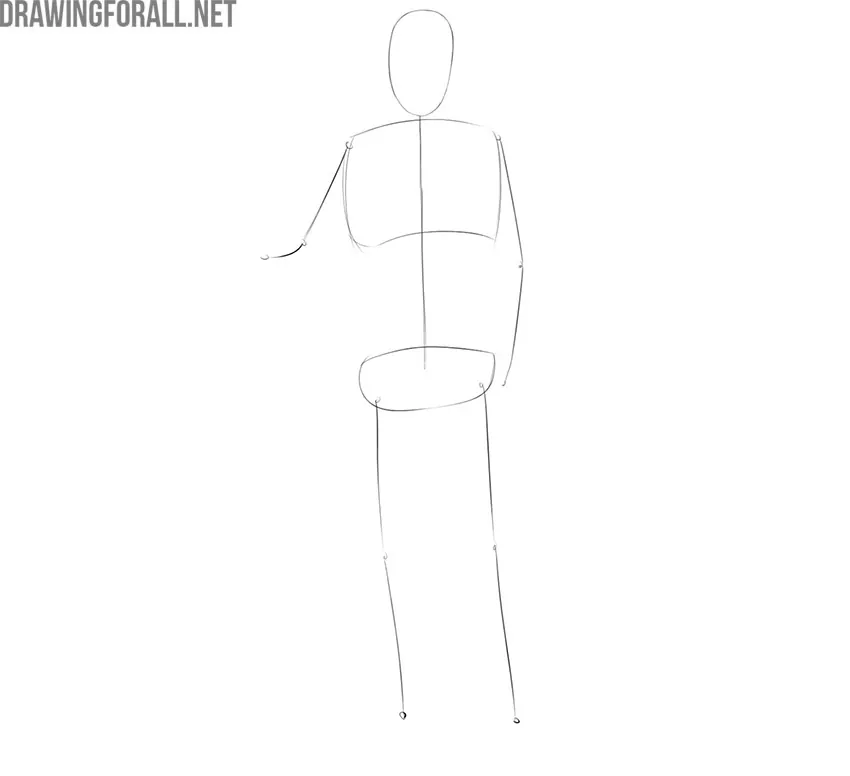
Firstly we outline a stickman. This will help us determine the location of our character on a sheet of paper and the basic proportions. So we see the figure of a plump man with a fairly narrow chest, which has approximately the same width as the pelvis. If you recall the heroes from the comics from our other articles, you will think about a narrow basin and a wide chest.
However, in our case, there is no wide pelvis. There are narrow shoulders and chest. This is what creates the illusion of a wide pelvis.
Step 2
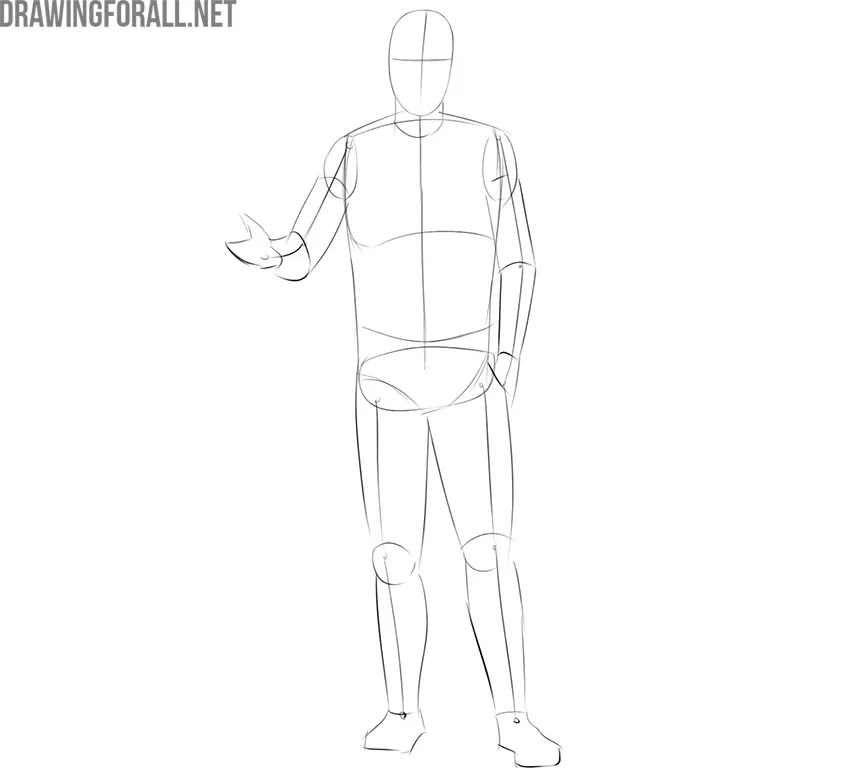
Let’s work with the torso. First, connect the chest and pelvis in straight lines. If these lines narrow slightly, this will not be a mistake. In place of the neck-sticks from the last step, we will draw a small strong cylinder. The lower part of the pelvis should be truncated by a pair of oblique lines as in our sample.

Step 3
We continue to create a voluminous silhouette of the professor. As we understand it, a professor may not be in perfect physical shape. His main superpower is his mind. Therefore, to depict the limbs of a professor, we use ordinary cylinders without noticeable bends, narrowings or extensions.
Step 4
Let’s draw the contours of the details, which will significantly bring us closer to the final result and shape the appearance of the professor.
We designate facial features in the form of small dashes. With rounded wavy lines, we outline the contours of the hair. We designate facial features in the form of small dashes. With rounded wavy lines, we outline the contours of the hair. Then we go down a little lower and draw the contours of clothes – sleeves, collar and the folds on the fabric.

Step 5
So, we continue the guide on how to draw a professor. Starting from this step we will draw the final lines. And we will start from the head. You can draw this step solely to your taste. Choose a shape for your professor or don’t draw glasses at all. Correct the contours of the hairstyle, draw the final features of the face.

Step 6
Now we go down a bit and work with the torso. In this step, we will draw the final contours of the torso. We see the traditional clothes of people who are associated with education and science. This is a shirt and pants. To make the outline of the shirt shape, we need to draw buttons, a collar and the cuffs.

Step 7
Well, now we need to work with the final contours of the hands of our professor. Here we will draw wrapped sleeves, folds on the fabric and, of course, hands. We made a special article about drawing fists, palms and hands, do not forget to read this post. After the hands of this professor become complete and realistic, you can erase excess lines and clean up the entire body with an eraser.

Step 8
The pelvic lines and long sticks that were needed for basic marking should not shine through the trousers, right? Of course, this should not be so. Therefore, we remove excess lines from the pelvic and leg areas. Before that, of course, you need to make sure that you draw these areas correctly.
Do not forget about folds on the clothes. This small detail gives the impression of completeness and realism.
Step 9
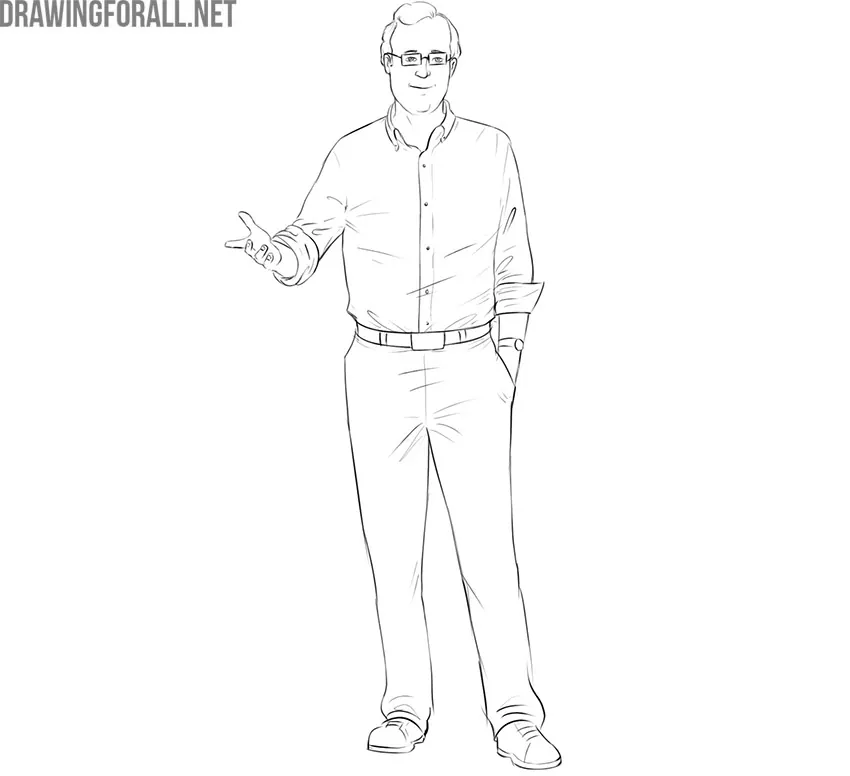
The last step is always working with the shadow. Let’s put some light shadows on this respected person. First, we locate the light source. After that, we apply light shadows on the opposite side. In our case, the shadows look like a light single-layer hatching on the shirt and trousers of our character.
Small areas of the shadow are also located on the temporal region of the head and neck.
It was a drawing guide on how to draw a professor. This is not an easy lesson, however, if you follow the phased order, you will get an excellent result. Do not forget to write to us about all the problems that you had while working on this drawing guide.


Wonderful Drawing !
Very helpful. My lines tend to be scribbly so it doesn’t look so good.