How to Draw a Muskrat
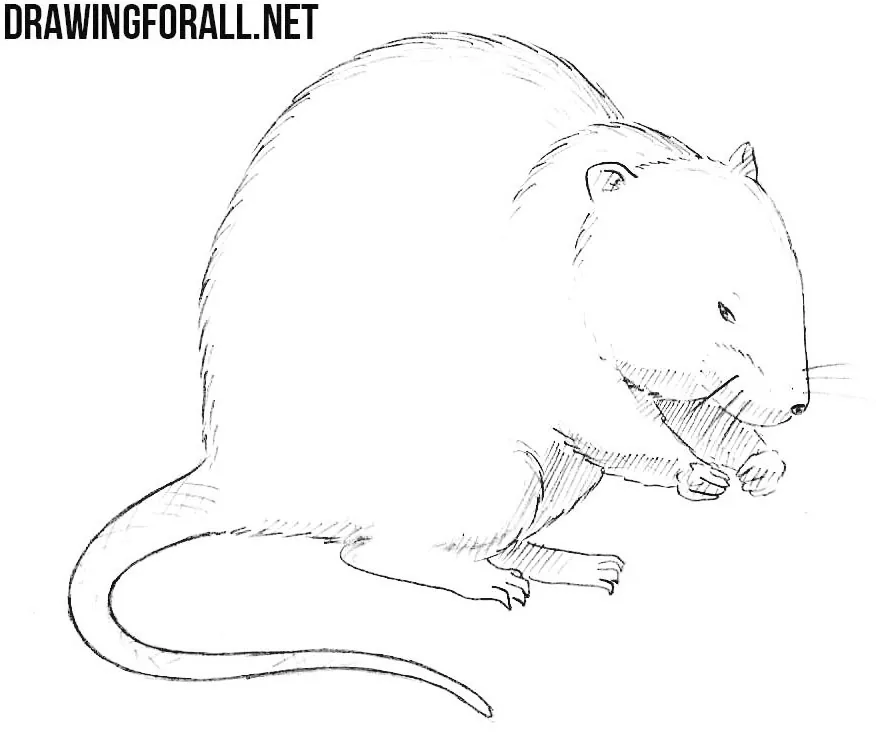
Hello, dear artist. DrawingForAll made for you a new drawing tutorial about how to draw a muskrat step by step. This rodent is actually very similar to a rat, but bigger and heavier.
Step 1
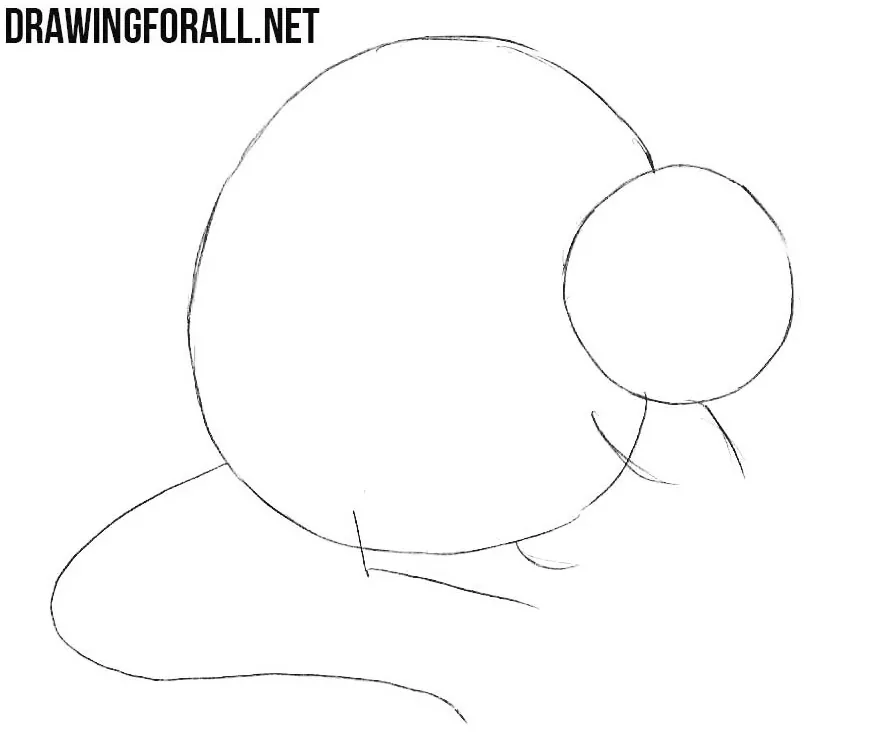
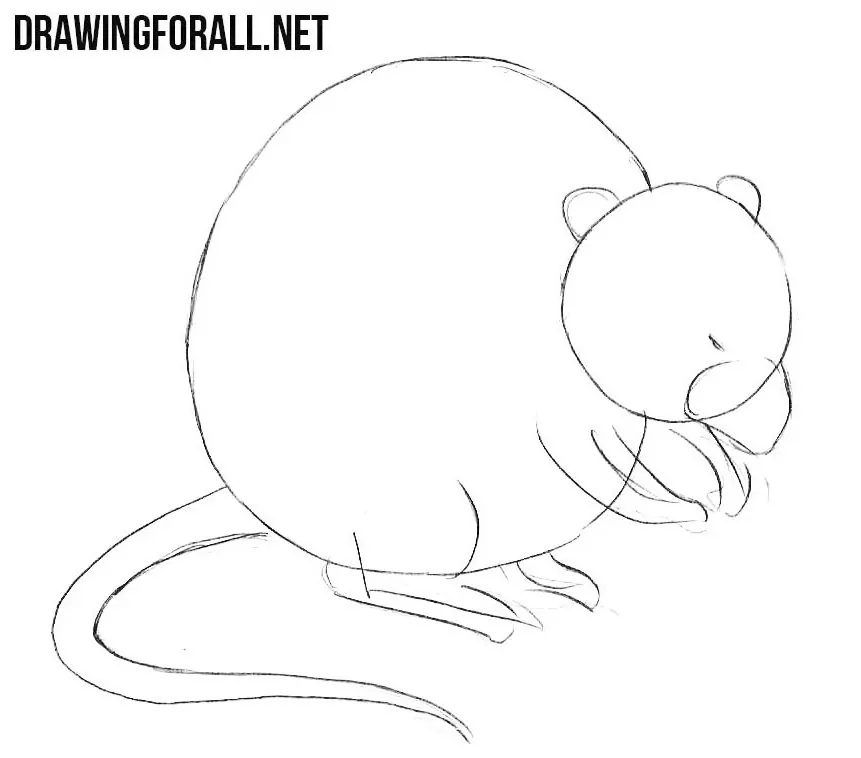
So grab a pencil and sketch out the head and torso using two circles. Using simple lines sketch out the limbs and tail. In the first steps we need to use very light lines.
Step 2
Sketch out the elongated muzzle and ears of our muskrat. Using short line sketch out the eye. Add some volume to the limbs and tail.
Step 3
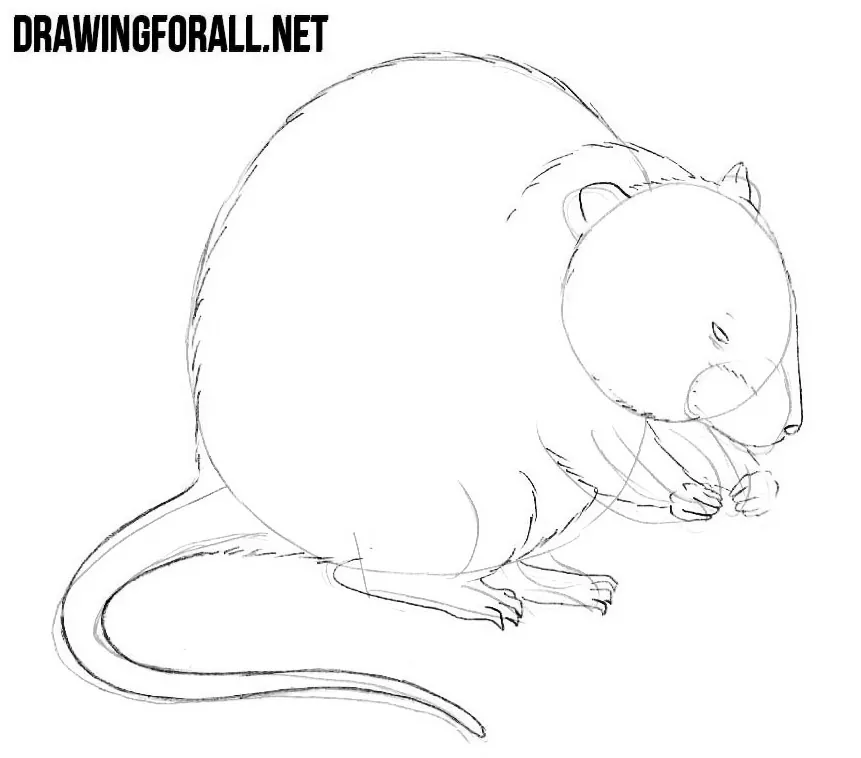
Using very short lines draw the fur as in our example. Note that the tail of the muskrat is not covered with fur. Draw out the details, such as the claws, nose and eye.
Step 4
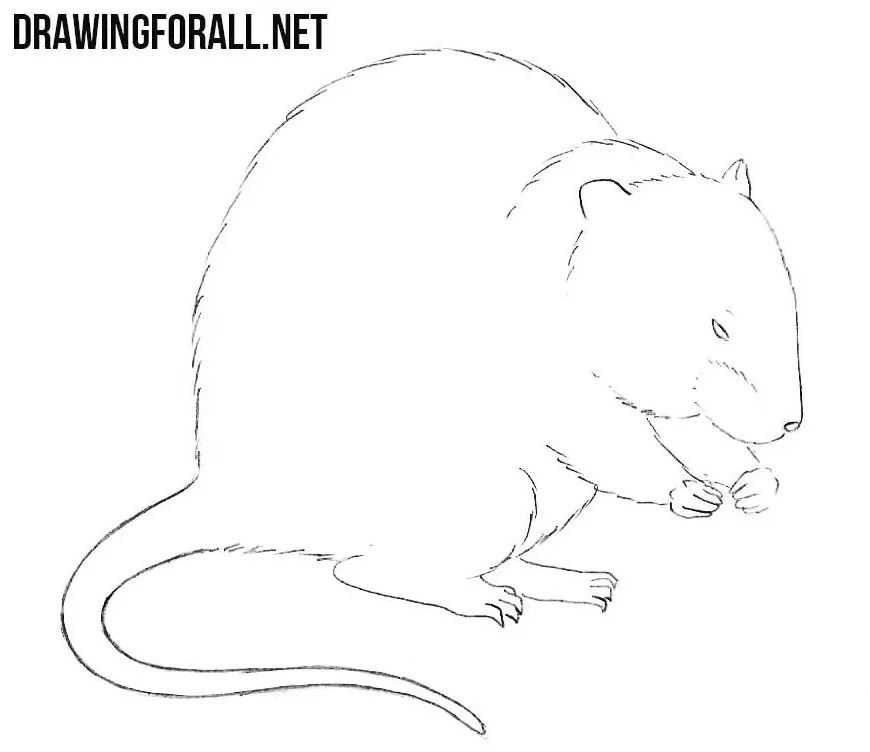
Continue the drawing lesson about how to draw a muskrat step by step. Here we need to erase all guidelines, that we drew in the first and second steps and make the lines more finished.
Step 5
Now with the help of hatching make the drawing more voluminous. If we imagine that light falls on the muskrat from above, then we will add shadows to the bottom. A little patience and the drawing is ready.

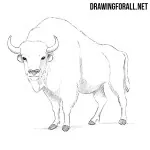
If you like this drawing lesson, then you will definitely like our drawing lessons from “animals” category. There you will find a lot of interesting lessons about very interesting animals, such as a bison or mantis.


