How to Draw a Squirrel Step by Step
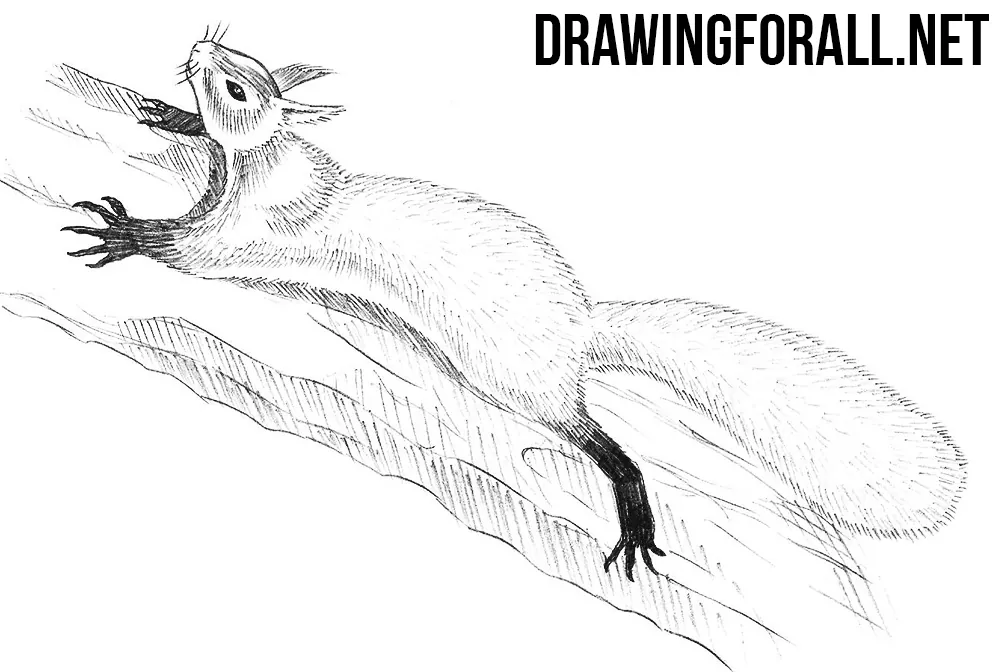
This drawing lesson will be devoted to how to draw a squirrel step by step, or rather it will be a drawing of how to draw a realistic squirrel. Recall that in one of the previous drawing lessons we have already shown you how to draw a squirrel, but the current drawing lesson will be a little more complicated.
Step 1
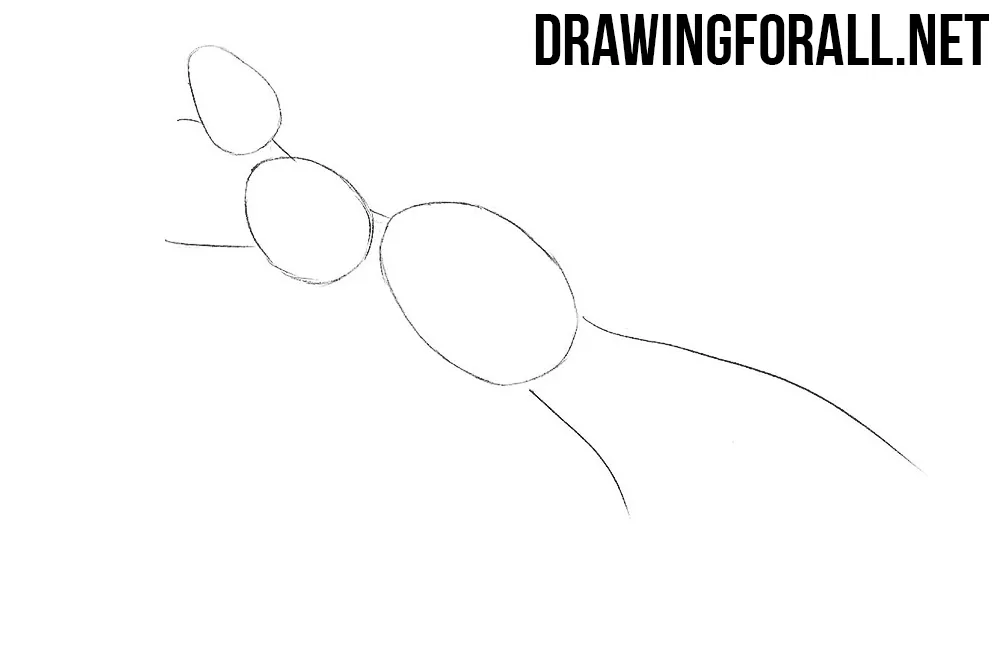
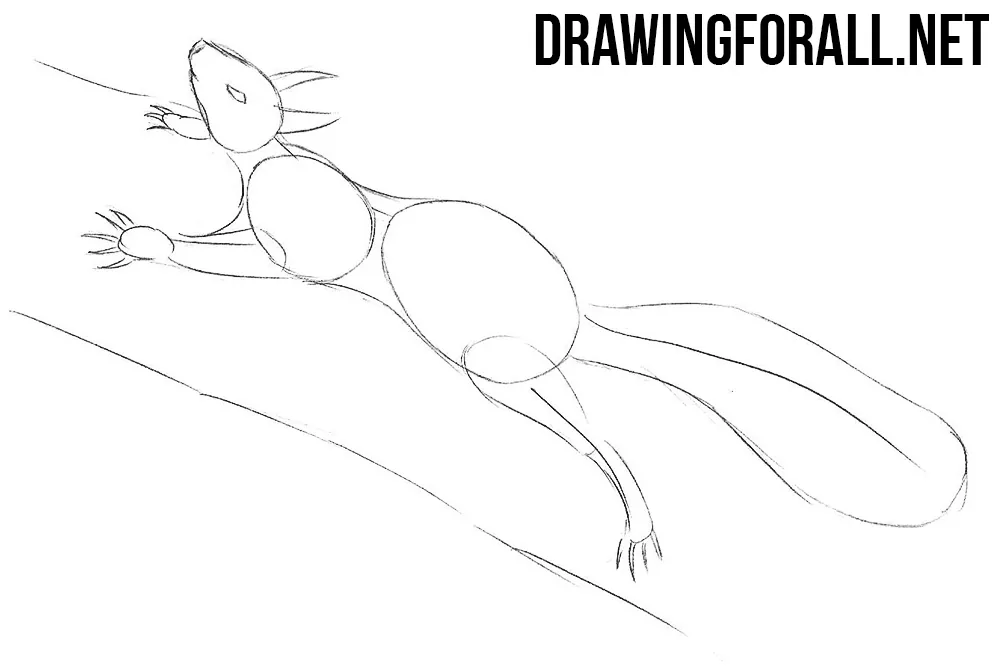
But in fact, even in this pose, it is not difficult to draw a squirrel. At the first stage we always draw a skeleton (be it man or animal). So make a head, chest and pelvis in the form of ovals. Next sketch out the limbs and tail.
Step 2
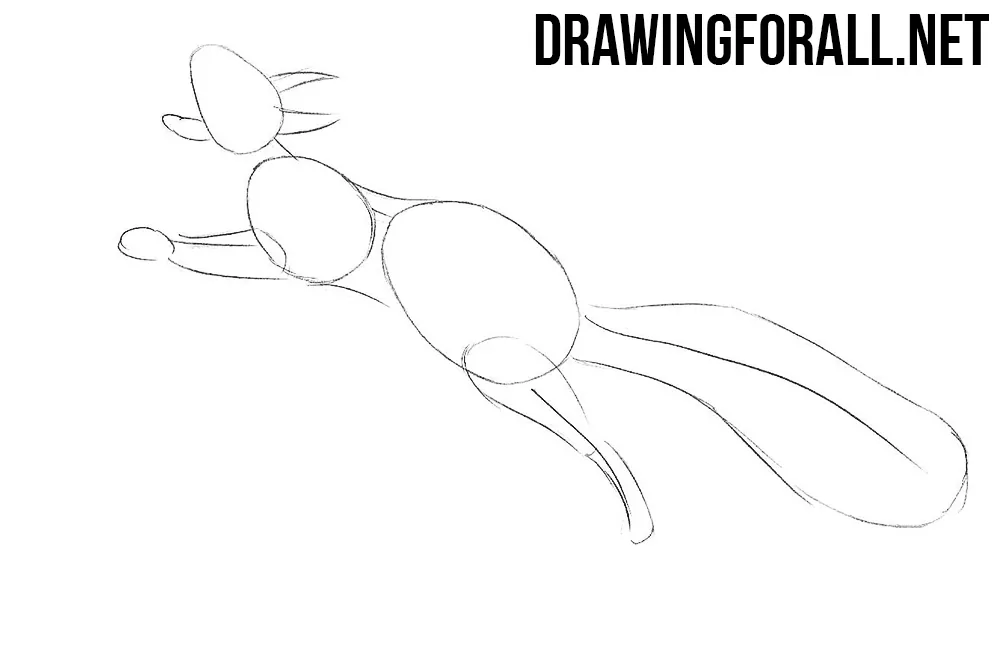
Add volume to the skeleton of our squirrel. First of all sketch out the ears. Next connect the ovals of the chest and pelvis, forming a torso. Add volume to the limbs and draw a magnificent tail.
Step 3
Using simple long lines sketch out the tree trunk as in our example. Draw the eyes and muzzle of our squirrel. And at the end of this step draw fingers with sharp claws.
Step 4
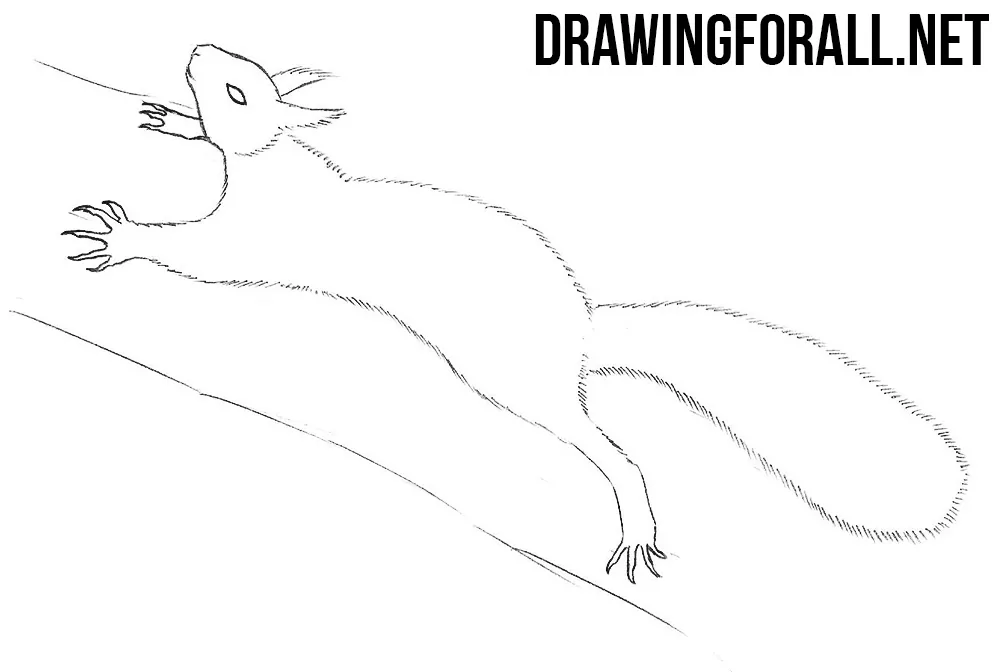
Erase all the additional lines that we drew in the first steps. Draw the head of our squirrel, making the lines clear and dark. Using short strokes draw the shape of the body of our squirrel. The outlines should be fluffy as in our example.
Step 5
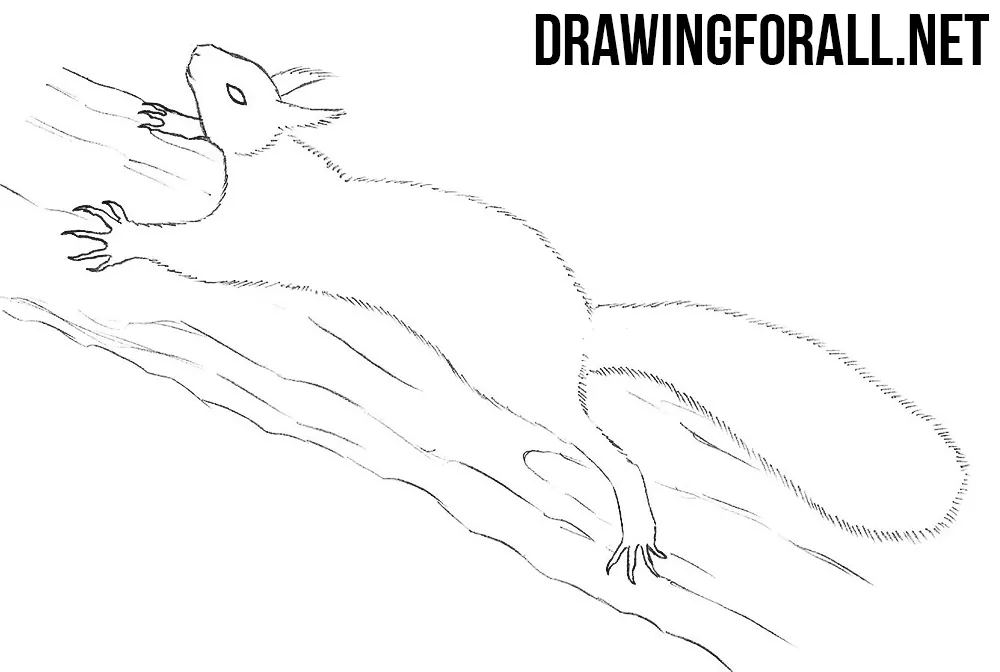
We continue the drawing lesson about how to draw a realistic squirrel. This is actually a fairly simple step in which we need to draw the texture of the tree with clear, long and uneven lines.
Step 6
Let’s make our squirrel more realistic and voluminous. Using short strokes add hair as shown in our example. Paint the paws and eyes in black, add shadows to the tree.

That’s all. Drawing tutorial about how to draw a squirrel step by step came to an end. As you can see, it’s very easy to draw shuch a realistic squirrel. Having practiced several times, you can learn to perfectly draw squirrels.


