

How to Draw a Muscle Car
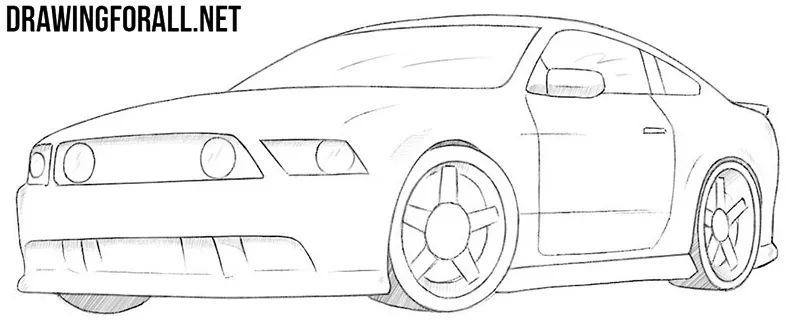
If you want to learn how to draw a muscle car, this drawing tutorial will show you how to do it step by step.
These powerful machines were created not only to take you from one place to another, but also to deliver plenty of excitement.
Big, heavy, loud, and rough, muscle cars have everything that makes the American automotive industry of the 1960s so appealing. So, let’s start drawing a muscle car.
How to draw a muscle car step by step
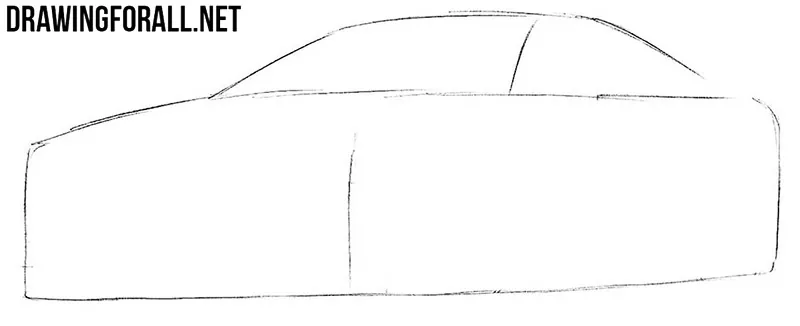
Step 1: Sketch the muscle car body
First, sketch the outlines of the muscle car body. Use very light lines so you can easily make corrections in the following steps. To give the car the characteristic appearance of a muscle car, draw a large, powerful body with a low roof.
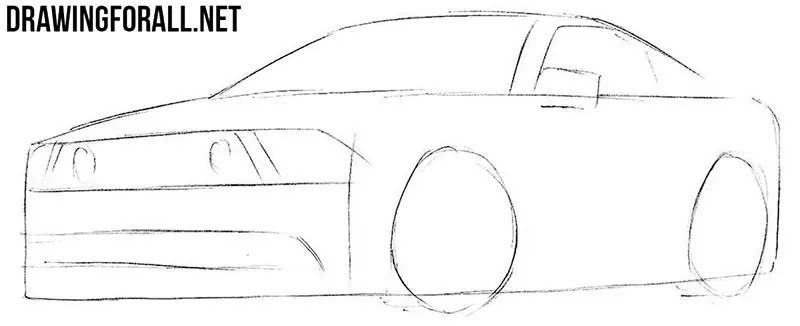
Step 2: Add the main details
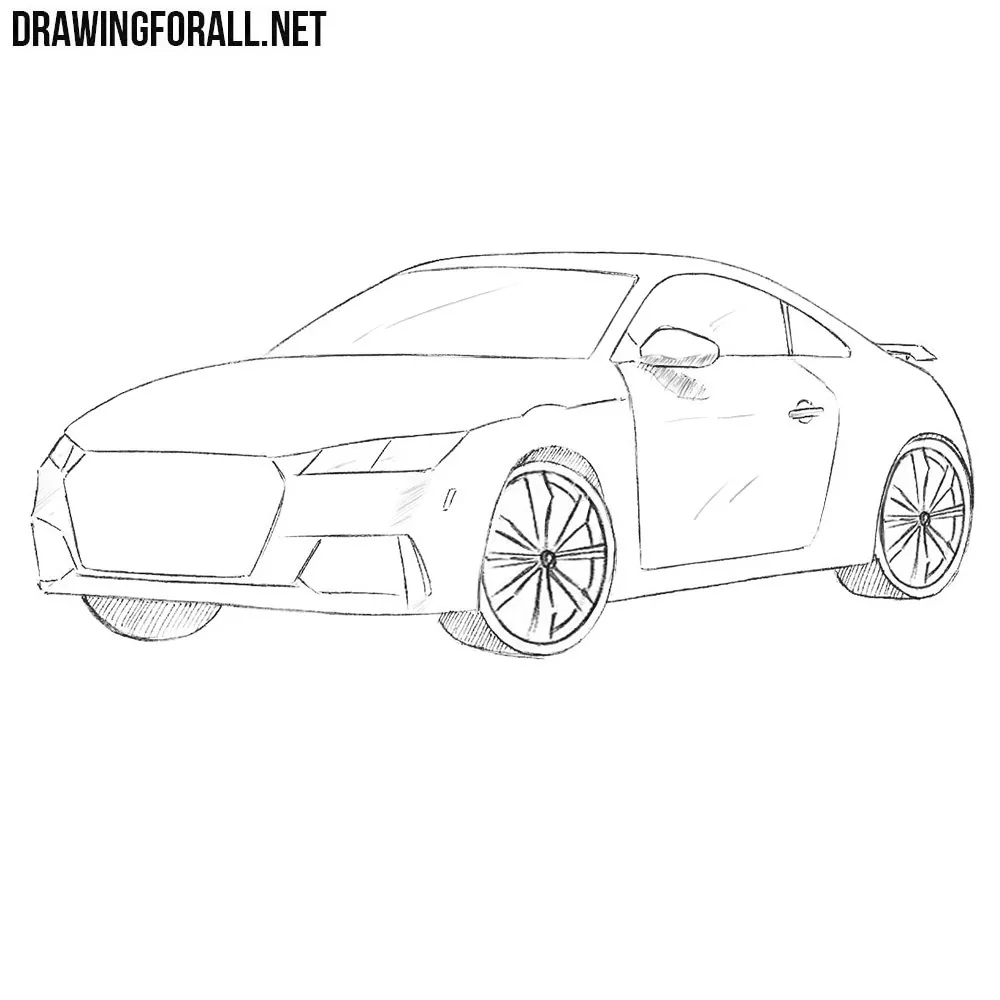
Now mark the positions of the main details on the muscle car drawing. Start at the front by outlining the distinctive grille and round headlights. Next, sketch the large tires, the windshield, and the line of the side windows.
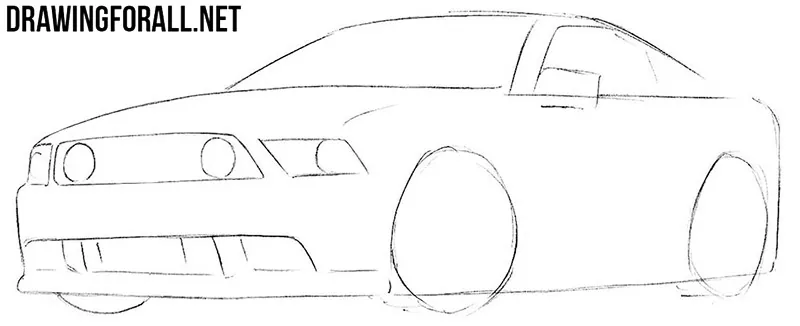
Step 3: Draw the front of the car
The basic sketch of the muscle car is complete, so now start drawing the car with clearer and darker lines. Begin at the front of the coupe and carefully draw the round headlights. Older generations of the Ford Mustang had round headlights, as did many classic muscle cars. Next, draw the bumper and hood.
Step 4: Draw the roof and windows
As mentioned above, muscle cars usually have a fairly low roof. Draw the upper part of the muscle car with clear lines, including the roof, windshield, and side window. Then add the side mirror. By the way, you can also draw a large air intake protruding from the hood.
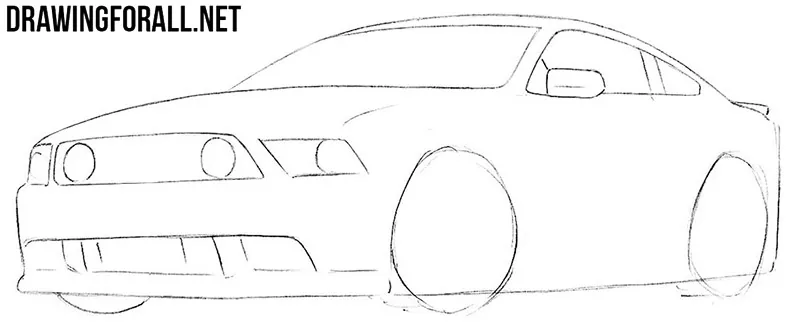
Step 5: Add the side details
There are quite a few lines and details on the side of this powerful American coupe, and we will draw them in this step. Draw the door, the side skirt, and the design lines running along the side of the body. Since you are drawing a coupe, only one door is visible on this side. Do not forget to add the door handle.
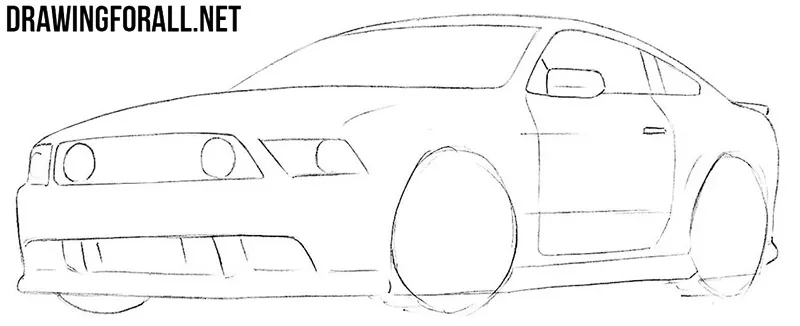
Step 6: Draw the tires and rims
Now carefully draw the tires and make their outlines as smooth and rounded as possible. Then draw the outlines of the rims inside the tires. Check the wheels against each other so they look consistent in size and shape.
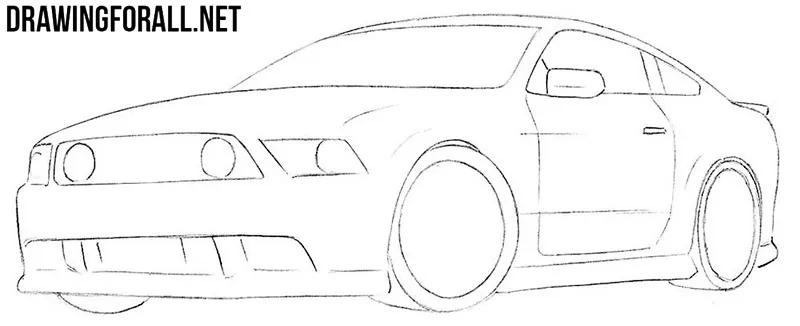
Step 7: Add details to the rims
First, draw the central hubs, then the spokes radiating from them. Classic muscle cars usually had relatively modest wheel sizes, but modern versions often use much larger rims. You can draw the rims in the same style as our example or choose another design that you like. Make sure the corresponding details on both rims match each other.
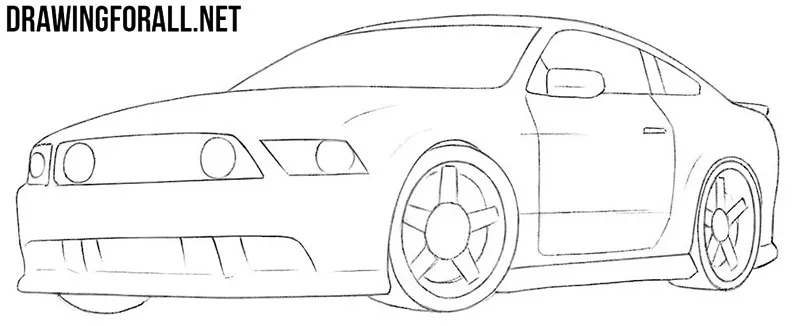
Step 8: Add shadows to the muscle car
The muscle car drawing is almost complete, and now we need to add shadows to give it more volume. First, determine the direction of the light; in our example, it comes from above. With this in mind, add shadows with simple hatching. Vary the pressure on the pencil to make some areas lighter or darker.
Muscle cars have changed considerably over the decades, so you can use these steps to draw cars from different eras.
Change the shape of the body, headlights, grille, wheels, and other details to depict the muscle car you want.
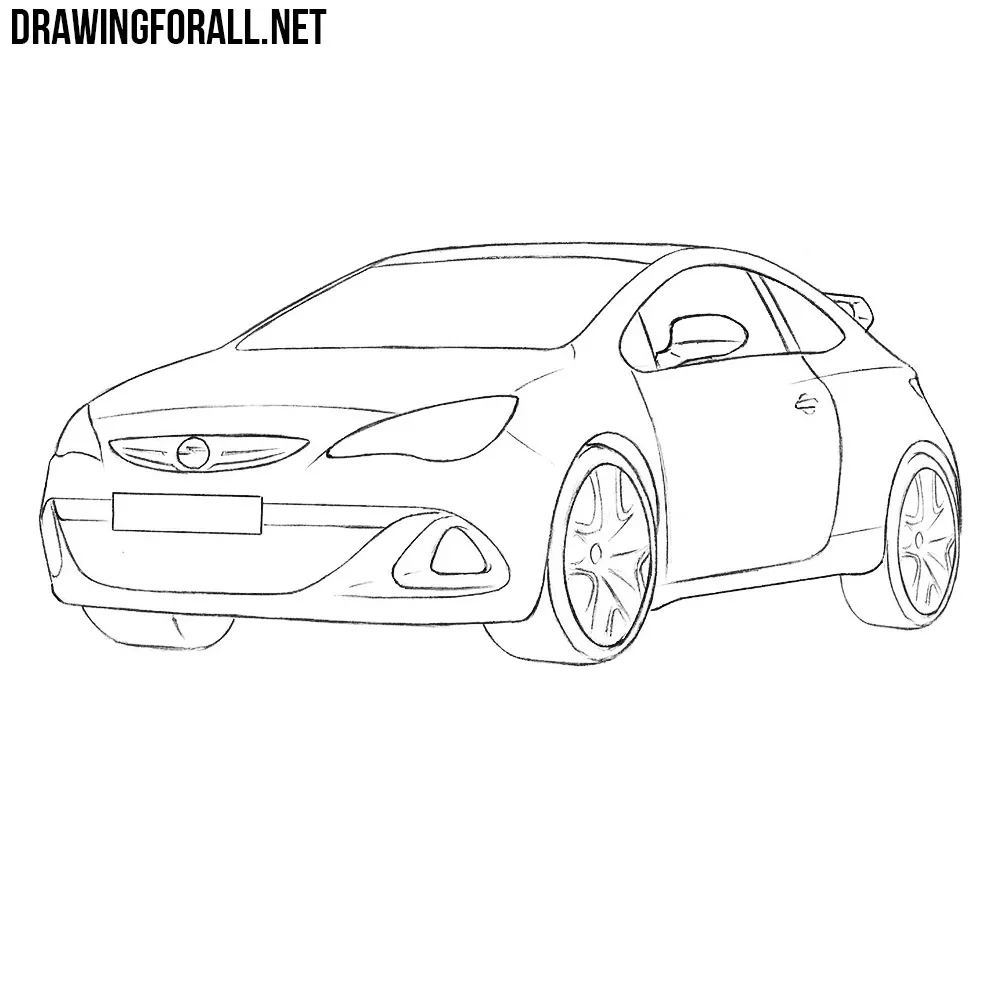
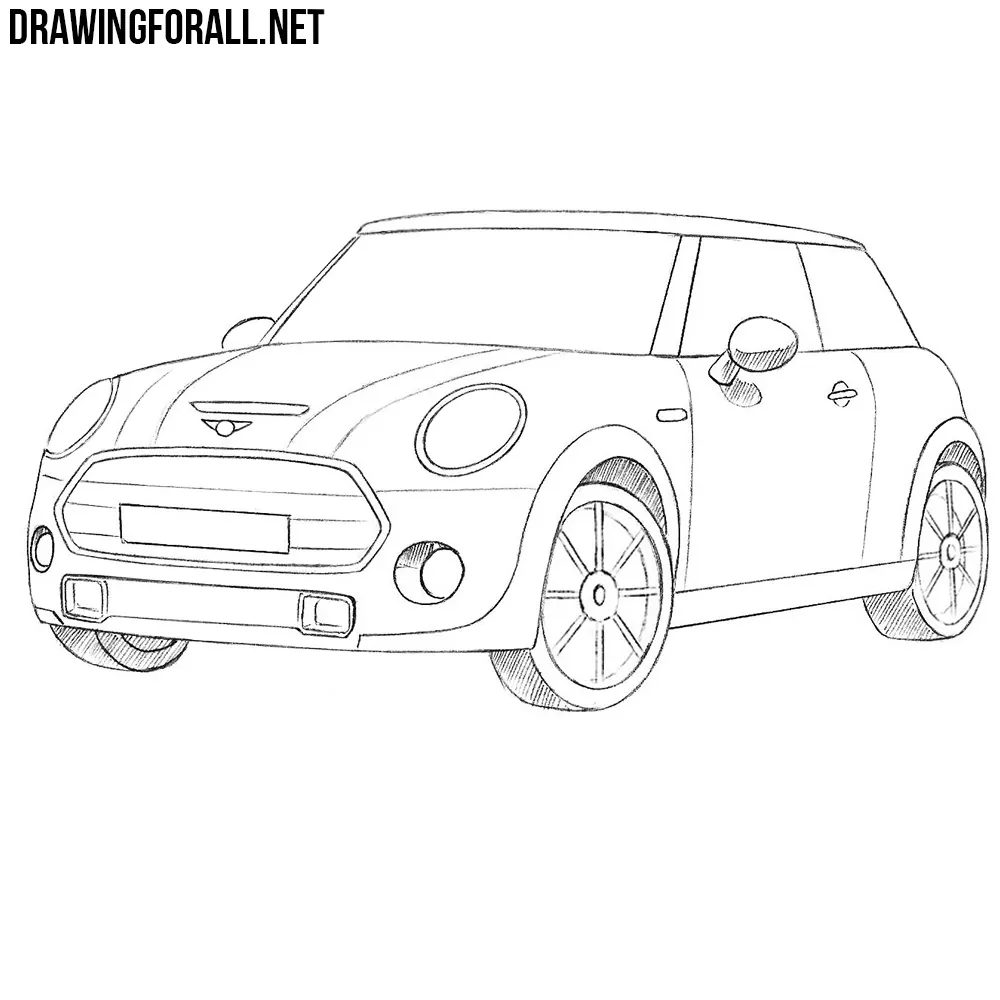
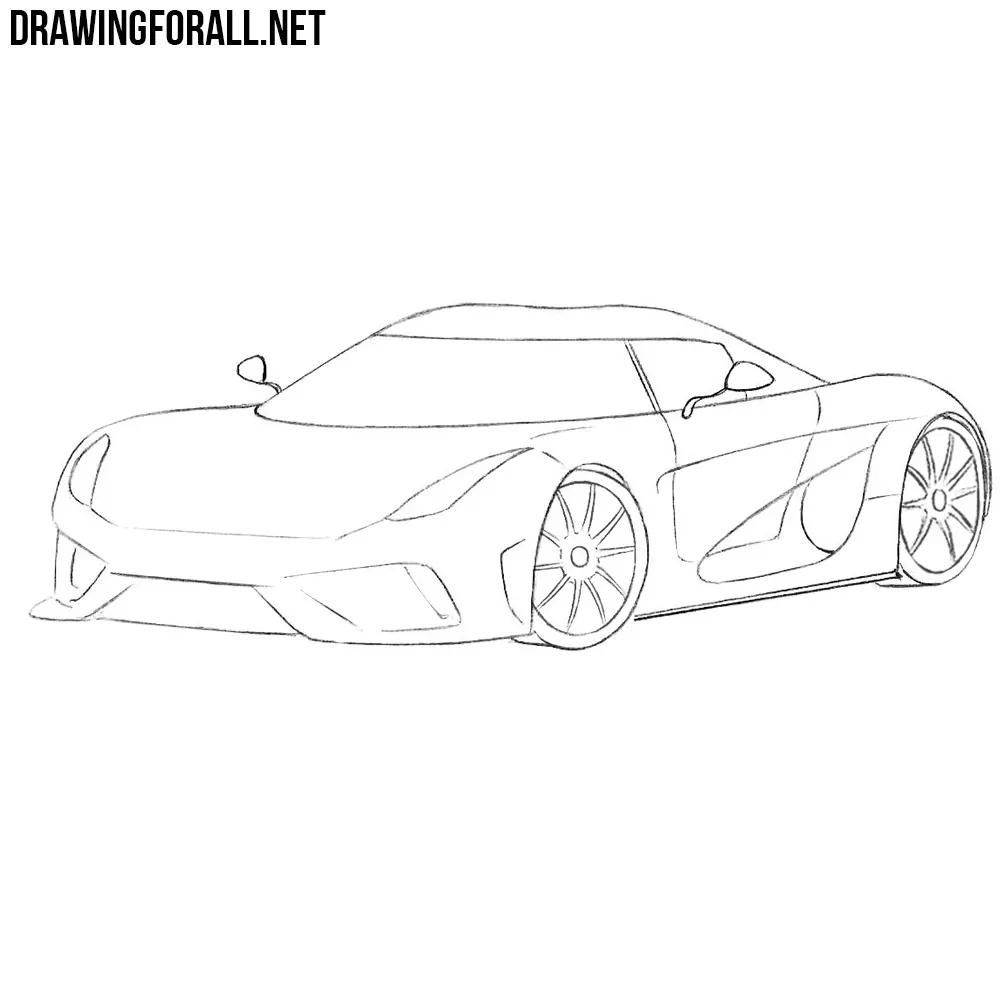
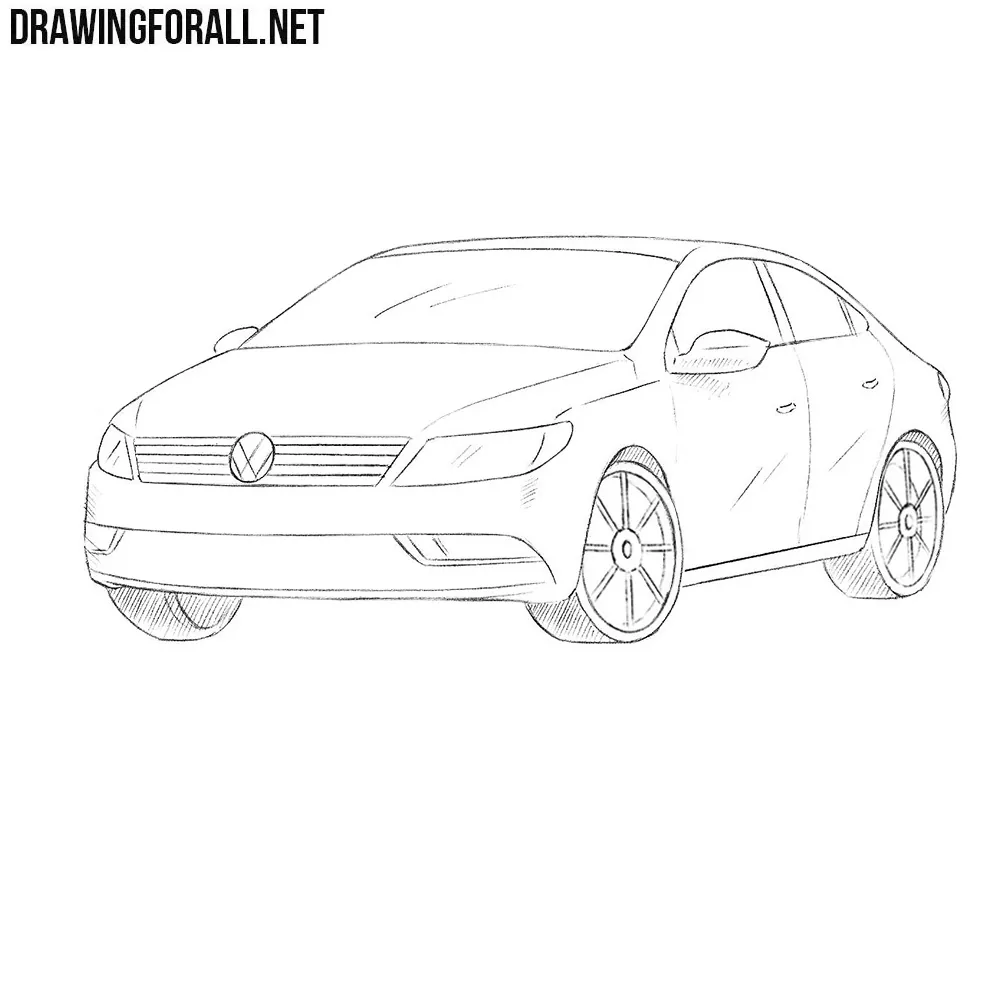
Next, you can draw a sports car and use the same basic principles to depict another type of two-door car.


nice car
can you make a dodge ram 2500 truck with a cattle guard.