How to Draw a Mitsubishi Lancer
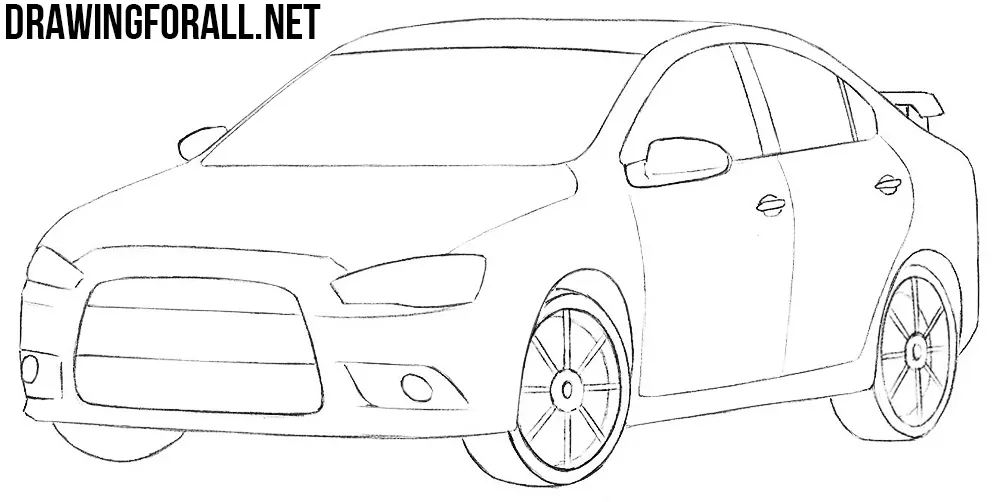
With this intuitive and very detailed drawing lesson, you can easily learn how to draw a Mitsubishi Lancer Evolution. Take a pencil, paper, eraser and repeat all steps like in our lesson.
Step 1
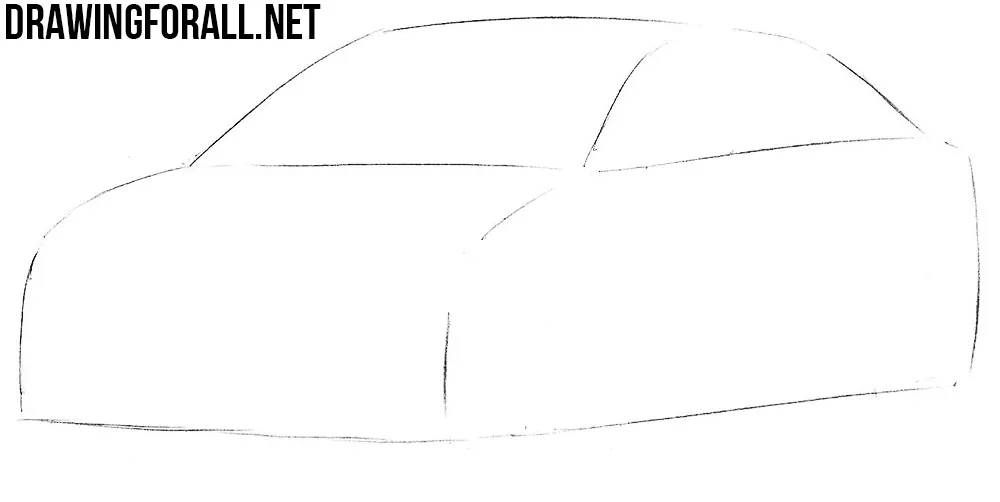
So, let’s start with the body of our Mitsubishi Lancer. It is drawn in exactly the same way as body of any other car from our site (from Ferrari to Honda Civic). So with the help of simple lines sketch out the body and move to the second step
Step 2
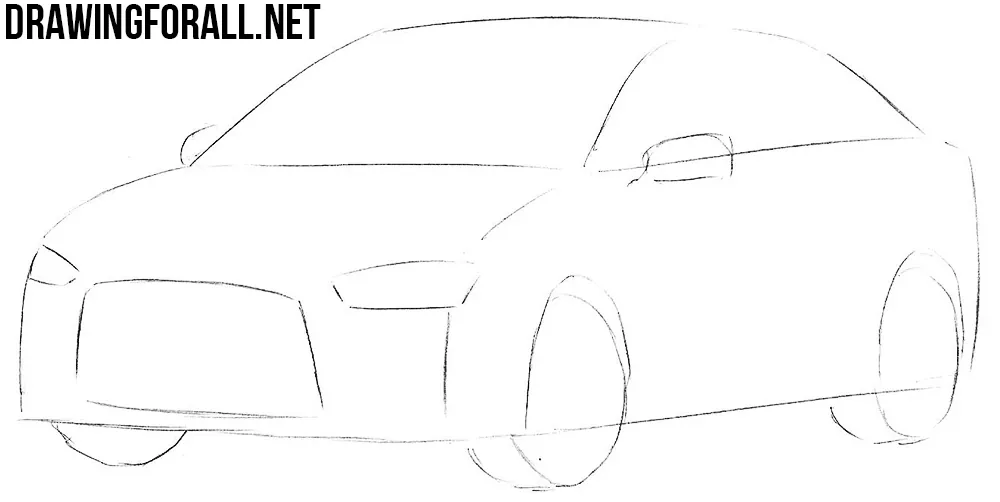
Let’s outline some of the basic details of our car. In the front part, using light lines, we sketch out the headlights and radiator grille. In the lateral part we sketch out a rear-view mirror and wheels.
Step 3
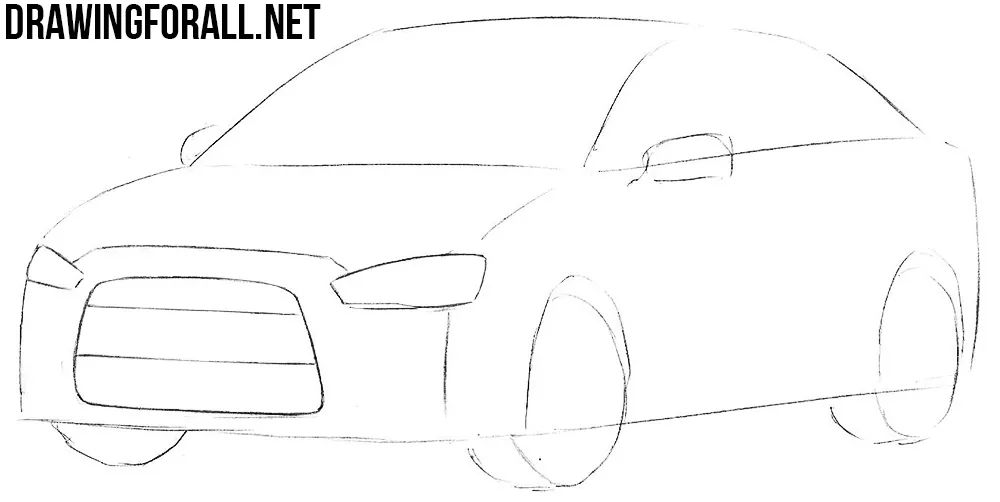
Using clear and dark lines we draw out the headlights and connect them with a bumper line. Between the headlights draw a large grille.
Step 4
Now draw the bumper with fog lights and bonnet lines as shown in our drawing lesson. Do not forget to erase all the extra lines from the front of our Lancer.
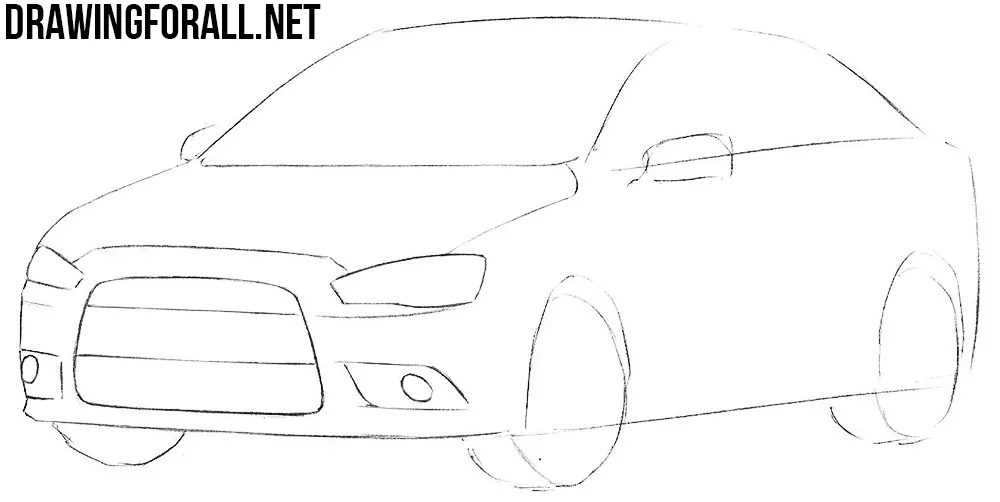
Step 5
The bonet lines smoothly flow into the roof and then pass into the rear. Using smooth and flowing lines draw out the windows and mirrors.
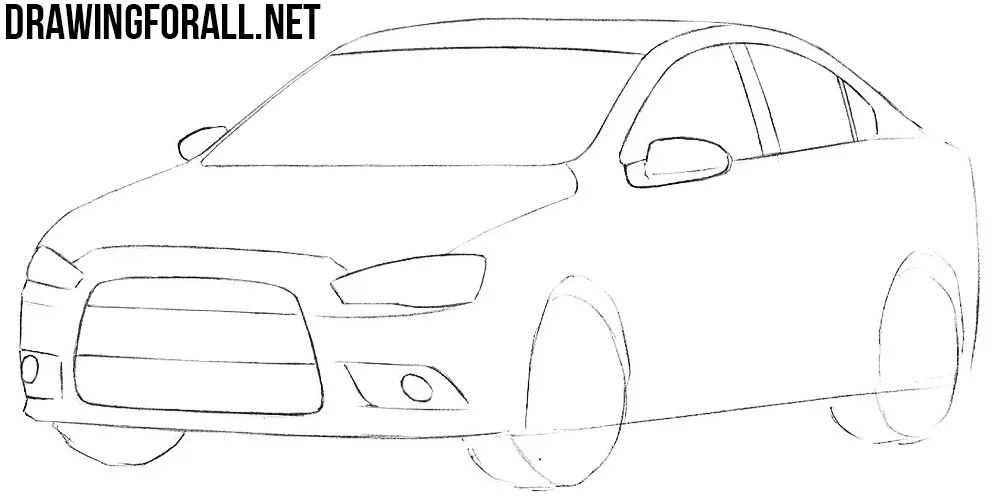
Step 6
Using light but clear lines draw out the doors and door handles. Next, draw the trunk and spoiler and move to the next step.
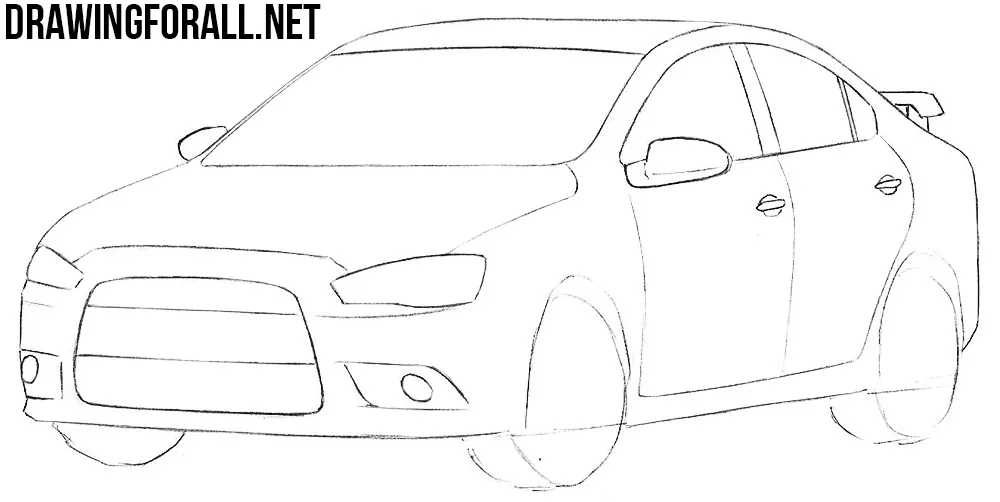
Step 7
Draw the wheel arches, the wheels themselves and erase all unnecessary lines from our drawing. At this step, all lines of the drawing should already be smooth and clean.
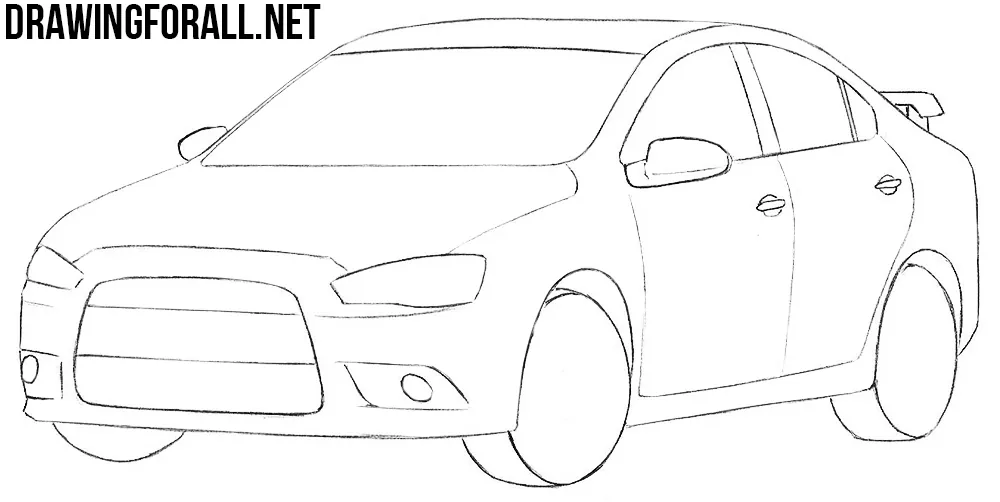
Step 8
Quite a painstaking step, because here we need to draw rims. First, draw an oval shape of the rims. Then draw the center of the rims and the spokes that diverge from the center to the edges.

Drawing tutorial about how to draw a Mitsubishi Lancer Evolution. But that’s not all, because our site is full of cool drawing lessons about cars. Using the “cars” section on our website you can easily draw any car.





Superb!!! It looks like the one in ASPHALT NITRO!!!!