How to Draw a Ladder
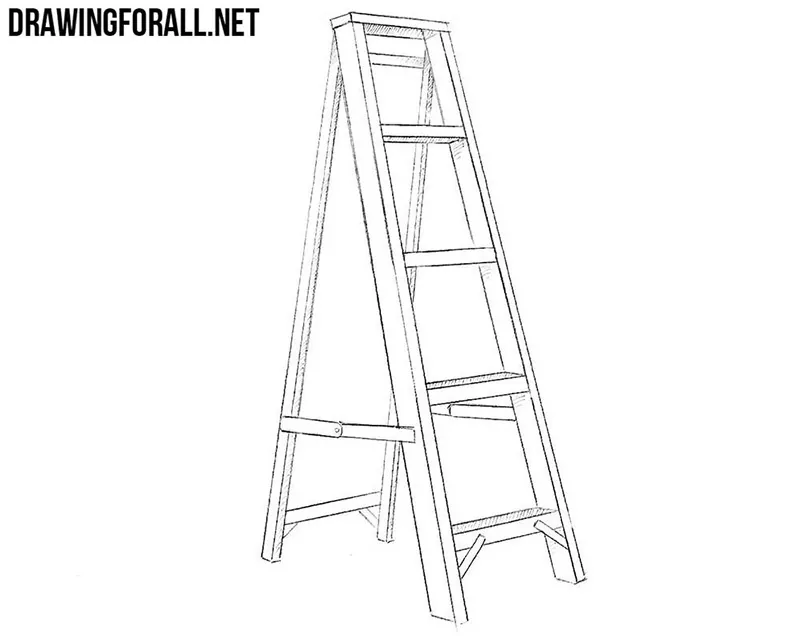
In this drawing tutorial, we will show you how to draw a ladder, an object that is useful for practicing drawing skills for beginners and professional artists alike.
Drawing a ladder is actually not difficult because it consists of many straight lines placed at certain angles. The most difficult part is drawing all these lines correctly, preferably without using tools such as a ruler.
As always, we have divided this ladder drawing tutorial into six very simple steps consisting of even simpler actions.
How to draw a ladder step by step
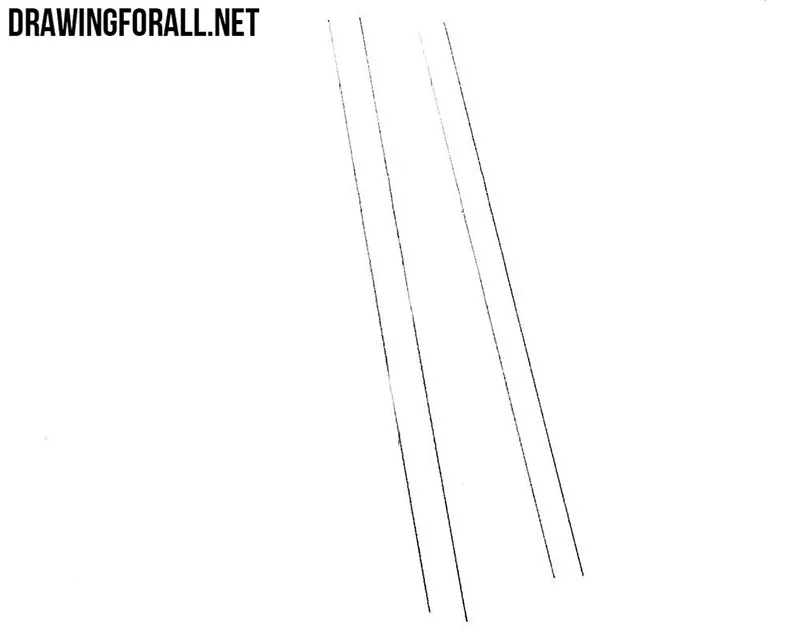
Step 1: Draw the ladder sides
Start constructing the stepladder with the simplest part: draw four straight lines as shown in the drawing. To practice your straight-line drawing skills, try to complete this step without a ruler.
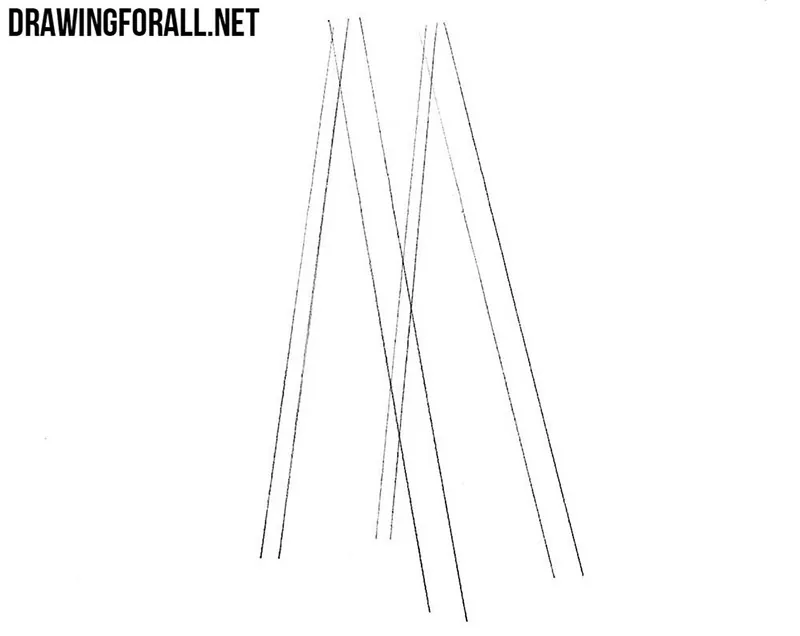
Step 2: Add the inner side lines
Now draw four more lines arranged in two pairs. The lines in each pair should be closer together than the lines from the first step. The basic form of the ladder is now drawn, and next we will add smaller details.
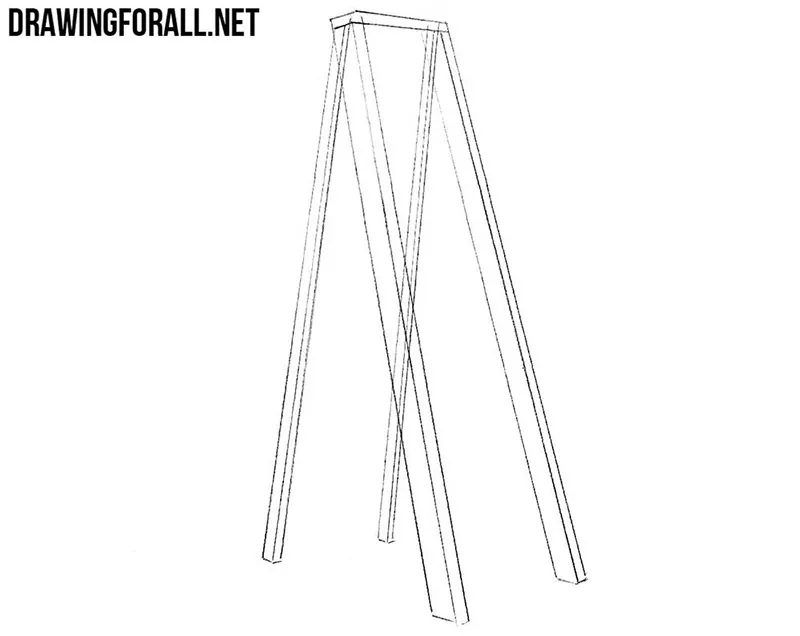
Step 3: Draw the top platform
This is a very simple step. Draw the top platform with a pair of long lines and a pair of short ones. As you draw the stepladder, pay attention to the angles and distances between the lines so the object does not look flat or distorted.
Step 4: Add the ladder steps
Draw the steps of the stepladder. On the upper steps, more of the lower surfaces are visible. On the lower steps, the upper surfaces are more visible. This difference helps give the ladder a three-dimensional appearance.
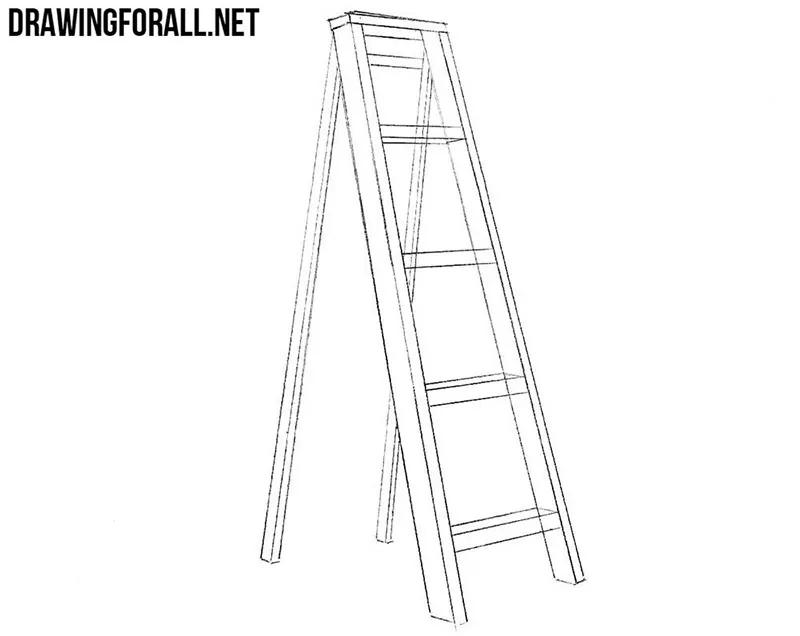
Step 5: Erase guides and add spreaders
Now take an eraser and remove the unnecessary guidelines from the stepladder drawing. Then add the spreaders on the sides of the ladder.
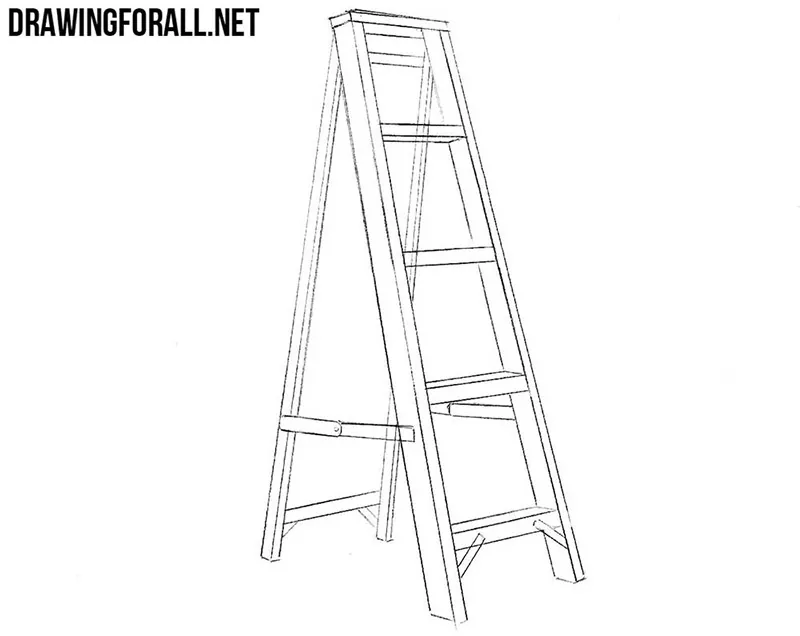
Step 6: Add shadows to the ladder
Remove any remaining auxiliary lines with an eraser and add shadows. In our drawing, the light falls from above, so place the shadows in the areas that receive less light.
This guide on how to draw a ladder will be useful for anyone who wants to practice drawing straight lines. If you could not draw a straight and even stepladder on the first try, practice until your ladder drawing looks close to the one shown here.
The stepladder also gives you a simple way to practice perspective. Its steps, rails, and top platform are made of flat surfaces positioned at different angles. Their visible shapes change depending on the viewing angle.
Try drawing the same stepladder from a lower or higher viewpoint. You can also open it wider or change the number and spacing of the steps.
Next, try to draw stairs, which consist of similar straight lines and repeated forms.