How to Draw a Lion for Kids
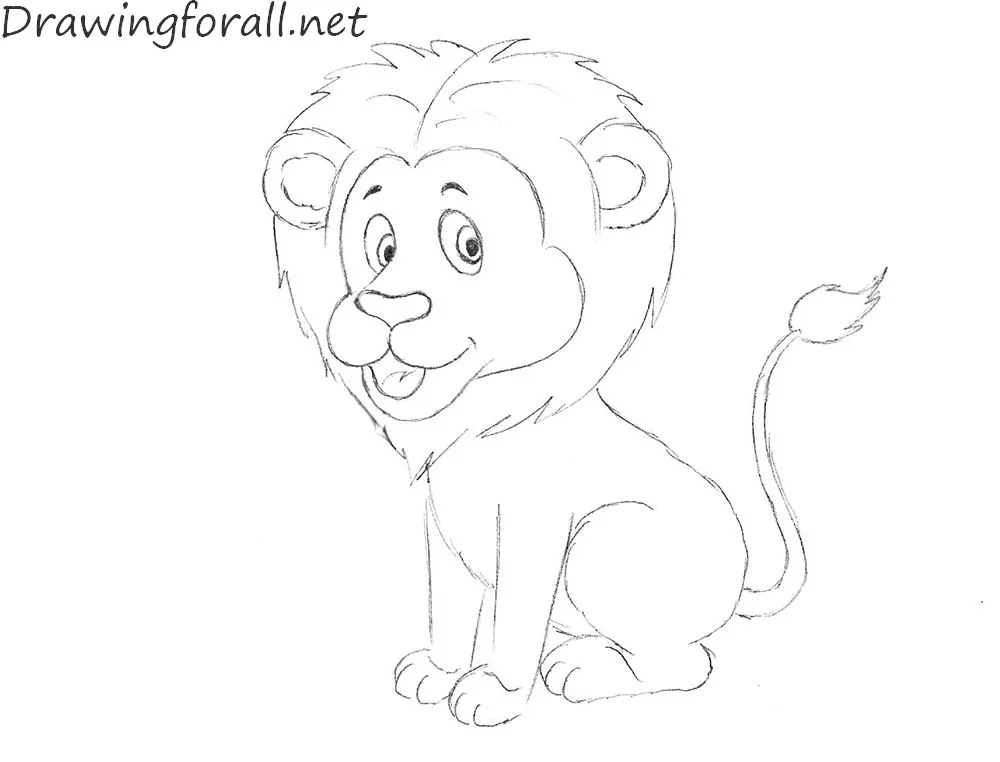
Hello, dear friends! We present you a new drawing lesson for kids in which we will show you how to draw a lion. It’s going to be a very simple lesson.
We have divided the tutorial into a several simple steps. So, let’s start the tutorial and learn how to draw a lion for kids.
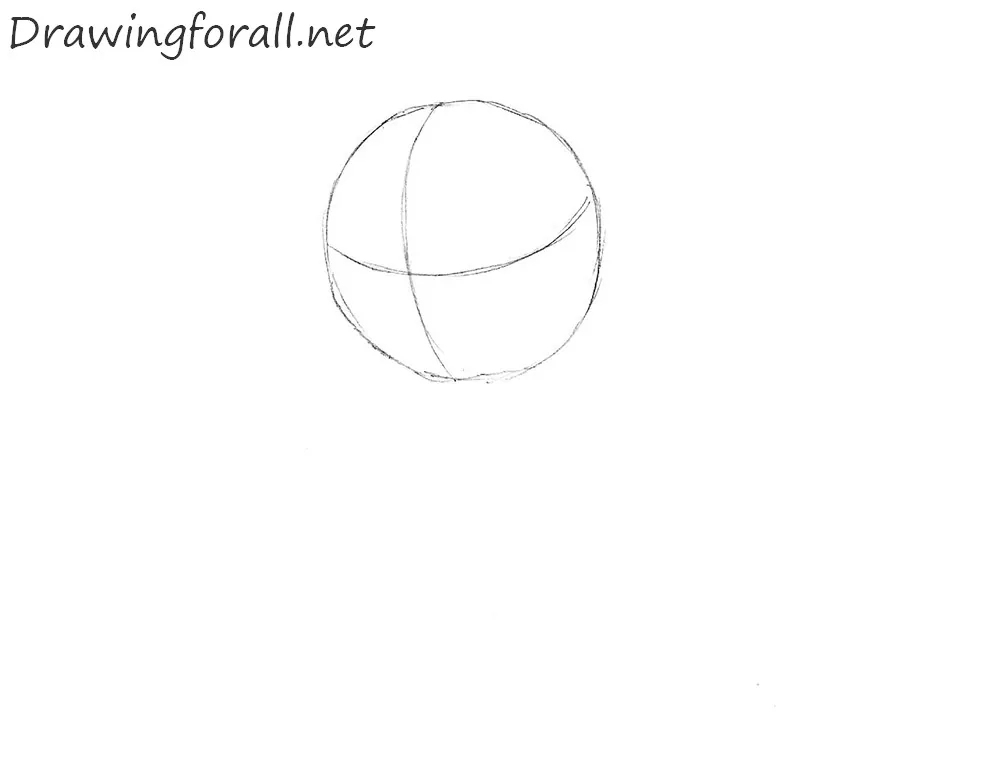
Step 1
At first draw a circle. It will be the head of our lion. Draw the vertical line, which will help us to find the center of the face. Then draw the horizontal line which will help us to draw the eyes.
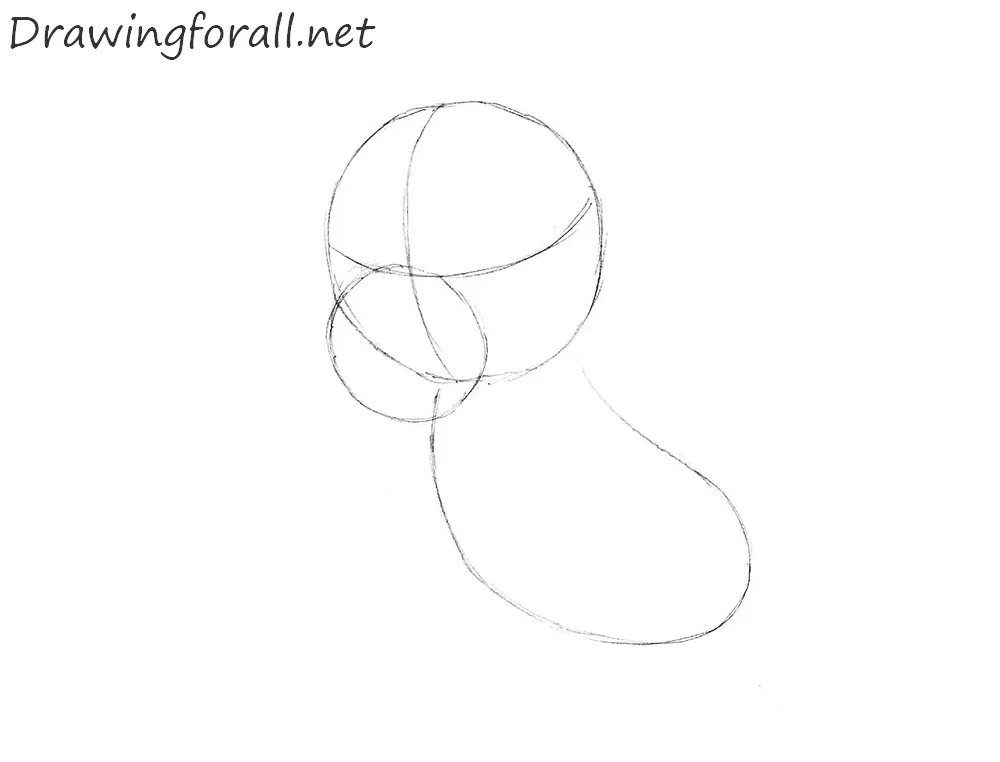
Step 2
Draw a small circle which should be located on the vertical line and right below the horizontal line. Draw an oval as in our example. It will be the body of our lion.
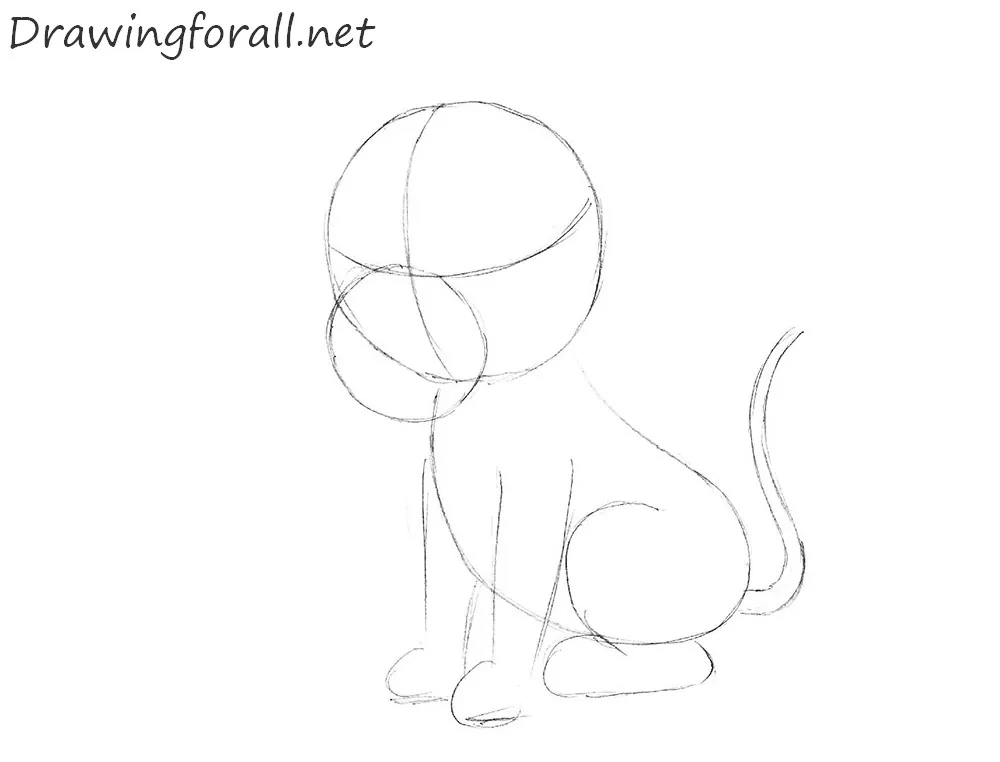
Step 3
Draw the feet of the lion as in our example. Using curved lines draw the tail.
Step 4
Using ovals draw the eyes which should be placed right above the horizontal line. Using circles draw the pupils in the eyes. Using half-circles draw the ears. Draw the mouth and nose as in our example.
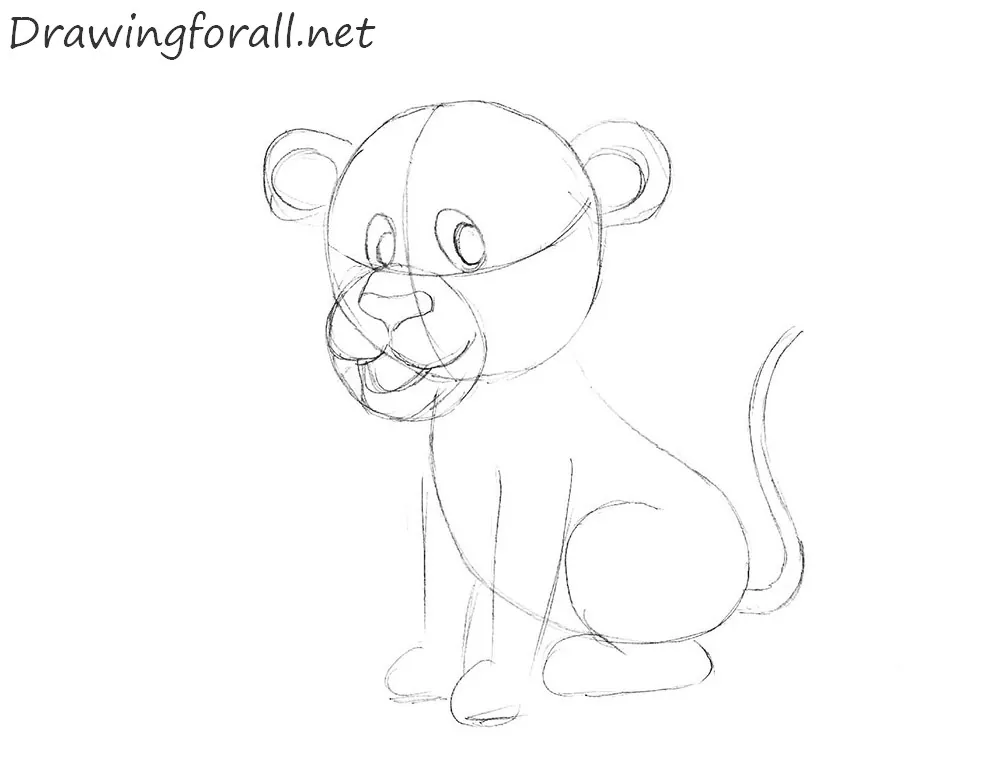
Step 5
Using z-line draw the lion’s mane.
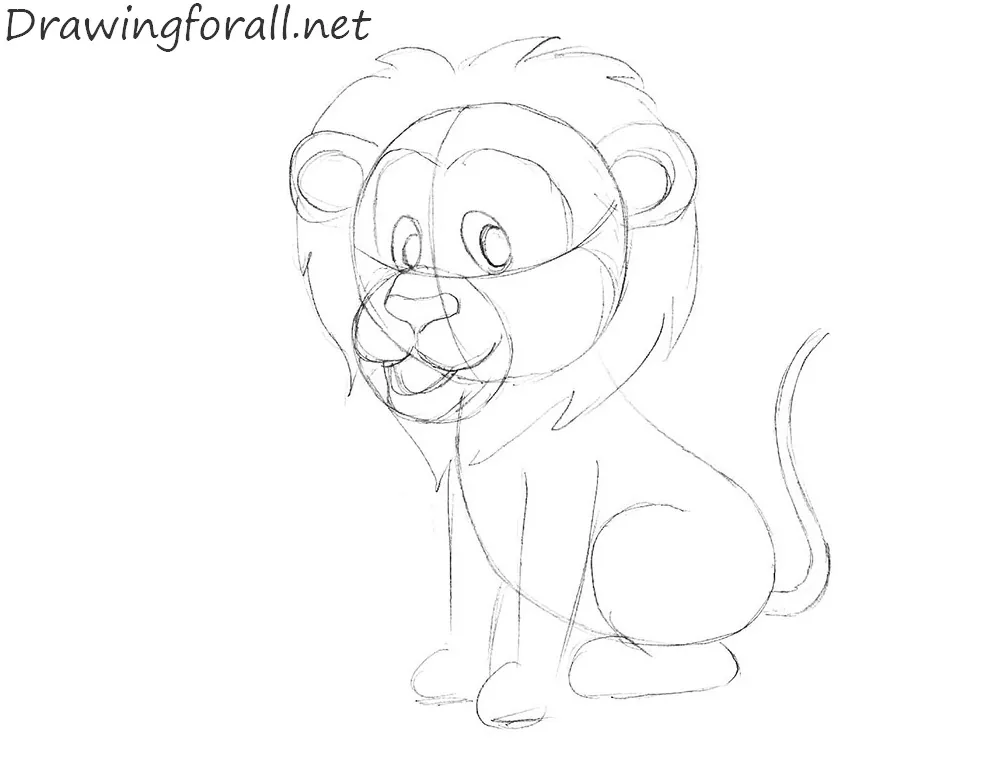
Step 6
Erase the guidelines. Darken and smoothen the lines. Using short and thick lines draw the eyebrows above the eyes. Paint the pupils.
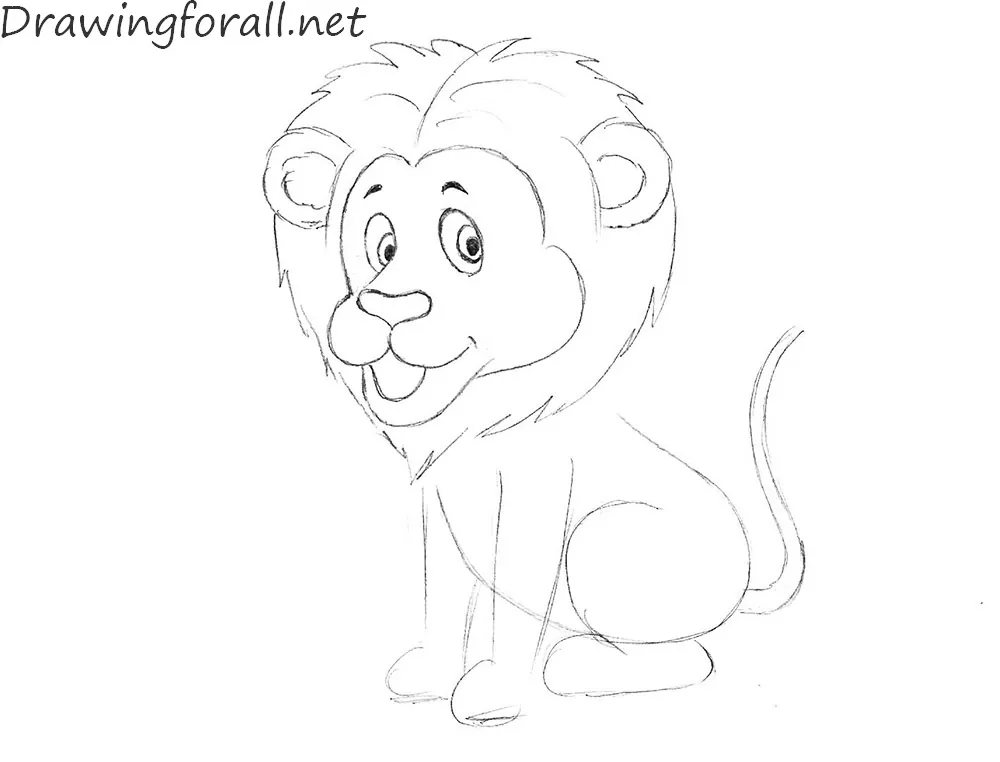
Step 7
Erase the guidelines from the body and legs. Draw the fingers. Draw the tuft on the end of the tail.

It was the drawing lesson about how to draw a lion for kids. We hope you enjoyed this drawing lesson. Goodbye!



color this bs so i can get a good grade