How to Draw a Lion Face
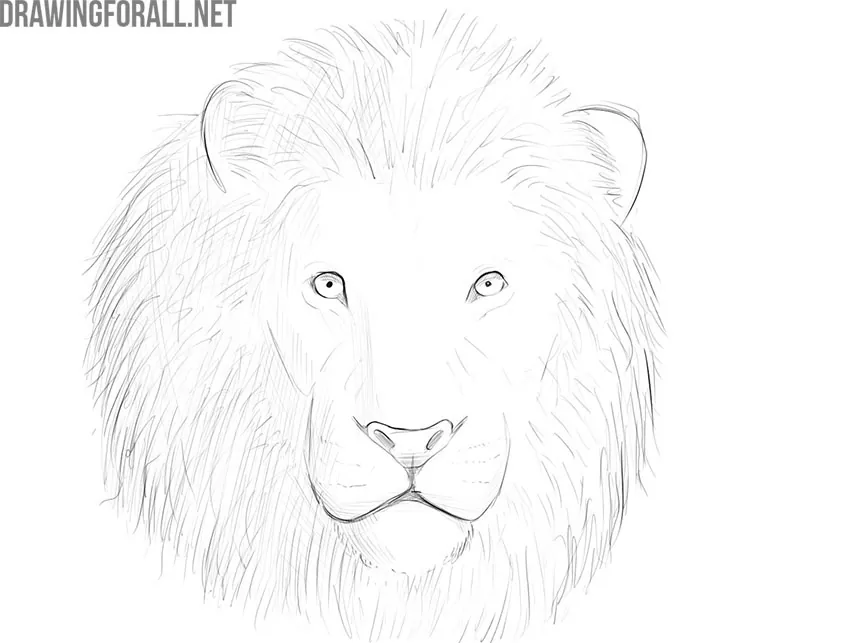
Do you want to know how to draw a lion face? You might think that this is indeed a very difficult task.But we tried to break this lesson into ten simple and understandable steps. Just follow the order of the steps and try to repeat our actions. In the end, you will get great results. So let’s get started.
Step 1
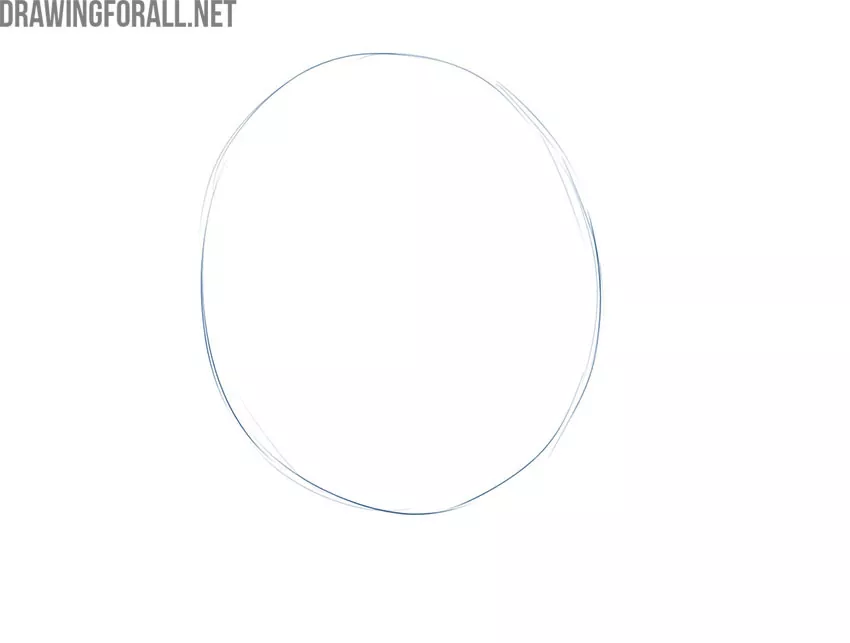
So, we start a guide on how to draw a lion face. As you know, we love creating cool and intricate designs using simple geometric shapes and shapes. And so in this step we will draw a regular circle. If you are drawing a portrait, then draw this circle in the center of the piece of paper.
Step 2
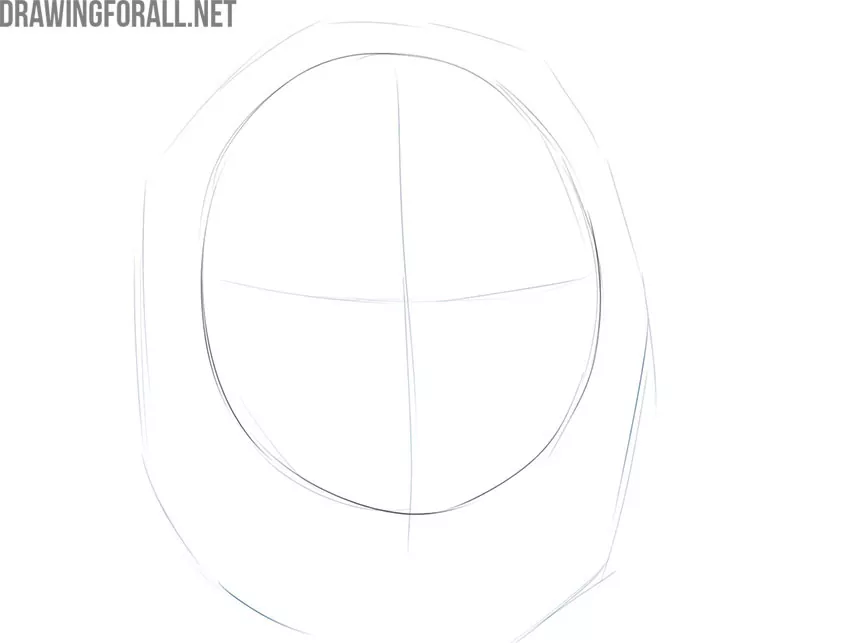
Now let’s add some small markings to the circle from the previous step. The vertical line is needed to indicate the symmetry of the face, and the horizontal line is needed in order to outline the localization of the eyes. If you are our regular reader, then you have often encountered such an action. Also in this step we will draw the outlines of a large voluminous mane.
Step 3
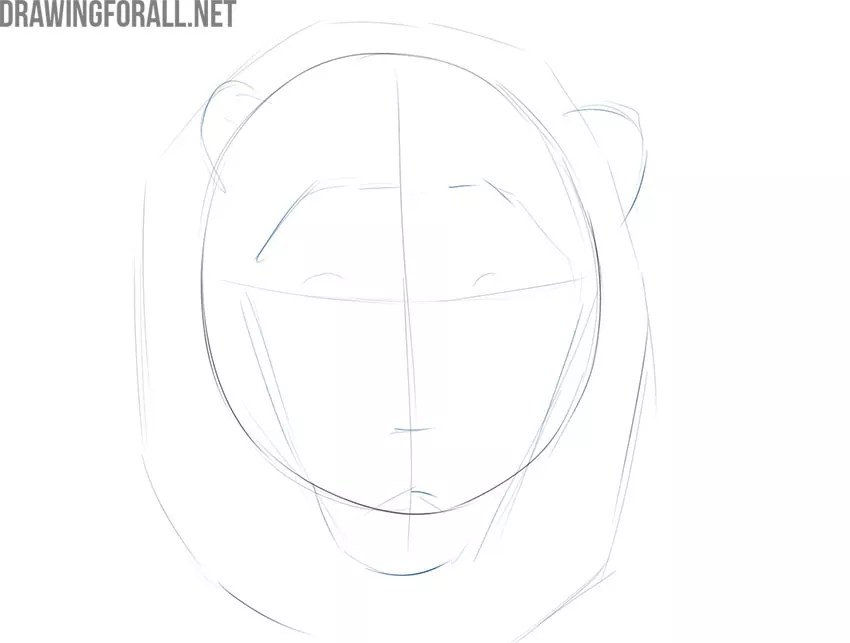
So we continue this guide on how to draw a lion face. And in this step we will work with the face markup. Let’s outline the contours of the ears. These contours should not be symmetrical. Also in this step we will outline the eyes, nose and mouth using short lines.
Step 4
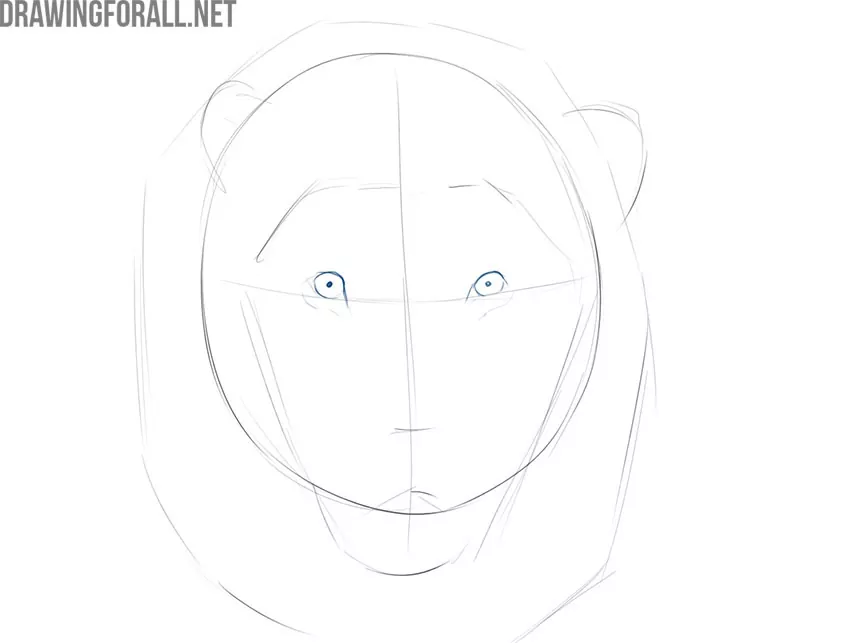
It’s time to spice up our drawing a bit, so we’ll add the eyes. Pay attention to the location of the pupils – this is a very important detail on which the expression and direction of gaze depend.
Step 5
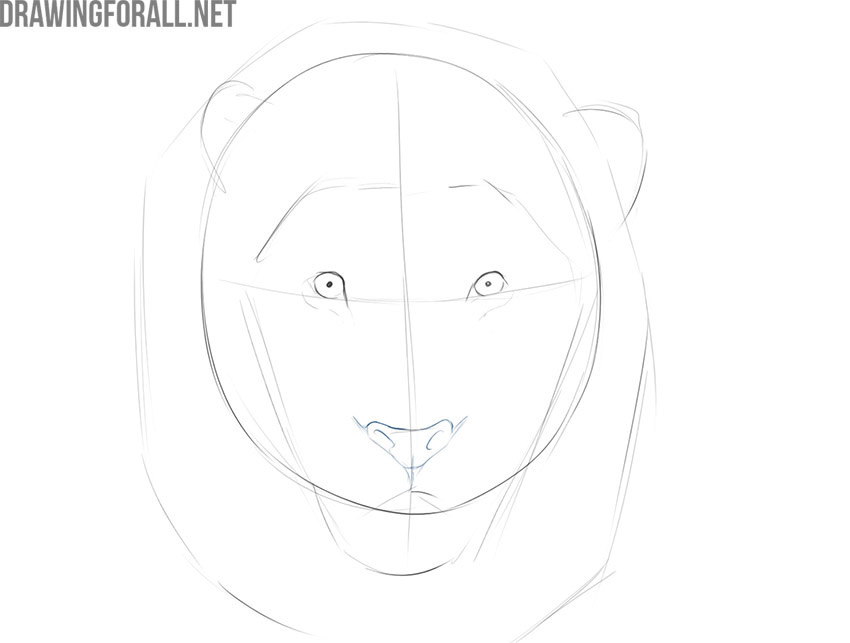
We hope you drew great eyes, but now let’s draw a nose. As you can see, our lion has a fairly large, wide and flat nose. Don’t forget to draw the nostrils and a couple of small but noticeable folds that run laterally.
Step 6
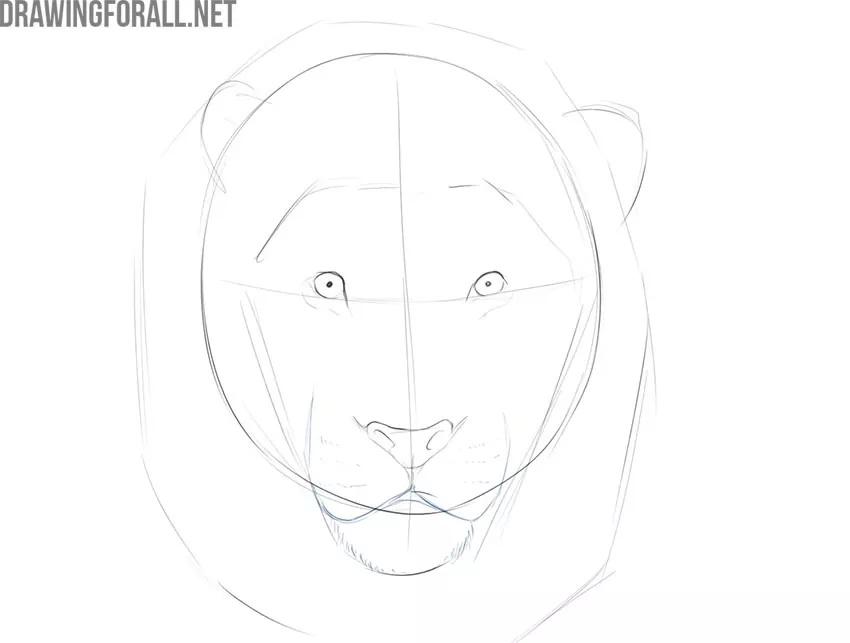
There are very few details left. Using smooth rounded lines, draw the cheeks and large lower jaw of our lion. Small short strokes on the lower jaw will help depict the texture of the coat.
Step 7
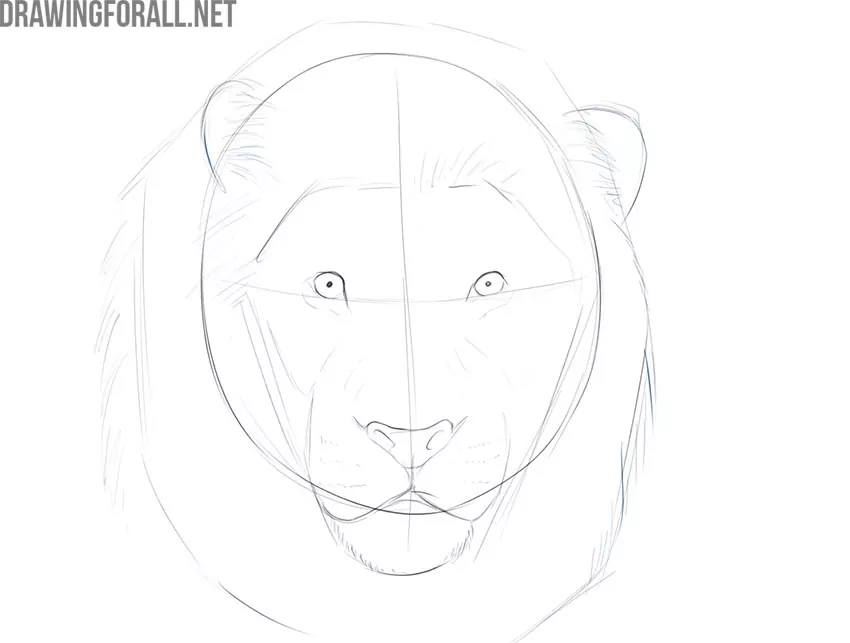
Let’s add some more fur to our lion. Lions usually have a thick and voluminous mane. We will not be able to draw the entire fur, but we will outline the edges of the fur with short oblique lines.
Step 8
In this step, we can already delete the auxiliary lines that we were guided by earlier. We will also draw the final lines using clearer and more visible outlines.
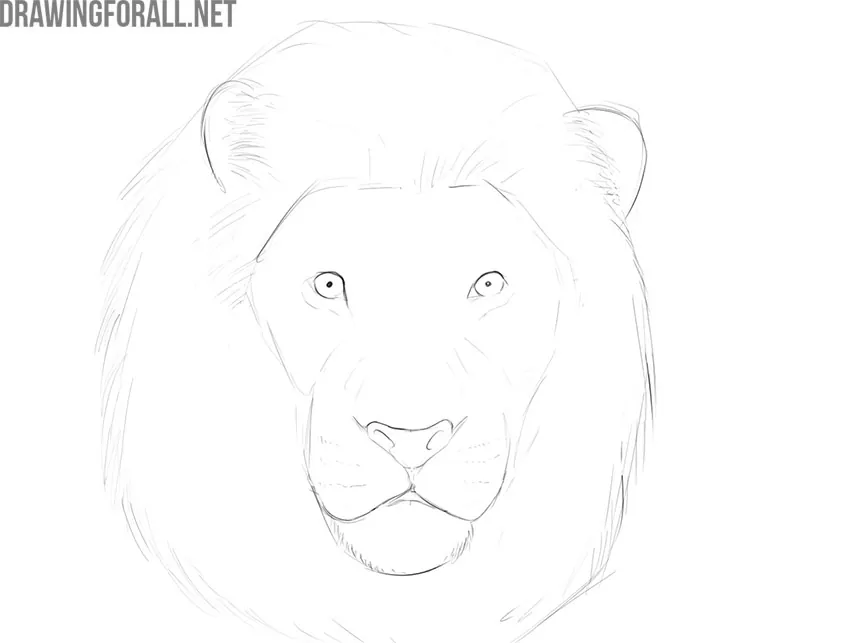
Step 9
At the very end, we need to add shadows. We create shadows on the mane using many wavy, densely spaced lines. Note that these lines point in opposite directions. This technique gives a realistic look to our drawing. Also add dense shading for the eyes, nose and mouth.
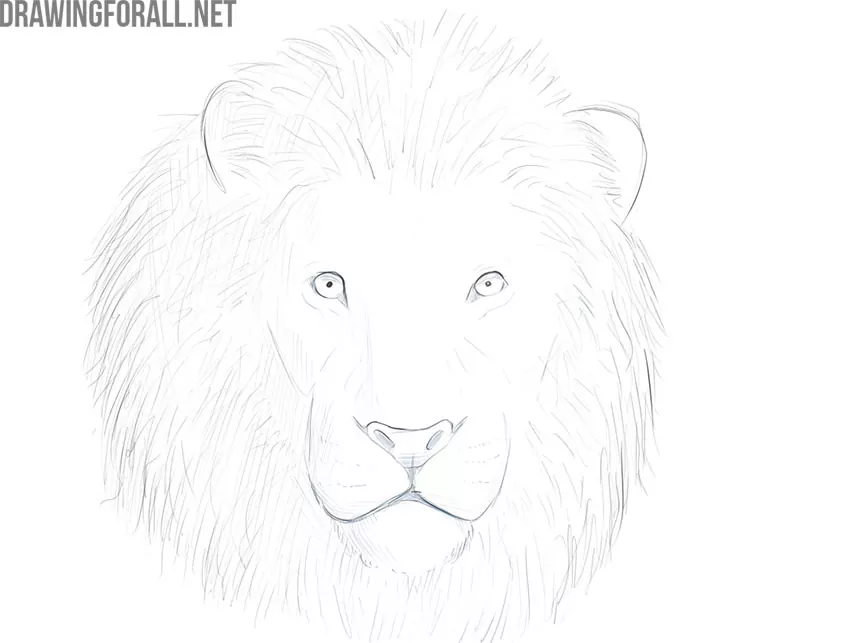
Step 10
In this last step, we will check the correct placement of the shadows and basic shapes from the first steps. We hope this was a really helpful drawing guide!

We hope this tutorial about drawing a lion face was really helpful to you. At least we tried very hard to create something like this. If you find any mistakes in our tutorial, please write to us about it. Please, do not forget that we have pages in all the famous social networks, where you can subscribe, so as not to miss any new drawing tutorials.


So pretty!!! Thank you.
could you please do a hippopopotamas
Cool! can you do black panther .THANK YOU
Just what i was looking for!
Nice work
Please do a savannah cat or some more wildcats, thank you.