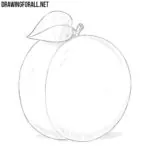
How to Draw a Guava
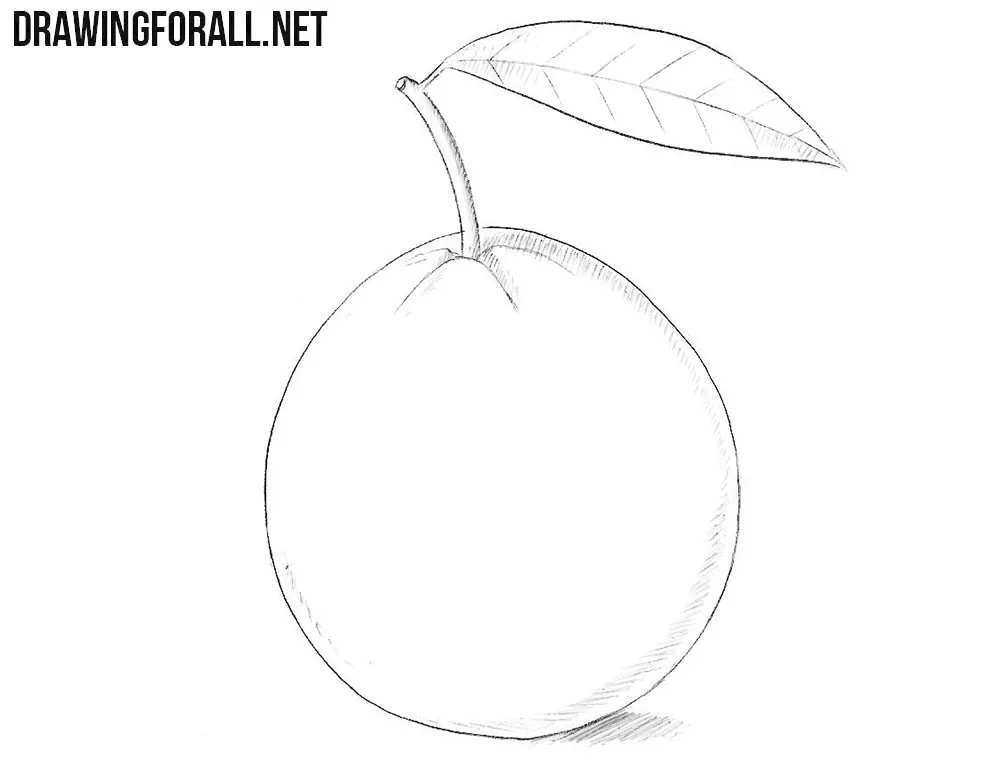
It is time to return to the articles on how to draw tropical fruits. These are pretty simple drawing lessons. However, it will help you gain basic skills with geothermal shapes and with shadows.
You should follow the exact sequence of steps and then you will get a very realistic drawing which depicts a tropical fruit. So let’s start a drawing tutorial on how to draw a guava step by step.
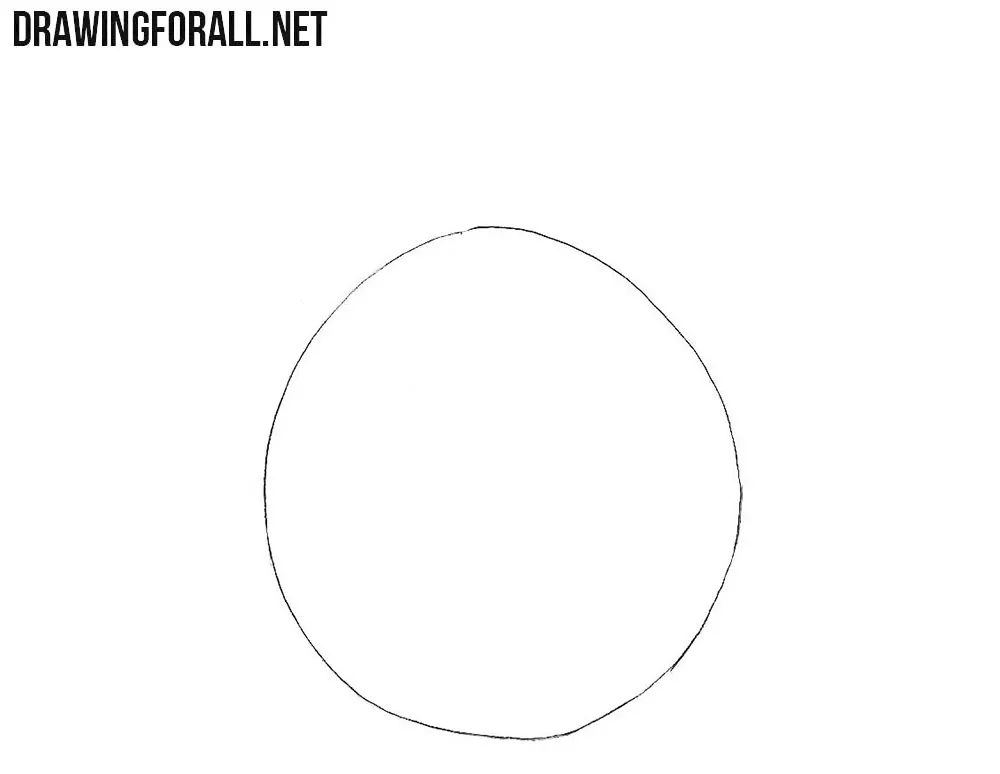
Step 1
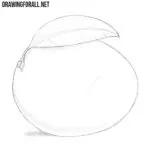
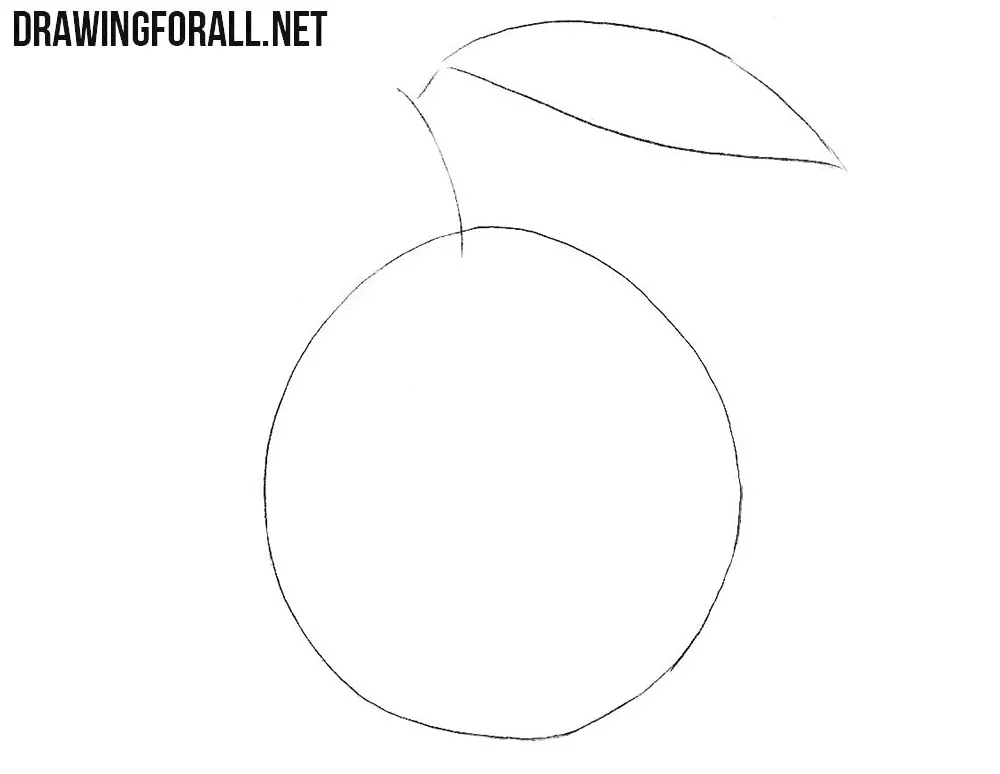
We just talked about drawing geometric shapes. You can see the wrong circle in this step. We are talking about a circle that is slightly extended vertically with a sharp end on top. You can first draw a regular circle and then slightly deform it. You can also draw a shape like in our sample without preparation.
Step 2
At the highest point of the circle, draw a long vertical line. Next to this line we draw the outline of a narrow long leaflet. We connect the vertical line and the contour of the leaflet. So we have a rough silhouette of a tropical fruit that we draw
Step 3
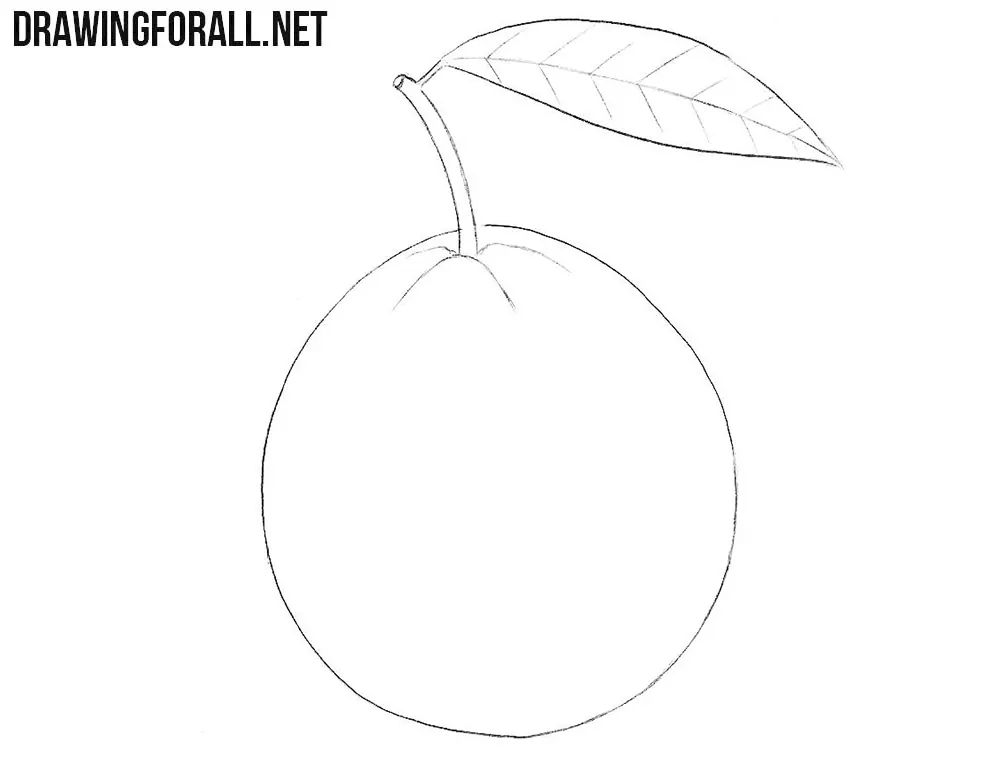
Small details always form the overall look. You may have noticed this even in pretty hard drawing lessons. A great example is a lesson on how to draw a rose. So now we will work with the small details of our guava. Draw on the top of the fruit a few oblique lines that converge to a single point. Let us turn over the stem and draw the veins on the leaf.
Step 4
We already got a very nice guava. We already got a very nice guava. And we will work with the shadows to make this fruit more realistic. We draw dense intensive shading on the top and bottom edges of the fruit. Note that the hatch is not located on the very edge.
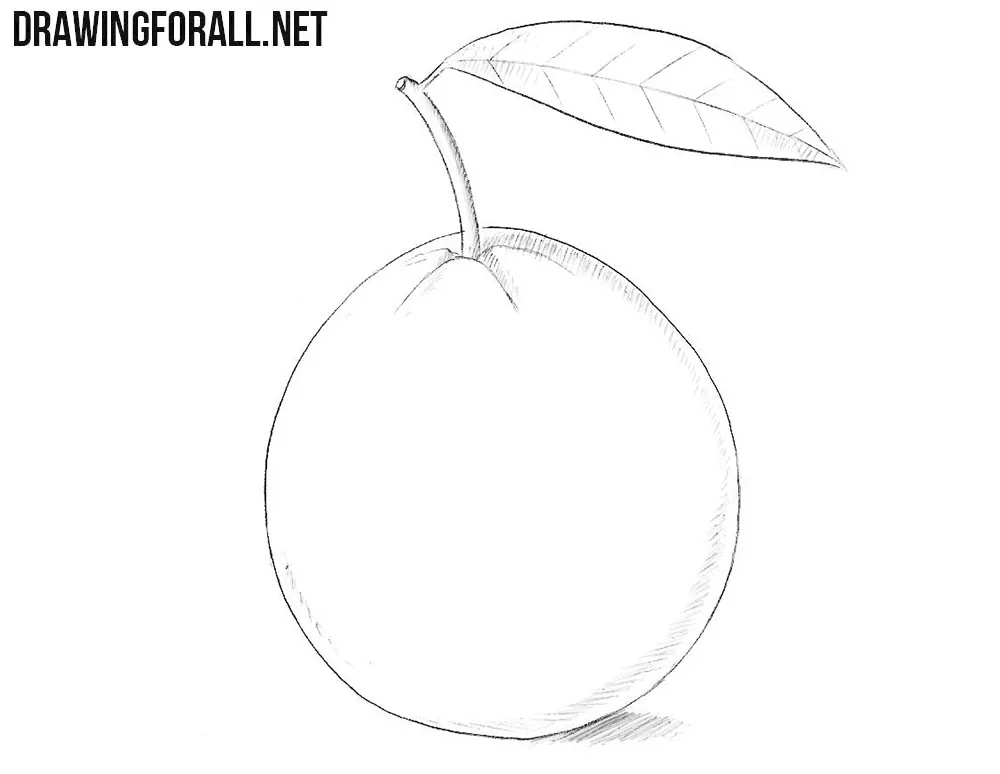
We have just drawn a tropical fruit called guava. It does not have strong differences from grapefruit or orange. We mean only the drawing technique, of course.
By the way, do not forget to write in the comments about what kind of fruit you would like to see in our drawing lessons.


