How to Draw a Grater
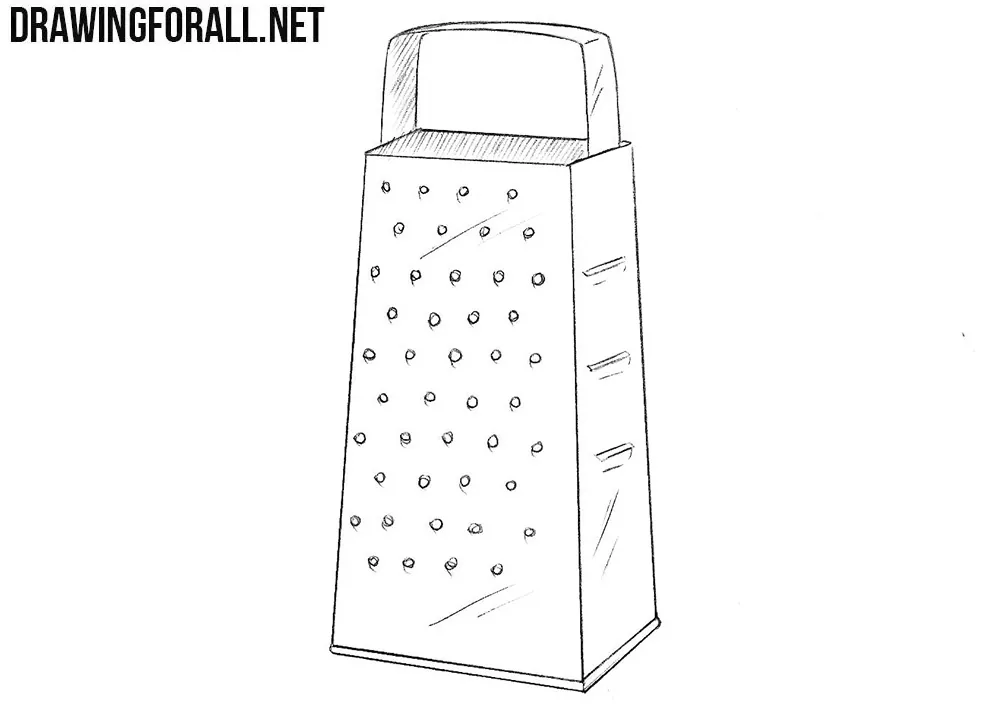
On Drawingforall.net there is a huge number of drawing lessons about a variety of subjects, which you can see in everyday life. Today we want to continue the theme of drawing lessons about kitchen appliances and create a lesson about how to draw a grater.
Step 1
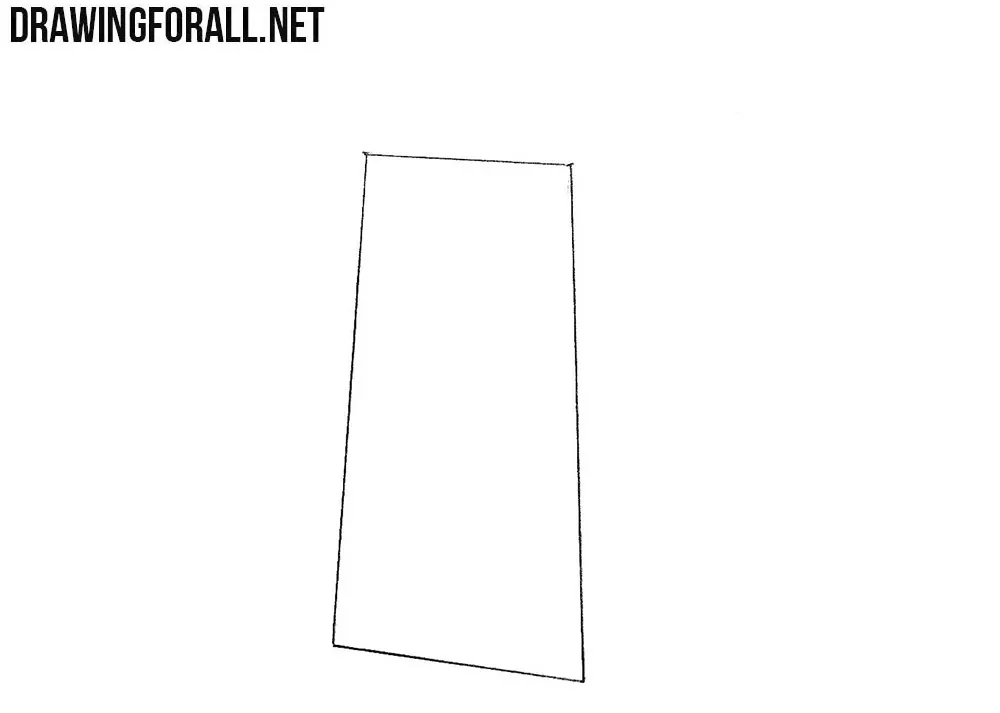
So, first of all draw out a long trapezium using clear and dark lines. You can make this geometric shape with a ruler, but it is better not to use it to learn how to draw straight lines.
Step 2
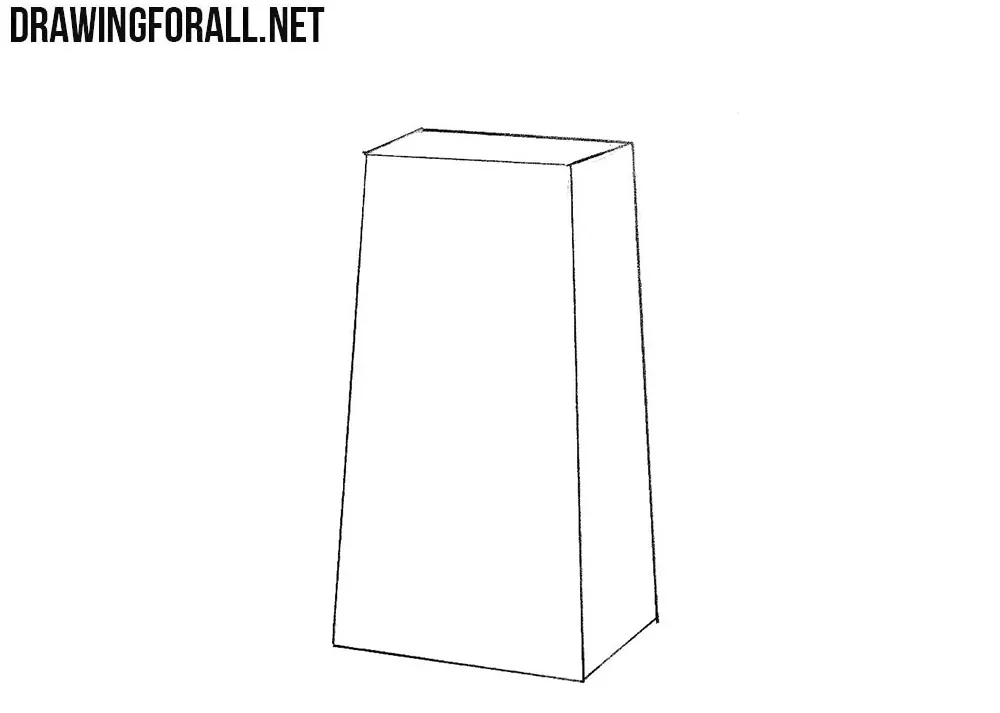
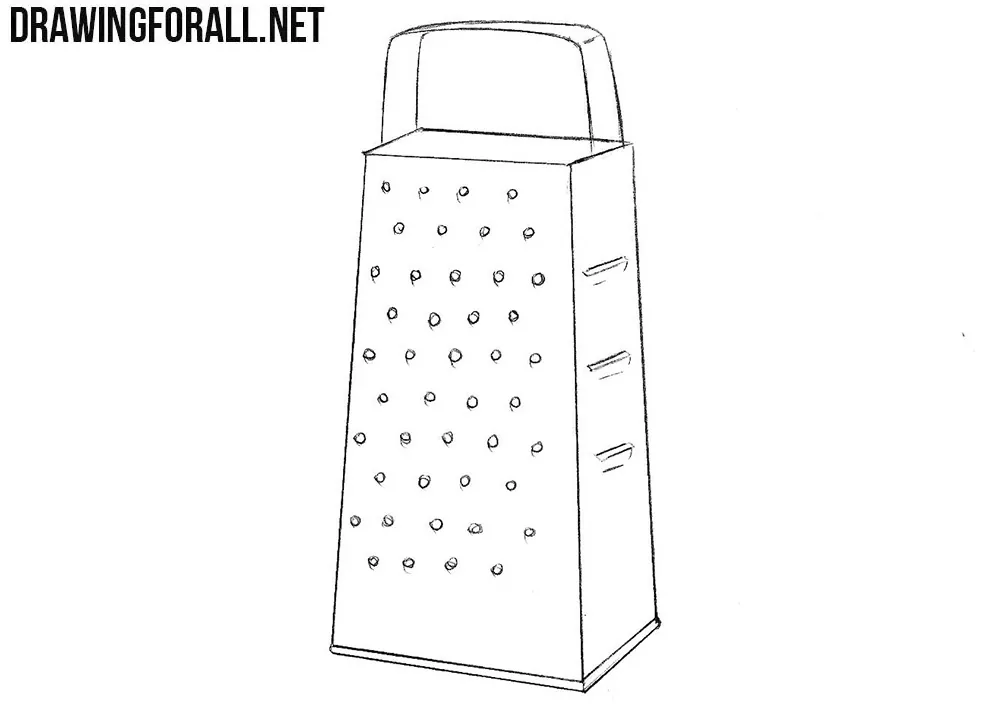
Continuing to use clear and dark lines, we make our drawing more voluminous. Here we depict the side and top of the grater.
Step 3
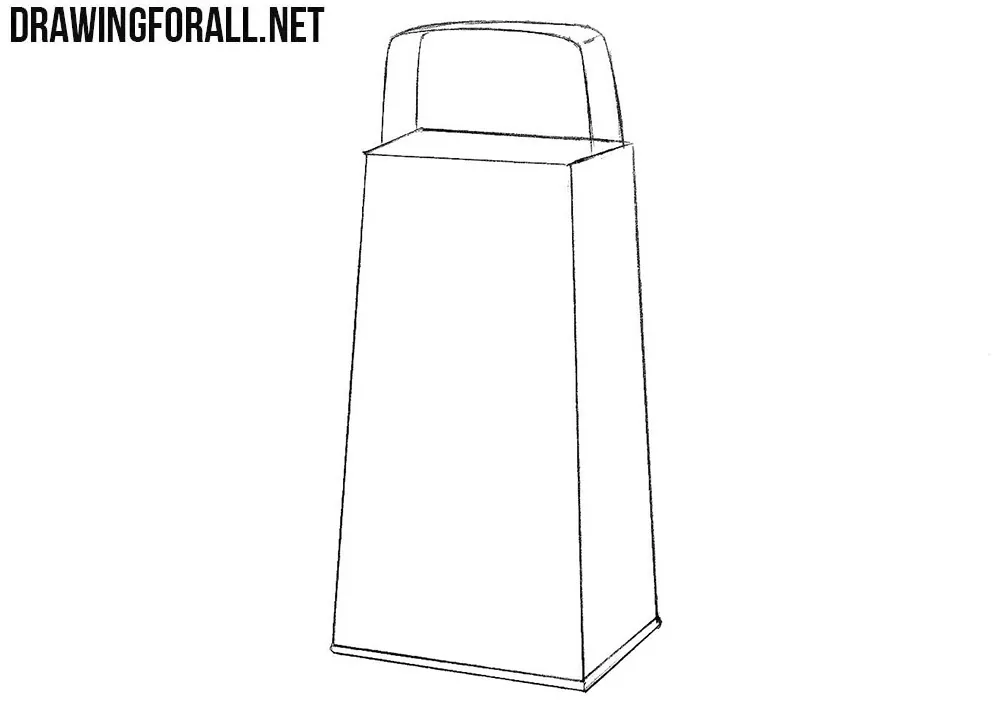
Using curved lines draw out a handle. Draw the bottom edge of the grater. By the way, if you want to check the symmetry of your grater drawing, just look at it through the mirror.
Step 4
On the front surface, we draw round openings and on the side we draw flat openings. Do not rush, draw all these holes with respect for proportions and perspectives, so that the grater drawing looks correct and proportional.
Step 5
Now with the help of hatching, we draw glare and shadows. This is necessary in order to make our grater drawing more voluminous.

We hope that this lesson helped you to learn how to draw a grater. If you want more lessons on this topic – be sure to write about it in the comments to this article. In addition, we recommend to subscribe to us on social networks, for example, in Pinterest, Facebook and Twitter, where we constantly publish different artworks by the artists of Drawingfroall.net and announcements of upcoming articles.


