How to Draw a Coffee Grinder
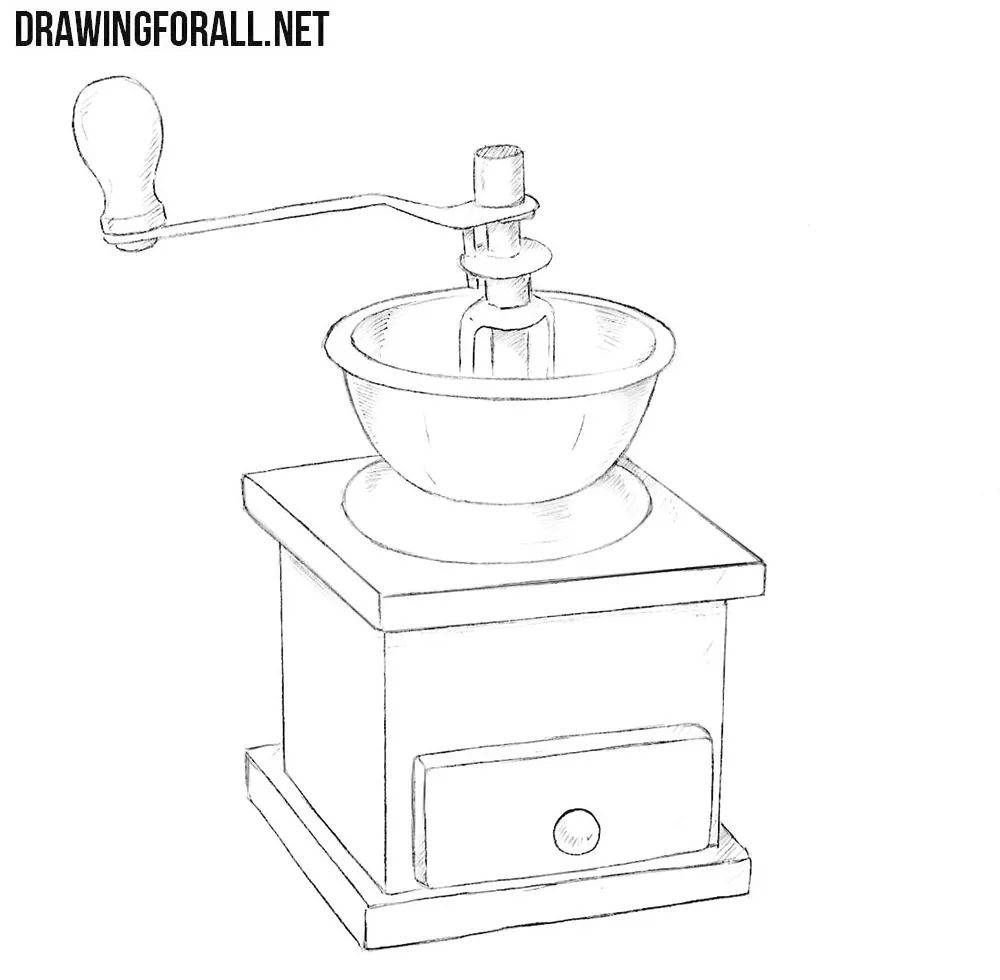
A coffee grinder may appear to have a fairly complicated construction until you separate it into its main volumes. The body is essentially a box, and the bowl above it can be built from a form with elliptical edges. Once these two parts are in place, the smaller details become much easier to position. This is where we will begin our tutorial on how to draw a coffee grinder.
How to draw a coffee grinder step by step
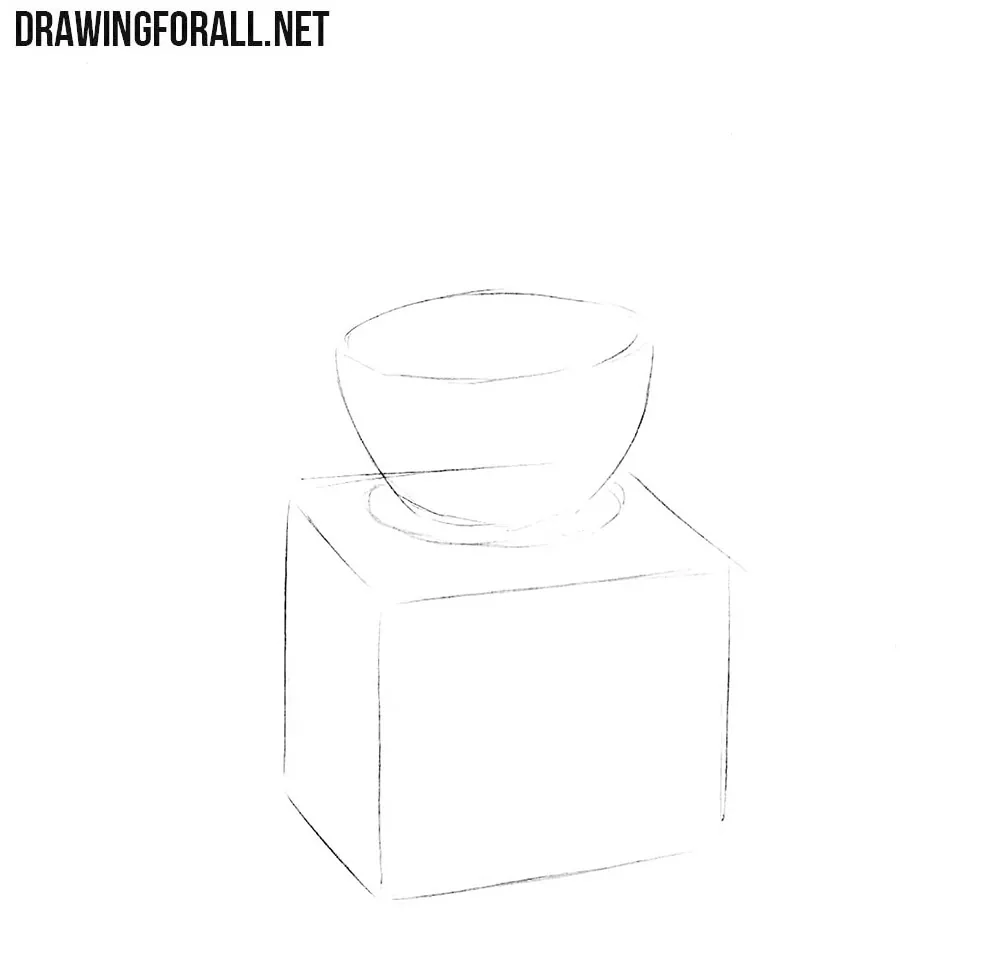
Step 1: Sketch the coffee grinder
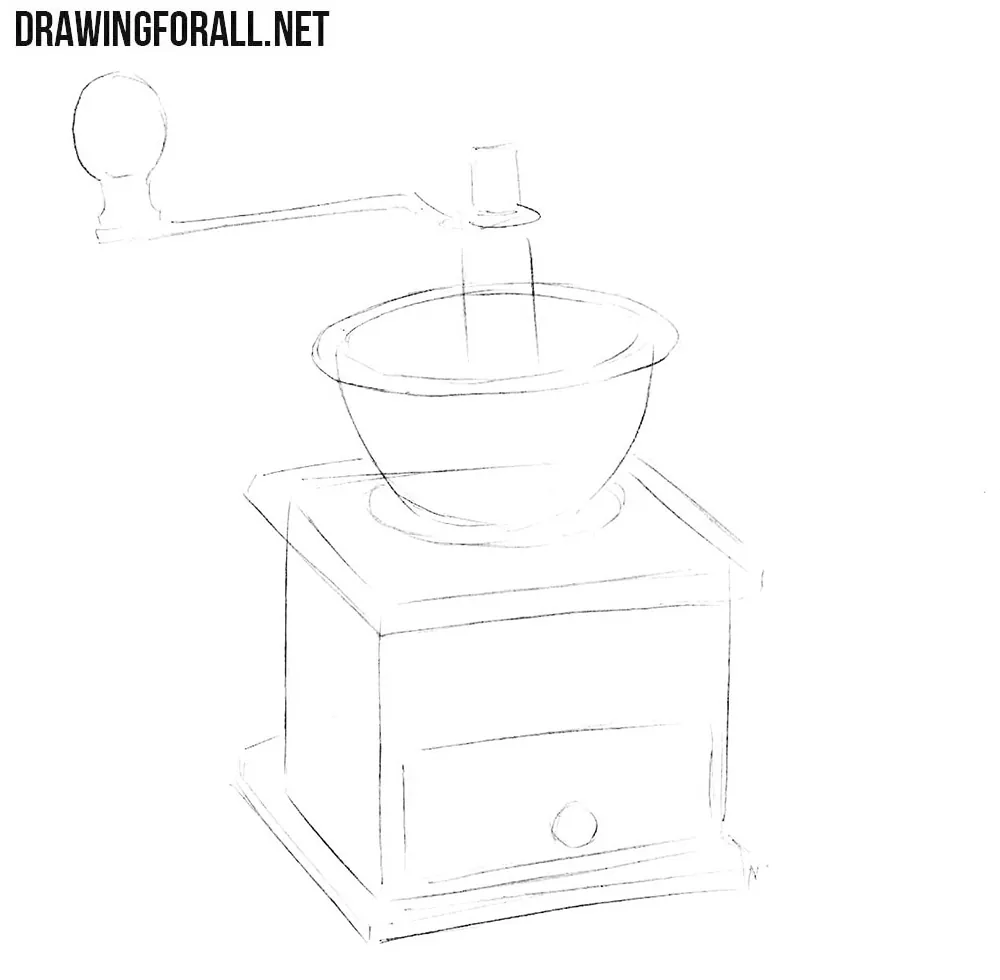
Block in the contours of the coffee grinder box and the bowl for the coffee beans. Construct the lower part of the grinder as a rectangular volume and the bowl as a rounded form that widens toward the top. The lower part should follow the rules of drawing a cube.
Step 2: Add the crank and drawer
In the previous step, we drew the two basic forms of the coffee grinder. Now add the main details. Sketch a large crank, the upper and lower edges of the box, and a handle for the drawer. Place the crank above the center of the coffee bean bowl and sketch the drawer on the front plane of the grinder box. The ground coffee collects in this drawer.
Step 3: Draw the grinder crank and bowl
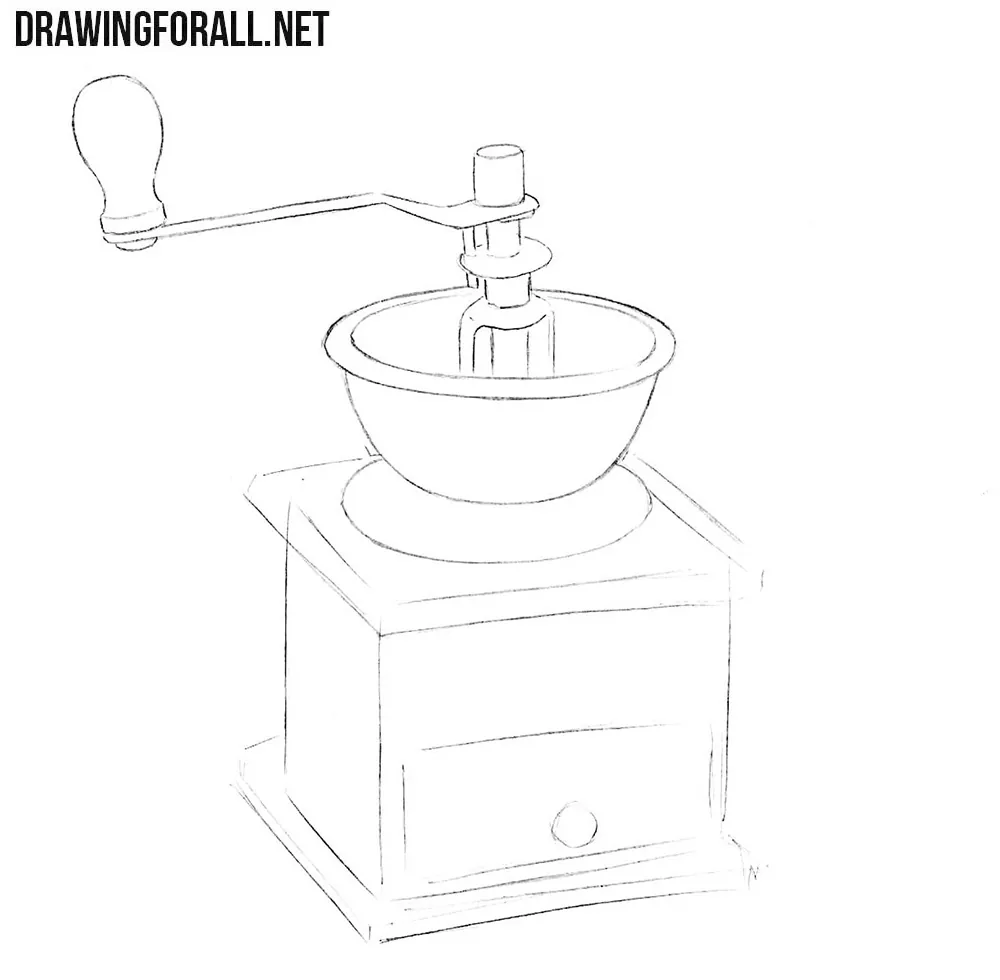
Erase the extra lines from the crank of the coffee grinder. Draw the details of the crank and the central mechanism that turns the burrs for grinding coffee. Also, in this step, draw the rim of the coffee bean bowl using smooth liens.
Step 4: Refine the grinder box
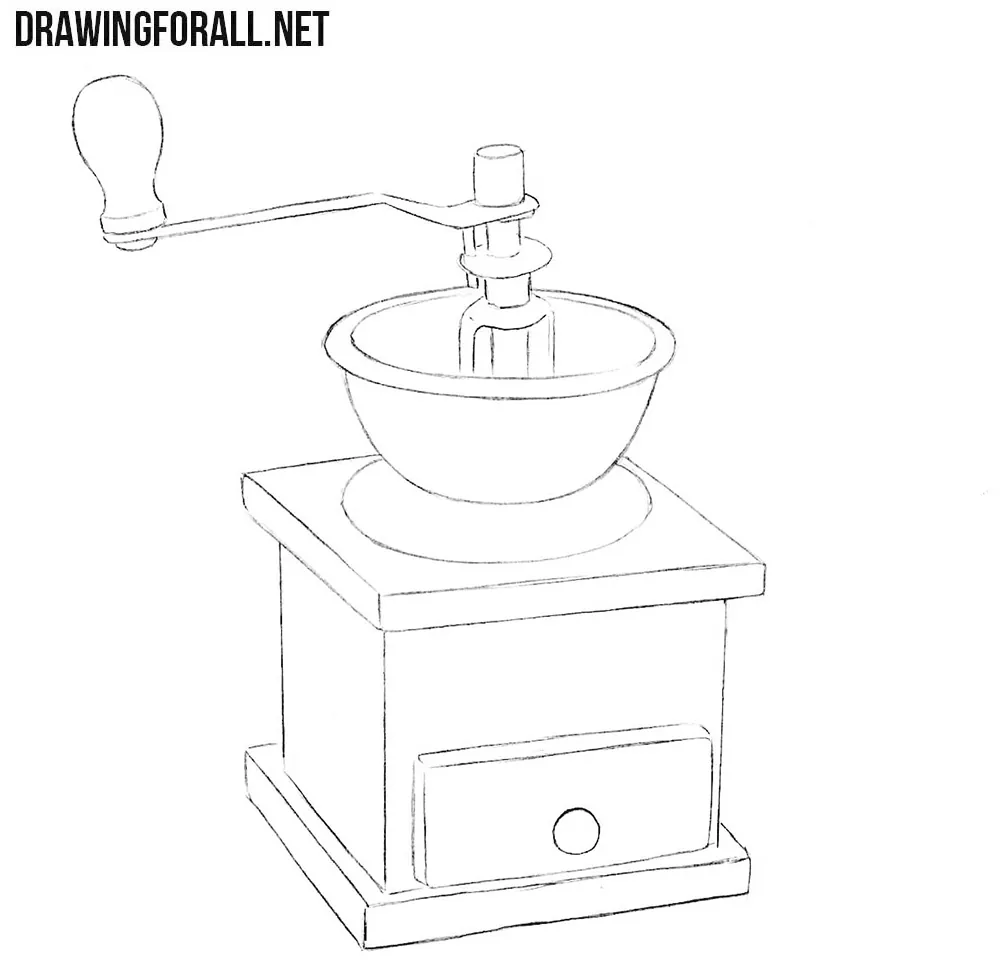
After working on the coffee grinder mechanism in the previous step, move on to the box that contains it. In this step, make the straight lines as even and symmetrical as possible. Keep the corresponding edges of the grinder box consistent with one another. The front and side planes should remain convincing in perspective.
Step 5: Add shadows to the grinder
On the rounded elements of the coffee grinder, use smooth hatching strokes to show how the shadows follow the curved surfaces. Look at the inside and outside of the bowl for an example. On the grinder box, add light hatching with straight strokes.
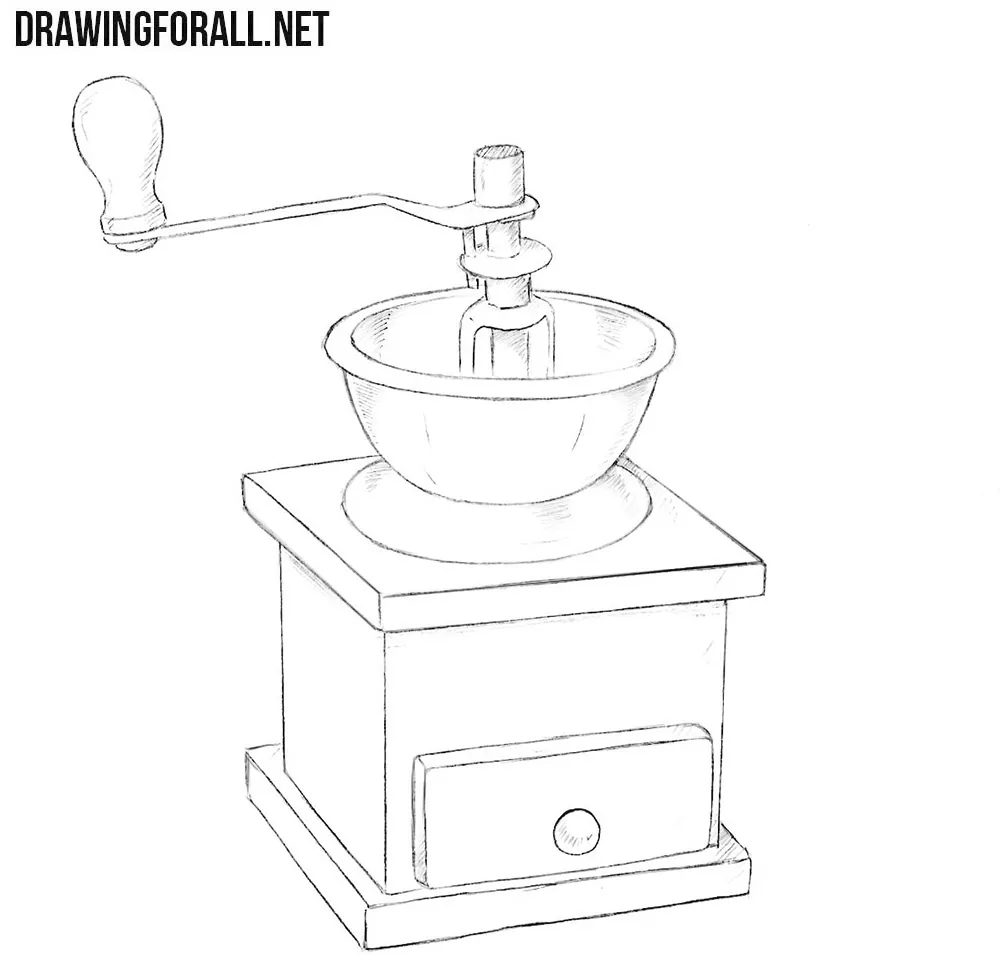
We have created a pretty nice drawing, so now it is time to get some rest and have a cup of coffee. We already have a coffee grinder like this, so we just have to turn the coffee beans into ground coffee.
After grinding the beans, we still need to make the coffee. For this, you can continue with our tutorial on how to draw a coffee maker and then learn how to draw a cup of coffee.