How to Draw a Claymore Sword
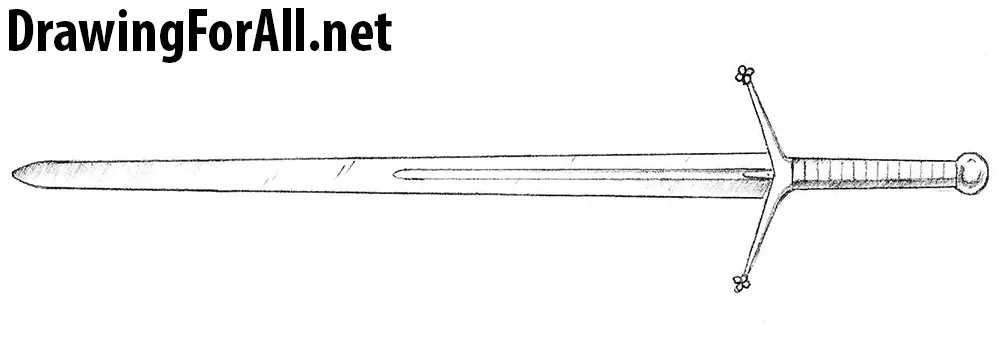
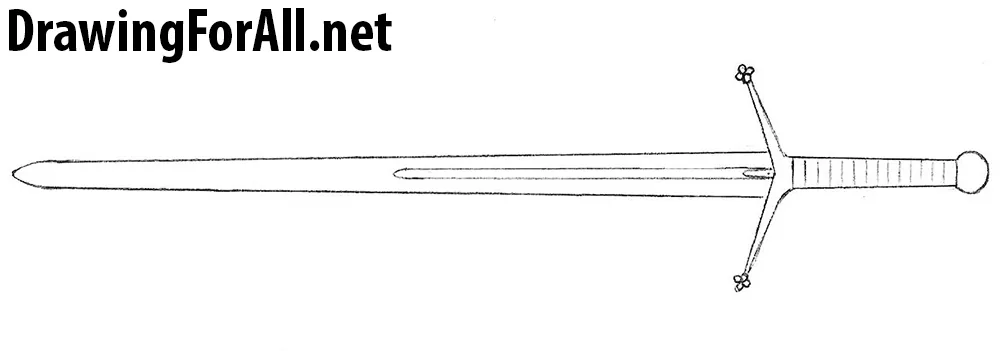
Hello dear artists, and welcome to the lesson about how to draw a claymore sword. Claymore is one of the most recognizable types of swords, mainly thanks to works of art. It was used in Scotland in the XV-XVII centuries. Claymore is a two-handed sword with a long handle and a wide blade.
Step 1
First draw a long and straight line that will pass through the center of the entire sword. Claymore is a long sword, so this line should be quite long.

Step 2
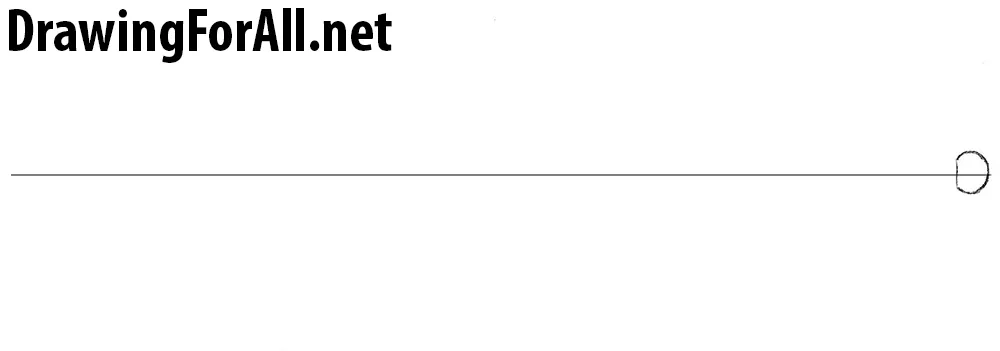
At the very end of the line draw a pommel in the form of a circle. The pommel of claymore was mostly round, but sometimes there are other forms.
Step 3
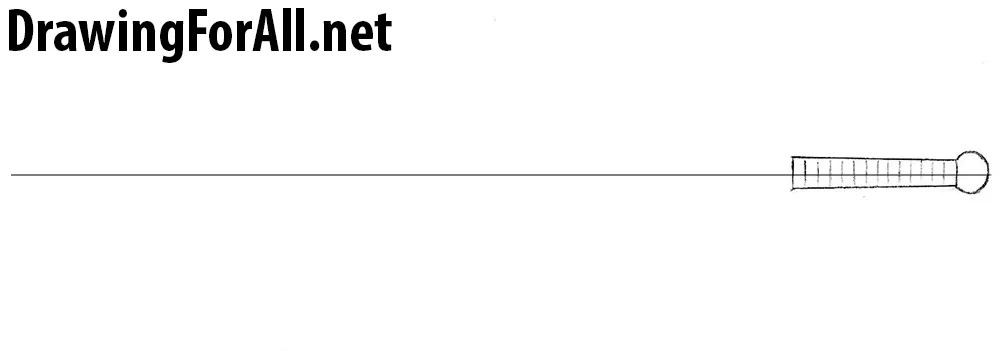
Draw a grip with a winding that was made mostly of leather. This was done in order to strengthen the grip and prevent the slipping of the sword from the hands.
Step 4
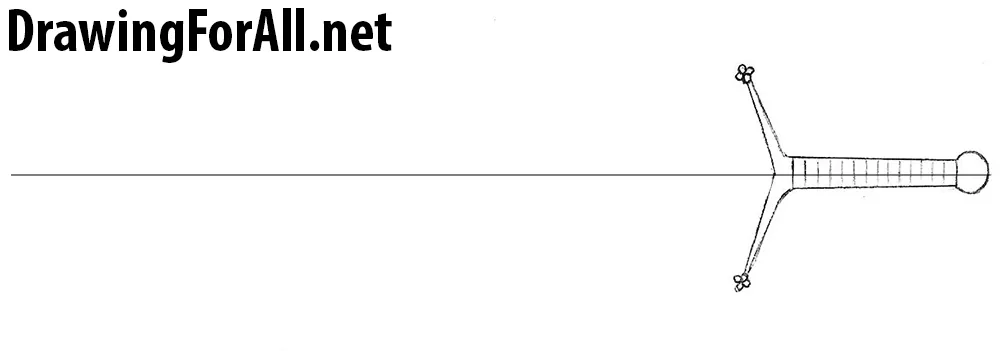
Draw a very characteristic long guard with patterns on the tips. Claymore always had a long narrowing guard with four-leaf clover at the tips as in our example.
Step 5
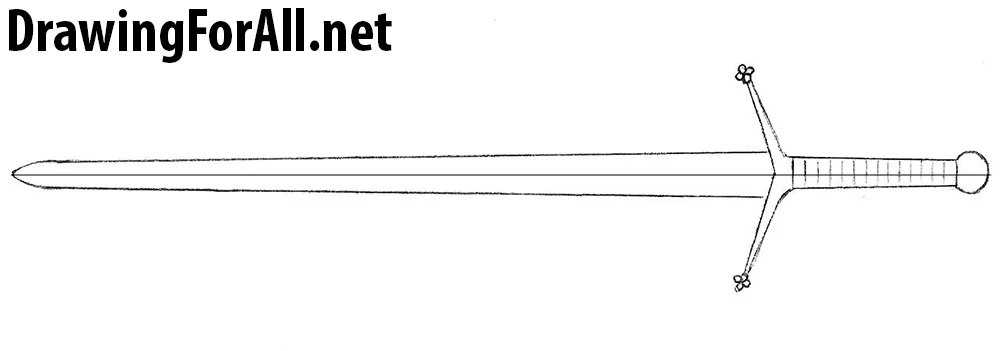
Draw a long and fairly wide blade slowly tapering towards the tip. Despite its considerable length, the claymore was slightly shorter than other tw–handed swords of that time, which made it more maneuverable.
Step 6
Erase the line in the center and draw the fuller. The main function of this detail was to lighten the sword by reducing the weight of the blade in the center.
Step 7
Add shadows and glare to the blade by hatching.

It was the lesson on how to draw a claymore sword. As a specific weapon of the Scottish highlanders, the claymore, along with the large kilt and the Scottish sword, is one of the symbols of Scottish military history. Claymore was used occasionally from the late 14th century. Although the heyday of the claymore falls on the sixteenth century, they continued to be actively used until the end of the 17th century.


