How to Draw Wolverine Claws
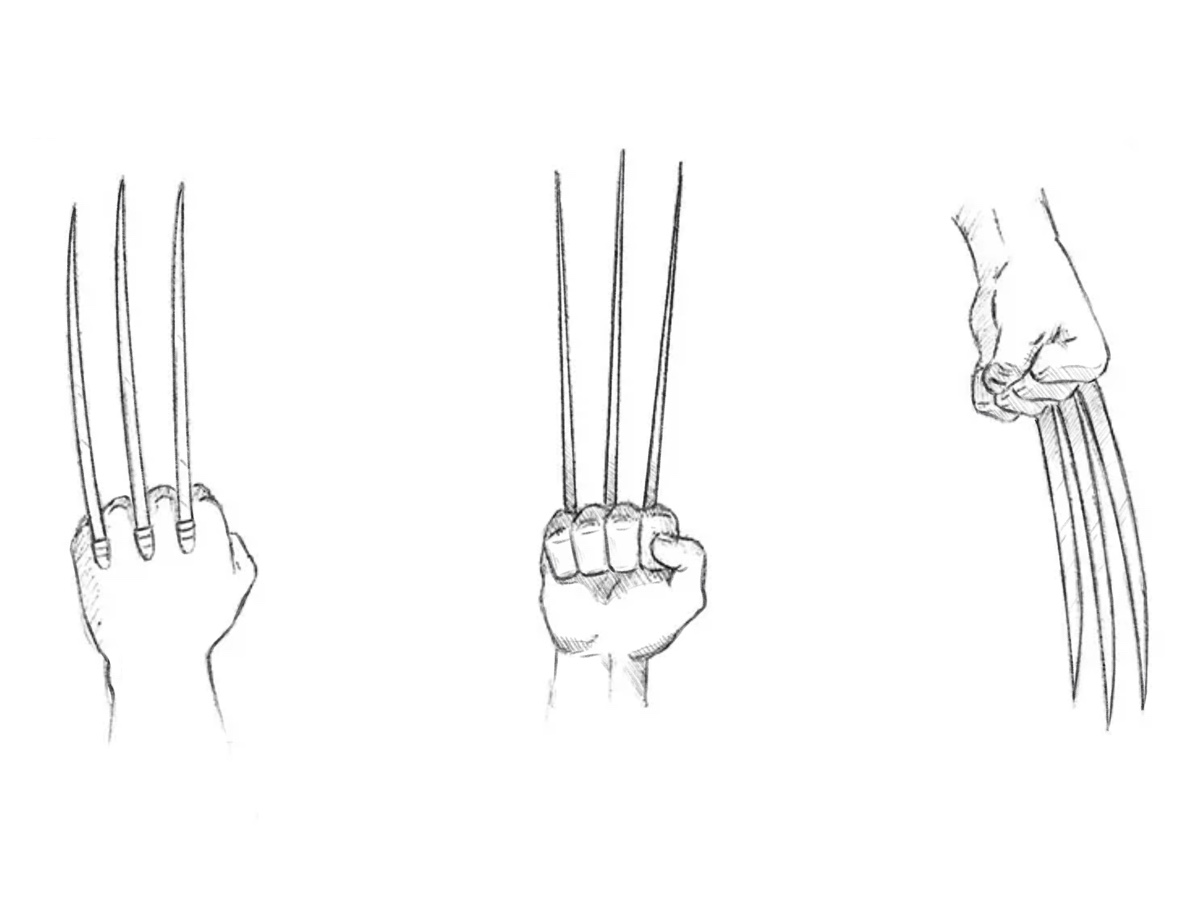
In this comic book tutorial, our team will show you how to draw Wolverine claws. This lesson is essentially a continuation of the Wolverine drawing lesson.
Wolverine is a superhero, a samurai, and a man of honor. In one of our previous tutorials, we have learned to draw Wolverine.
In another lesson, we learned to draw Wolverine’s head. And now we will show you how to how to draw Wolverine claws.
This superhero first appeared in 1974 in The Incredible Hulk comic #180. Since then, he has been in dozens of different comic books, cartoons, and movies.
At various times, the various artists have changed his appearance and claws are also have changed. Below, in the picture, we have presented only a few types of claws.
- Classic claws;
- Claws from the movie;
- Bone claws.
In this lesson, we will try to show you the most simplified, but at the same time the best way to draw Wolverine’s claws.
We will show you how to sketch claws from three different points of view, to give your an opportunity to draw this part of the character from all sides. So, let’s start the tutorial!
How to draw Wolverine claws step by step
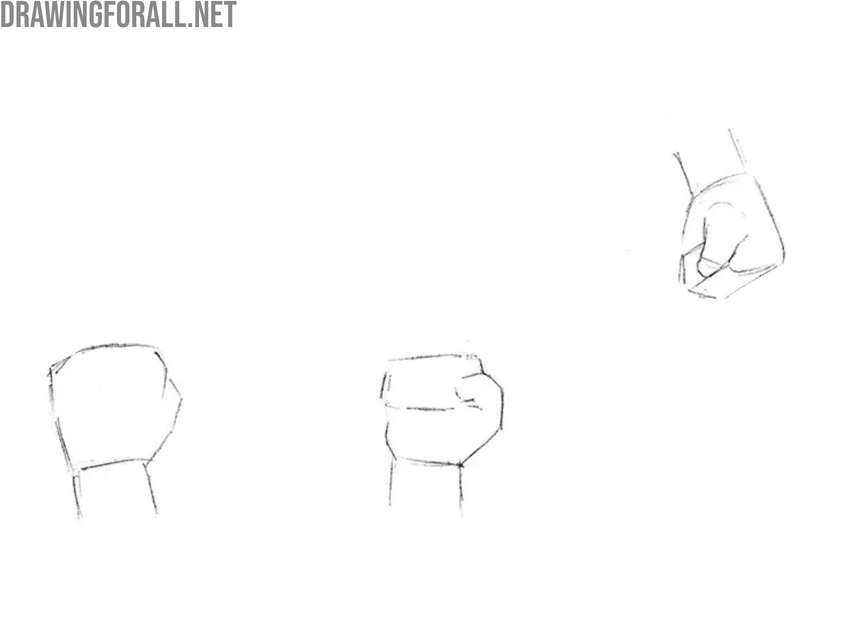
Step 1: Lightly sketch the hand shapes
First, draw the hands of Logan using very light, almost invisible strokes. In the first stage, do not try to draw the hands perfectly. You only need to sketch the general contours. As mentioned above, we will show how to draw Wolverine hands and claws from three sides, that is, front, back, and side.
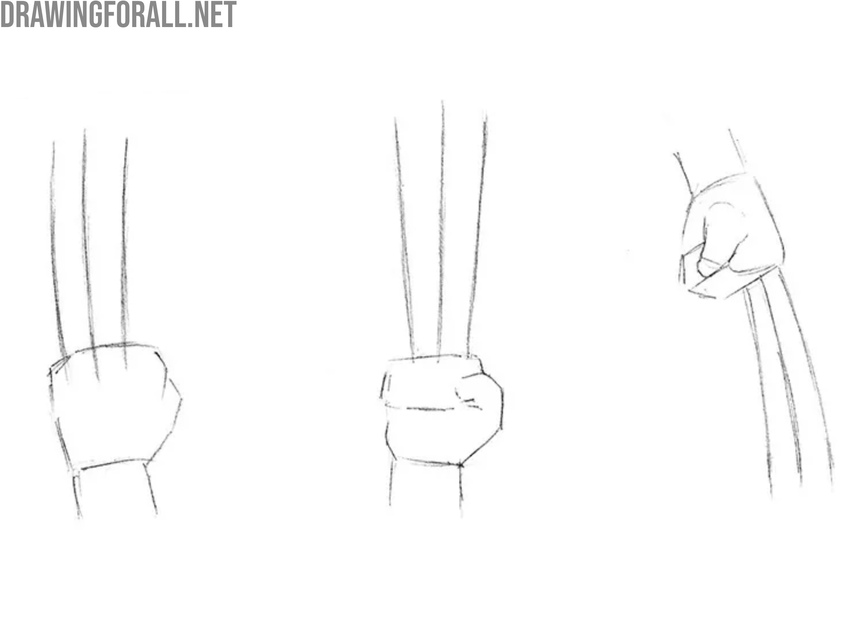
Step 2: Sketch the claws of Wolverine
Then, using simple lines, sketch out the claws. In various versions, the length of the claws can be different. You can draw them of any length, but the distance between them must be equal. When drawing claws, take into account the perspective and also the fact that they diverge slightly closer to the ends.
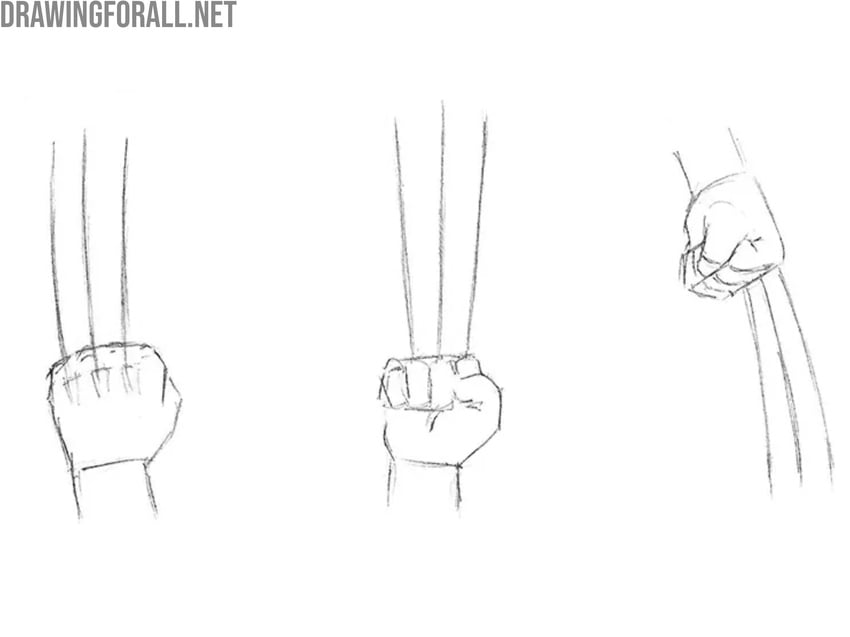
Step 3: Detail the fists of Logan
Start to add details, outlining the fingers and knuckles. Using simple, light lines, outline the fingers. It’s also important to consider perspective here. In some versions of the character, the claws emerge from special metal sockets, so you can outline those as well.
Step 4: Add volume to the claws
Next, give the Wolverine claws volume and shape, using the lines from the previous steps as a guide. The claws should taper smoothly from the fist areas to the tips. Claws can have different shapes in different comics, so you can change the length, thickness, and shape.
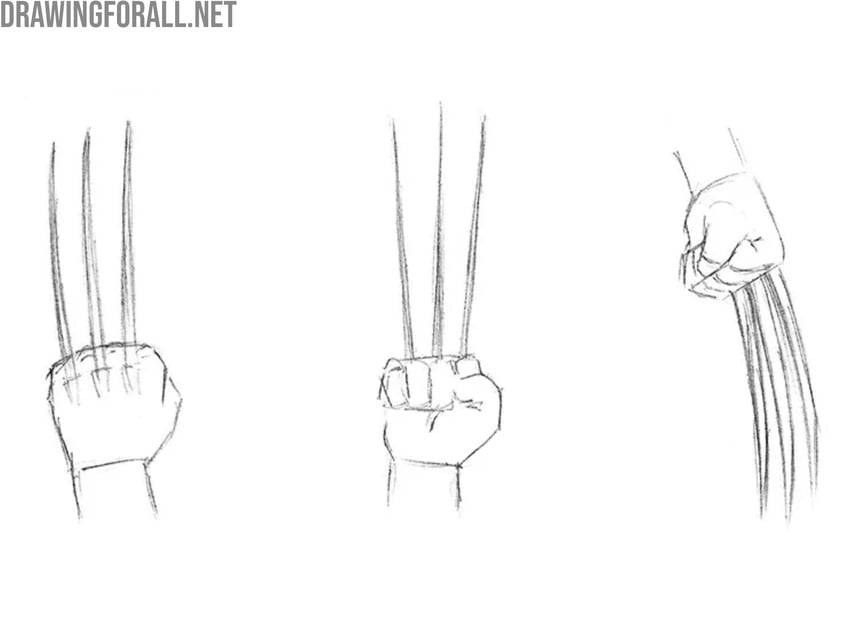
Step 5: Draw out Wolverine claws and hands in detail
Now erase the guidelines from the fists and claws of Logan. Accurately trace the lines of the claws, giving them smooth and sharp look. Make them more polished and neat. Make sure the claws are located at the equal distance from each other. Add some wrinkles and folds of skin to the fists and move to the final step.
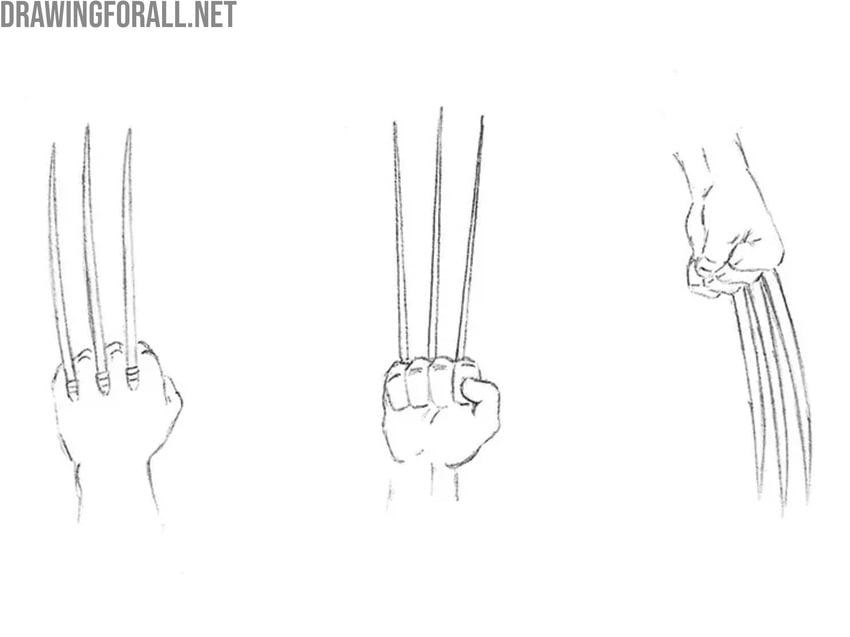
Step 6: Add shadows and highlights to the claws
Now, it’s time to add some shadows to your Wolverine claws drawing. You can apply contrasting comic book shadows, or smooth and realistic ones, as in our example. Such shadows are better to add by using hatching. You can also add light highlights on the claws to give them a more metallic look. When shading the claws, try to show their volume with careful hatching, taking into account the overall shape of the hand and claws, as well as the form of each individual segment.
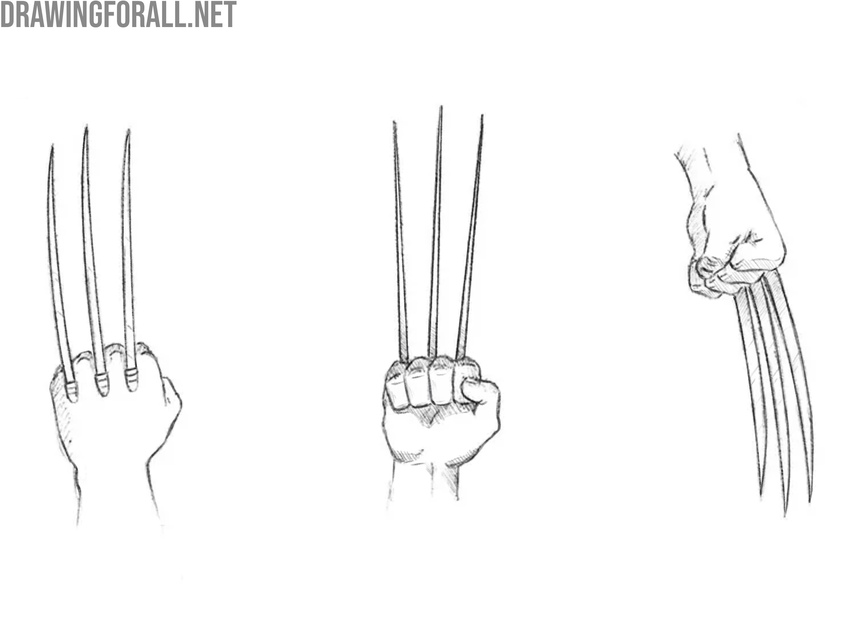
In this tutorial, we have shown you how to draw Wolverine claws from three different points of view. But with the help of this lesson, you can sketch claws from any position and from any point of view.
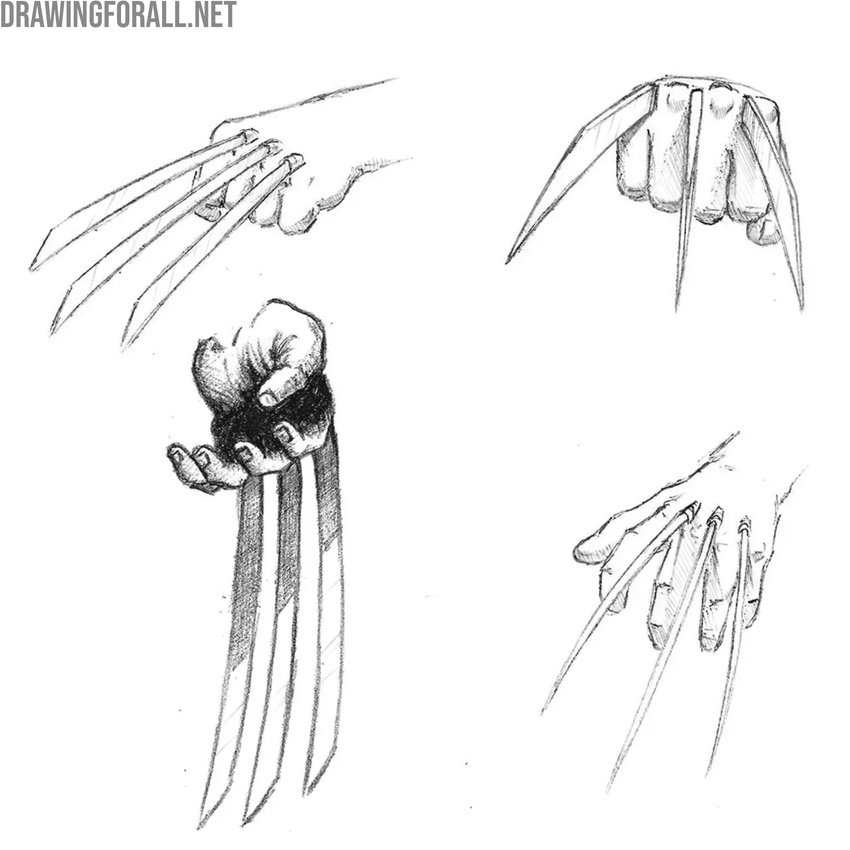
Below, you can see several different types of Logan’s hands with claws, drawn in various styles that appear across different comics by different artists and shown from different angles.
This exercise is very useful if you want to significantly develop your skills by learning to depict every detail while taking perspective into account, as well as the wide variety of comic styles and the individual approaches of each artist.
You can also observe the differences in shading and detailing, which are important to practice if you want steady improvement in your drawing technique.
Drawing comic book characters is an interesting and engaging activity that can greatly improve your artistic skills, and this is not said by accident.
Our artists – and especially the founder of the site – are long-time fans of comic books, including Wolverine, and learned to draw in part by sketching comic characters, scenes, costumes, and various details related to both heroes and villains.
Constant practice in drawing comic characters, studying the work of other artists, and creating your own images from imagination helps you progress quickly, because you learn through characters, stories, and details that genuinely interest you. This has a very positive effect on your overall artistic development.
To continue improving, be sure to visit our Comics category, where you will find many different lessons on drawing comic characters.
For example, you can draw Cyclops from the X-Men or practice drawing the head of Spider-Man, one of the most well-known characters in the Marvel universe.
And don’t forget to follow us on Pinterest and other social platforms to stay updated on new drawing lessons and see additional content that we post exclusively there.


needs more deatail
Thanks for the feedback. We’ve reviewed this lesson and added a bit more detail in one of our updates.
This is literally just pictures of the claws…
That is all it is suppose to be! It is getting you ready for the whole thing!
This tutorial explains how to draw Wolverine’s claws in step-by-step pictures. We’ve added additional steps and explanations to make the process even clearer and more understandable.
ummmmmmmmmmmmmmmmmmmmmmmmmmmmmmmmmmmmm need more detail
In one of our latest updates, we greatly expanded the lesson, adding more images and more detailed text.
these drawinigs is so cool my whole school look up to you
Thank you, really appreciate that. Glad the lessons help you and your classmates.