How to Draw a Leaf

Leaves come in many different shapes and sizes, but they all follow the same general drawing principles. In this step-by-step tutorial, we will show you how to draw a leaf by applying these principles to two very different leaves.
First, we will show you how to draw a simple leaf, then demonstrate the process with a more complex maple leaf. At the very end, we will also explain several important principles for a deeper understanding of the subject.
How to draw a leaf step by step
Step 1: Place the leaf plane
Since a leaf is essentially a flat plane, start by indicating this surface in space. Draw a slightly tilted rectangle using four light lines.

Step 2: Mark the leaf edges
Now indicate the outer edges of the leaf itself so they follow the tilt of the surface. It should widen from the point where it attaches to the stem and then narrow toward a thin tip.

Step 3: Draw the stem and midrib
On the left side, draw the thin cylindrical stem of the leaf where the lines from the previous step converge. From the central part of the stem, draw a line through the entire leaf to the tip on the opposite side.

Step 4: Refine the leaf outline
Using the construction lines indicated earlier, define the outline of the leaf with darker lines, but do not try to make it too even. The lines should be smooth and curve slightly.

Step 5: Thicken the central vein
Give the central vein of the leaf some thickness, but do not press too hard on the pencil. Vary the pressure as you draw. The lower edge can be slightly thicker than the upper one to convey the effect of shadow.

Step 6: Erase the construction lines
Erase all the construction lines from the leaf drawing, leaving only the final outlines. At this stage, you can also check the accuracy of the entire drawing and composition before adding the final details.

Step 7: Add the smaller veins
From the central vein, draw lines that spread toward the edges and follow the tilt of the surface. Do not press too hard on the pencil, and vary the thickness of the lines.

Step 8: Shade the leaf surface
The stem is the most protruding part of the leaf, so start drawing the shadows there. Along its entire length, indicate the core shadow and shade the area below it. Next, use transverse strokes placed at roughly equal distances from one another to add tone to the leaf itself. This tone does not have to be completely even across the entire surface.

Step 9: Finish the leaf drawing
Study your leaf drawing and make the final adjustments if necessary. Strengthen the tone where needed and lighten it where it seems too strong. You can also use an eraser to add highlights and create areas of light on the parts that have already been shaded.

So, we have now learned that a leaf is essentially a plane of a certain shape with small details such as veins and a stem. This plane can be turned differently in space, and its proportions will visually change depending on its position. Knowing this, let’s now learn how to draw a leaf with a more complex shape. The same principles apply here, but the outline is more intricate. For our example, we will use a maple leaf.
How to draw a complex leaf step by step
Step 1: Block in the maple leaf
Use light lines to indicate the overall outline of the maple leaf as a simple polygon. The edges and lines do not have to be perfectly even or identical. Organic forms benefit from slight irregularity.

Step 2: Draw the stem and veins
Now use light lines to indicate the stem. Let it curve slightly toward the end, then draw five lines extending from it toward the corners marked earlier. These lines are the central veins, and they do not have to be perfectly straight.

Step 3: Mark the maple leaf points
Use long, slightly curved lines of different shapes and lengths to indicate the edges of the leaf. The longest projecting parts of the leaf should be located where we previously indicated the veins.

Step 4: Complete the complex leaf outline
Complete the shape of the leaf with the same uneven, slightly broken lines. The overall symmetry should remain, but the opposite tips do not have to be perfectly identical.

Step 5: Give the stem thickness
Now give the stem thickness according to the form indicated earlier. The stem should widen slightly toward its end and curve gently.

Step 6: Add the smaller veins
Erase all the construction lines indicated in the first step. Next, draw additional veins spreading out to the sides from the central veins. The placement and thickness of these lines should vary slightly.

Step 7: Shade the maple leaf
Start at the tips and use transverse strokes to add tone to the leaf. You do not need to shade the entire leaf evenly. Slight differences in tone will also make it look more natural.

Leaf drawing principles and practice
Since a leaf is essentially a plane lying in three-dimensional space, it follows the principles of perspective drawing.
Pay attention to how the leaf visually changes its shape in relation to your eyes depending on how you turn it. It can bend in different directions and turn in space, and as an artist, you should be able to depict it in all these states.

Add to this the fact that leaves can have very different shapes, as we said at the very beginning. The leaves of an apple tree, maple, or fern differ fundamentally in appearance, but they still follow the principles we explained in this tutorial.
These fundamental principles now need to be practiced using specific leaves as references and drawing them from different angles.
It is best to use a real leaf and draw from life, although photographs will also work well. You should also practice more complex compositions that include leaves.
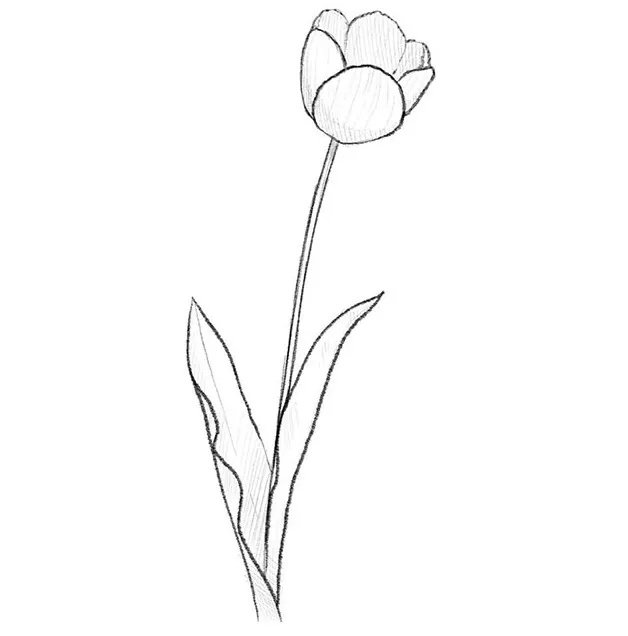
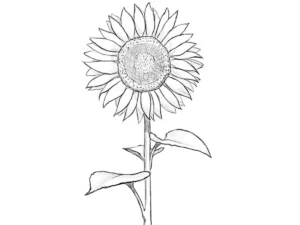
For example, draw a flower with leaves spreading out to the sides. Or draw a sunflower with its characteristic leaves and petals, which largely follow the principles from this tutorial.