

How to Draw an Olive Branch
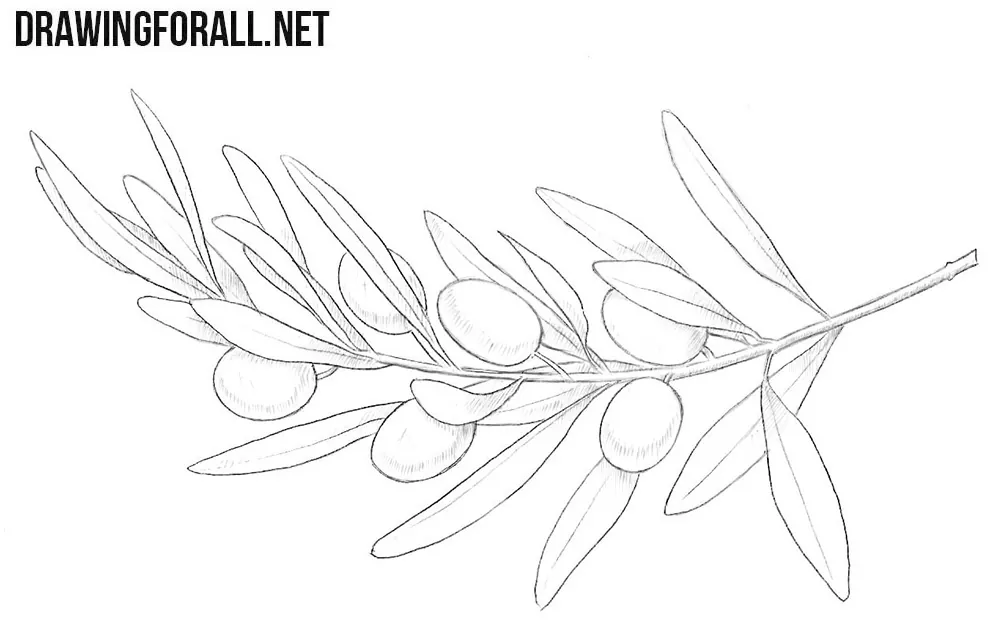
The olive branch has appeared in art since ancient times and has many meanings. In this step-by-step tutorial, we will show you how to draw olives, depict the branch and leaves, and create volume using a simple method. You do not need to reproduce the exact placement of every olive and leaf.
The most important thing is to remember how these elements are drawn correctly, fix the drawing process in your mind, and be able to reproduce them from memory.
How to draw an olive branch step by step
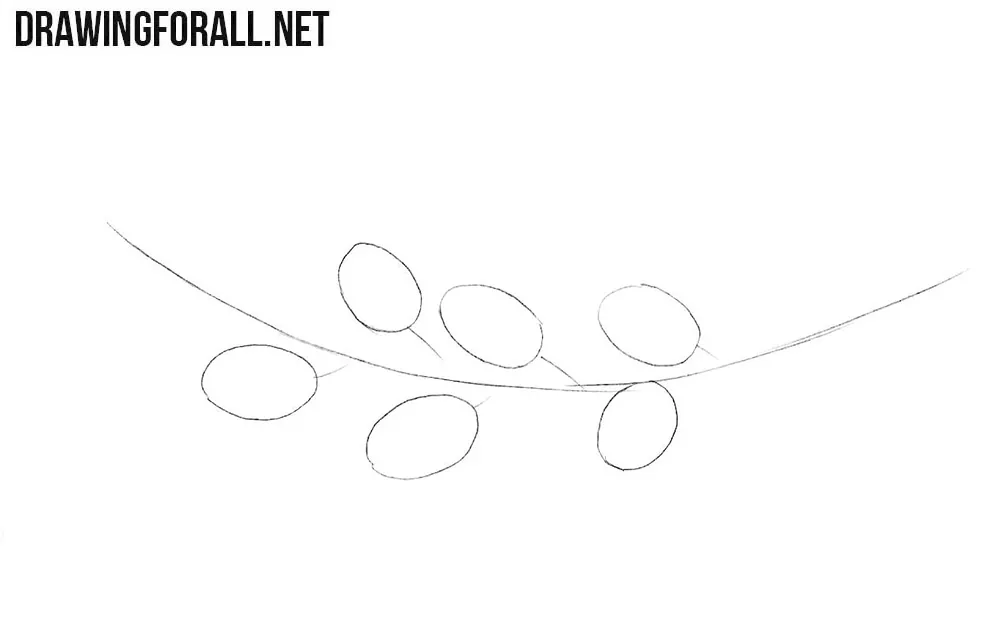
Step 1: Sketch the branch and olives
Sketch out the olive branch using a long, slightly curved line. Next, mark the positions of the olives with ovals. Let the branch dip gently in the middle and rise toward both ends. Connect the olives to the central stem with short lines. All the olives should face in the same general direction and visually spread slightly away from the central stem along the diagonal.
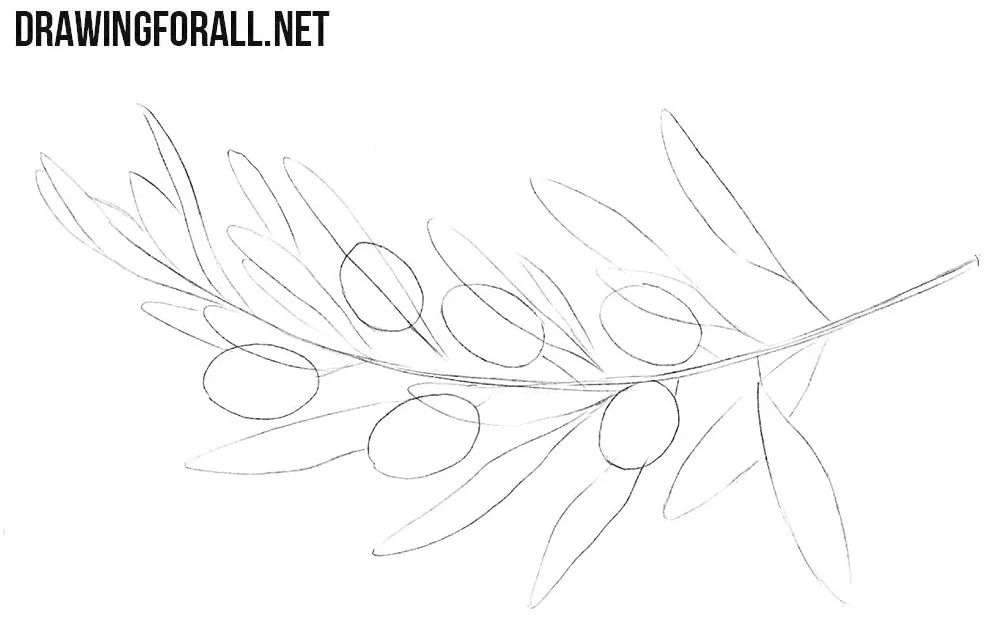
Step 2: Add the narrow olive leaves
The leaves of the olive branch should look like thin, elongated oval shapes with slightly uneven outlines. They should vary slightly in size and face in the same general direction as the olives, but with slight deviations to different sides. Some leaves should partially overlap one another and partially cover the olives. Give the stem of the olive branch thickness with a light curved line.
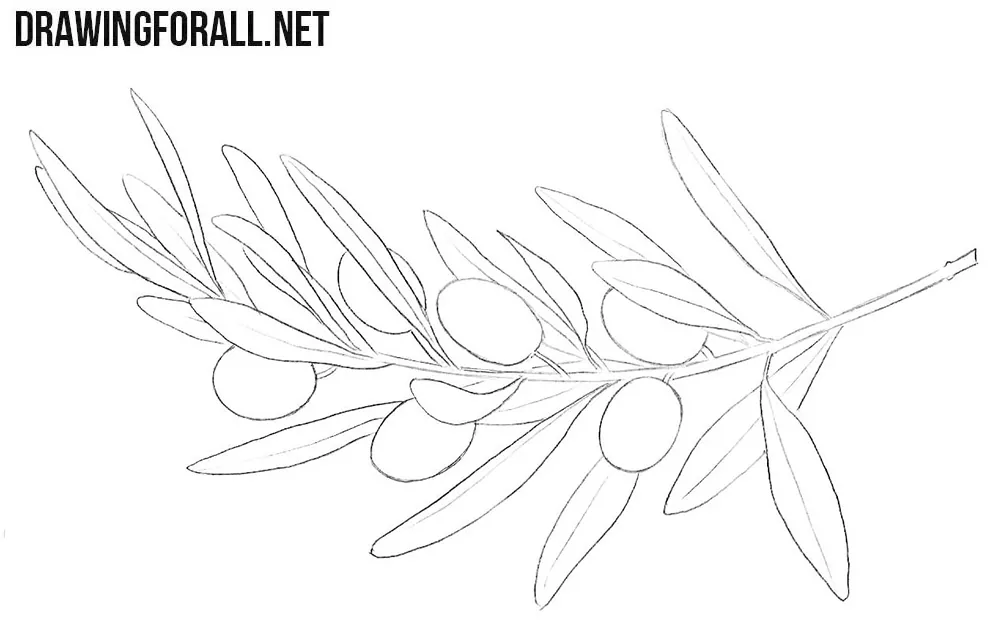
Step 3: Refine the olive branch contours
Now use darker lines to carefully trace the outlines of the olives and leaves. Thicken the branch with additional lines. Make it wider at the exposed right end and thinner toward the leafy left tip. Draw a central vein along each leaf and define the short stems. Erase the lines hidden behind overlapping leaves and fruit so the parts no longer appear transparent.
Step 4: Add shadows to the olives
Give the olives a more three-dimensional appearance by adding shadows. Place them according to the direction of the light. Hatch around the lower curves of the olives and beneath the leaves that cover them. Leave a small unshaded area at the bottom of each olive to convey reflected light. Make the shadow denser in the parts of the branch that are least exposed to the light.
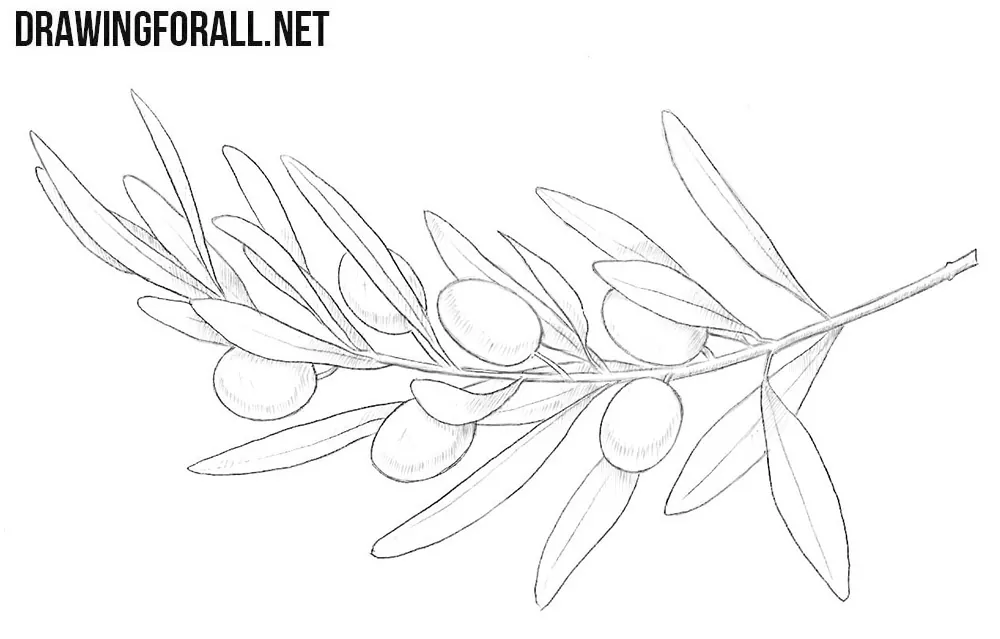
At the very beginning, we mentioned for a reason that olives and olive branches have many meanings in visual art.
Roughly speaking, these meanings can be divided into four groups: peace and reconciliation, victory, honor, and valor, rebirth and life, and fertility and prosperity.
Olives themselves, olive branches, and olive wreaths can be found in art from ancient times, through Classical Antiquity and the Renaissance, and up to the present day.
Now that you know how to draw an olive branch, you can try creating your own composition and give it the meaning you want to convey.
The simplest option is to draw a dove with an olive branch in its beak. A slightly more complex composition would drawing a portrait of a person wearing an olive wreath.
Of course, an olive wreath has a different overall form, but the basic principles of drawing the branches, leaves, and olives remain the same.




Perfect!
pls add more steps
more steps plz