How to Draw a Flower
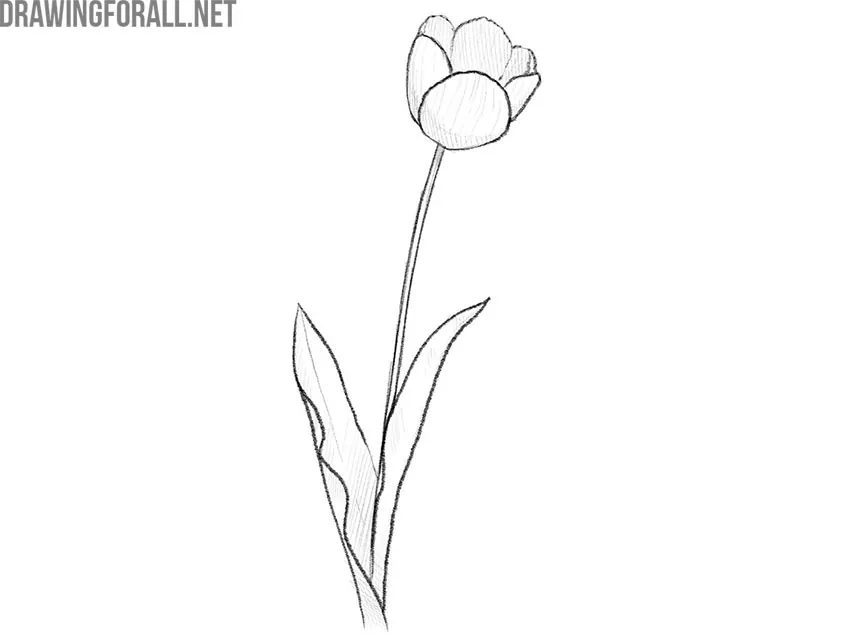
How to draw a flower? If you wanted to know this, you are in the right place. Especially for you, I created this simple and clear step-by-step drawing lesson. You will get excellent results if you repeat my steps.
Step 1
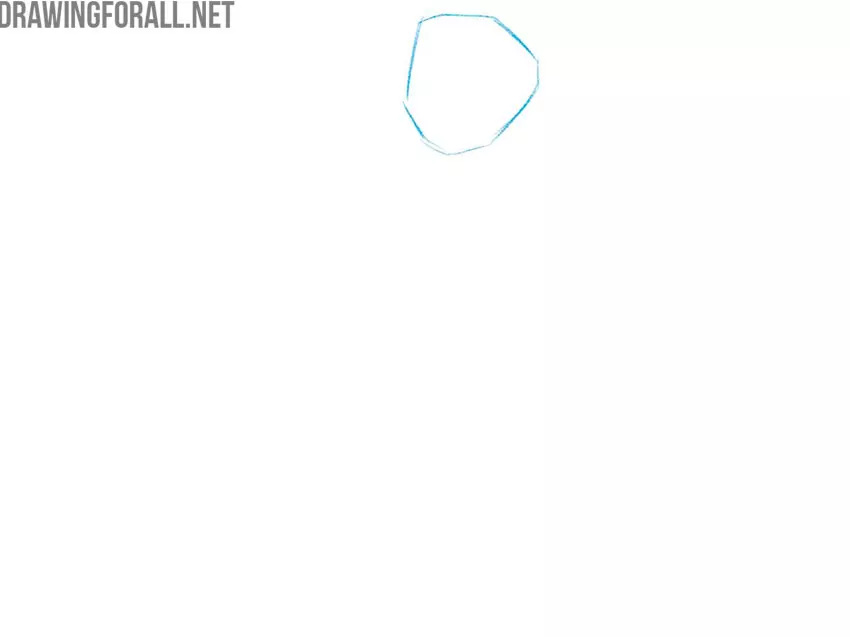
Firstly, draw the approximate contours of the bud. It depends on the composition, really. In our case, the bud is located at the top of the sheet of paper.
Step 2
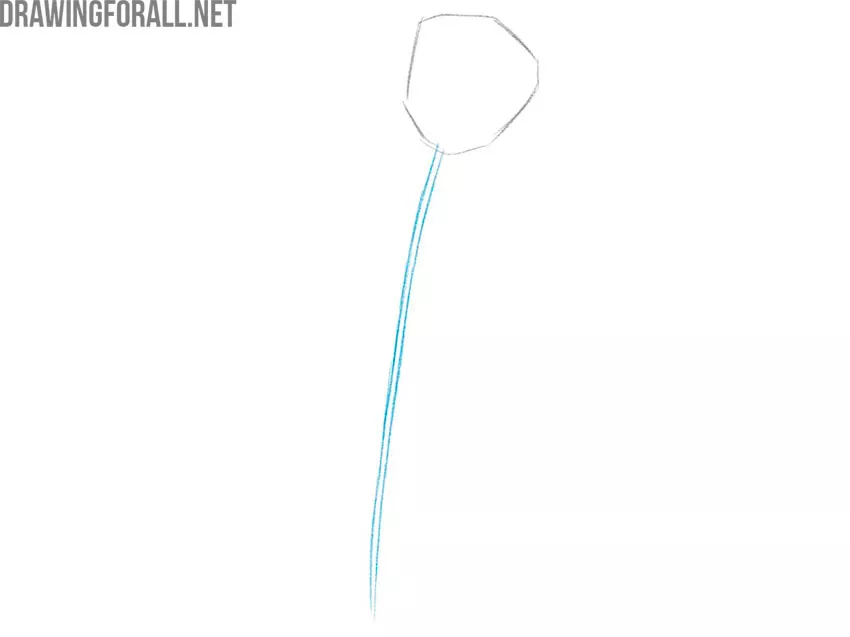
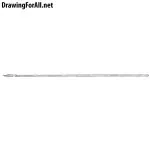
Second, draw the stem. The shape and location of the stem also depends on your original plan. We have a long, thin stem that runs across the entire sheet of paper.
Step 3
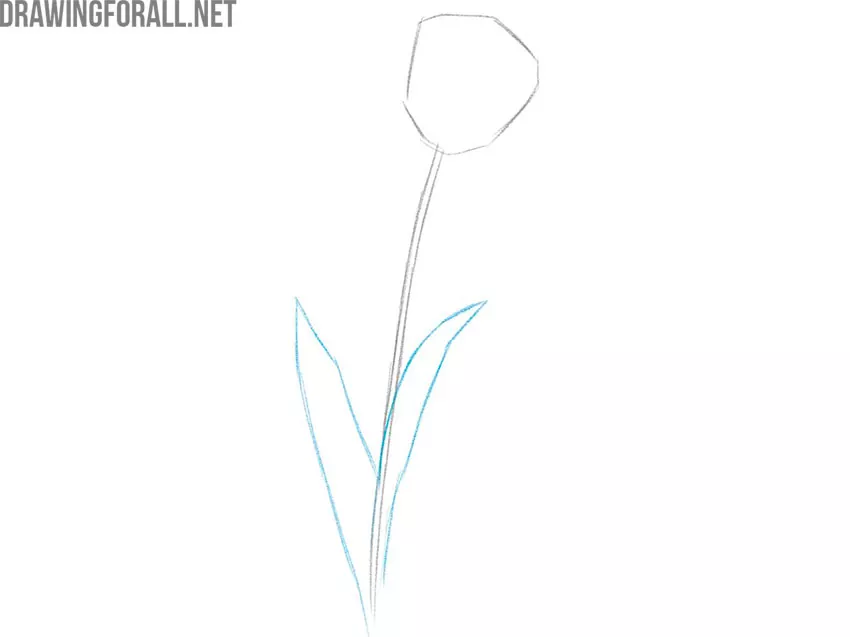
It doesn’t look very realistic without the leaves, does it? Let’s add two large leaves with pointed top ends. Don’t try to draw symmetrically in this step.
Step 4
If you think that creating a little volume is difficult, then just try to draw these smooth lines as in our sample. Pay attention to the different sizes of the petals. It’s much easier than rose petals, for example.
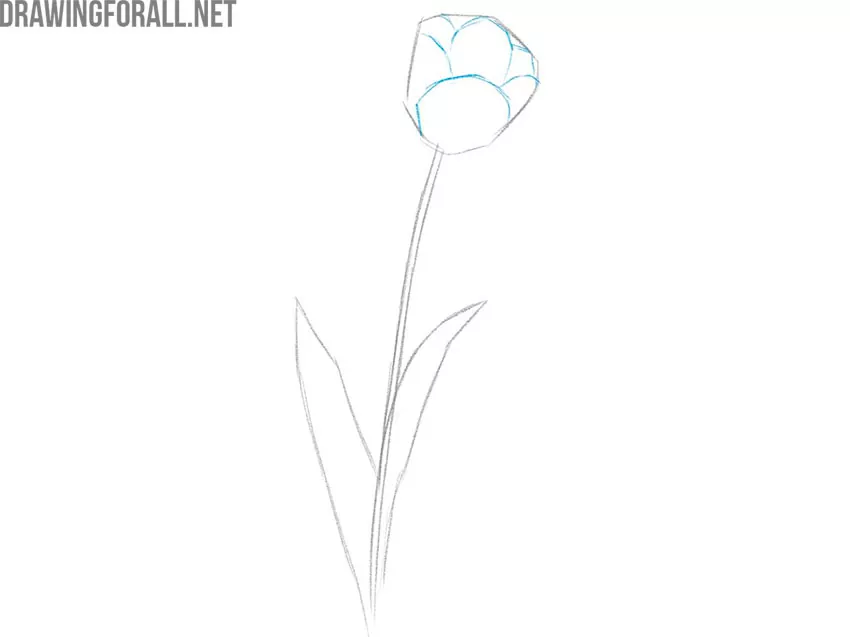
Step 5
Finish drawing the petals of the bud. To do this, form the outer contours of the shapes from the previous step. The largest petals are the petal closest to us and opposite it.
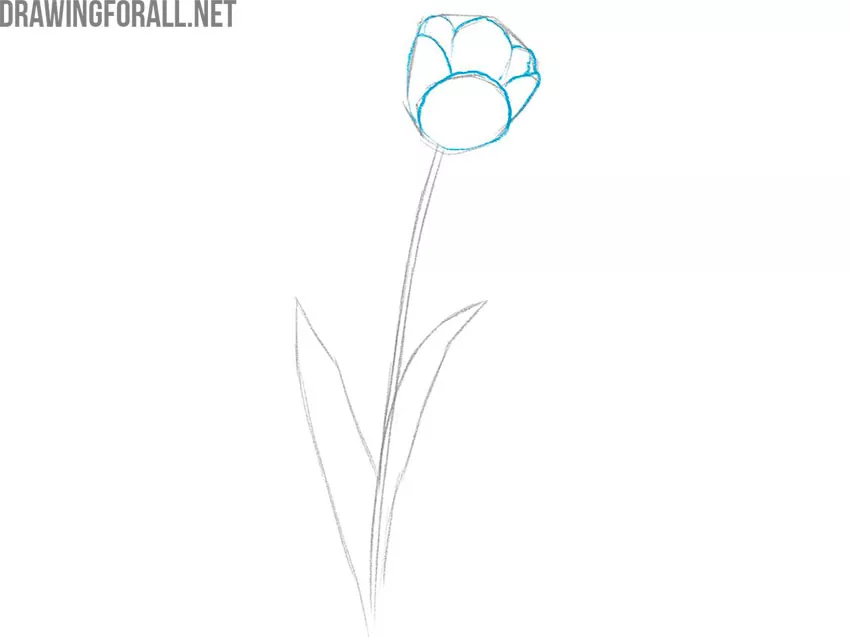
Step 6
Add some curved lines to the outlines of the leaves. If you do not remove the outer outline of the leaf, you will create a folded edge effect.
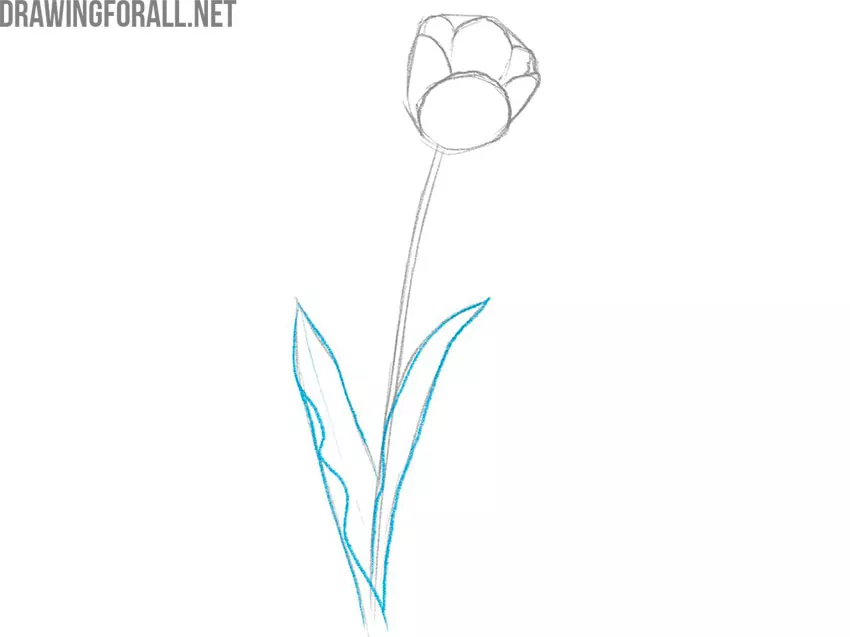
Step 7
Add some shadows. Draw straight vertical lines inside the outlines of the petals. Try to draw lines in the same plane as the stem.
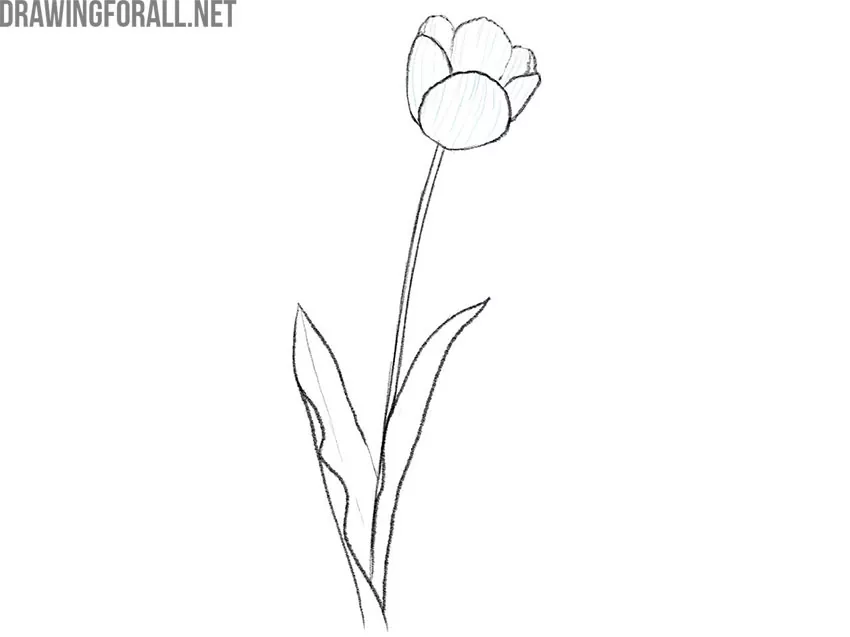
Step 8
So, draw also small shaded areas on the stem just below the bud. In general, you can skip this step for easier drawing.

Step 9
In general, if you drew this flower correctly, you got something like this. If you see too big differences, find the mistakes and fix them.

We hope that now you know how to draw a flower. Do not forget to write in the comments your opinion on how useful this lesson is. We are also waiting for your applications for new drawing lessons. Check back for fresh content for artists of all levels!




This was really helpful I got 100% marks in my art exam . Love it👍👍👍👍