Lesson 6: Creating Volume in Drawing

Creating volume in drawing is another stage of the drawing process that largely overlaps with form construction.
During the drawing process, the artist begins with general shapes and the construction of the form, gradually adding larger details and masses while already indicating the basic volume with lines.
Gradually, as the drawing is constructed, the artist builds volume and makes the composition three-dimensional through the use of various techniques and methods.
In this lesson, we will focus on these methods and techniques and explain how to apply and combine them in practice during the drawing process.
Tone, Light, and Shadow

Light and shadow is one of the most important and fundamental ways to create volume and expressiveness in a drawing.
In academic drawing, tone is introduced gradually as the form is constructed: first, the major masses are established by dividing the form into light and shadow, and then refinement and detail are added.
Thus, to create volume using tone and shadow, the drawing should first be divided into areas of light and shadow, blocking them in with large, even masses. Use light lines to separate the illuminated areas from the shadowed areas, and then fill the shadowed sections with hatching.

As the drawing progresses, this simple division between light and shadow should gradually become more complex by adding halftones, cast shadows, reflected light, and highlights.
Identify and refine the main tonal zones: light, halftone, and core shadow. The light is the most illuminated part of the form, the halftone shows the gradual turning of the surface away from the light source, and the core shadow marks the area fully turned away from the light.
At the same time, it is important to concentrate refinement in areas where you want to direct the viewer’s attention, while keeping shadows more generalized and less detailed in secondary areas.
The boundary between light and shadow, often called the form turn, is what creates the sense of volume.

After that, refine the tone within each zone. In the light, keep the values clean and relatively light, avoiding unnecessary darkening.
In the halftone, build a smooth transition that conveys the rounding of the form. In the core shadow, increase tone, but avoid making it uniformly dark – there should still be variation within it.
For creating volume in drawing, pay special attention to reflected light – a subtle lightening within the shadow caused by bounced light. It prevents the form from collapsing into a flat shape and helps reinforce its volume.

Cast shadow also plays an important role. It should be darkest at the point of contact with the object and gradually soften as it moves away. Cast shadow also helps further separate the object from the surface on which it is placed.
For creating volume in drawing, it is also very important to apply your strokes in accordance with the form on which they are placed. Avoid random or chaotic strokes.

Throughout the process, constantly compare tonal relationships: what is darker, what is lighter, and how smooth the transitions are. It is the accuracy of these relationships – not maximum contrast – that creates a convincing volume in your drawings.
The strongest contrast should be placed in the focal area, where the form is rendered with greater accuracy and detail.

In the rest of the drawing, contrast can be reduced by grouping shadows into larger, more generalized masses without unnecessary detail.
This distribution of contrast enhances the volume in your drawing and helps guide the viewer’s attention within the composition.
Perspective and Overlapping

Perspective and overlaps should be used from the construction stage, establishing depth and volume in the drawing from the beginning.
Start by identifying which parts of the form are closer to the viewer and which recede into space. Indicate the effects of linear perspective immediately: draw the nearer parts slightly larger and with clearer, more confident lines, while the farther parts should be smaller and drawn with a lighter touch.

Next, define the direction of the form in space through foreshortening. If an object moves away from the viewer, its parts should not remain the same size – each subsequent plane or element should gradually decrease.
Lines that recede into space should converge slightly, even if the effect is subtle. Avoid keeping lines parallel where the form is turning in space.

Unlike linear perspective, the effect of atmospheric perspective is not based on differences in size within a composition or on the visual reduction and enlargement of objects. Instead, it is created through tonal relationships and the differences between them.
In practice, start by separating the scene into planes: foreground, middle ground, and background. Render the foreground with stronger contrast, clearer edges, and full detail.
As forms move farther away, reduce contrast, soften transitions, and simplify the shapes by grouping details into larger masses. The background, or objects located even a short distance away, should appear more generalized and less visually active.

Pay attention to value relationships: distant objects typically become lighter and closer in value to the background.
Avoid using very dark tones in the distance, as this pulls forms forward and breaks the sense of dimension. Instead, compress the value range while keeping the main light–shadow separation readable.
Don’t forget to with edges: in distant areas, soften contours and avoid sharp boundaries, especially within shadow. In the foreground, use more defined edges.

Also reduce the level of detail. Do not render small elements in the distance – replace them with simplified shapes. Detail should be concentrated closer to the viewer, supporting the focal area and reinforcing depth.
Each form line that is closer to the viewer should naturally and smoothly overlap the form located behind it.
Remember the principles of artistic vision, striving to clearly understand the volume of every element and to see through the forms so that you can accurately depict all the overlaps.

Strengthen and clarify the line of the nearer form, while softening or partially obscuring the line of the form behind. This immediately separates the planes and helps in creating volume in your drawings.
And one extremely important point: constantly check and refine your entire drawing, trying to keep it unified. All the effects mentioned above should work together to create volume in the drawing.
Creating Volume: Exercises and Practice
Drawing simple objects with even the most basic light and shadow will help you understand how to create volume in practice.
For example, draw a rose by constructing its simple form, keeping the sense of volume in mind, and applying basic shading.
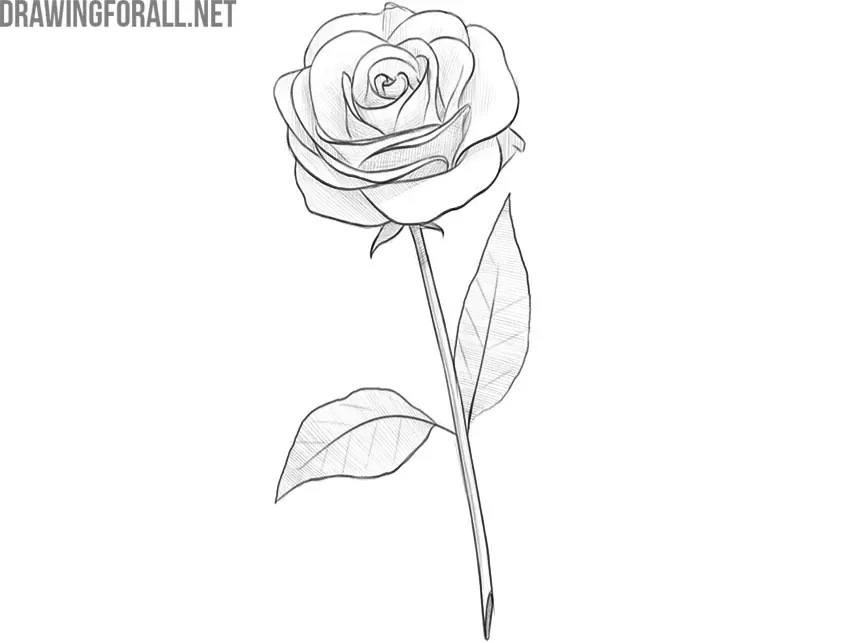
After completing the rose drawing exercise, place a real rose or any other real object in front of you and repeat the steps of adding volume while observing a real-life reference.
This will help you better understand how to transfer real three-dimensional forms onto paper. Then repeat the same process with other objects.
Choose a simple subject from our site, draw it following the lesson, and then use a real reference to repeat the same steps, this time translating an actual object in front of you onto paper.
The next logical step is to slightly increase the complexity by drawing not just a single object, but a group of objects.
For example, create a still life using one of our lessons, constructing it with all the knowledge you have gained so far, including light and shadow, perspective, and overlapping forms.

After that, arrange a real still life with objects that interest you and repeat the same process using a real reference.
Next, study perspective in practice by repeating our lesson where we draw a street in perspective. Using the same principles, try drawing an interior as well and continue practicing this skill.


