

How to Draw a Bear Face
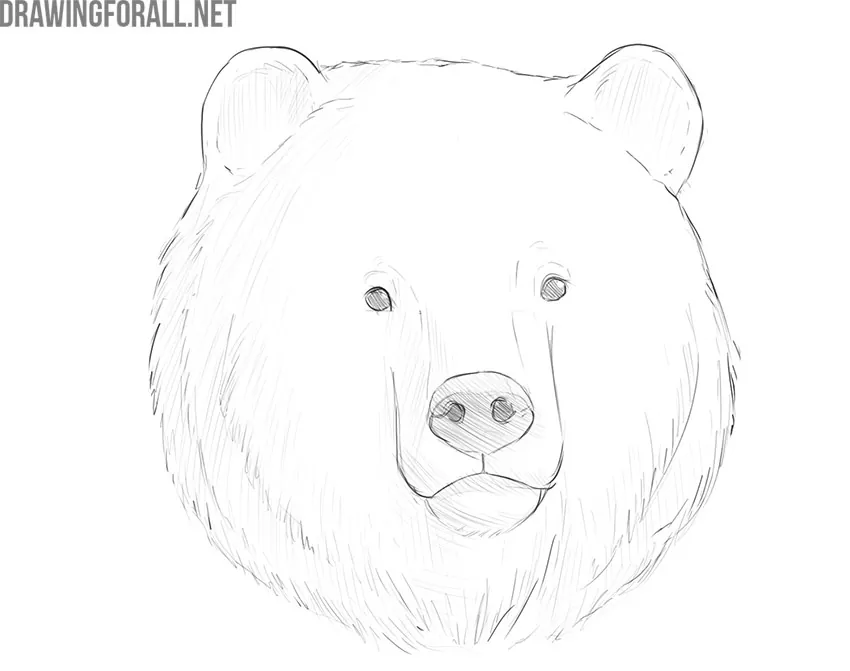
The bear is one of the most popular animals among artists. That is why we created this drawing tutorial on how to draw a bear face.
We decided to present this rather detailed-looking drawing using a sequence of a few simple steps. The steps are arranged so that this tutorial on bear face drawing tutorial is accessible even to novice artists.
If you want to draw a full-body bear, this tutorial will also be useful, as you can use these steps to add detail to the head.
How to draw a bear face step by step
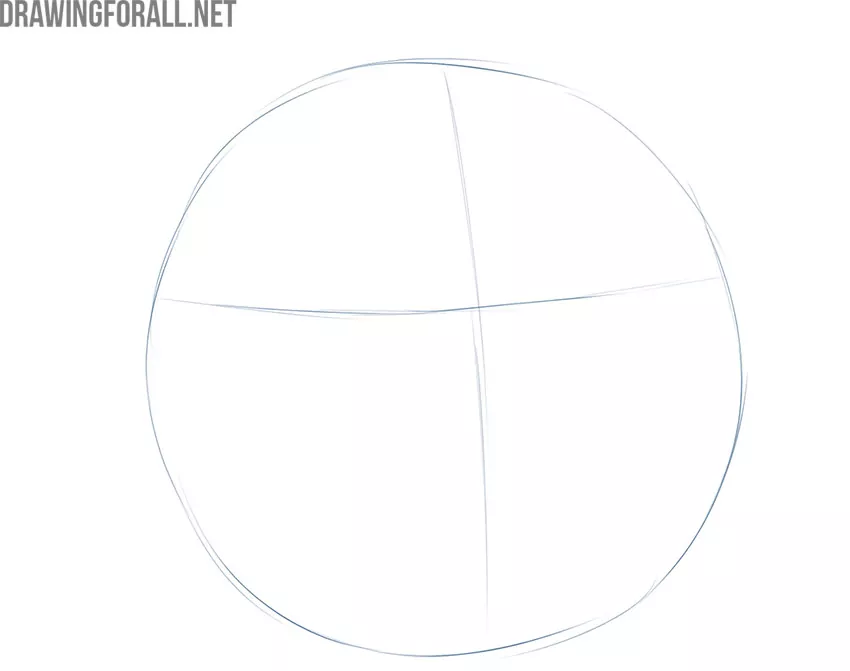
Step 1: Sketch the head guidelines
First, outline a large circle to determine the location of the bear’s face. If you plan to draw a portrait, place this circle in the center of the sheet. Also mark the location of the eyes with a horizontal line and divide the bear’s face into two approximate halves with a vertical line. Note that the horizontal line should be positioned slightly above the center.
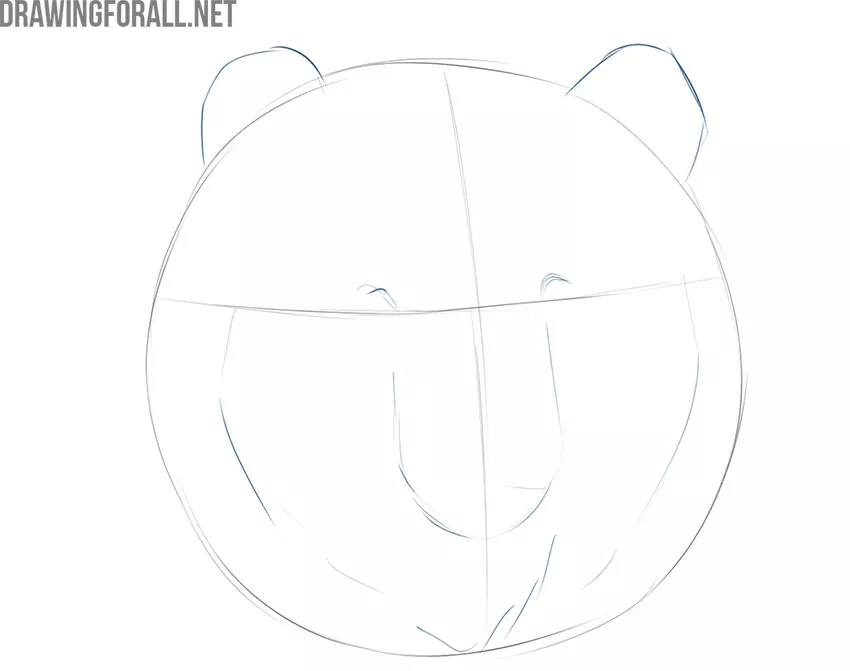
Step 2: Mark the facial features
Now outline the main facial features of the bear. With rough, angular shapes, mark the nose and ears. Also sketch the eyes as two small semicircles.
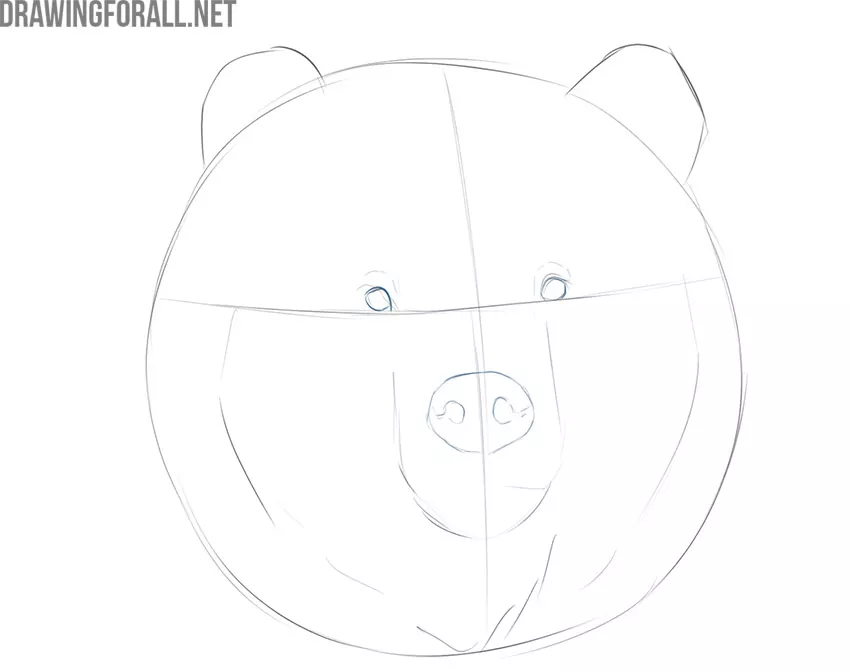
Step 3: Refine the eyes and nose
Now add some very important lines. First, refine the rounded shapes from the previous step to form the bear’s eyes. After that, draw a wide nose with a pair of round nostrils.
Step 4: Draw the mouth and nose
Now we are almost done drawing the basic features of the head. Draw a line that separates the upper and lower jaws and constrict the muzzle. Also refine the contours of the nose.
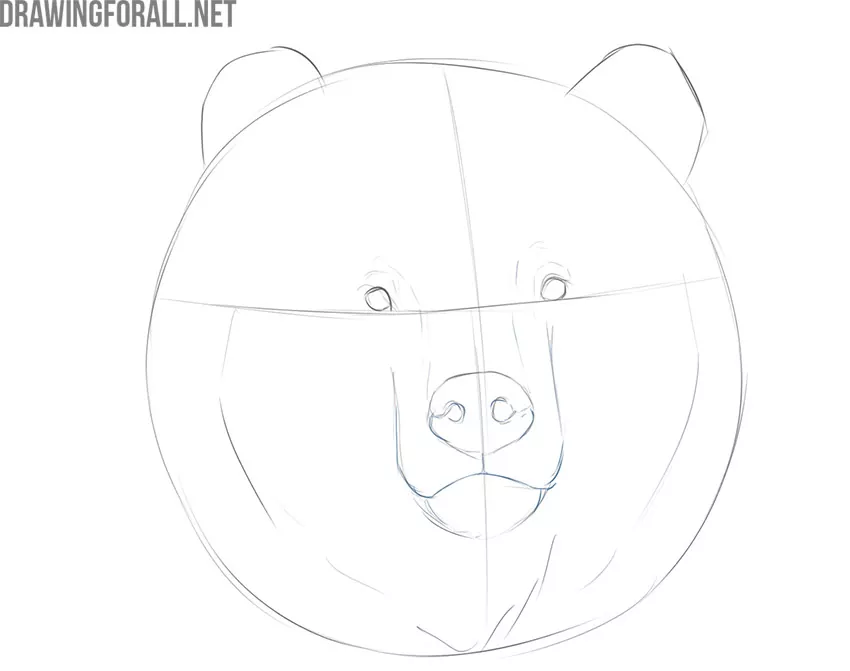
Step 5: Add the fur texture
Now add some fur texture to the bear’s face. Draw jagged, wavy lines along the sides and below the facial features. Don’t forget to outline the inner parts of the ears.
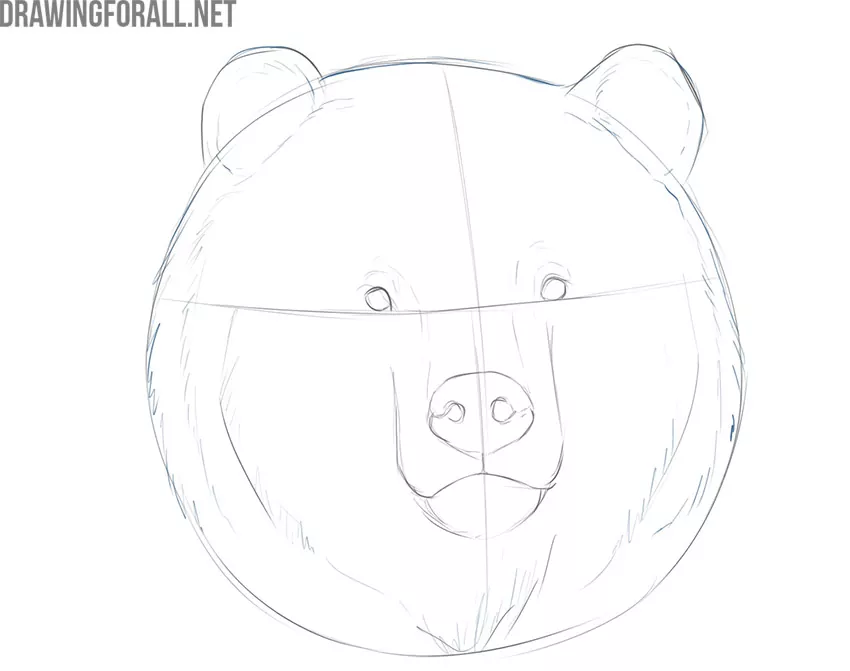
Step 6: Erase the extra lines
Now erase all unnecessary lines from the drawing. You can also correct any inaccuracies and errors from the previous steps.
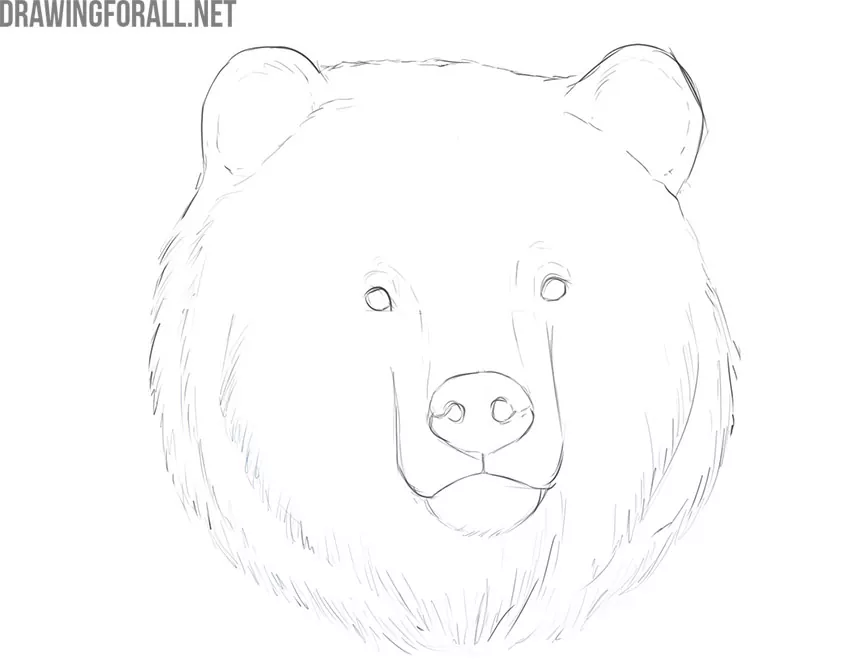
Step 7: Add shadows to the head
Now add small shadows to make the bear face drawing more realistic. Use several short, diagonal lines. Where the shadows are darkest, you can add another layer of hatching. If you are a beginner and do not plan to work with shadows, you can simply skip this step.
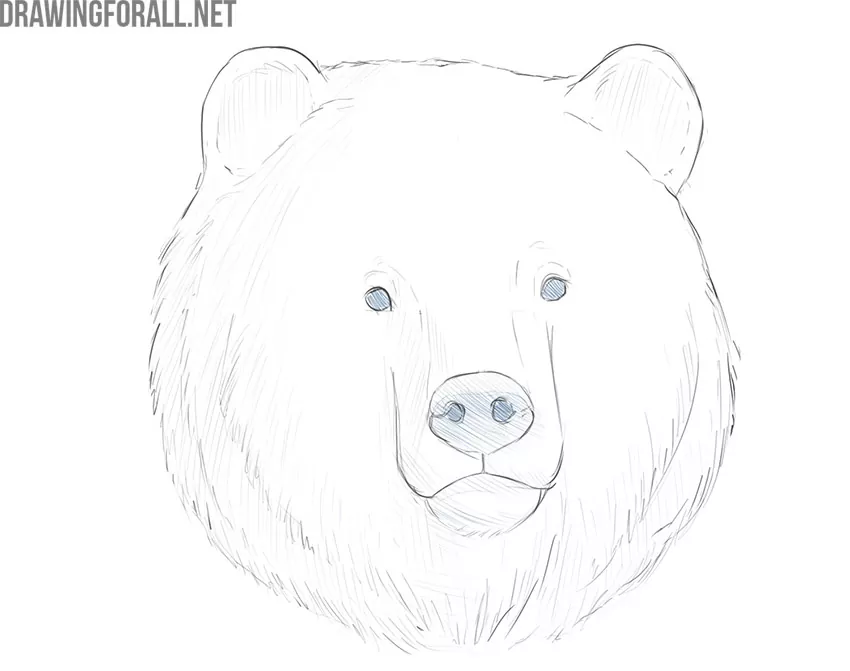
Step 8: Refine the finished face
Check the finished bear face drawing and correct any remaining details if necessary. You can add more fur texture along the contours of the head, make the shadows more contrasting, or refine the tonal relationships.
If you decide not to add shadows, you can color your drawing of the bear’s face. You can use brown or black to create regular forest bears.
If you want your bear to look like a polar bear, simply leave the bear face drawing uncolored.

I love it!!!
aaaaaaaaaaa
aaaaaaaaaaaaaaaaaaaaaaaaaaaaaaa
I love bears
OMG THIS IS SO NICCCCCCCCCCCCCCCCCCCCCEEEEEEEEEEEEEEEEEEEEEEEEEEE
This is amazing I got through a art project with this
omg thank you so much this is literally going to get me a 100 on my assignment. Thank youuuuuuuuuu!
i finally finished my art project my art teacher will be so suprised
Sigma Boy