

How to Draw a Professor
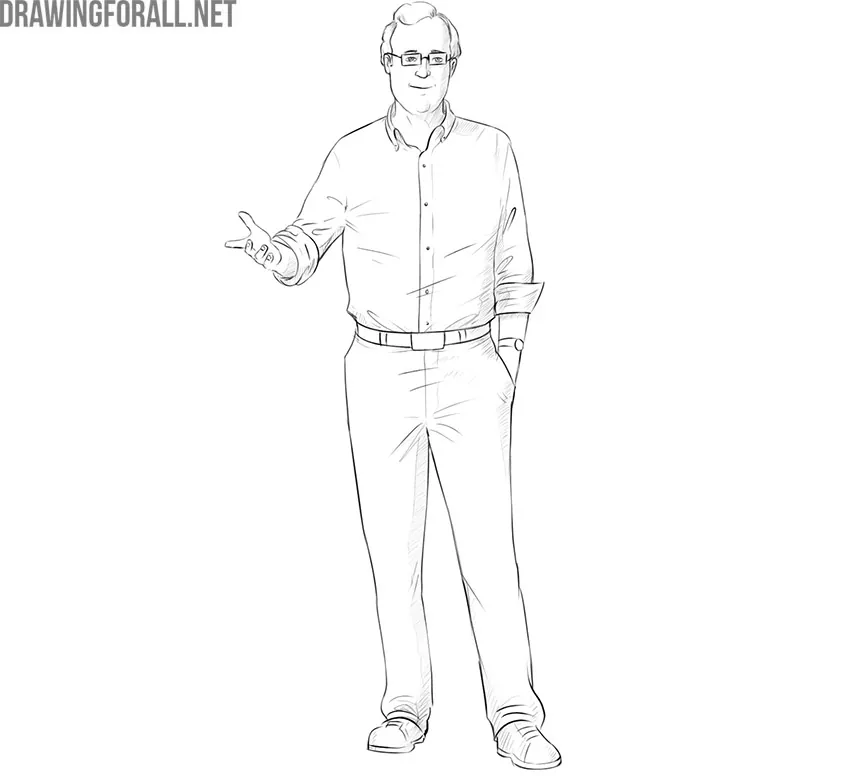
It is important to be able to convey a person’s appearance and profession so that the viewer can immediately understand what you wanted to show. That is why in this tutorial, we want to show you how to draw a professor with characteristic features and details.
We decided to use the classic appearance of a man slightly older than middle-aged who has achieved great success in science.
How to draw a professor step by step
Step 1: Sketch the stick figure
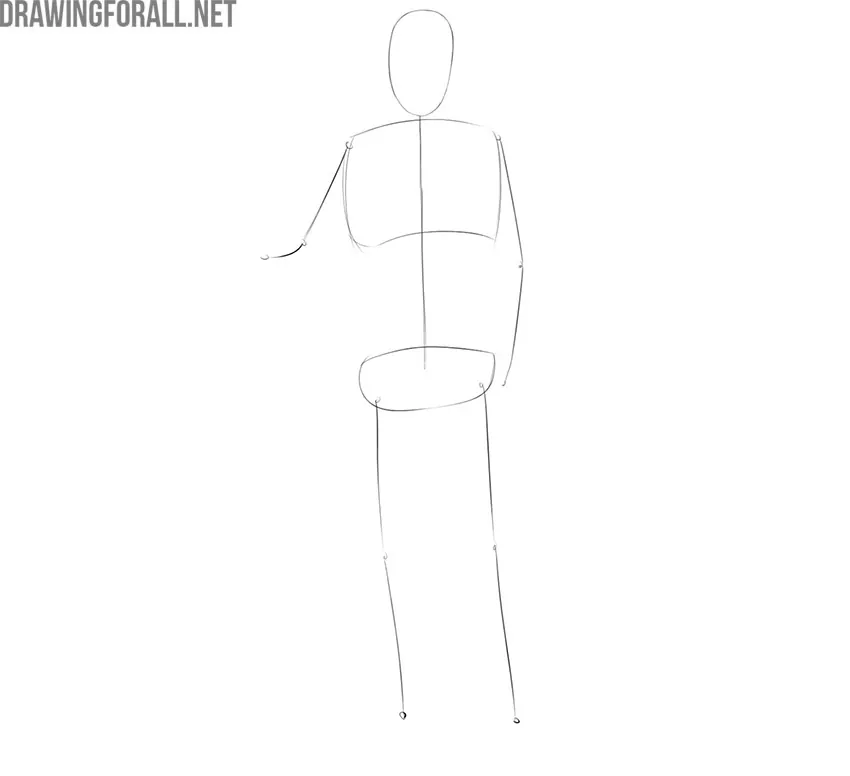
First, outline a simple stick figure that will help us determine the position of the professor on the sheet of paper. Draw the head as an oval, then indicate the spine, arms, pelvis, and legs with simple lines. In our example, the professor has a relatively narrow chest and shoulders, while the pelvis looks slightly wider. Do not add any details at this stage.
Step 2: Build the character’s torso
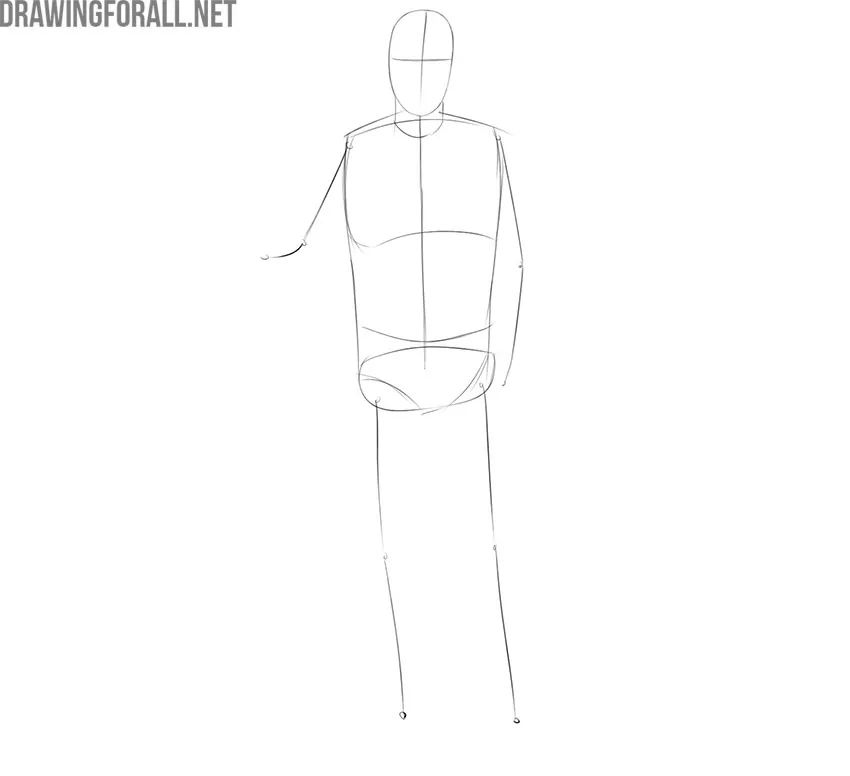
First, connect the chest and pelvis with straight lines. If these lines narrow slightly, that will not be a mistake. In place of the neck lines from the previous step, draw a short, thick cylinder. Mark the lower part of the pelvis with a pair of oblique lines. Sketch two light intersecting lines on the face. They will help drawing the facial features.
Step 3: Add the limbs
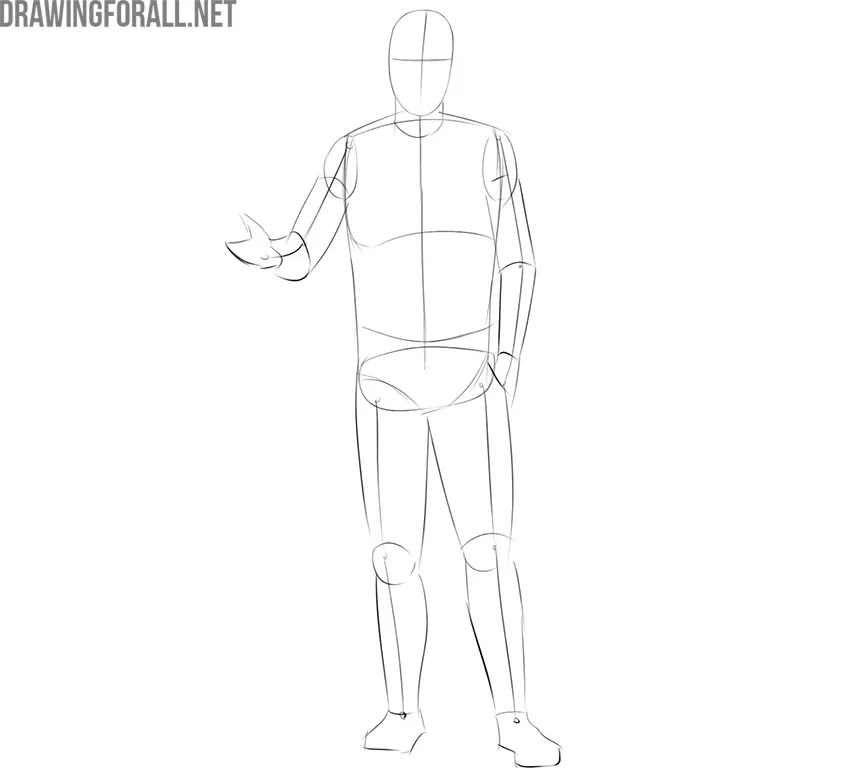
Continue developing the professor’s figure. A professor does not need to have an athletic build; his main strength is his mind. Therefore, depict the arms and legs with simple cylinders without pronounced bends, narrowing, or widening. Do not draw the fingers or other small details yet.
Step 4: Outline the main details
Now start adding the details that will give our character the appearance of a professor. Using the guidelines on the head, lightly sketch the eyes, nose, mouth, and ears. Outline the hairstyle with slightly wavy lines. Then move down to the torso and sketch the shirt and trousers over the construction from the previous steps. Add a few basic folds to the clothing, but do not detail them yet.
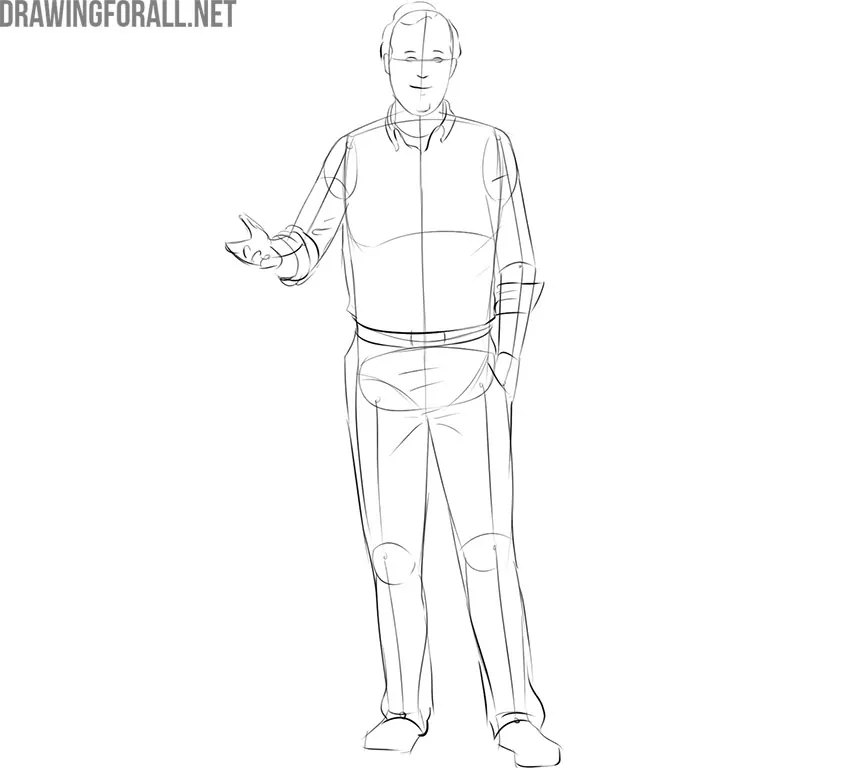
Step 5: Refine the professor’s head
Starting here, we will draw the final lines, beginning with the head. Refine the shape of the face and ears, then carefully draw the eyes, eyebrows, nose, and mouth. Draw the glasses around the eyes. After that, refine the wavy hairstyle with clean lines. You can change these details if you want to give your professor a different appearance, for example by changing the hairstyle or the shape of the glasses.

Step 6: Refine the shirt
Now move down to the torso and start refining the professor’s clothes. Trace and finalize the contours of the shirt with clean, darker lines while gradually erasing the construction underneath. Detail the collar and the vertical line in the center of the shirt, then add a row of small buttons. Add several folds around the shoulders, waist, and other places where the fabric bends.
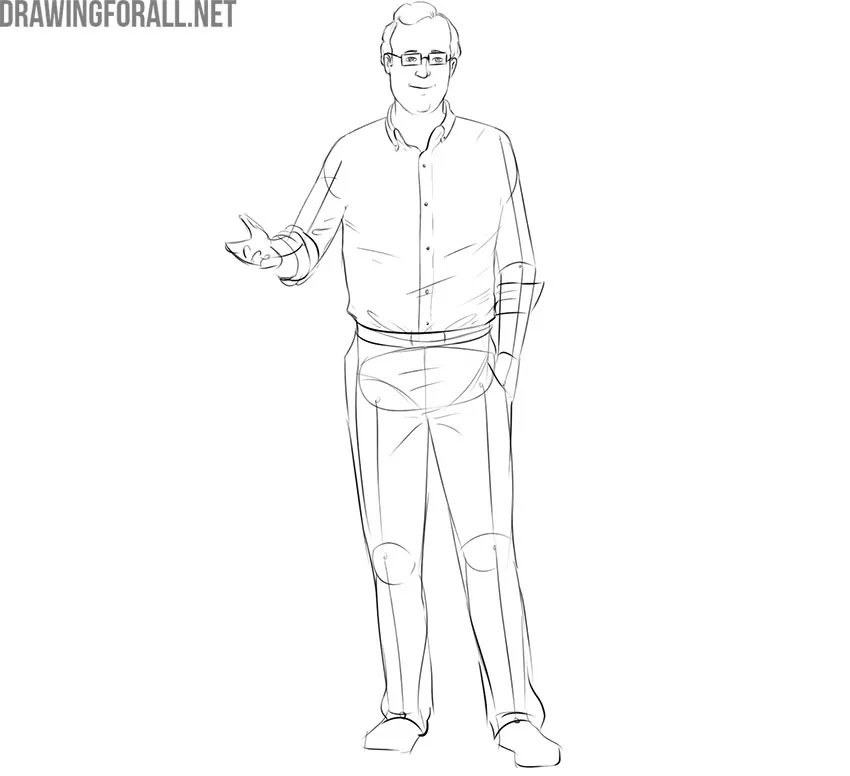
Step 7: Finish the arms
Now work on the final contours of the professor’s arms. Draw the rolled-up sleeves, folds in the fabric, and, of course, the hands. We have a separate tutorial on drawing hands if you need more detail. After the professor’s hands are complete, erase the unnecessary guidelines and clean up the upper body.
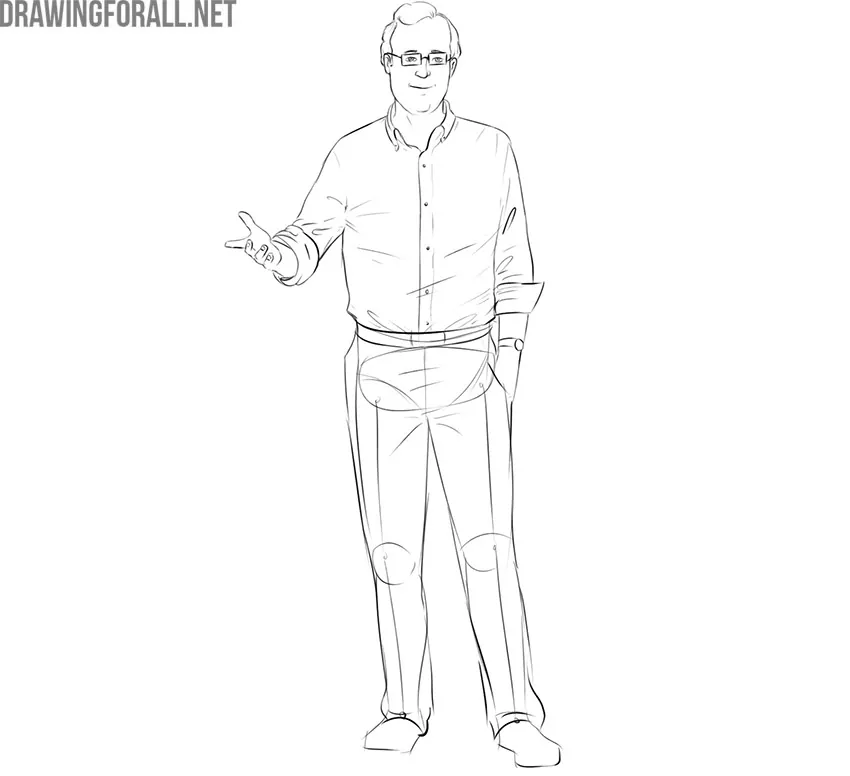
Step 8: Finish the trousers
The guidelines for the pelvis and legs should no longer show through the final forms. Erase these unnecessary lines after making sure the surrounding contours are correct. Do not forget the folds in the clothing. These small details help make the professor drawing look complete and realistic.
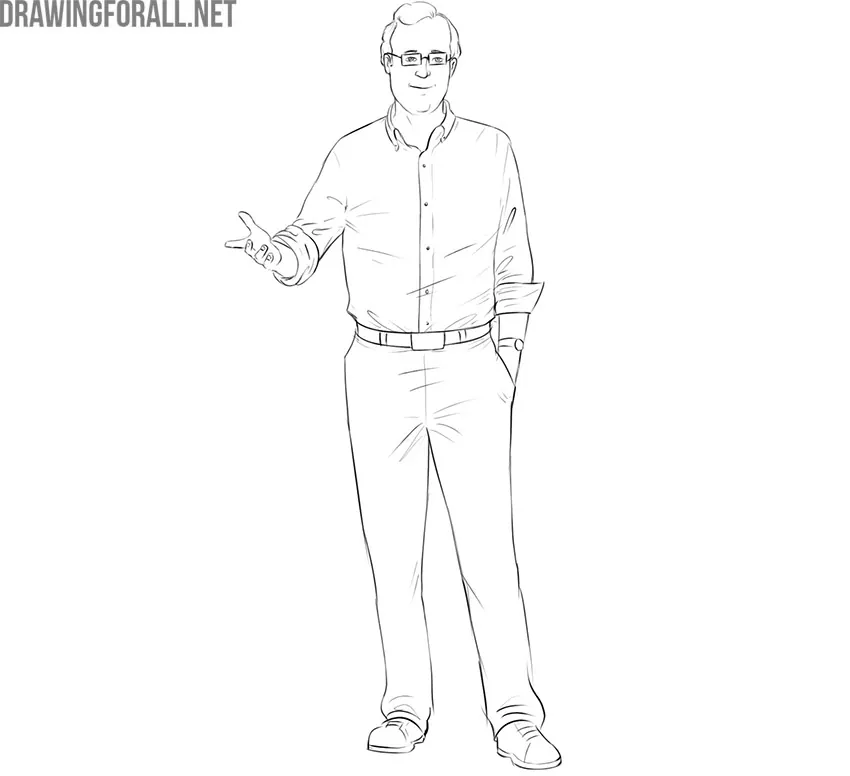
Step 9: Add light shadows
The final step is to add the shadows. First, determine the light source. First, determine where the light comes from, then place the shadows mainly on the opposite sides of the forms. In our example, we use simple, light, single-layer hatching.
This step-by-step tutorial follows our main person drawing tutorial, with the difference that here we changed the shape of the body and added characteristic details. It is these details that help give a person the appearance and character we want to convey.
For practice, try drawing a younger or older professor. Change the clothing, hairstyle, facial features, and other details while following the same basic principles of constructing the human figure.




Wonderful Drawing !
Very helpful. My lines tend to be scribbly so it doesn’t look so good.