

How to Draw Food
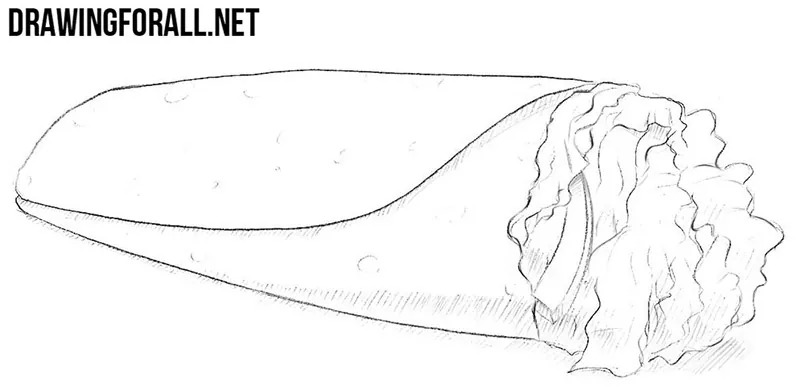
This drawing guide is quite simple, but in the end, we should get a fairly realistic result. So let’s start and see how to draw food.
How to draw food step by step
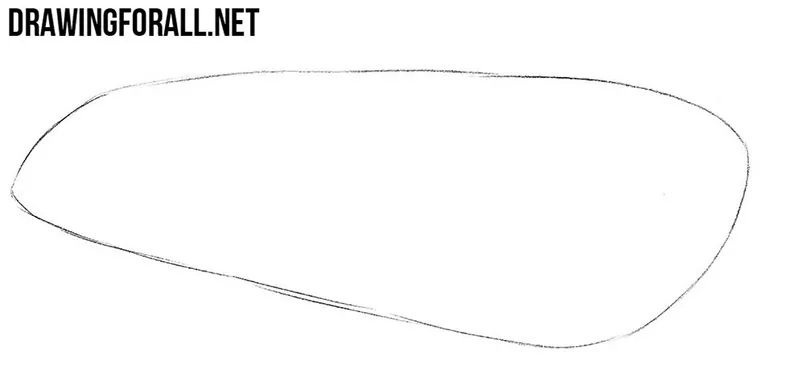
Step 1: Sketch the folded pita
First, draw the contours of the pita. The lines do not have to be perfectly even at this stage. However, pay attention to the perspective. One half of the pita looks much larger than the other because of the angle.
Step 2: Open the pita pocket
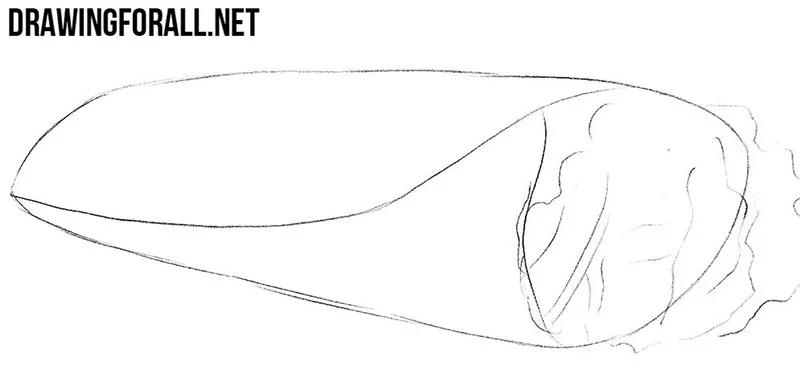
Now draw the smooth upper edge of the pita. This edge overlaps the rest of the bread like a flap. At the front, leave a large opening where the filling will be placed. Here the filling is quite voluminous, but you can make it smaller.
Step 3: Define the food filling
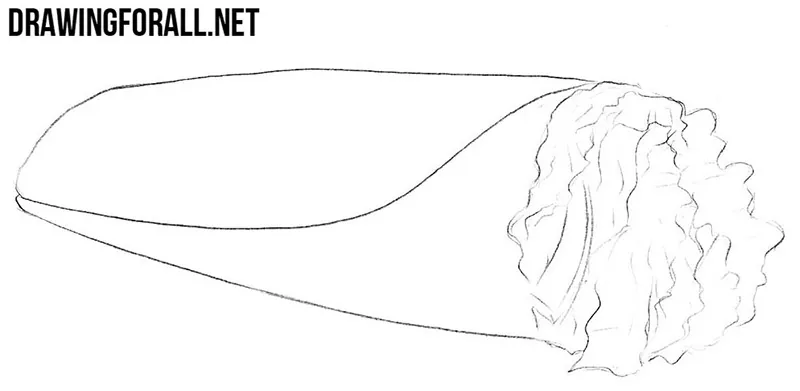
Now refine the final contours of the pita bread and filling. Remove the extra lines so the ingredients do not look transparent. If you want to simplify the drawing, you can use just a sausage and a couple of lettuce leaves for the filling.
Step 4: Shade the pita drawing
Now work on the shadows. First, determine the direction of the light source. Here the light comes from the upper left, so add hatching mainly to the right side of the pita. Use light strokes and do not forget to add the cast shadow on the surface.
This was our tutorial on how to draw food. As an example, we chose a snack served in pita bread.



Wow my teacher loved this pic! just got out of the classroom for a talk with my art teacher from high school. she was so impressed and asked me to teach her how to do it!!
We are very pleased that our lessons are so useful. Thanks for reading Drawingforall.net.
Your art is not very easy to draw but I managed to do it somehow.
You are awesome!
Thank you!
pretty! its still kinda hard for me to draw somehow- 😑💬
this will be my lunch. it looks easy to draw tho