How to Draw a Juicer
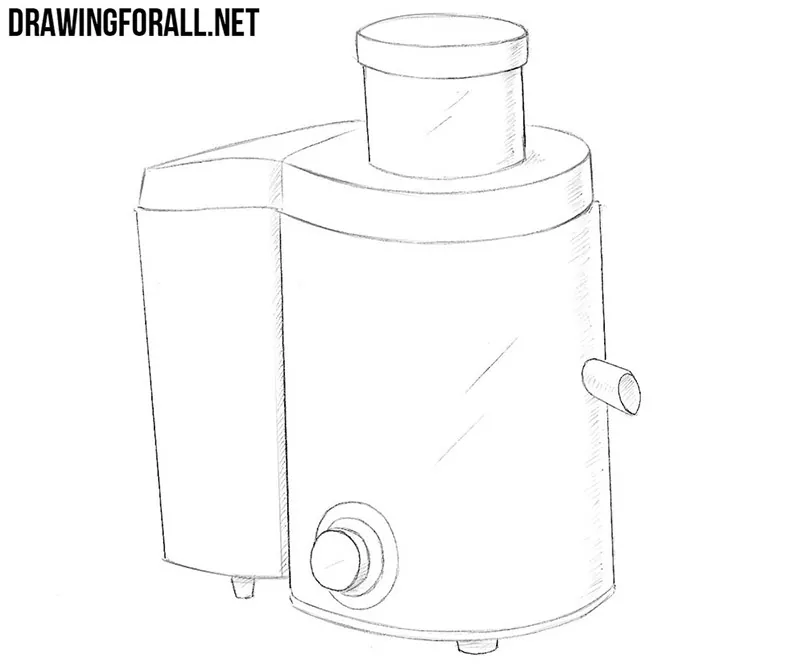
In this very simple drawing tutorial, the team of Drawingforall.net will show you how to draw a juicer.
We pay a lot of attention to drawing ordinary objects from everyday life because this is excellent practice for working with straight lines. If you draw a few everyday objects, it will be easier to draw spaceships, lightsabers, or other more complex things.
We should also note that a juicer is a very useful kitchen appliance. Freshly squeezed juice can be a great alternative to packaged juice.
How to draw a juicer step by step
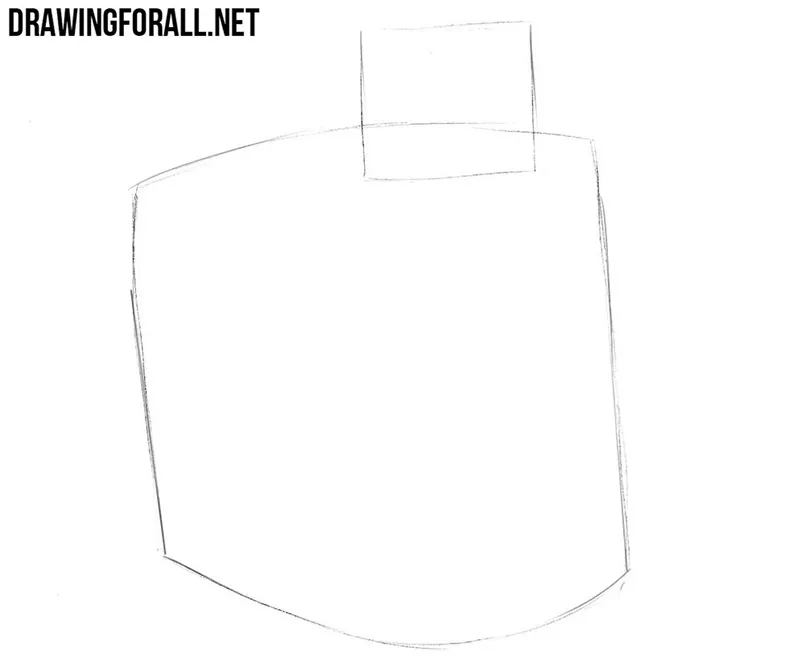
Step 1: Block in the juicer
First, draw the basic outline of the juicer. This contour consists of two large asymmetrical shapes. Do not try to make the lines perfectly smooth at this stage.
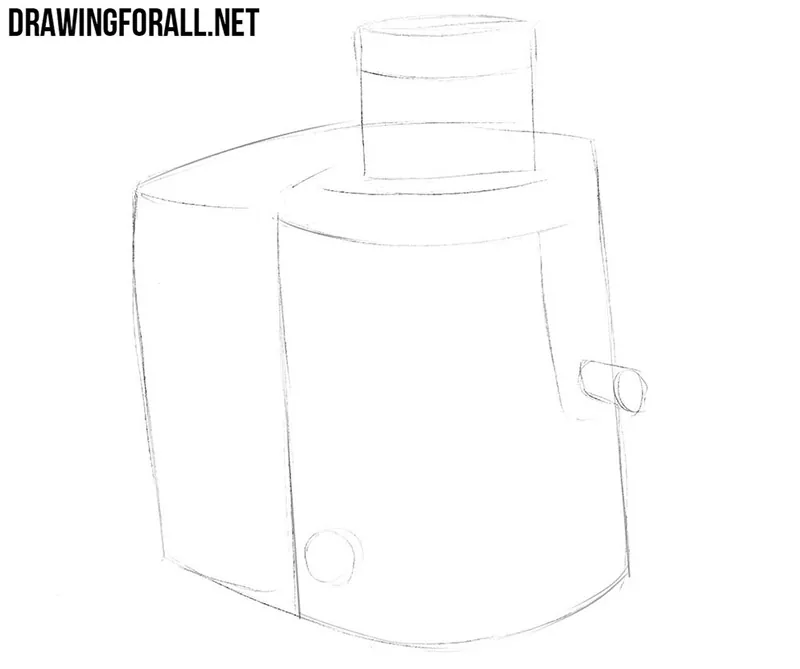
Step 2: Add the main details
Now draw the main details of the juicer. Add the contours of the lid and the juice spout. At the lower left, draw the power button. Here the button is quite large. As in the previous step, the lines do not need to be perfectly smooth yet.
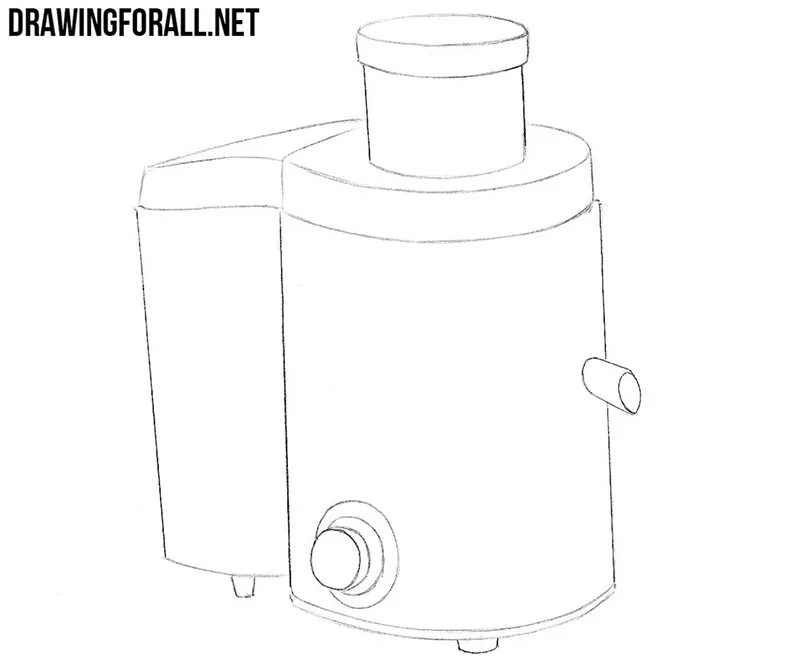
Step 3: Refine the outer contours
Now work with straight, even lines. Draw the final contours of the juicer, using the lines from the previous steps as guides. Erase the unnecessary construction lines to get a clean drawing.
Step 4: Shade the kitchen appliance
To make the juicer drawing look more realistic, add shadows. If the light comes from the left, place the shadows mainly along the right side of the juicer. Use dense, even hatching to create these shaded areas.
This was a simple tutorial on drawing a juicer. We still have several tutorials about objects found in the kitchen and used for preparing food. If you have ideas for other objects you would like us to draw, let us know in the comments.