How to Draw a Tripod
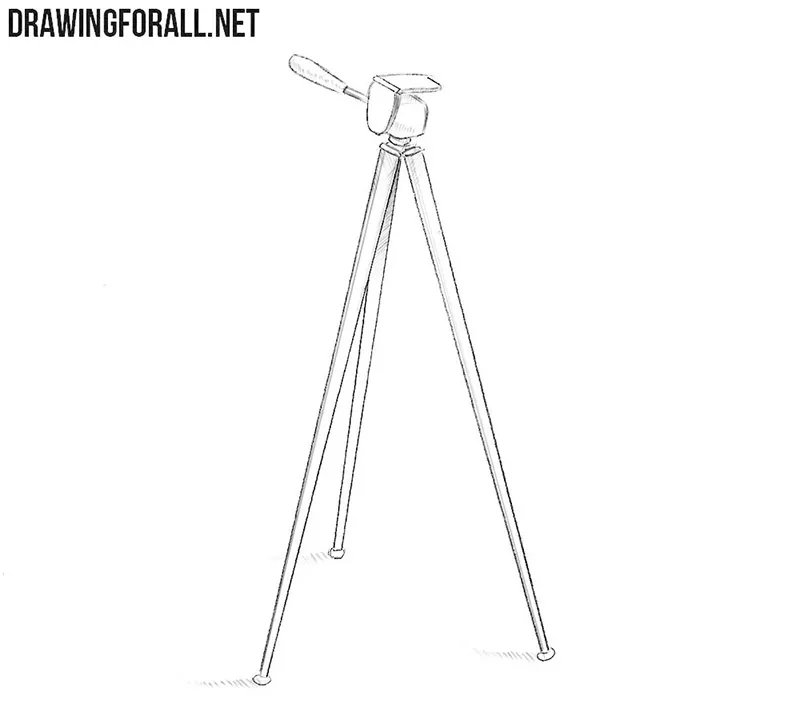
Here we will show you how to draw a tripod. In our digital age, many people use this familiar device for different creative and technical purposes.
If you have ever tried working with video, you probably know this device. Photographers and geologists are also familiar with the tripod.
How to draw a tripod step by step
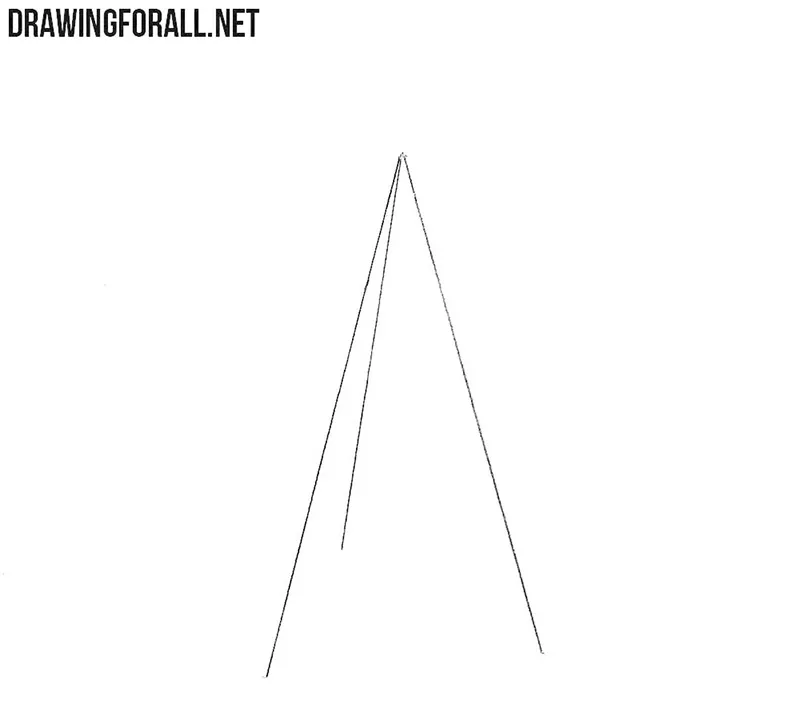
Step 1: Set the tripod legs
First, draw three lines that diverge from one point. Pay attention to the distance between them. You can change the position of these lines if you want to draw the tripod from a different angle.
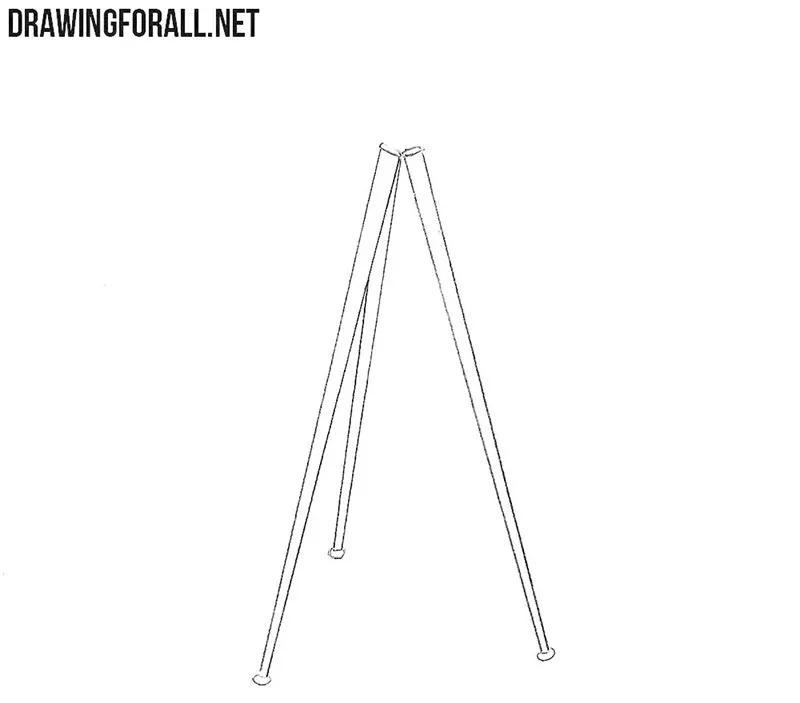
Step 2: Give the supports volume
In the previous step, we drew the tripod as three simple lines. Now give each of these lines volume. At the lower ends of the resulting supports, draw rounded feet.
Step 3: Construct the camera mount
Now draw the camera support at the top of the tripod. The top and side planes form a right angle. From the front, you can see several asymmetrical shapes. At the back, draw a lever with a rounded handle.
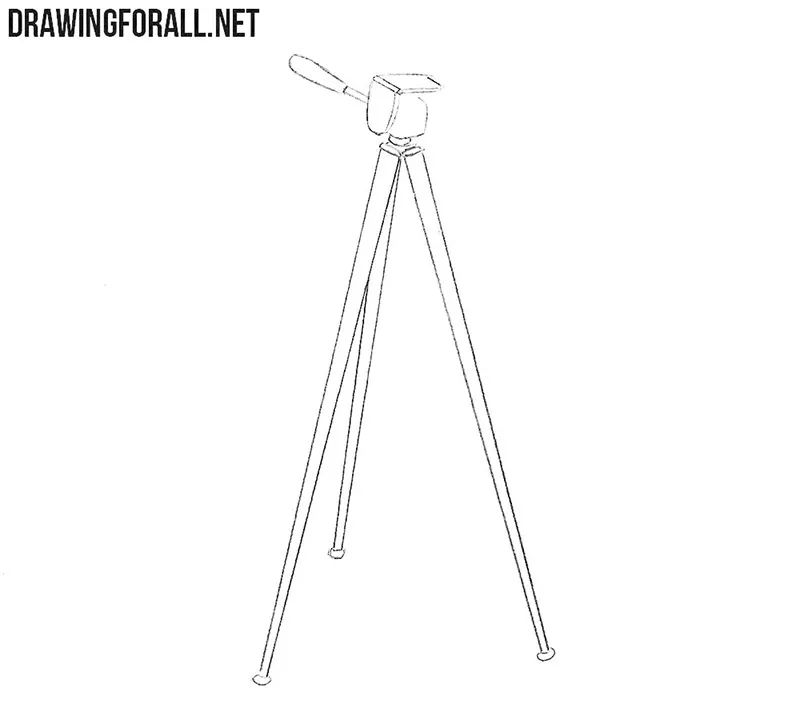
Step 4: Complete it with shadows
Finally, add some shadows. You can see a shadow on the far support of the tripod. It is especially important to add small cast shadows on the ground so the tripod does not appear to be floating in the air.
This was a pretty simple tutorial. If you can draw straight lines and simple geometric shapes, you can easily draw this tripod. If you find this difficult, you can practice with other tutorials about gadgets or electronics.
You will be able to draw tripods and similar objects more confidently if you practice without using a ruler or other auxiliary tools.