

How to Draw a Walnut
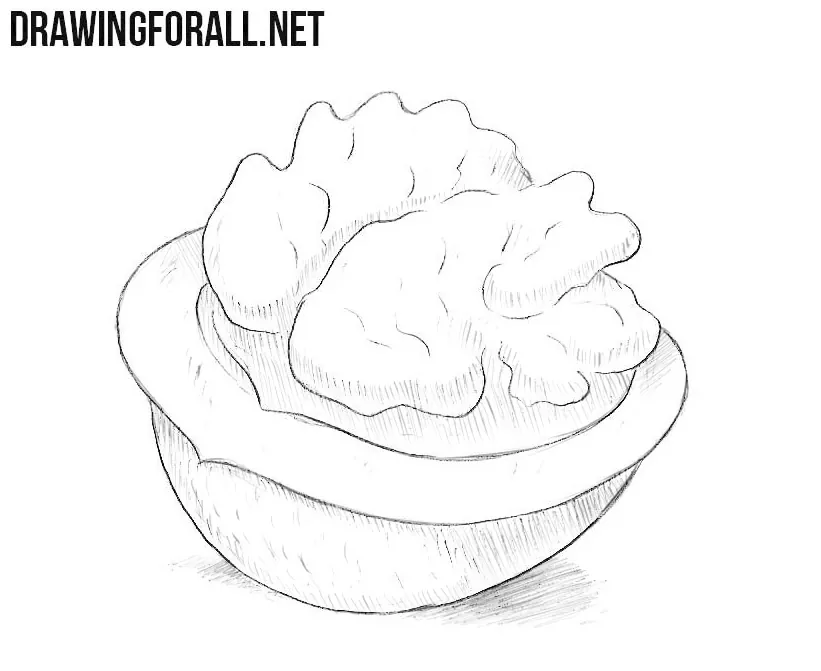
Drawing nuts is a fairly simple process, but even among them there are more complex variations. This tutorial on how to draw a walnut is one of them.
Here we will show you how to draw this nut half in its shell and half exposed. We will show you how to depict its winding bumps and add the shadows correctly.
How to draw a walnut step by step
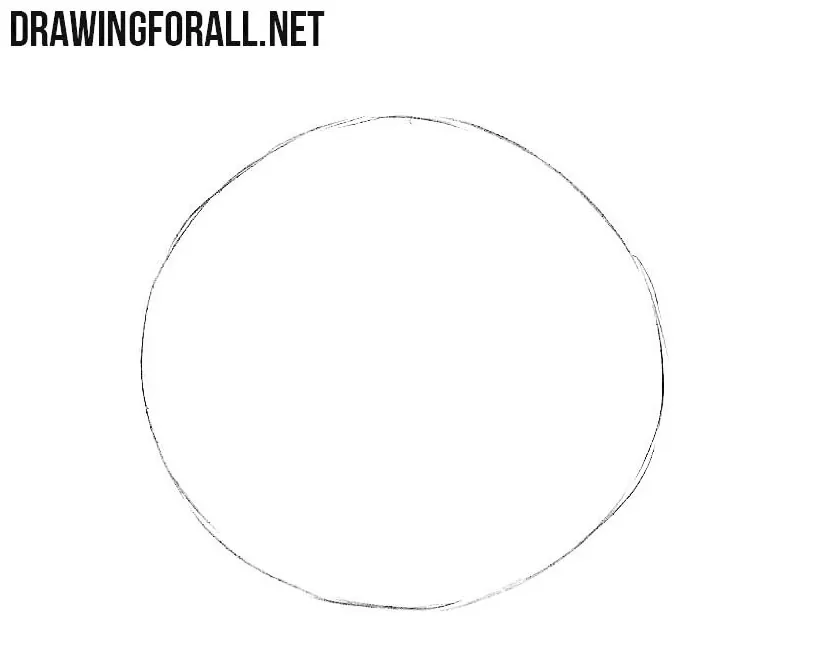
Step 1: Sketch the walnut shape
First, draw an ordinary round shape. It will be the basic outline of the walnut, so try to use very light lines. The main thing we need to do here is to achieve a fairly round shape. This circle represents the overall volume of the nut and will serve as a guide when we divide the shell and draw the kernel inside it.
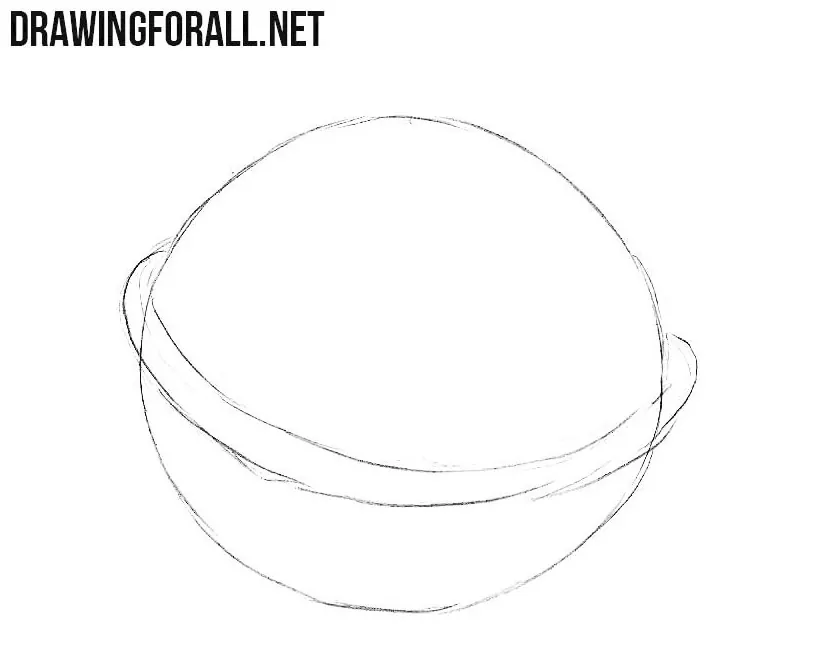
Step 2: Sketch the open walnut shell
Continue sketching the nut and draw two curved lines around the circle from step one. These lines establish the open halves of the walnut shell. Curve them around the central form. Don’t draw them as flat lines. This edge should also reflect the tilt of the walnut’s form.
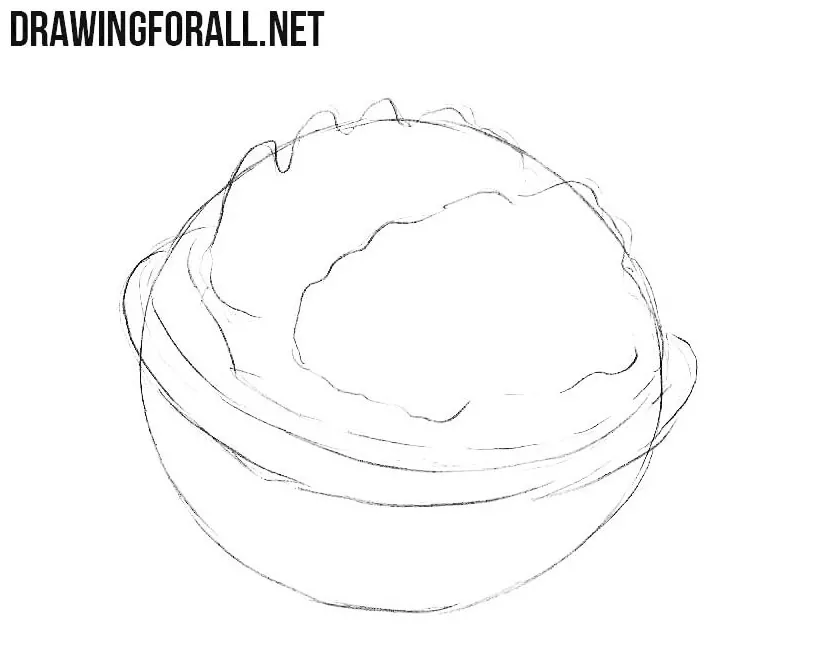
Step 3: Draw the walnut kernel
Use smooth, wavy lines, as you can see in our sketch. First, divide the upper part of the nut into two halves with a smooth, winding line. Then give these halves an irregular, winding shape. Do not make these curves regular or too symmetrical. The kernel consists of several irregular lobes, and some of them overlap others.
Step 4: Refine the shell and kernel
Now refine the whole walnut drawing with very clear and smooth lines. The kernel contours should be sinuous, but the lines themselves should be clean and smooth. Erase the additional guidelines from the previous three steps, trying to make your walnut drawing as clean as possible. Draw the final contours of the kernel with clear, dark lines. Add the inner curves that separate its individual lobes, but keep these lines less prominent than the main outer contours. Also refine the edges of the walnut shell.
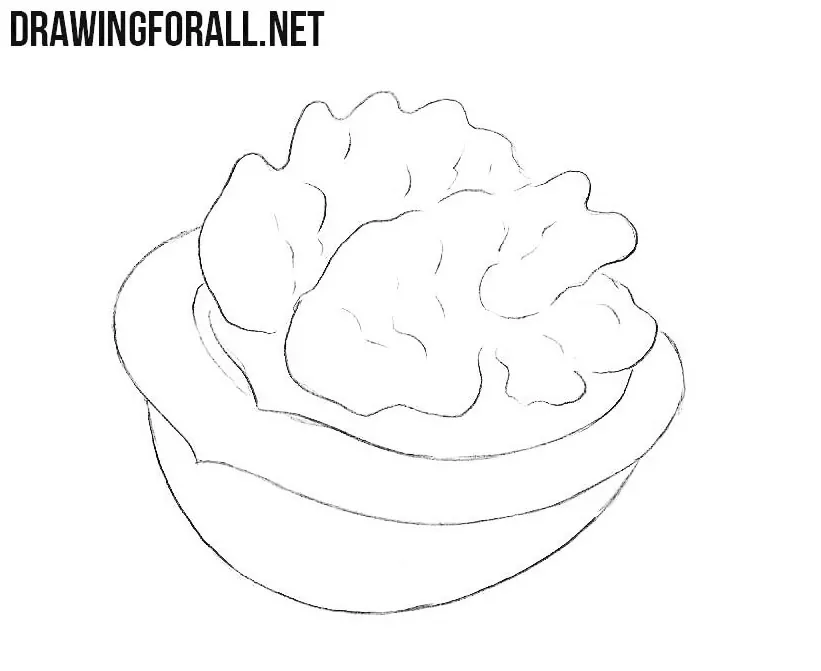
Step 5: Shade the walnut shell and kernel
We need to make our walnut drawing more realistic, right? To do this, add some shadows. With dense hatching, shade the areas where the light does not fall. Pay particular attention to the deep spaces between the lobes of the kernel and the area where it enters the shell. These dark accents help separate the overlapping forms of the walnut kernel. Draw a cast shadow beneath the nut to place it on the surface.
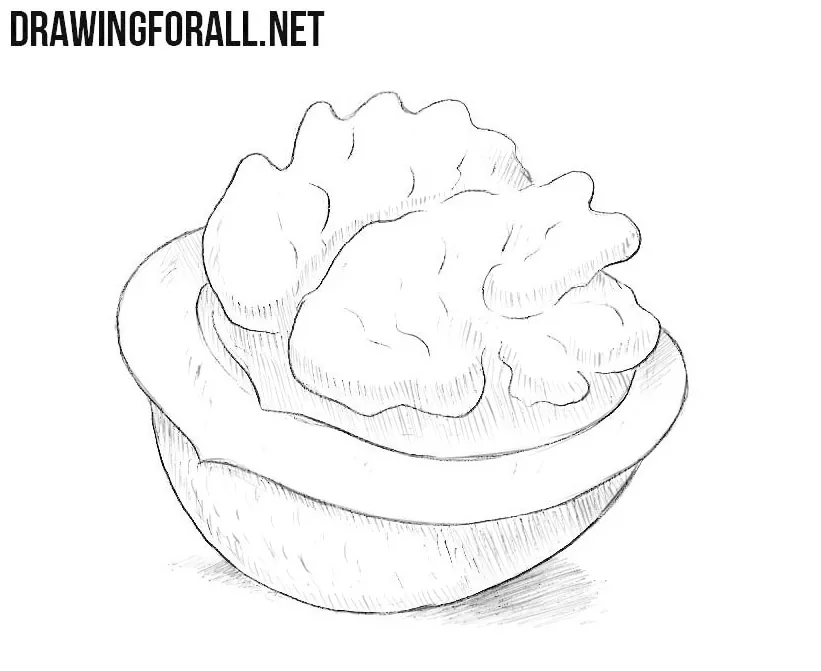
We hope that your walnut looks similar to the one in our example. Compared with many other simple objects, this nut gives you more practice with irregular organic forms.
Now you can try an interesting exercise. On one side of the paper, draw a walnut completely enclosed in its shell, drawing the upper and lower parts as we drew the lower part in the tutorial. Next to it, draw the entire walnut kernel as we drew its exposed upper part.
If you have any difficulties, do not despair. Just take a new sheet and try again, taking into account the mistakes you made in the previous attempt.
If this tutorial seemed difficult, you can first learn how to draw a chestnut and then return to the walnut.


Was pretty hard but worth it the results are amazing!