

How to Draw a Pie
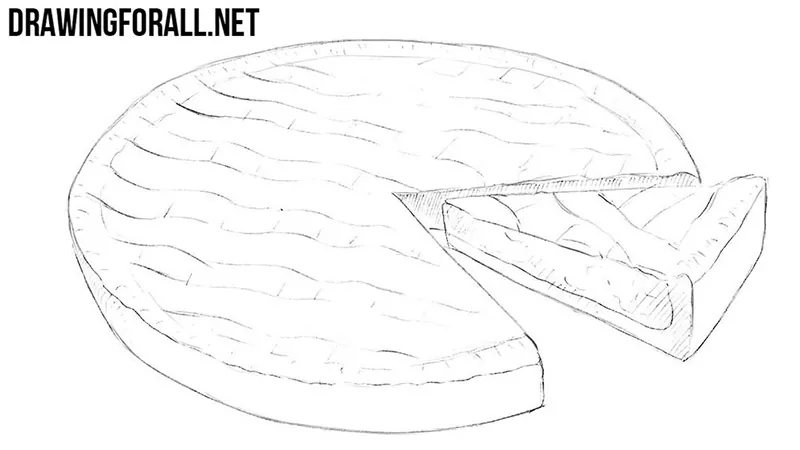
Probably there are no people who do not like pies. That is why we decided to create a tutorial on how to draw a pie – one of the most beloved sweets in the world.
There are many different types of pies with different fillings, shapes, and decorations. This pie drawing tutorial will help you draw almost any type.
How to draw a pie step by step
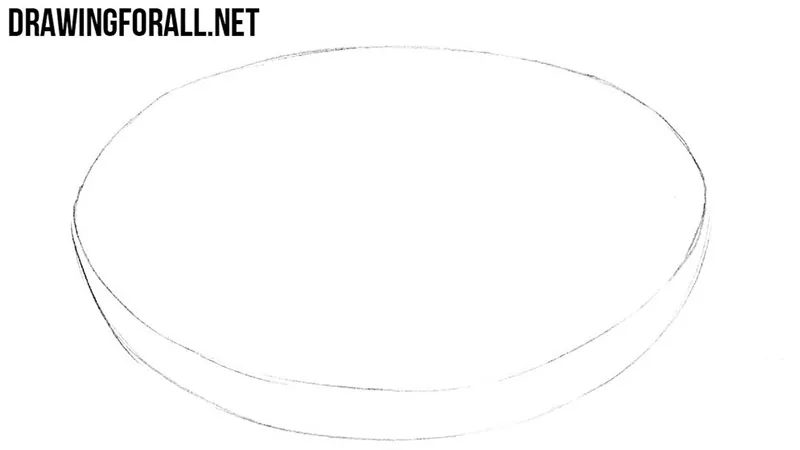
Step 1: Sketch the pie shape
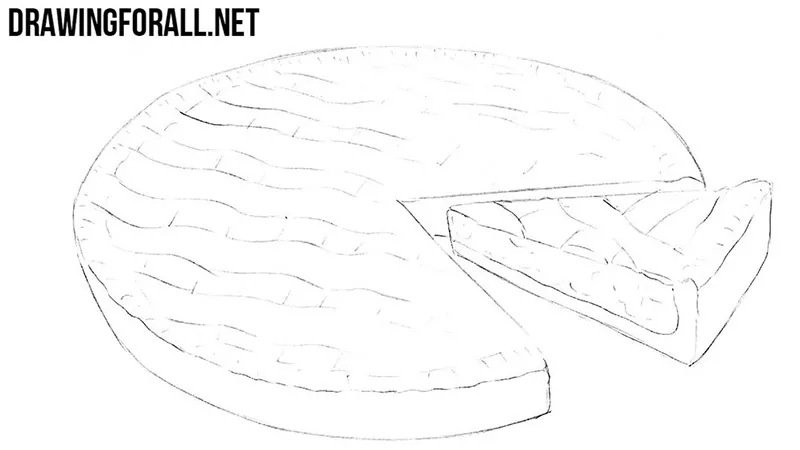
First, draw a regular circle with a visible side. You probably know that there are many varieties of pies. Some of them are rectangular. If you originally planned to draw a rectangular pie, you should draw this particular shape in the initial stage.
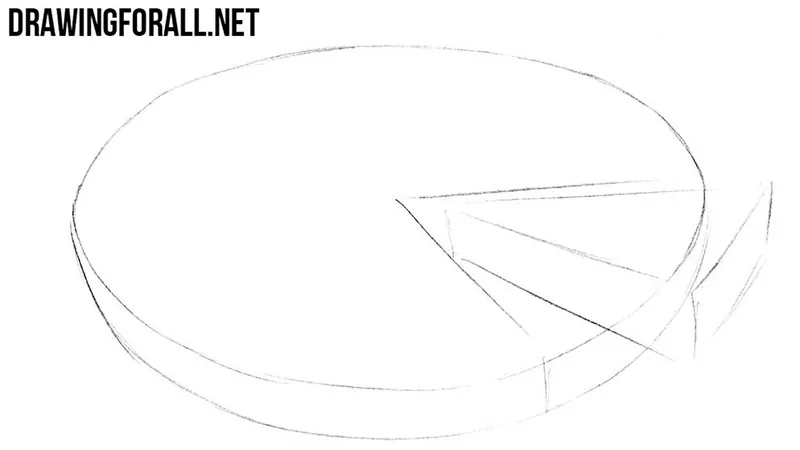
Step 2: Draw the cut slice
We decided to draw a pie from which a small piece was cut off. Therefore, draw the contours of a three-dimensional triangular piece. Now the general shape of the pie is complete.
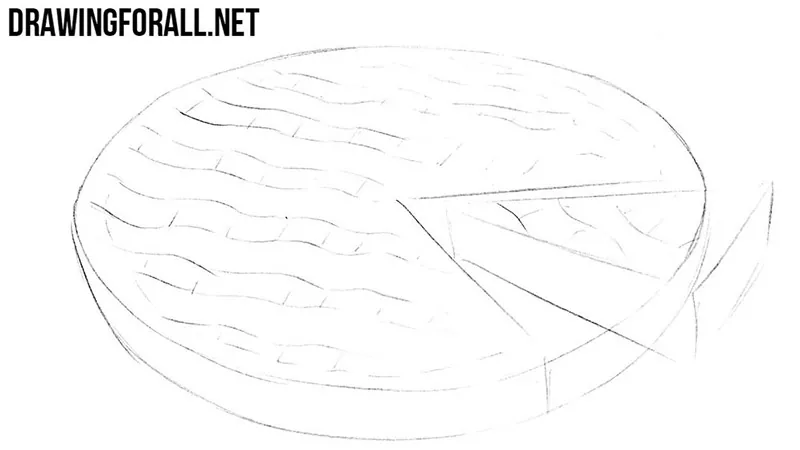
Step 3: Add the pie decorations
Now add some decorations to the pie. Draw the wavy edge and decorative patterns of dough on the top. If you are drawing an open pie, you can draw the filling instead.
Step 4: Draw the pie filling
Now draw the filling inside the cut part of the pie. We decided to depict a lot of filling and relatively thin layers of dough. You can change these details depending on the type of pie you want to draw.
Step 5: Add shadows to the pie
Before drawing the shadows, determine which parts of the pie receive less light. The inside of the cut section should be noticeably darker. Add shadows in these areas and use light hatching to give the pie drawing more volume.
You can greatly change the final version of your pie drawing if you add decorative patterns of dough or come up with other types of fillings.
Try drawing several different pies using the same basic principles. If you want to continue practicing with similar subjects, try to draw a cake or draw a donut.


Я Хочу его съесть🍰 с молоком🥛.