How to Draw a Bread Basket
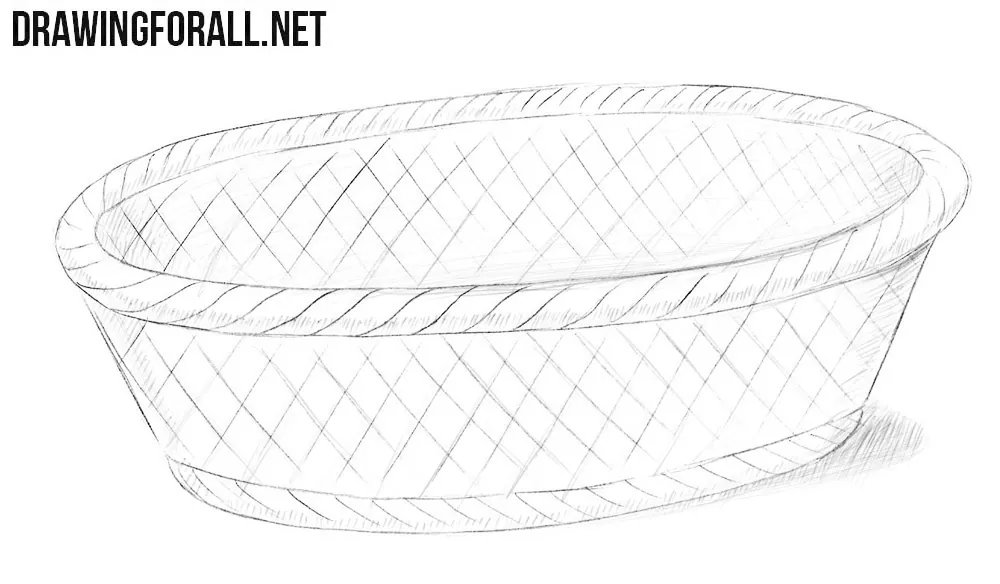
Bread has been a staple food for many cultures around the world since ancient times. Different cultures developed their own containers for storing and serving it. In the Western world, one familiar example is the bread basket. In this tutorial, we will show you how to draw a bread basket and convey its characteristic woven form on paper.
How to draw a bread basket step by step
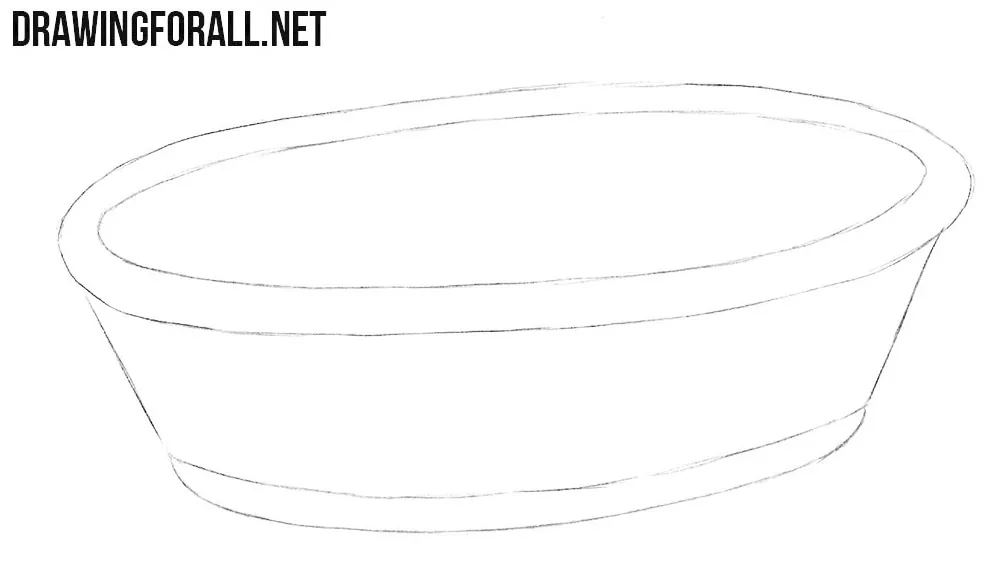
Step 1: Sketch the basket base
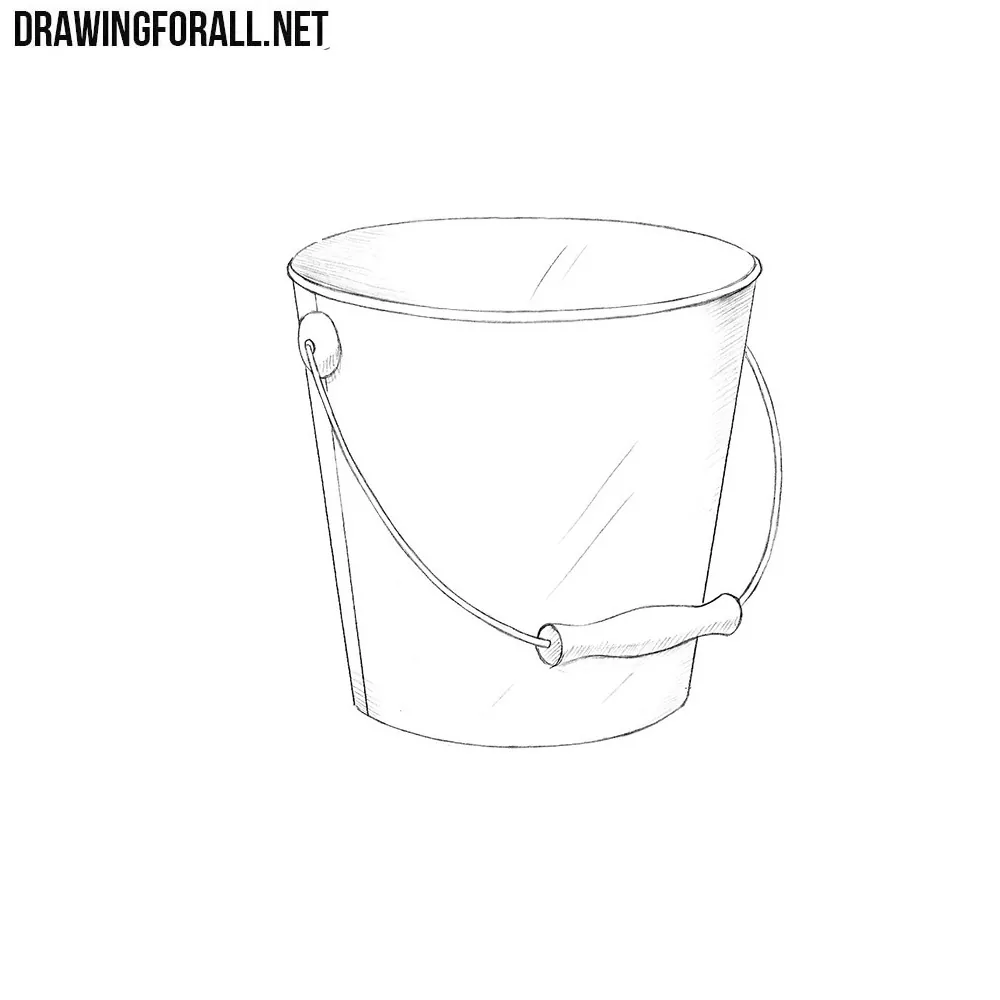
Begin with a wide horizontal oval to create the opening of the bread basket. Directly below it, sketch a cylindrical shape for the body of the basket.
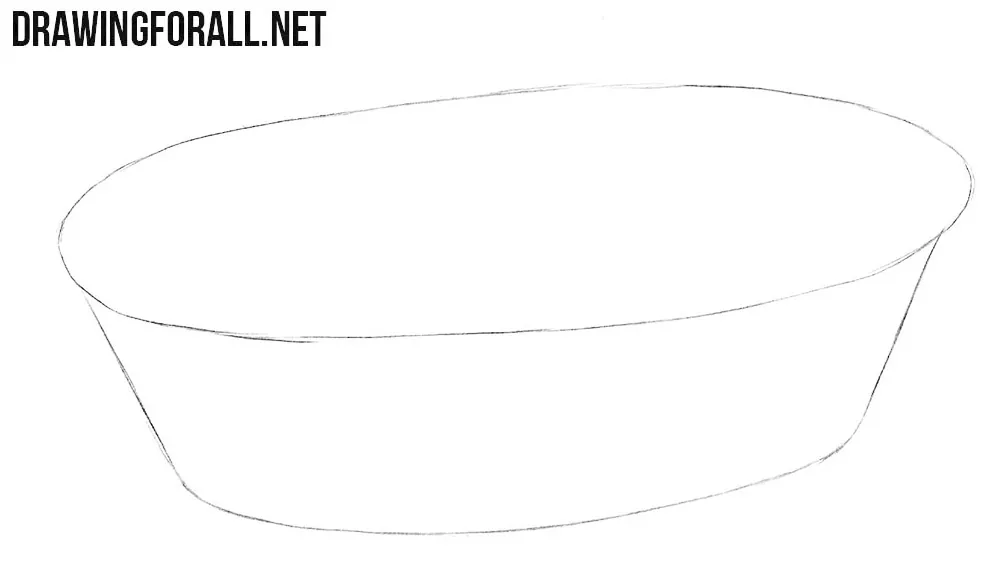
Step 2: Add the basket edging
Draw another oval inside the first one to form the thick edging around the basket’s opening. Follow the curve of the outer contour so the rim looks even from side to side. Then add a narrow band along the bottom of the bread basket using a curved line that follows the form of the base.
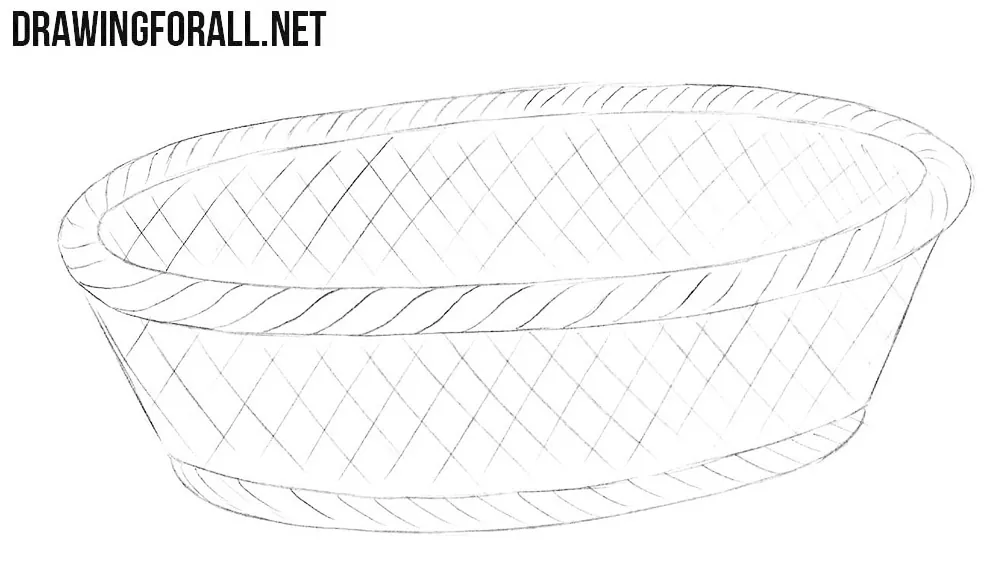
Step 3: Draw the woven texture
Cover the main surface of the bread basket with diagonal lines that follow its form. Draw a second set of diagonal lines in the opposite direction so that they intersect and create the characteristic woven texture.
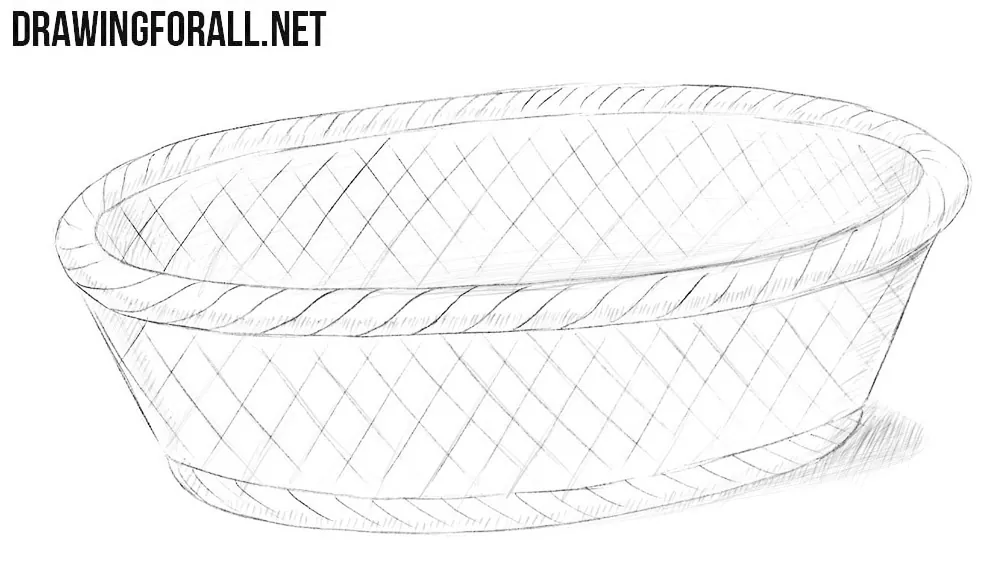
Step 4: Shade the bread basket
Now add shadows to make the bread basket look more three-dimensional. Darken the upper and lower edging, then add hatching along the sides and other areas turned away from the light. Apply the strokes according to the rounded form of the basket, and finish by drawing a cast shadow.
In this tutorial, we showed you how to draw a bread basket with a simple woven pattern. Try changing the height and width of the basket or give it a different texture. You can also add a handle or drape a towel over the edge. This can make the drawing more interesting.
Of course, a bread basket looks much more natural when it is actually filled with bread. You can use our bread drawing tutorial to add a loaf and several slices.