How to Draw a Tea Bag
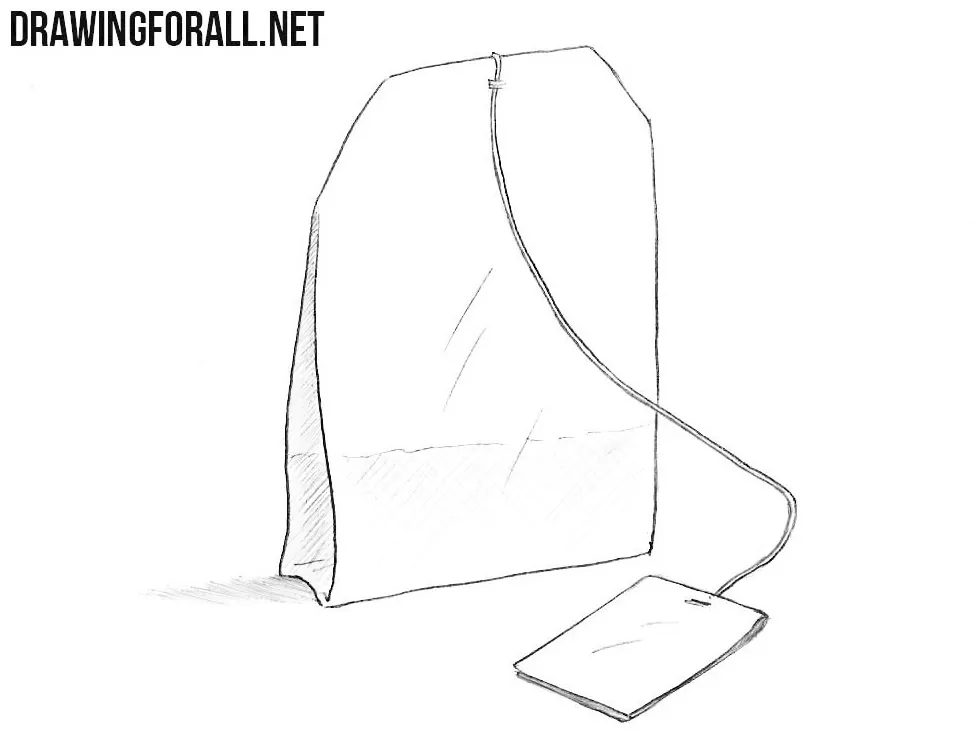
Even such a simple object as a tea bag needs to be drawn correctly if you want to depict it convincingly on paper. In this tutorial, we will show you how to draw a tea bag and construct its volume and form correctly.
The most important thing here is to remember that a tea bag consists of several planes: условно, a wide front plane and a side plane that is triangular in cross-section.
In addition, it has a string and a tag, which also need to be depicted correctly in relation to the bag, and here we will show you how to do that.
How to draw a tea bag step by step
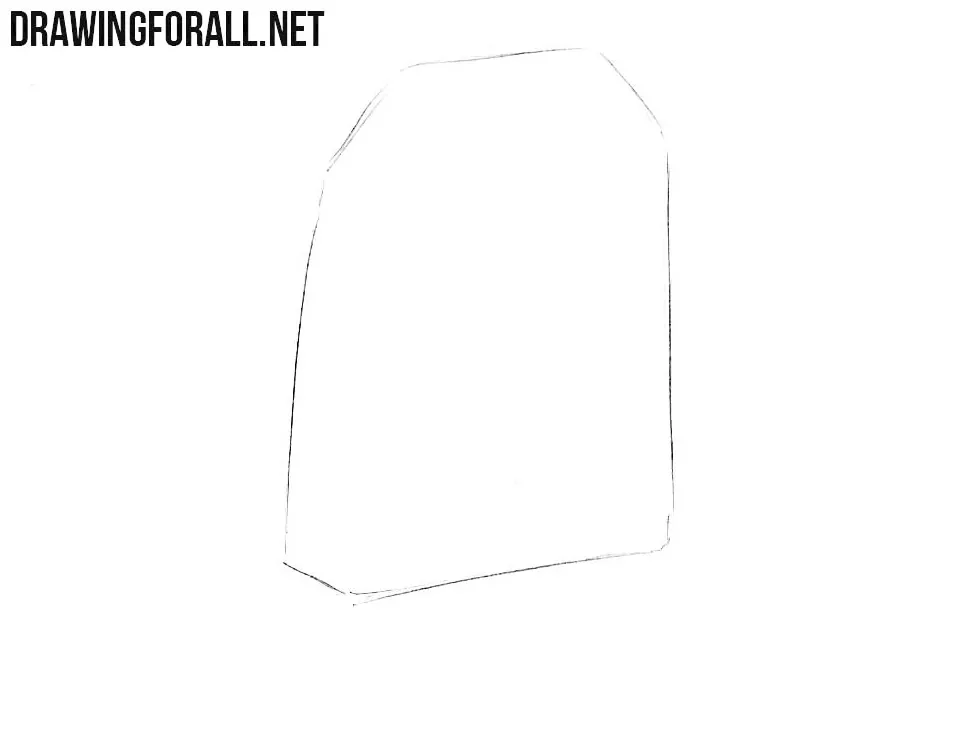
Step 1: Sketch the tea bag outline
First, draw an asymmetrical shape with a wide base that tapers toward the top. This is the outline of the tea bag. Cut off the two upper corners with slanted lines. The upper and lower edges should be slightly angled to convey the perspective of the tea bag.
Step 2: Add the string and tag
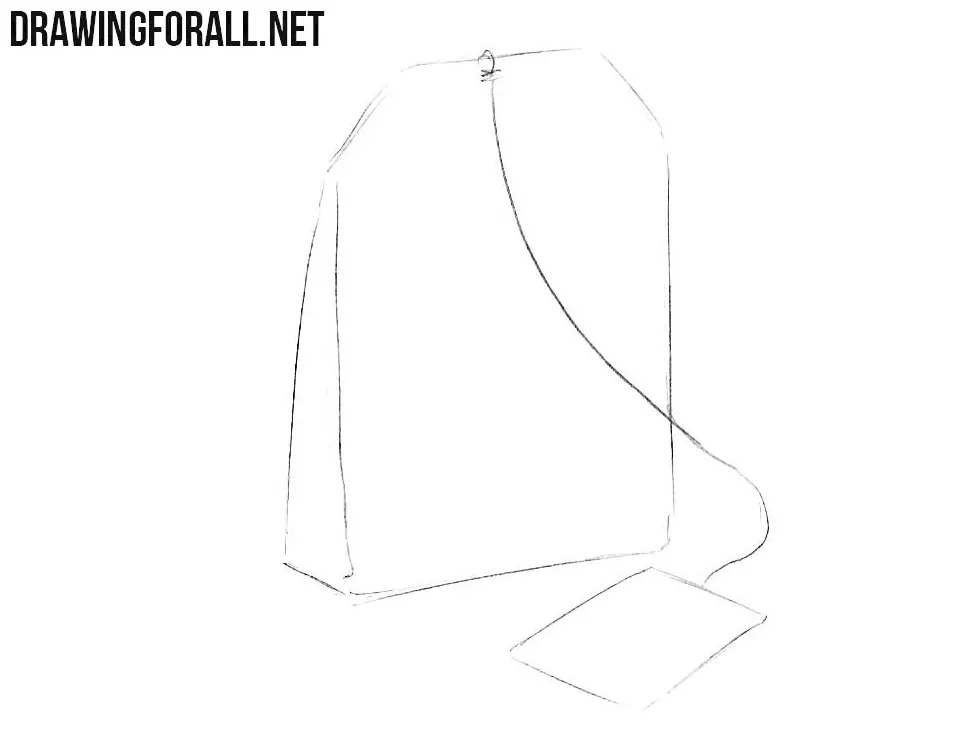
Now add a long vertical line along the left side of the bag to define a triangular side panel. Also, draw the string and its tag. Start the string near the middle of the top edge, curve it down across the bag, and loop it outward to the right. Place the tag below and to the right of the bag as a tilted rectangle seen at an angle.
Step 3: Refine the tea bag details
Erase all unnecessary lines from the previous steps to clean up the drawing. Give the string a second, closely spaced contour and mark its attachment points. Add a thin lower edge to the tag and a small inward fold at the bag’s lower left corner. Sketch a faint, uneven tea level across the lower portion and a few diagonal surface lines.
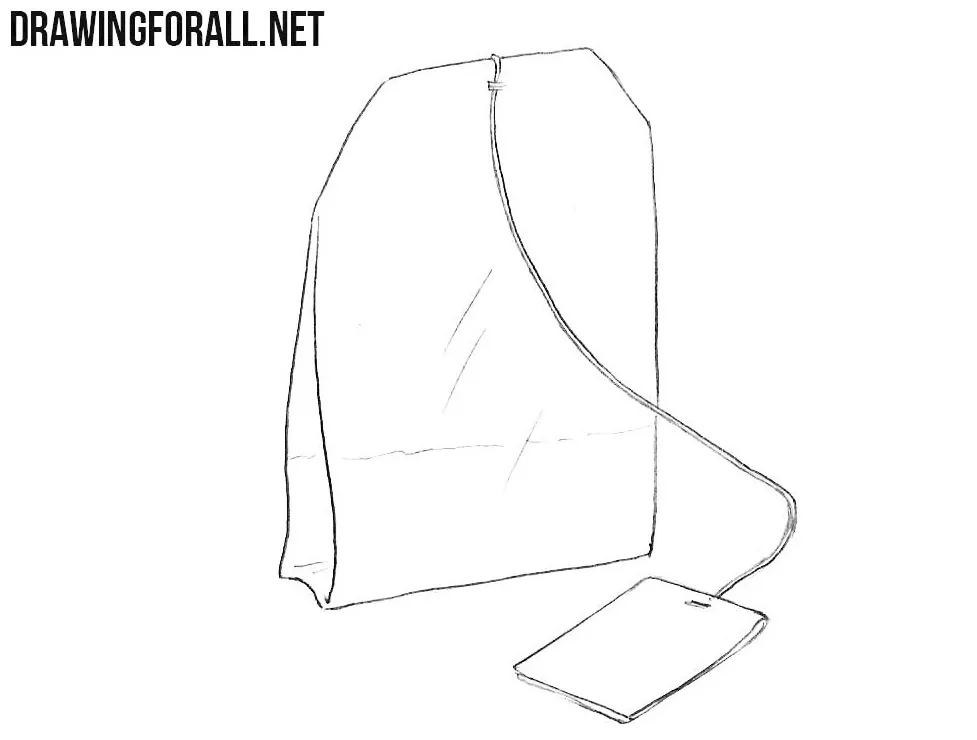
Step 4: Add the tea bag shadows
The tea bag drawing is almost complete. All that remains is to add the shadows. Hatch the narrow left panel and lightly shade the lower front beneath the tea level. Add a cast shadow extending left from the base, then darken the tag’s thin lower edges.
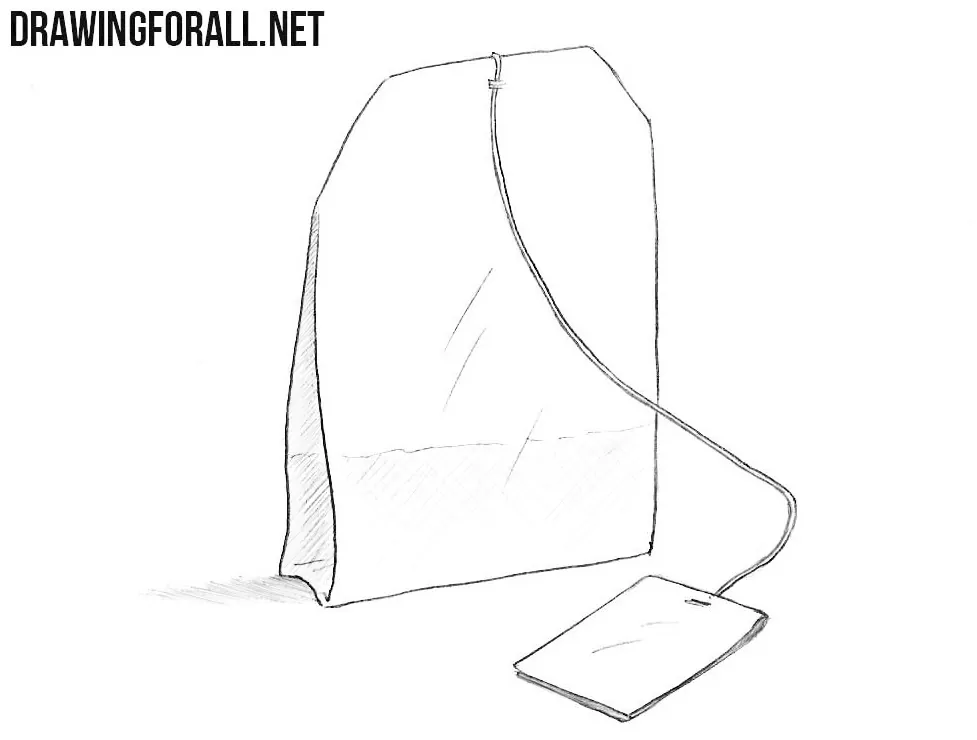
So, a tea bag consists of several planes, namely a modified elongated rectangular front plane and a triangular side plane.
Of course, these forms are not a perfect rectangle and triangle. Slight bends and irregularities will make the tea bag drawing look more natural.
The string and tag, if drawn correctly, will also help make the tea bag drawing more realistic, while if they are drawn incorrectly, they can spoil the whole result.
The string has its own weight and first drops down quite noticeably, then bends smoothly as it approaches the tag.
The tag itself lies on the surface at an angle, exactly where it should be: to the side of the tea bag and visually a little closer to us.
These simple techniques, reinforced by the overlapping of forms, for example the string passing over the form of the tea bag, help give this simple composition a realistic look. Additional elements such as the barely visible line of tea inside the bag, light shadows, and slight folds help complete the image, simple as it may be.
Drawing such simple objects that lie around you is an extremely strong way to train your artistic skill.
Drawing such simple objects in combination with one another is another excellent exercise. Draw a cup of tea with a tea bag beside it. Turn the cup and place the tea bag in different positions relative to it.
Draw a spoon next to the cup, add a small saucer underneath, and move all these elements around, trying to observe how their forms change in space.