How to Draw a Salt Shaker
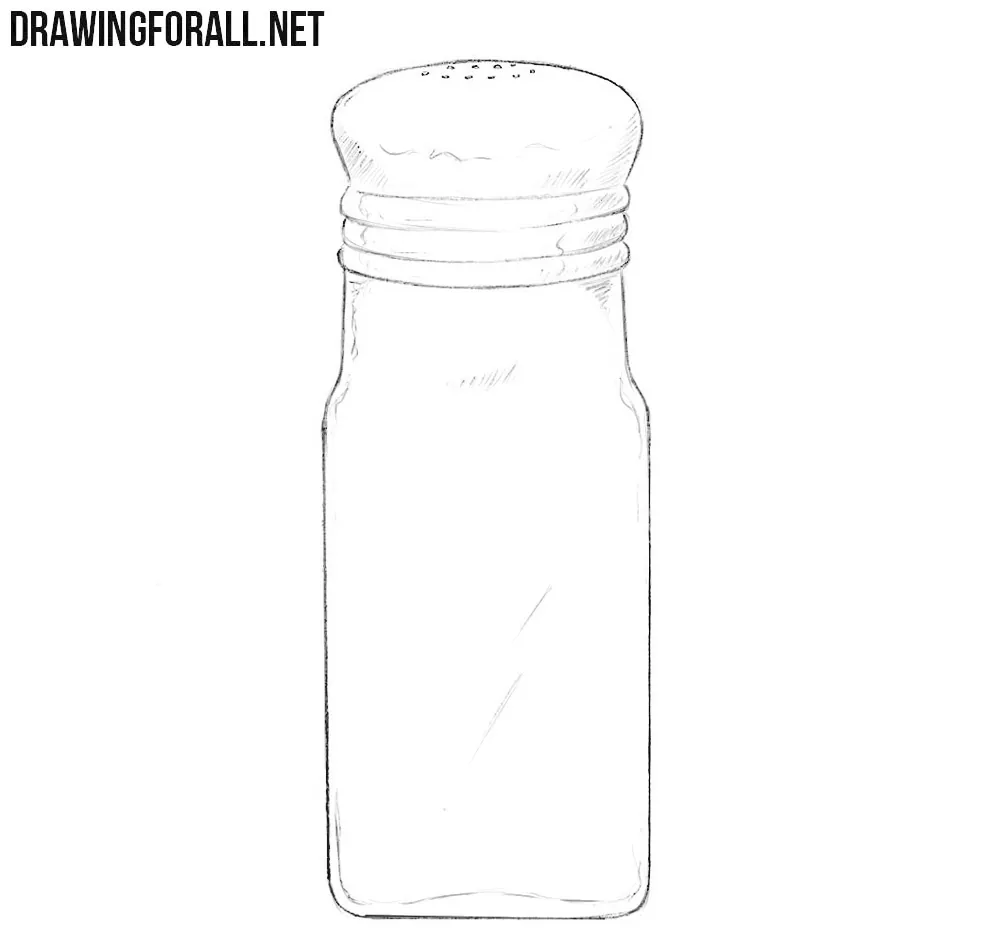
Drawing simple objects involves many subtle nuances that are easy to overlook when you are inexperienced. In this tutorial, you will learn how to draw a salt shaker and see which simple techniques give this basic object a three-dimensional appearance.
We will show you how to accurately draw shadows and highlights on glossy surfaces using a few simple techniques.
How to draw a salt shaker step by step
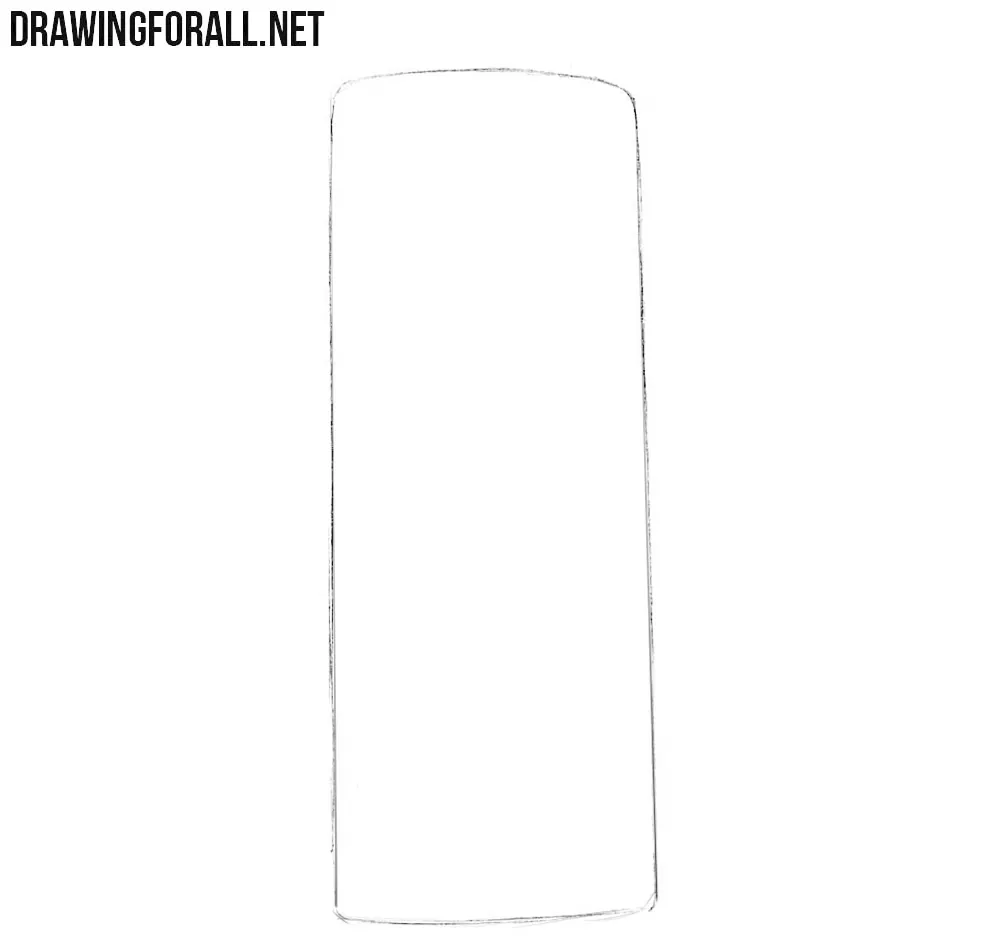
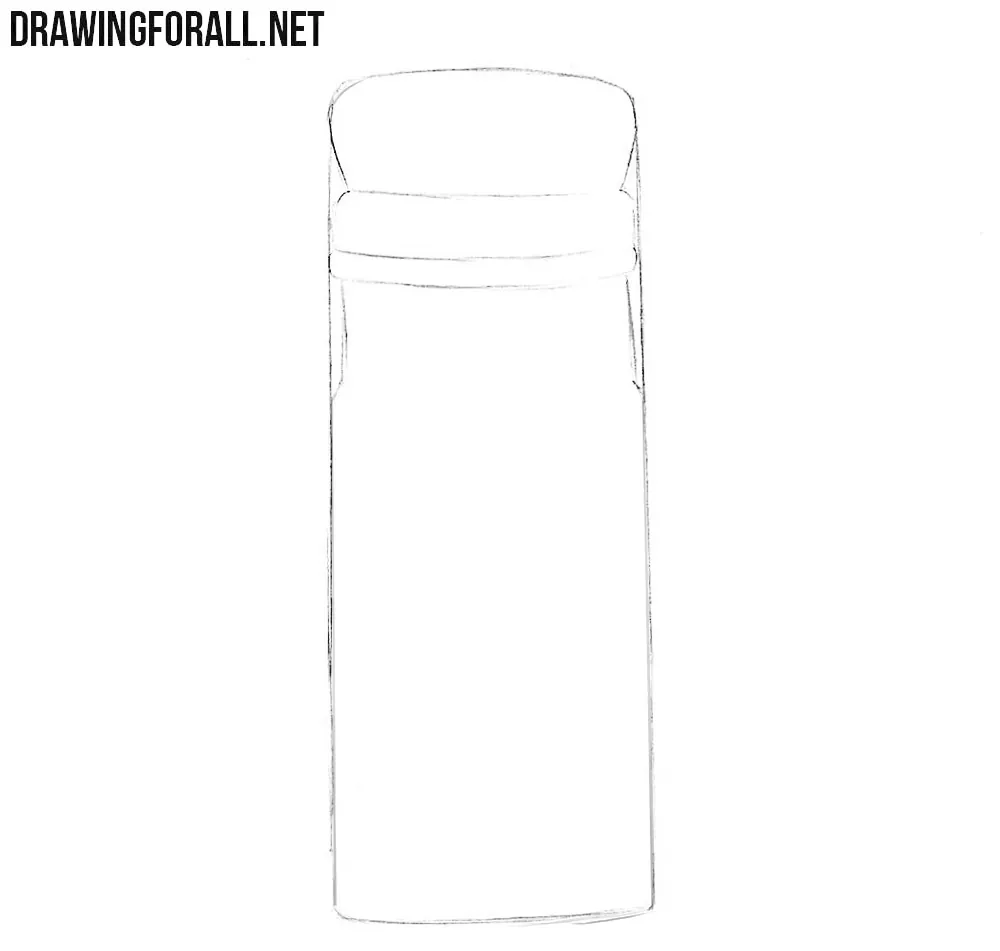
Step 1: Mark the salt shaker body
Sketch the basic outline of the shaker body as a tall rectangle with rounded corners. At this stage, mark the general height and width of the salt container. Try to make sides symmetrical around an imaginary vertical centerline.
Step 2: Draw the cap, neck, and shoulders
At the top, sketch the rounded cap of the salt shaker and the horizontal bands beneath it. Give the upper part a more accurate shape by drawing the shoulders of the shaker. Make sure the left and right halves are symmetrical.
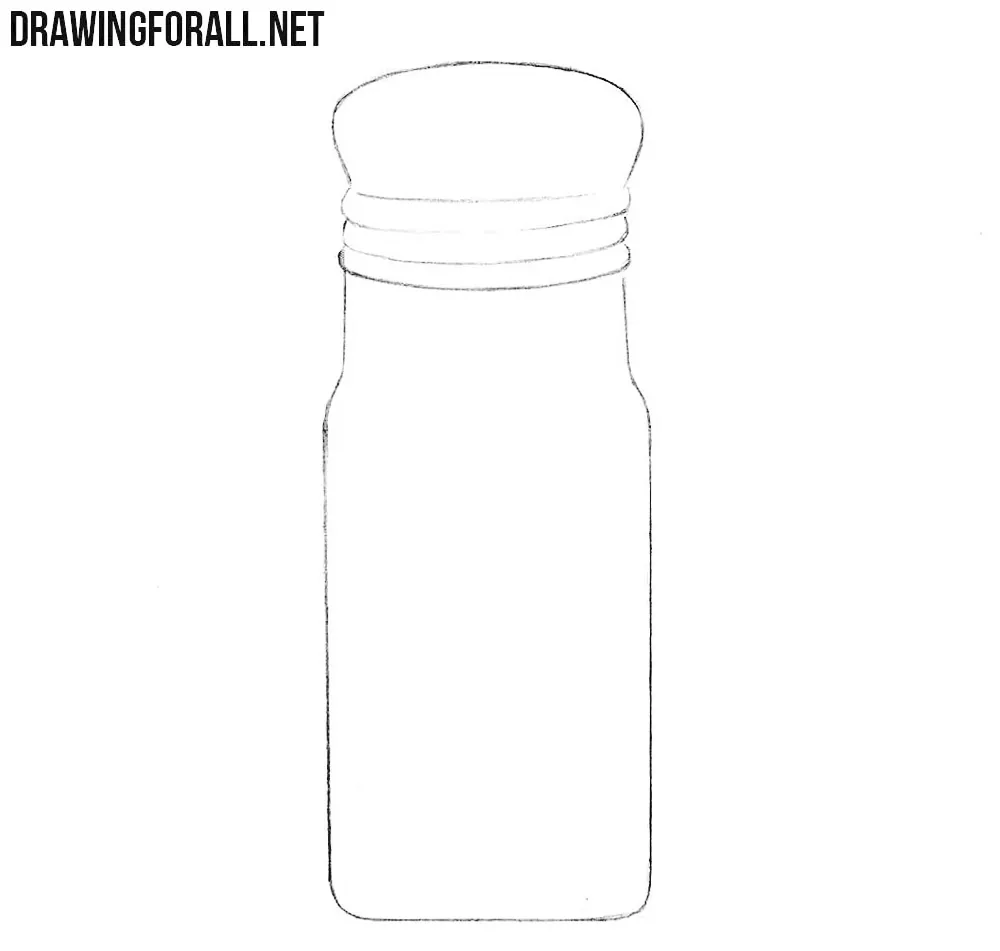
Step 3: Refine the shaker contours
Now take an eraser and carefully remove all unnecessary guidelines from the salt shaker drawing. Trace the cap, narrow neck, shoulders, and main part of the body with clear and darker lines. Remember that this is a three-dimensional form as you draw. The elements of the lid should visually wrap around the upper part of the shaker.
Step 4: Draw the perforations and shadows
Draw a few small dispensing holes on top of the perforated cap. Since these holes are located on a curved surface, depict them as tiny flattened ellipses and change their angle slightly across the top. Next, add light hatching to the shaded areas of the shaker and mark the highlights with a few light lines.
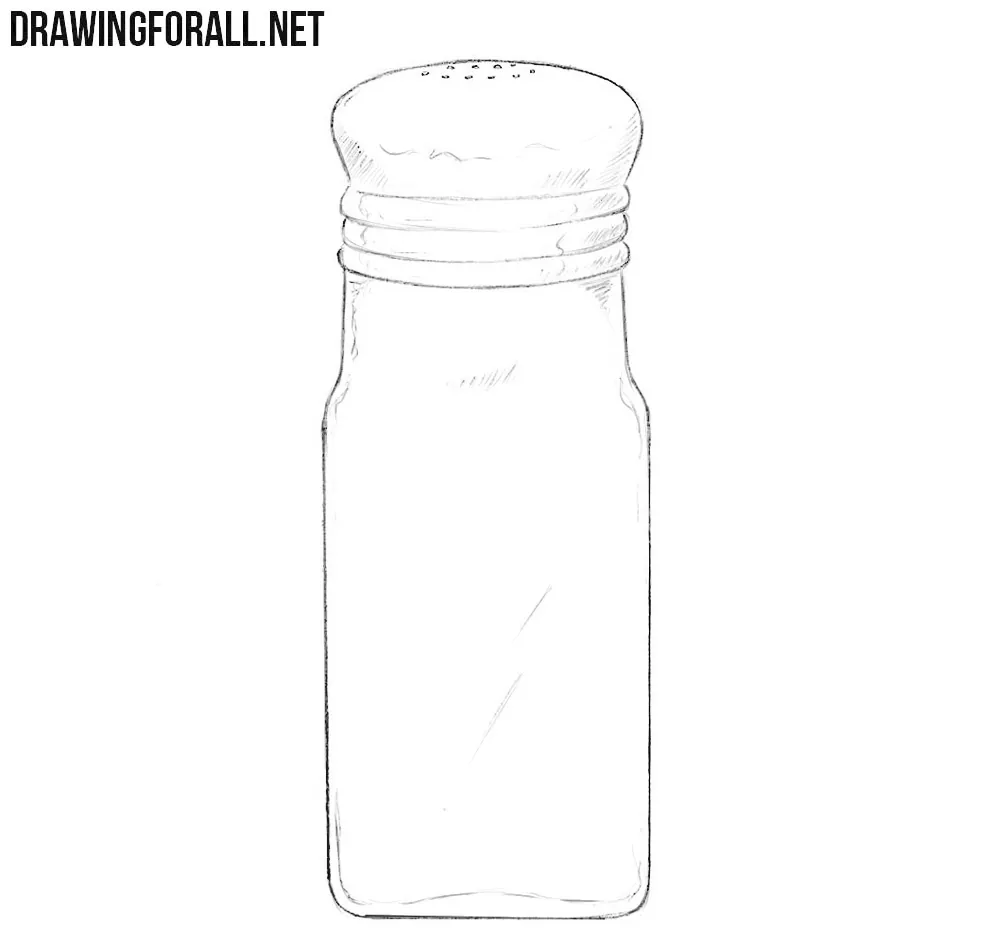
A glass salt shaker combines two different surfaces: a transparent body and a glossy metal cap. In this tutorial, we indicated both with simple hatching and a few lines. You can study these surfaces in more detail by drawing a real salt shaker from life.
Place it near a window or lamp and observe the shapes of the light and dark areas on the glass and metal. Pay attention to their edges. Some transitions will be sharp and others more gradual.
Then change the position of the light and draw the shaker again. Notice how the highlights and reflections change even though the shape of the object remains the same.
These same observations apply to other glossy objects. For example, try drawing a spoon to practice reflections on curved metal, or drawing a wine glass to study transparent glass with a different shape.
In each drawing, establish the main form first, then add the reflections and highlights according to the surface and lighting.