

How to Draw an Insurance Agent
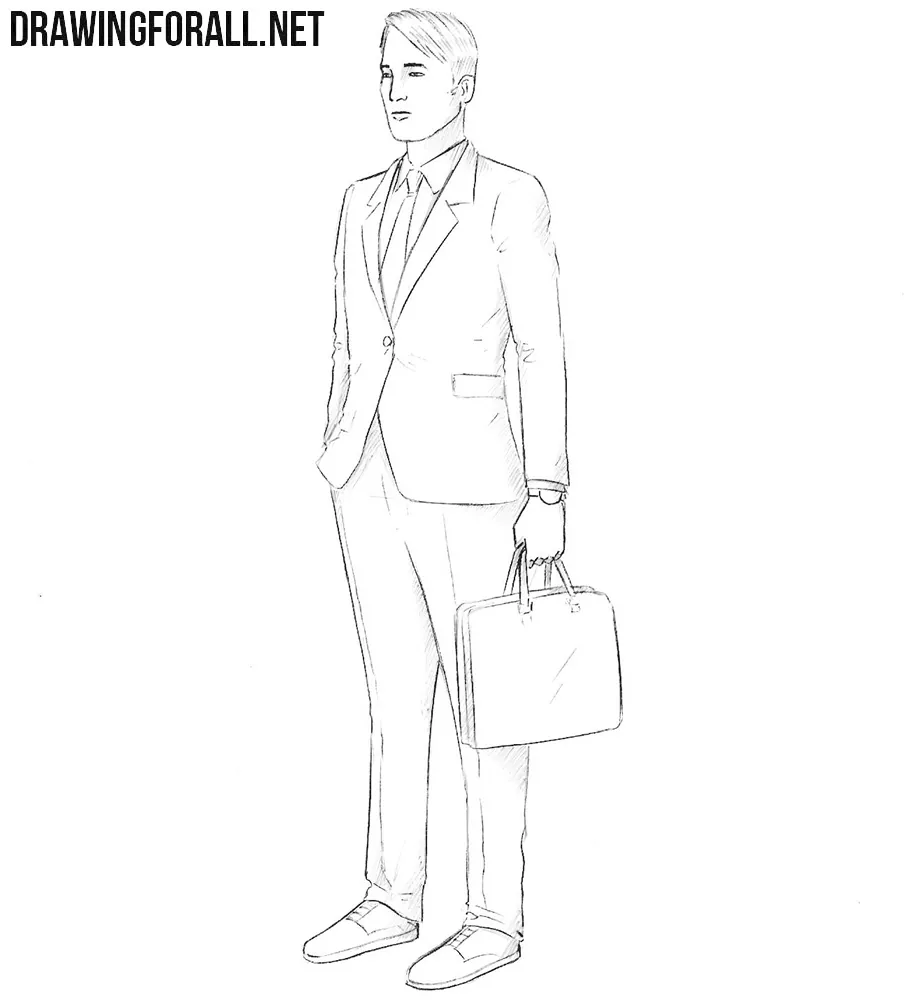
People in everyday clothes are common subjects in figure drawing. A business suit is a good example of how clothing follows the construction of the body beneath it. In this tutorial, we will show you how to draw an insurance agent and how to correctly depict a person in a business suit.
How to draw an insurance agent step by step
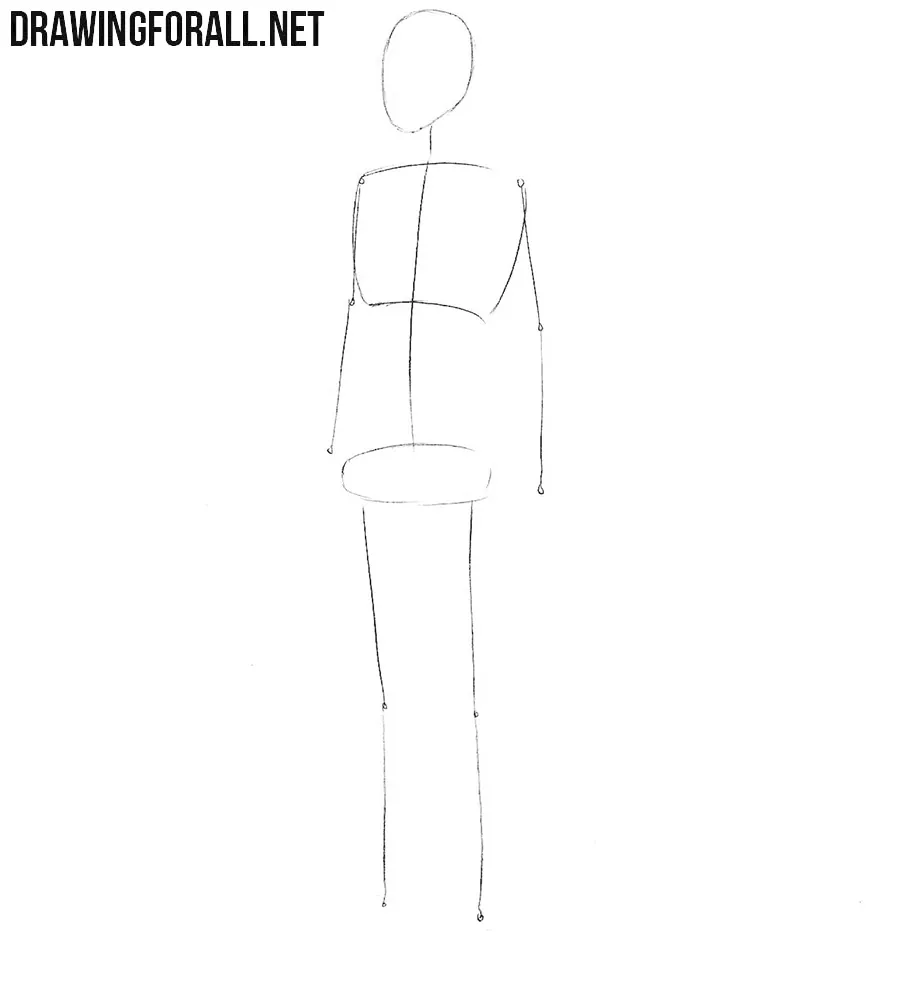
Step 1: Sketch the insurance agent’s figure
First of all, let’s make one thing clear. We have an ordinary male figure here. Before us is a lean young insurance agent. Establish the vertical axis of the insurance agent’s figure first, then mark the head, chest, pelvis, and joints with very light lines. You can make the body slightly wider or narrower.
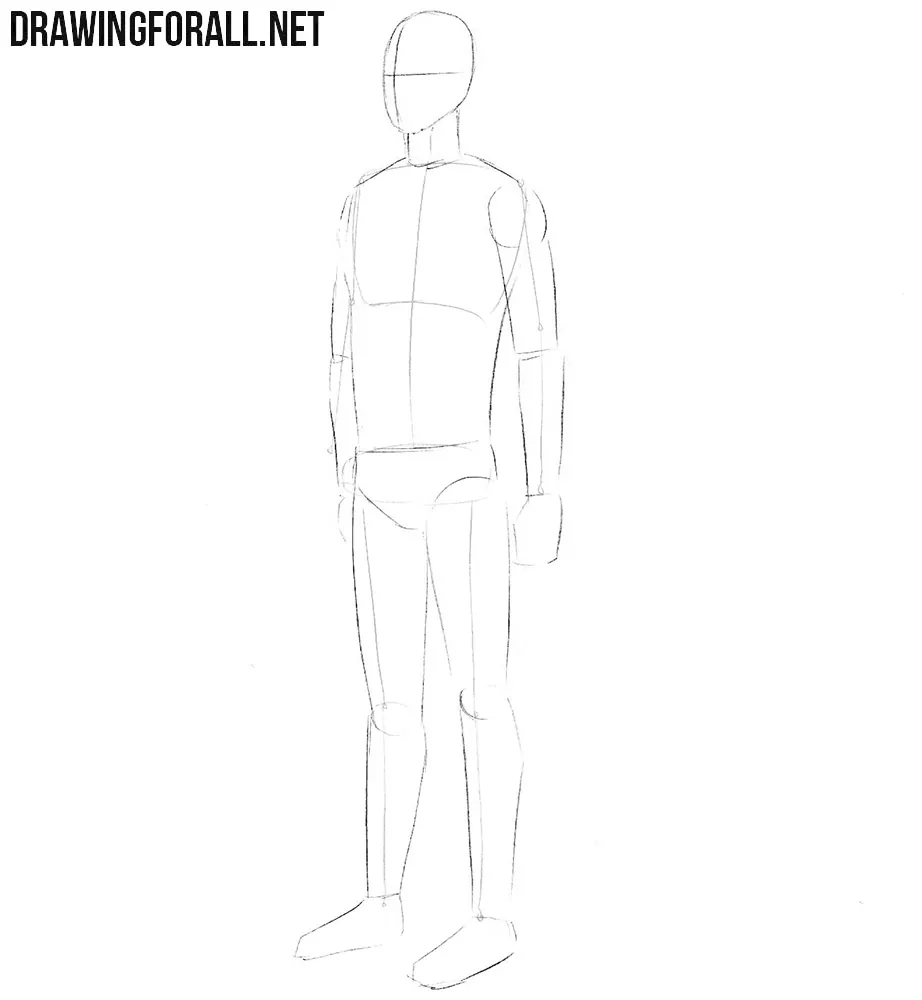
Step 2: Add volume to the agent
Sketch out the neck and torso of the insurance agent, which slightly narrows toward the pelvis. Outline a triangular pelvis. After that, sketch out the arms and legs with elongated simple geometric shapes. Build the limbs as three-dimensional forms, with the upper arms and thighs slightly thicker than the forearms and lower legs. Indicate the elbows and knees. Here you can give the figure a heavier build.
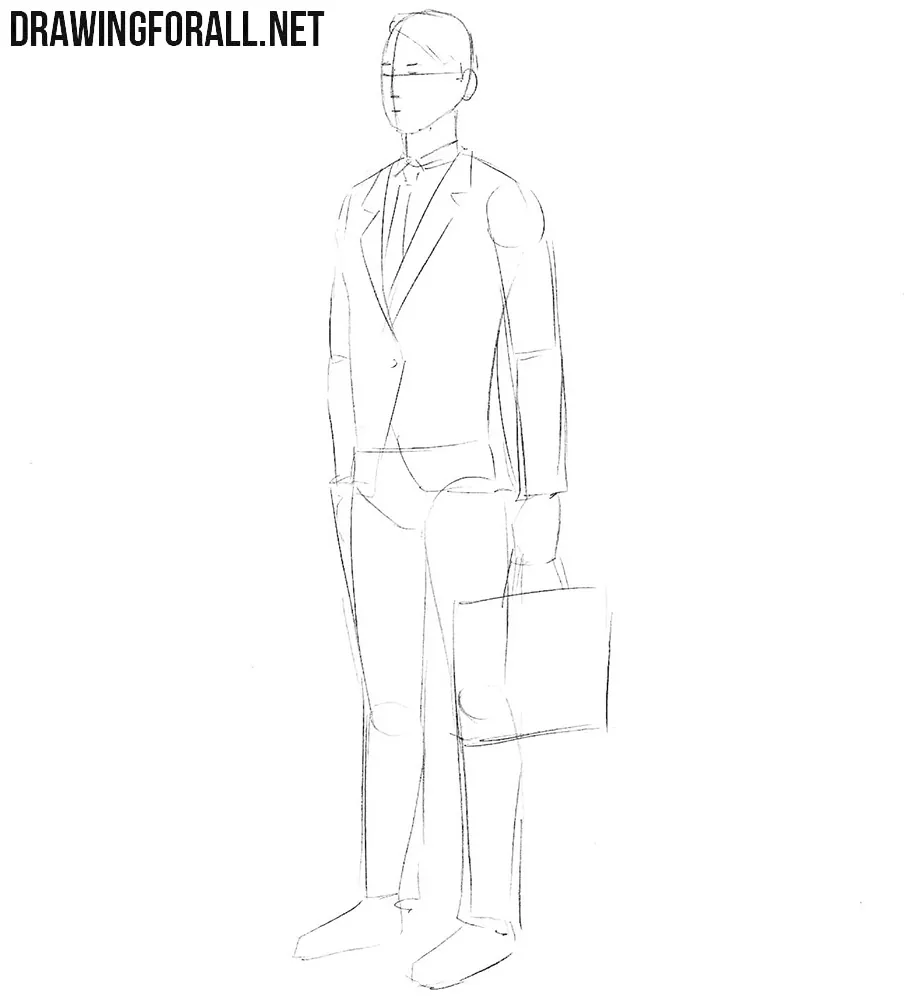
Step 3: Outline the face and business clothes
Now, start sketching the face of the insurance agent. The intersecting lines from the previous step will help us with this. Also outline the hair and ear. With light lines, sketch out the contours of the formal business clothes and shoes. Draw the suit jacket over the volume of the chest and waist, and indicate the trouser legs around the cylindrical forms of the legs rather than as flat parallel outlines.
Step 4: Draw the agent’s facial features
Using clear and dark lines, carefully draw the insurance agent’s facial features. First, draw the eyes in detail, then darken the nose, and tight lips. After that, outline the hair and jaw. Be sure to erase all unnecessary guidelines from the head.
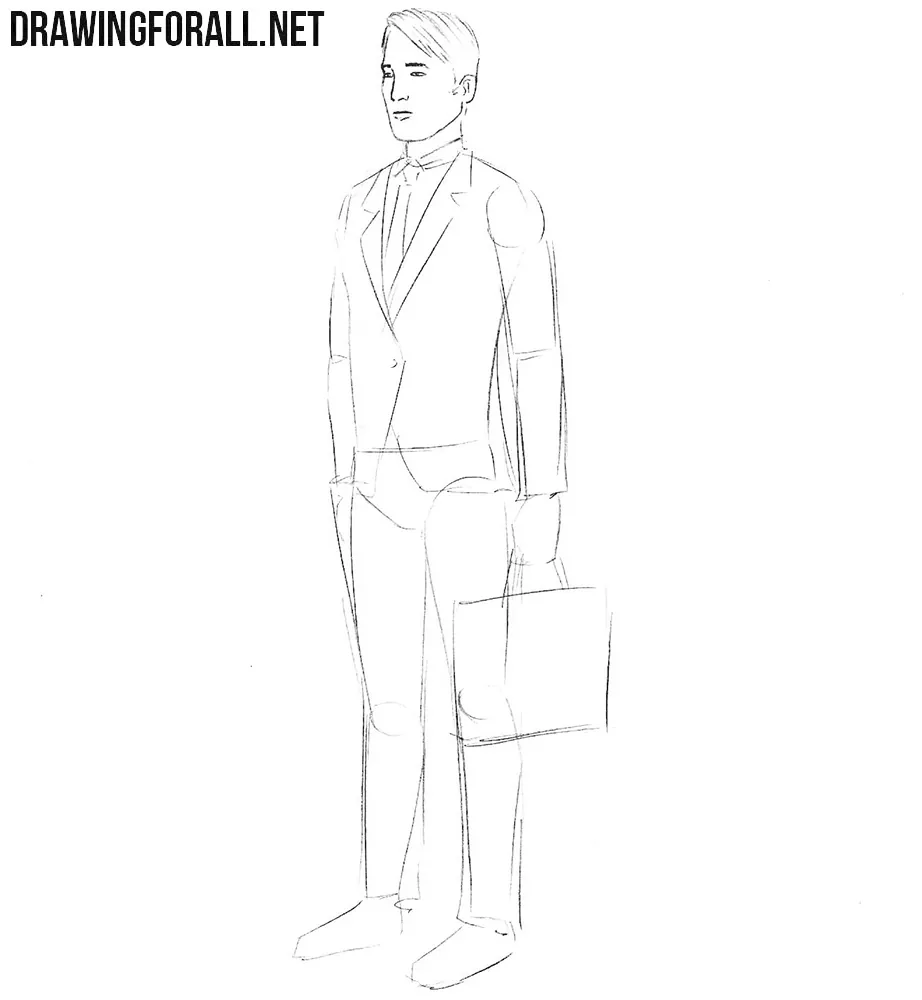
Step 5: Draw the business suit
A successful insurance agent should look personable and elegant. Therefore, let’s work on his business suit. It will have a formal style without an excessive number of fabric folds. Carefully draw the outlines of the shirt, suit jacket, and tie. Let the lapels and front edges of the jacket follow the volume of the torso and converge toward the button area. With short lines, draw a few folds near the button.
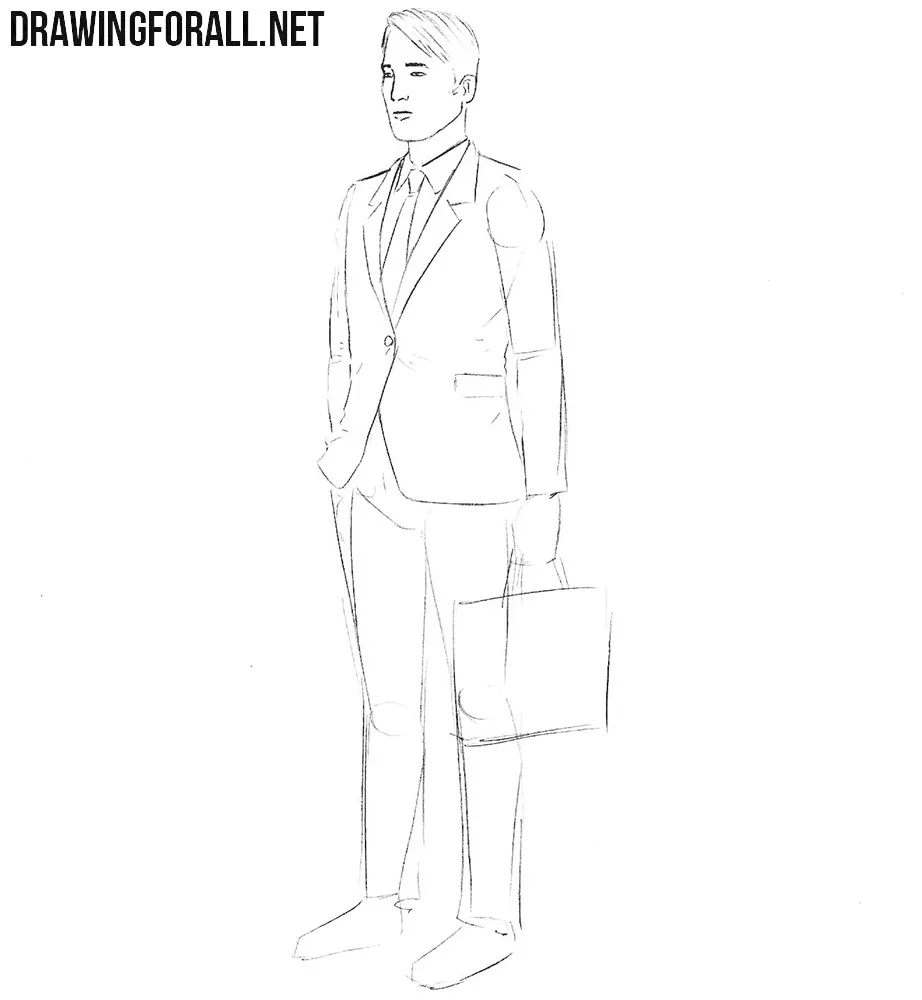
Step 6: Refine the suit sleeves and hand
Follow the same formal style as in the previous step. You can see only a few folds around the elbow and near the shoulder joint. Draw these folds where the fabric bends with the arm rather than spreading them evenly along the sleeve. Before drawing the fingers, establish the overall form of the insurance agent’s visible hand and its direction from the wrist. Be sure to take a look at this article on how to draw hands.
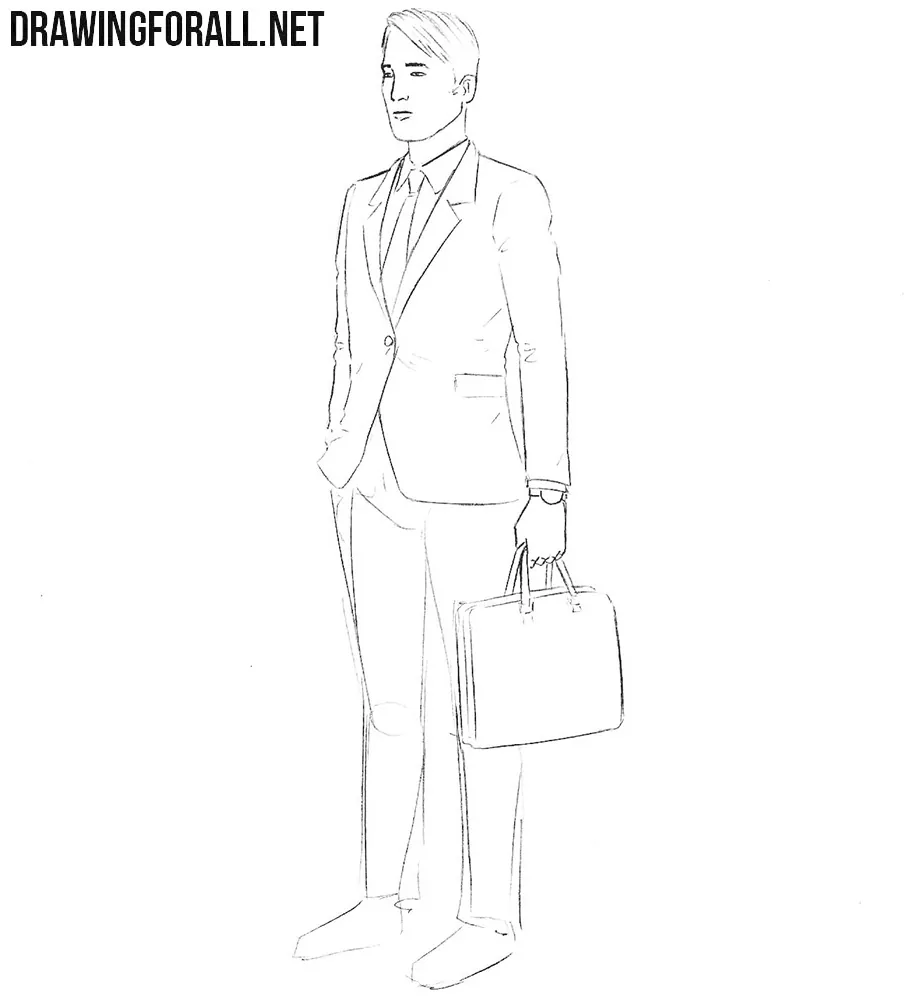
Step 7: Draw the suit trousers and shoes
His business trousers should look narrow and fitted. Follow the shape of the thighs, knees, and lower legs beneath the fabric so the trousers preserve the structure of the legs. Do not forget to draw the creases in the trousers and some folds near the shoes. Draw the formal shoes as three-dimensional forms extending forward from the ankles, and make sure both feet rest convincingly on the same ground plane.
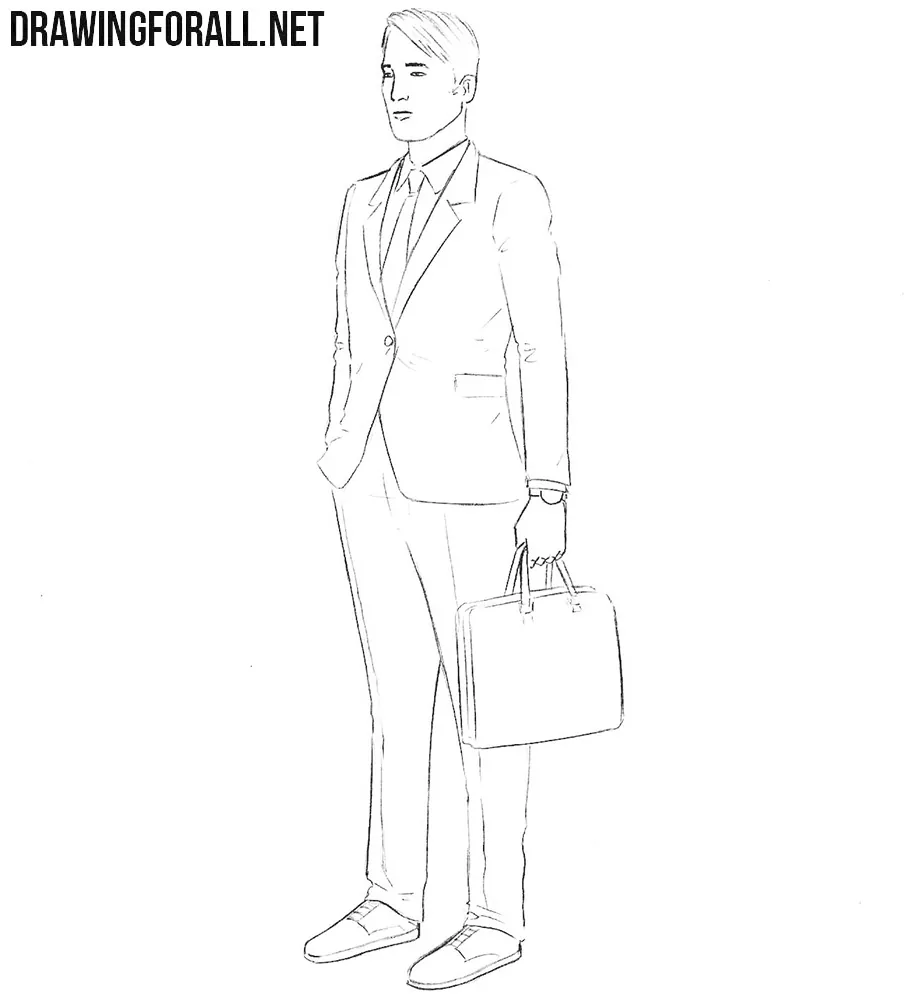
Step 8: Add shadows to the figure
Before drawing the shadows on the insurance agent, determine where the light comes from. In this picture, the light falls from the left side. Next, using hatching of different densities, add shadows to the least illuminated areas of the figure. Place denser hatching on the right side of the business suit, beneath the jacket folds, and where the limbs overlap the torso. Let the strokes follow the volume of the suit and body.
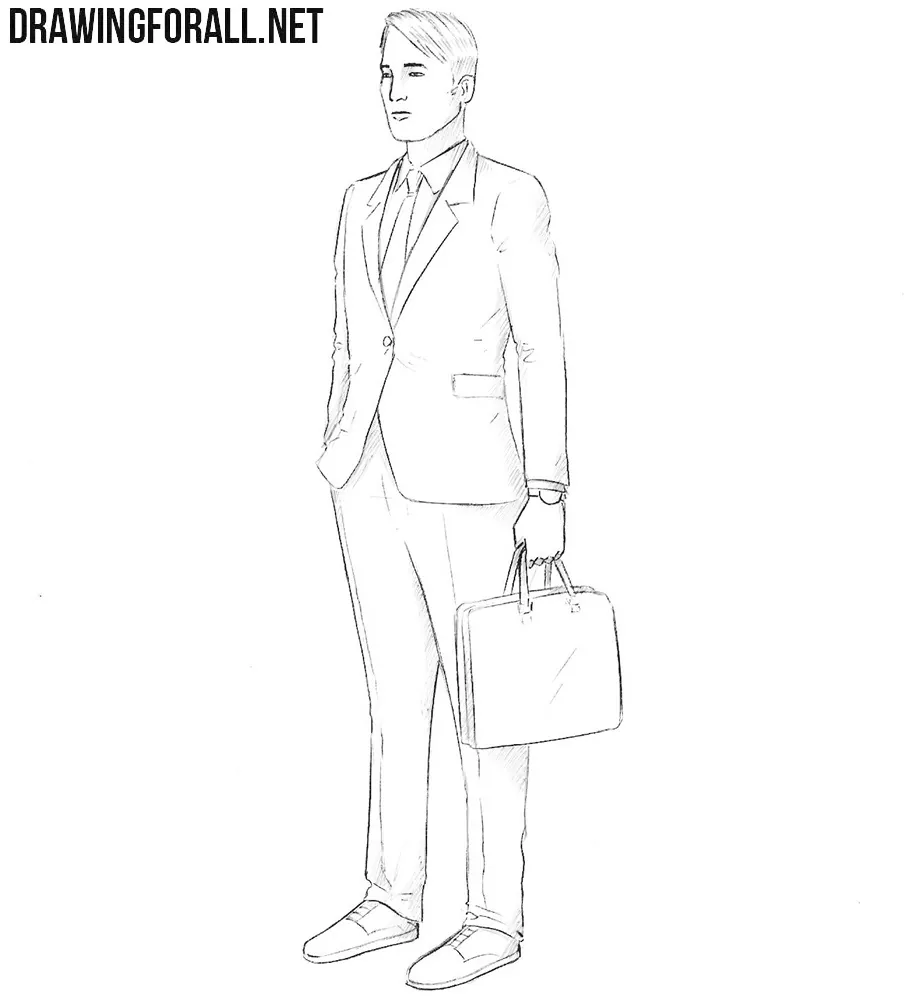
It was an example of drawing an insurance agent in a realistic style. The most important thing in this guide is to work correctly through the first two steps. Next, we draw details that you can easily fix if you make a mistake.
The business suit in this tutorial is fitted closely enough to show the construction of the figure beneath it. If you draw the same insurance agent again, you can give him a more relaxed-fitting suit.
There is no need to copy the face exactly either. You can change the facial features, draw glasses, or make the hair longer or shorter.
You can draw a bag of a different shape or change any other detail. The main thing is to preserve the classic suit, as this will give the character the necessary appearance.




Don’t be upset. If you couldn’t draw the first time, try it a few more times. We are sure you will succeed.