

How to Draw a Dreadnought
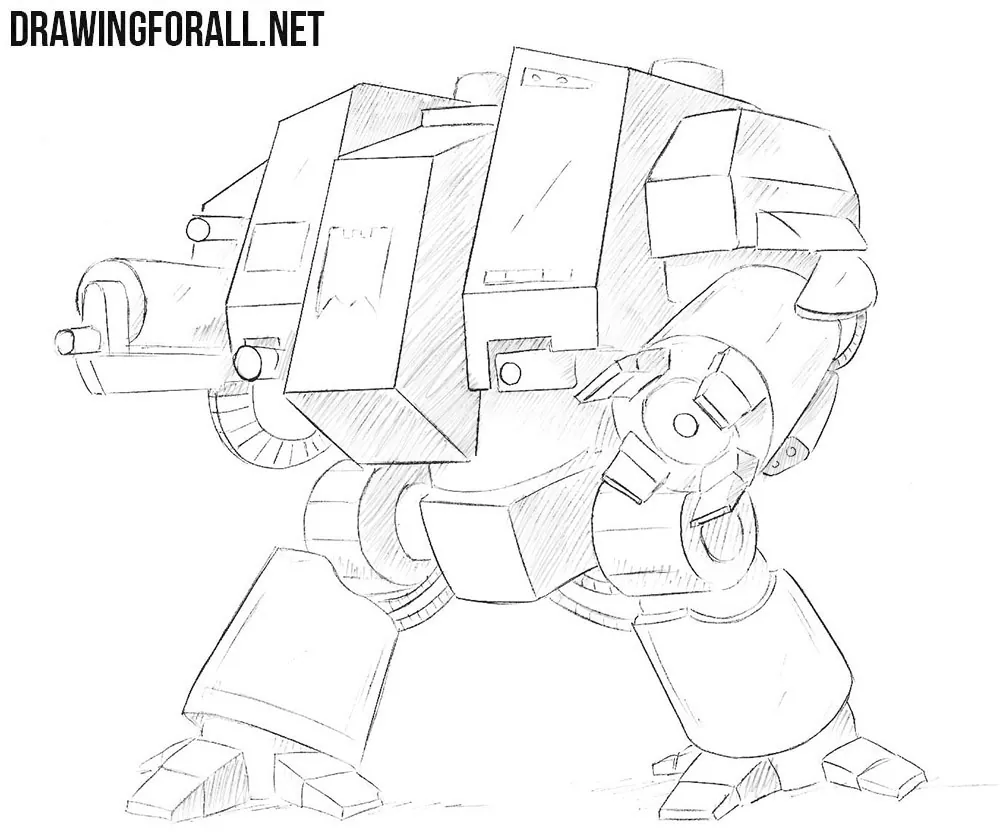
The Dreadnought is one of the most memorable characters in the Warhammer 40,000 universe, and it is easy to see why. In this step-by-step tutorial, we will show you how to draw a Dreadnought in the classic form you may have seen in many Warhammer games and miniatures.
We will explain how to capture its characteristic angular construction and work through the numerous armor, weapon, and mechanical details without getting confused by them.
How to draw a dreadnought step by step
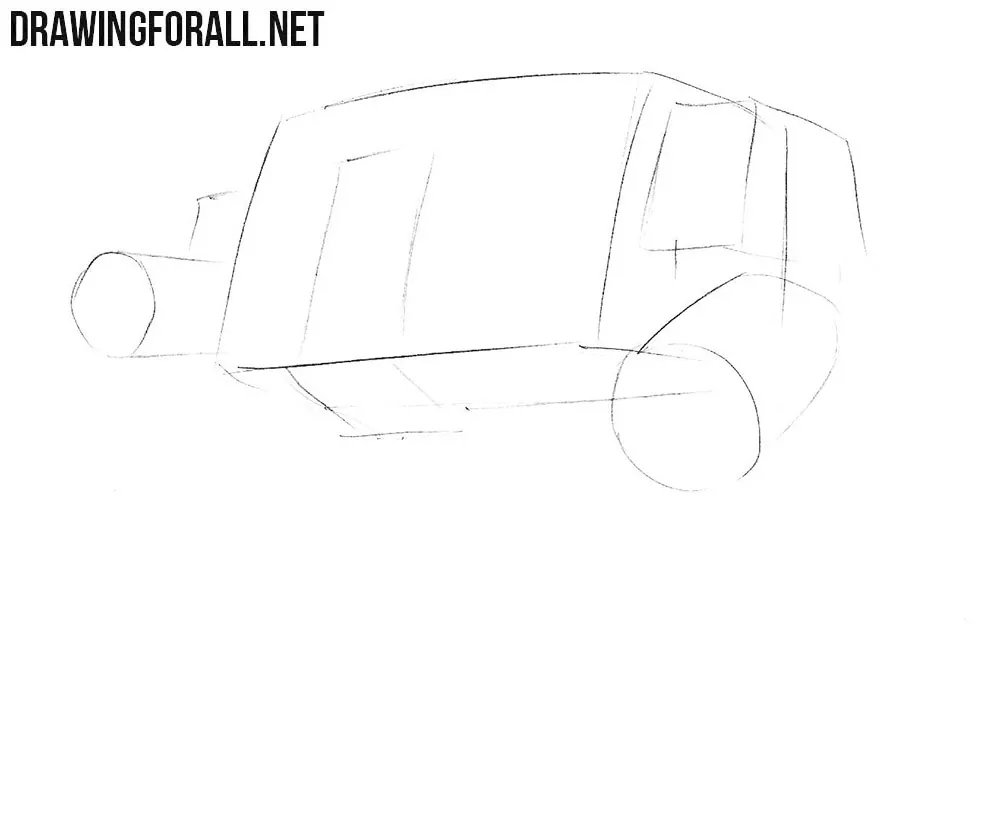
Step 1: Sketch the torso block
Start with the main contours of the dreadnought. First, sketch the torso in the form of a large cube-like block. Draw the front and side planes of this block with light lines. The front plane should dominate the construction. The side planes show how this large mass is turned in space. After that, outline the huge arms with simple elongated forms.
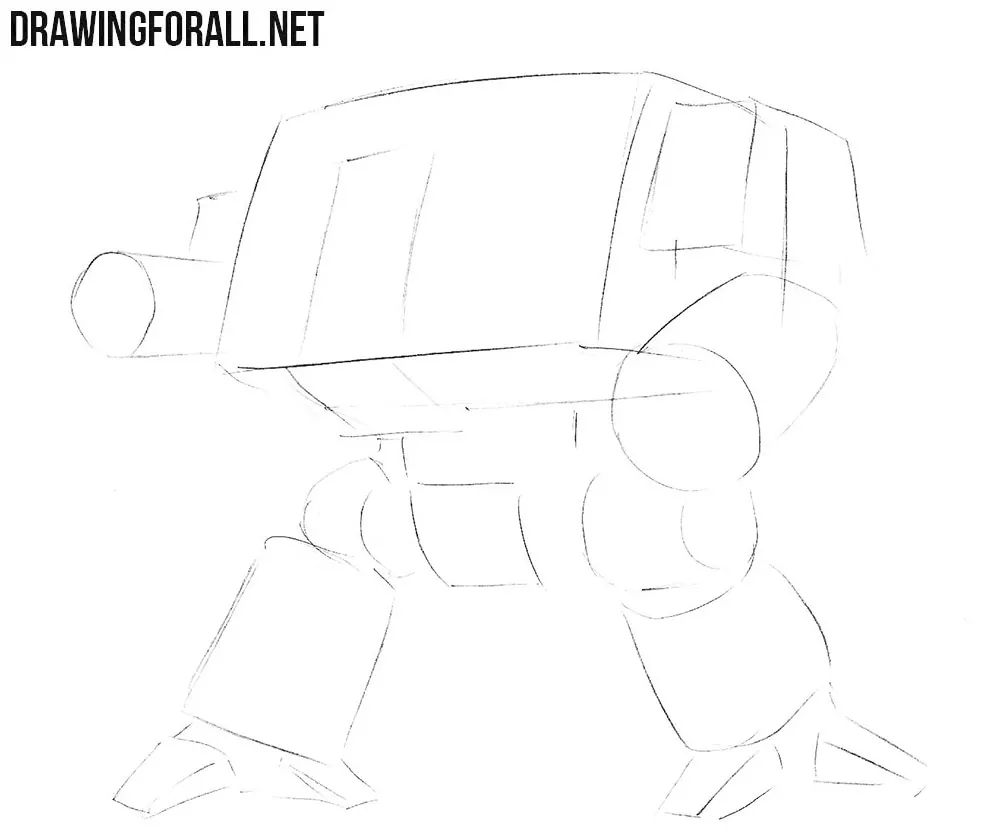
Step 2: Add the pelvis and legs
Now sketch the lower part of the machine. Add the pelvis as a smaller block under the torso, then outline the legs. Mark the large round joints on both sides of the pelvis. Below them, sketch the leg armor as wide tapered forms and add the feet with simple angular shapes.
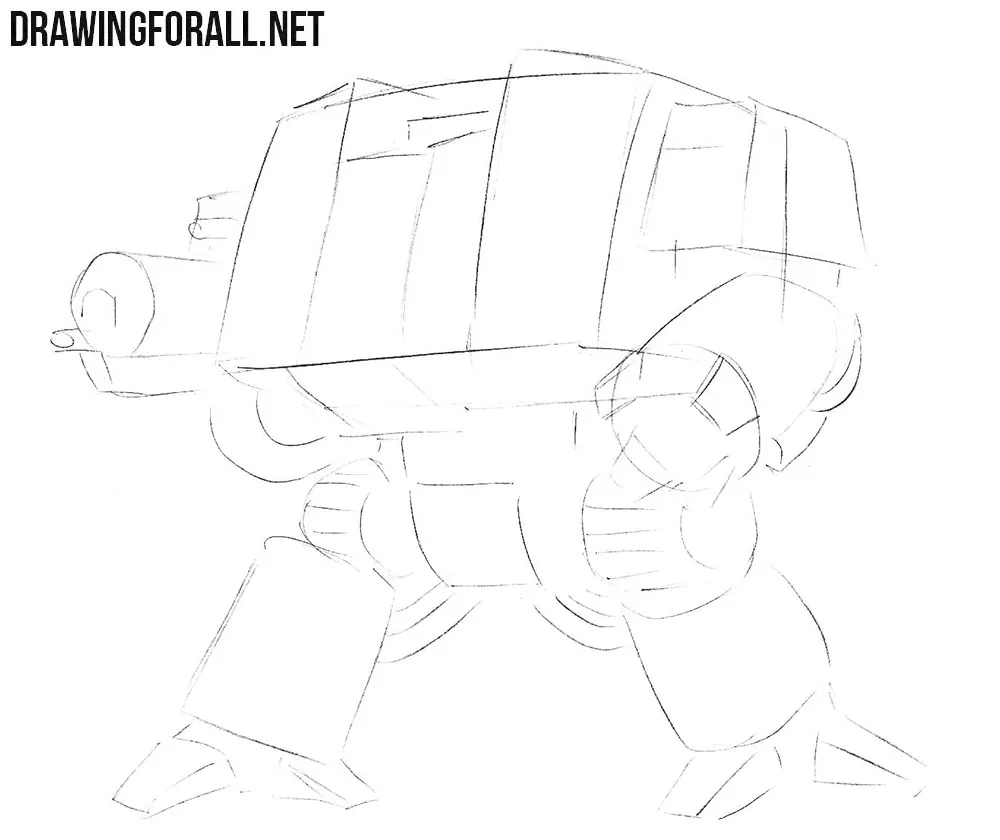
Step 3: Outline the main details
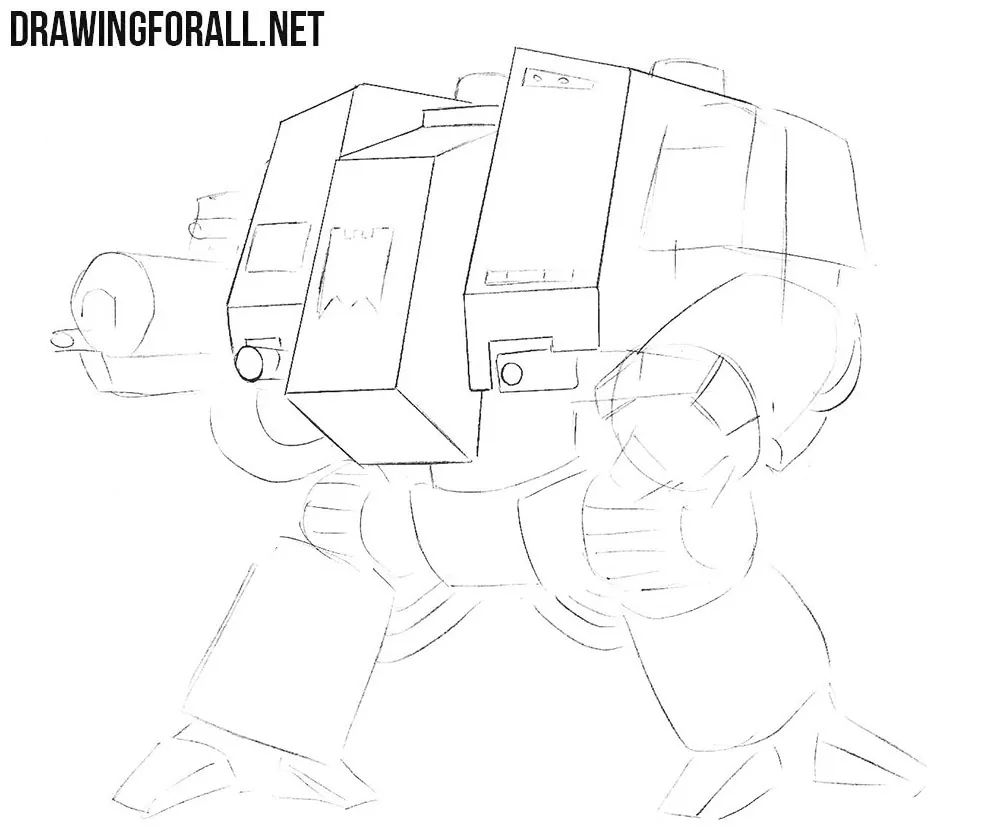
Next, map out the most important details. On the torso, sketch the large front panels and the central parts. Divide these large areas first and leave the smaller details for the next steps. On one arm, outline the fingers of the claw, and on the other, sketch the large gun.
Step 4: Refine the torso details
From this step on, use clear and dark lines. Carefully draw the details of the dreadnought’s torso. Refine the outer armor, the front panels, and all the small elements inside the chest area. Draw the large armor plates first, then add the narrow panels, vents, and small circular details around them. The central projecting armor section has its own front and underside, so try to show its planes.
Step 5: Draw the arms carefully
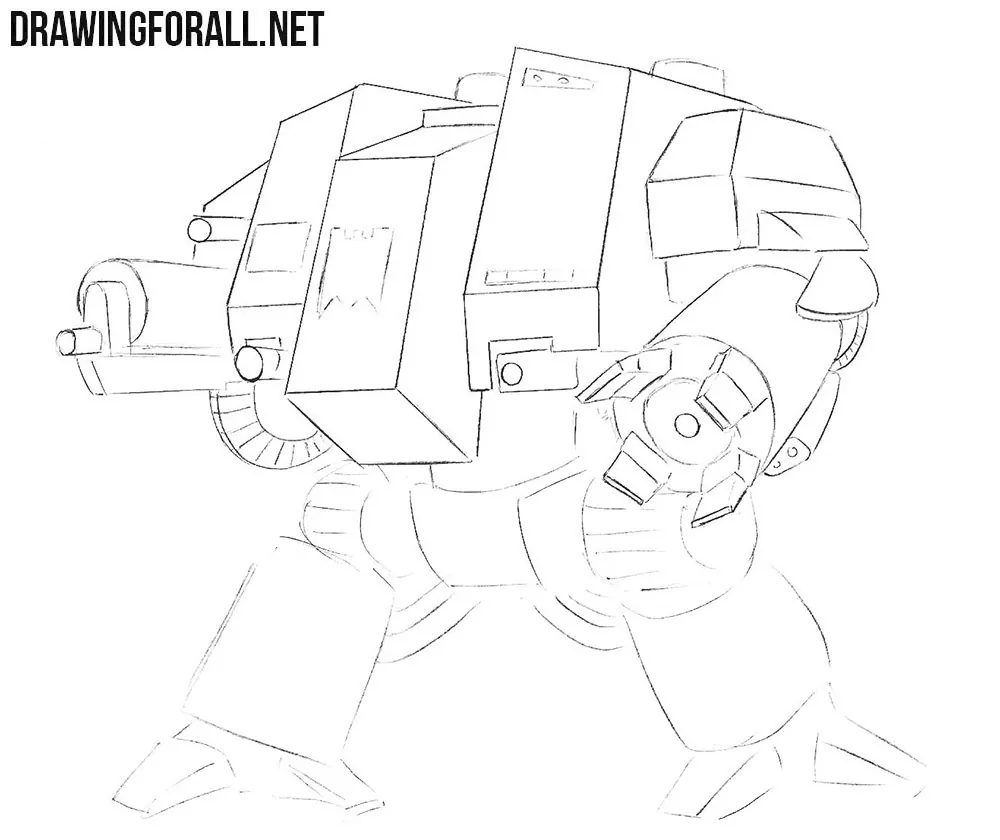
On the gun arm, refine the cylindrical barrel and the larger armored housing around it. On the opposite arm, draw the round central part of the claw and then refine the separate fingers around it. The large shoulder armor above the claw is made of several planar surfaces, so change the direction of the contours where one plane passes into another.
Step 6: Refine the legs and cables
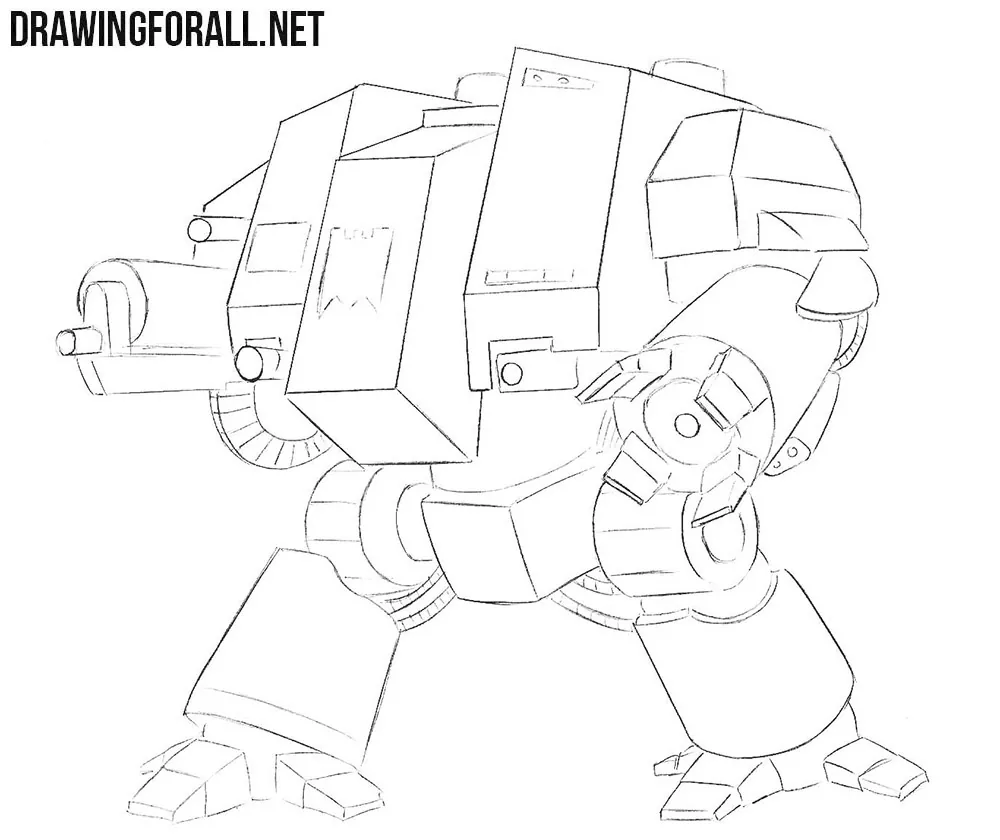
In this step, do the same work on the lower part of the dreadnought. Carefully draw the outlines and details of the legs, feet, and cables. Start with the large joints under the pelvis and refine the thick parts below them. Draw the massive leg armor with clear angular contours. Draw the cables with smooth curved lines between the larger armor parts.
Step 7: Add shadows and to the Dreadnought
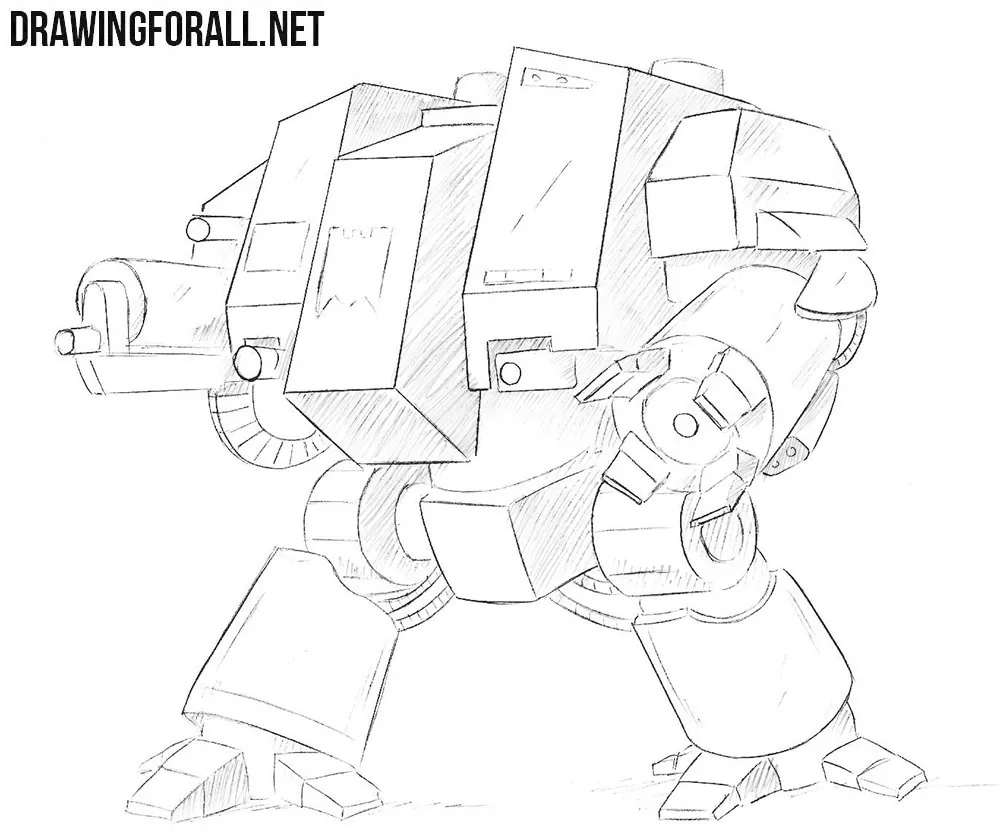
Use dense hatching in the areas where the light does not fall, such as the undersides of the armor plates, the inner parts of the arms and legs, and the deeper recesses. Add more hatching to the side planes of the torso and inside the large joints. Use the difference between light and dark planes to show volume. Leave the armor surfaces facing the light much lighter.
Now let’s summarize the main principles of drawing a Dreadnought so that next time you can draw one without following the steps.
The most important thing to remember is that a Dreadnought is not built like a human figure, so deliberately departing from normal human body proportions in the right places will help you capture its massive appearance.
At the same time, the basic drawing process remains the same as with almost any other subject: begin with the main masses and forms, and only then move on to the details.
This is especially important with a Dreadnought because the large, blocky forms established at the beginning should remain large and blocky in the finished drawing. This differs from drawing a Space Marine or when you draw a Sister of Battle, where the initial construction eventually develops into more complex and more human-like contours.



nice! helped me tons with creating my own space marine faction
Thanks a lot. I can design a new dreadnought for my warhammer 40,000 collection.