

How to Draw the Statue of Liberty
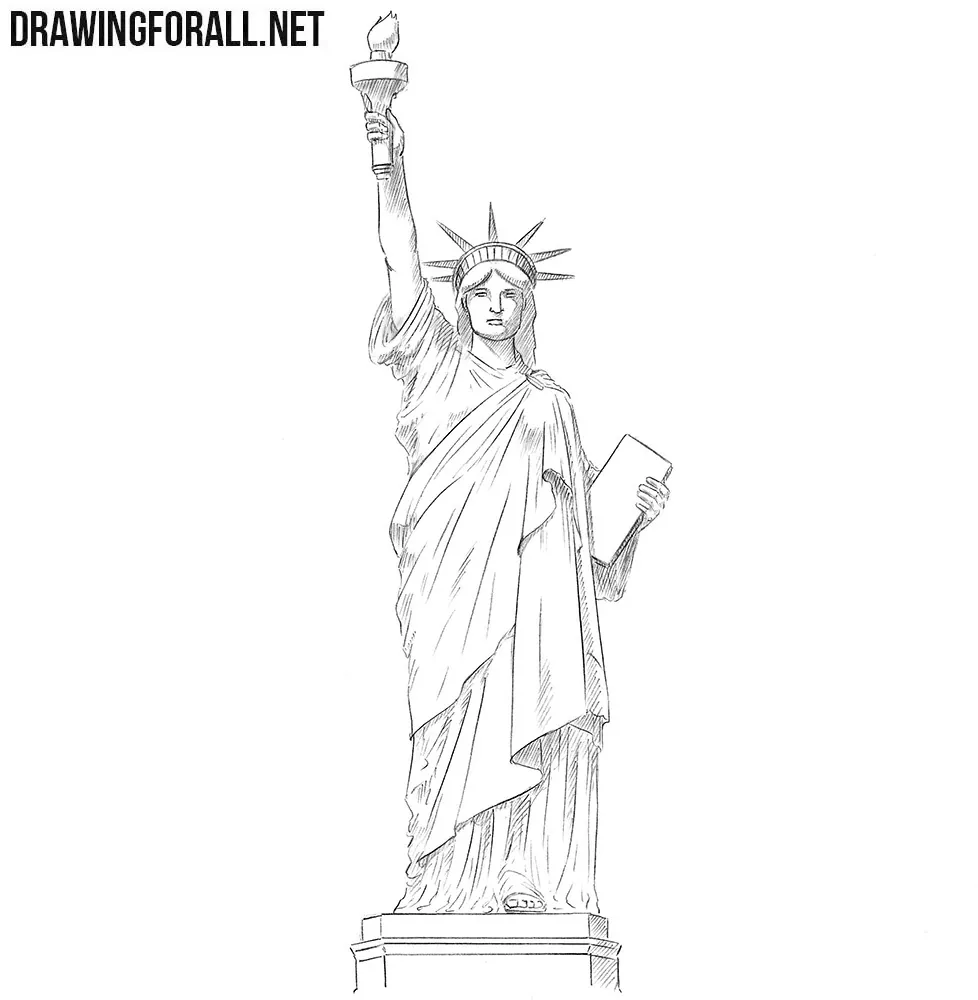
The United States has many symbols, and one of the most famous is the Statue of Liberty. Standing on Liberty Island in New York Harbor, it is one of the best-known statues in the world. The Statue of Liberty represents not only America but also freedom and democracy. In this step-by-step tutorial, we will show you how to draw the Statue of Liberty from the front and add volume using simple shadows.
How to draw the Statue of Liberty step by step
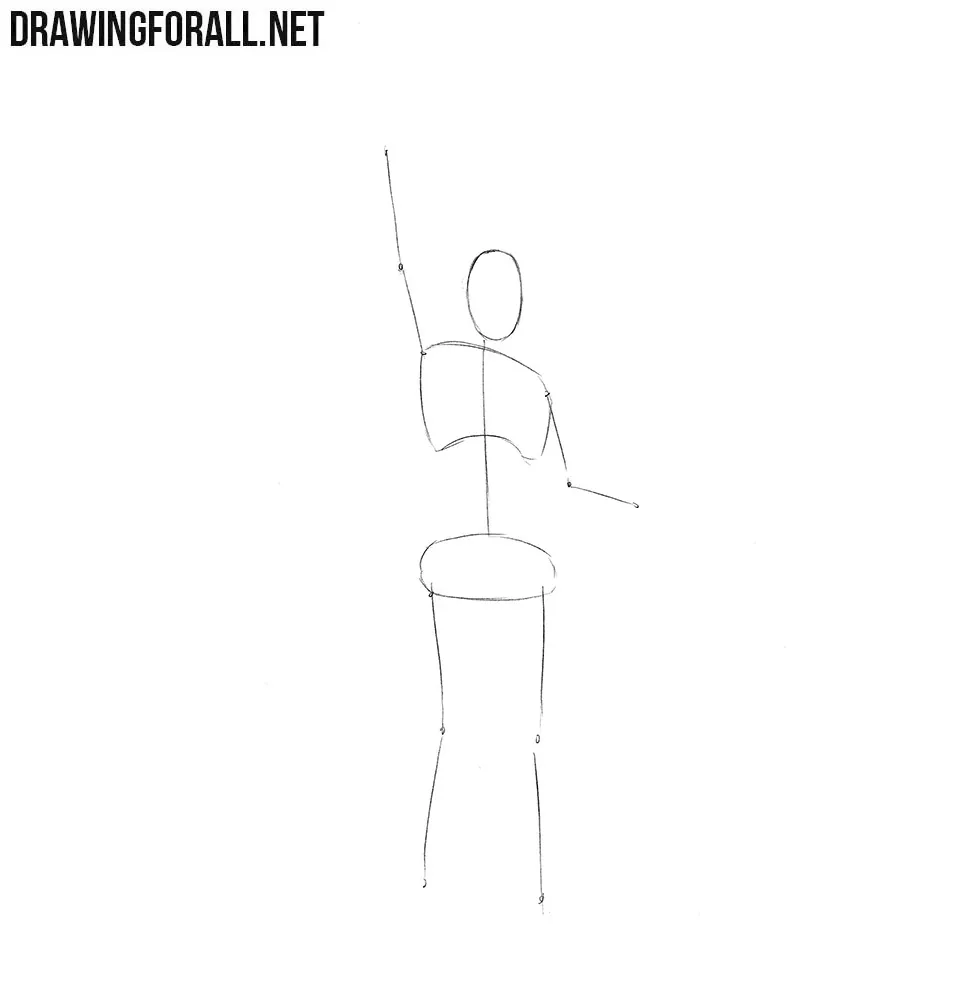
Step 1: Sketch the statue’s basic guidelines
Although we are drawing a statue rather than a real person, apply the same basic principles of figure drawing. First, sketch the head as an oval. Next, indicate the spine with a long line and mark the chest and pelvis along it. Then sketch the arms and legs with simple lines. Pay attention to the pose, with one arm raised almost vertically and the other bent at the elbow. Make all these construction lines as light as possible.
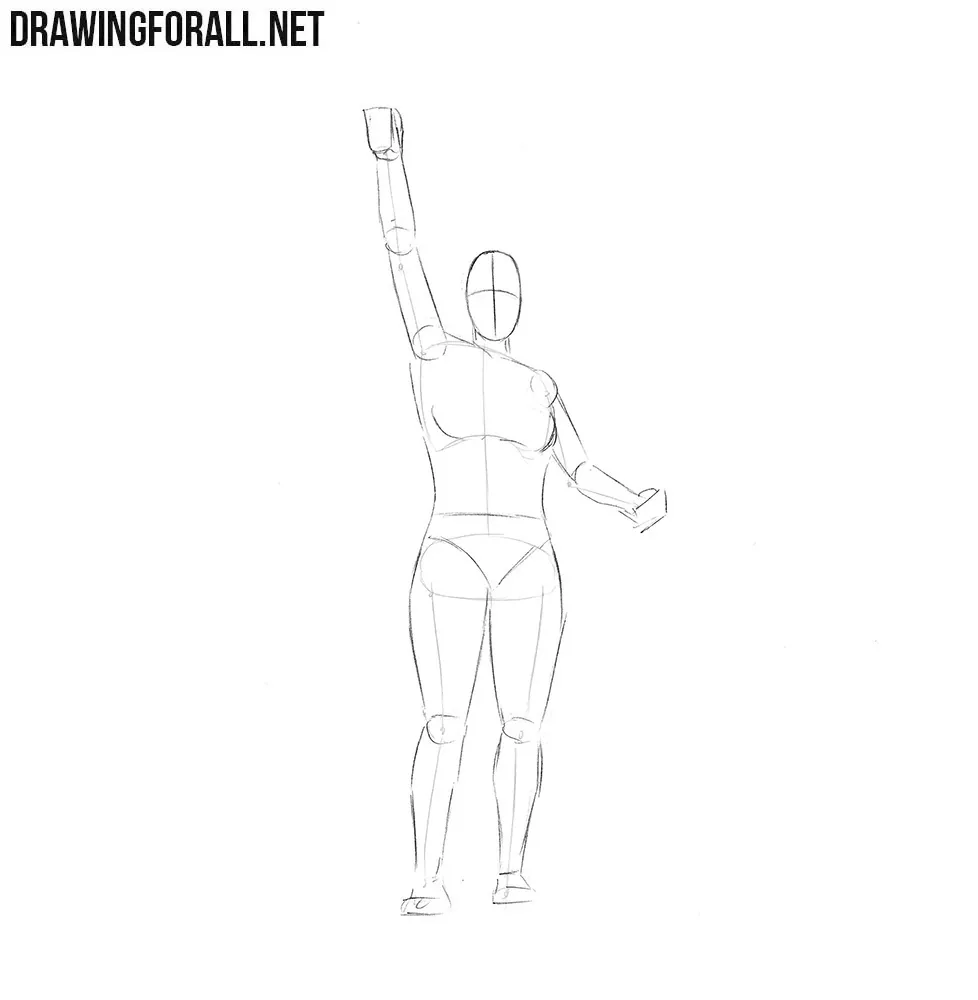
Step 2: Add volume to the figure
Sketch two intersecting guidelines on the face. Next, outline the neck and torso, which narrows at the waist. Use simple geometric forms to give the arms and legs volume. Make the raised arm almost straight and bend the other arm to support the tablet.
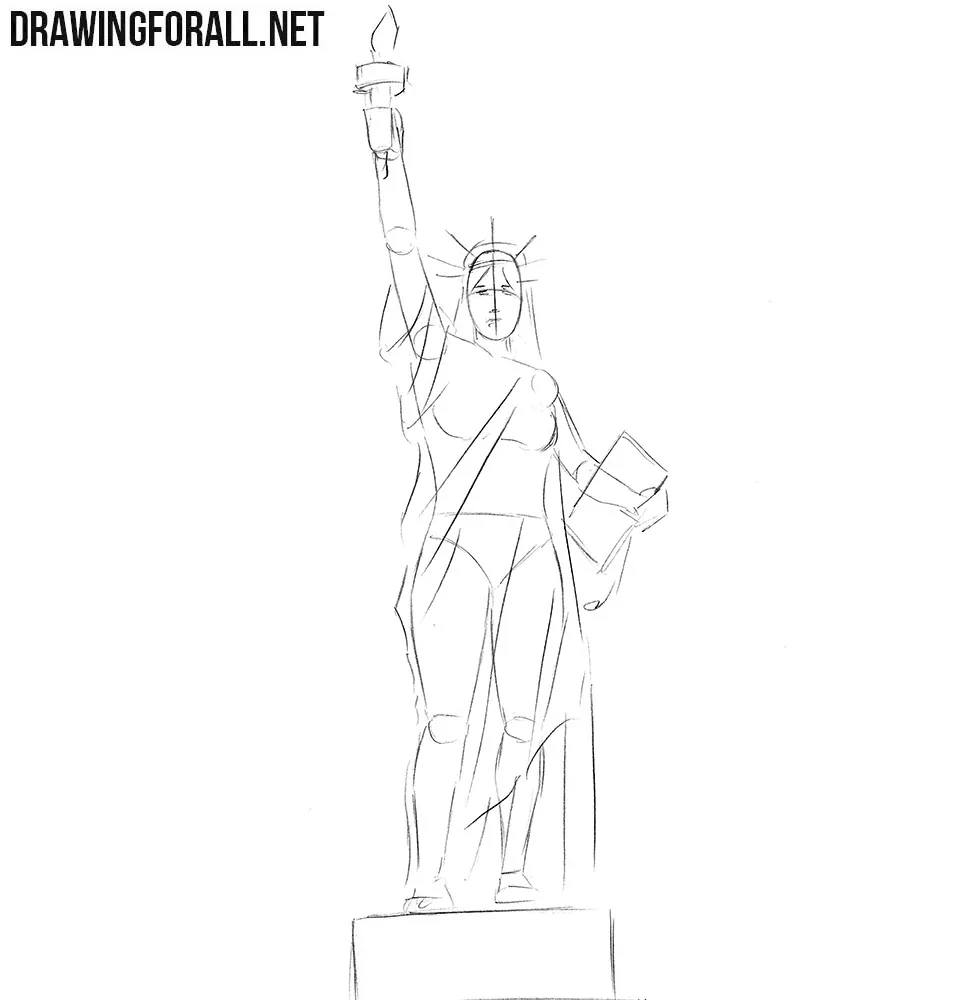
Step 3: Sketch the statue’s main details
Lightly indicate the facial features using the intersecting guidelines from the previous step. Next, sketch the crown and hair. Use long lines to outline the robe, including the fabric draped across the torso. Sketch the torch in the raised hand and the tablet in the other. Finally, outline the pedestal beneath the feet.
Step 4: Detail the head and crown
Starting with this step, begin working on the final details. As usual, start at the top of the drawing. Using clear, dark lines, carefully refine the contours of the crown and hair, then define the facial features. Pay attention to the seven rays extending from the crown. The face of the Statue of Liberty has features similar to those of ancient Greek statues.
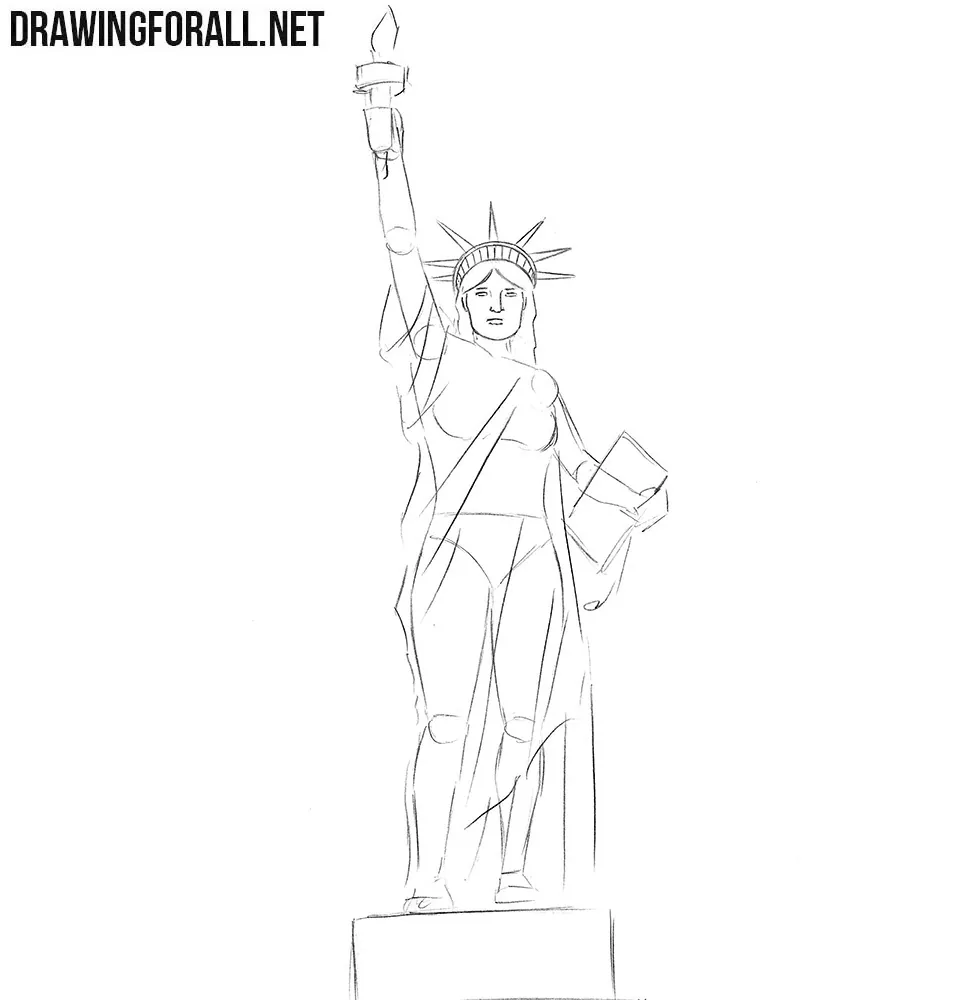
Step 5: Draw the upper robe folds
Move on to the clothing of the Statue of Liberty. Using long, clear lines, carefully refine the upper layer of the robe. Pay attention to how the fabric crosses the chest diagonally and hangs down from the shoulder. Follow the direction of the folds to draw the drapery naturally and give it volume.
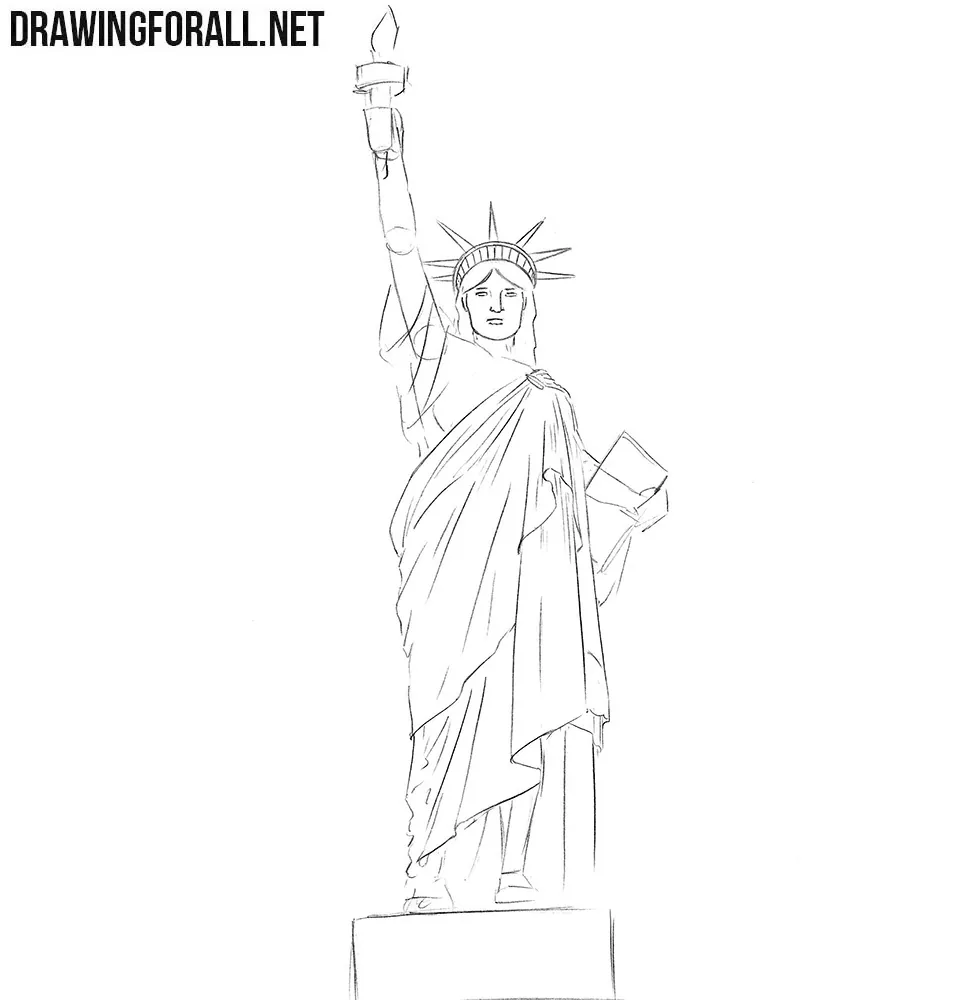
Step 6: Detail the lower robe
Continue working on the clothing, this time focusing on the lower layer of the robe. As you can see, there are many more folds here than in the previous step. Draw them with long lines running down toward the feet, changing their direction where the fabric gathers. In the same step, define the visible foot of the Statue of Liberty.
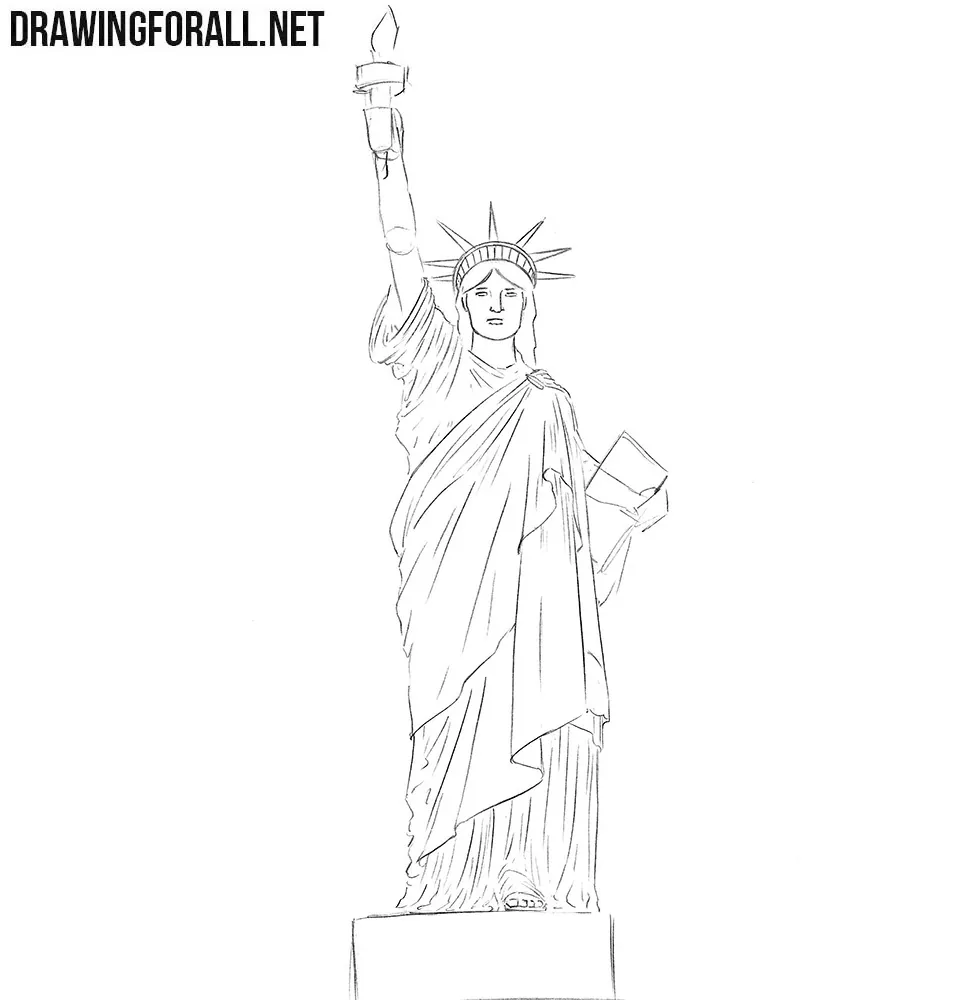
Step 7: Refine the arms and objects
Using clear, dark lines, carefully refine the contours of the arms. In the same step, detail the torch and the tablet, paying attention to the fingers holding them. Finish the pedestal beneath the statue with straight, even lines. Erase all unnecessary construction guidelines from the drawing.
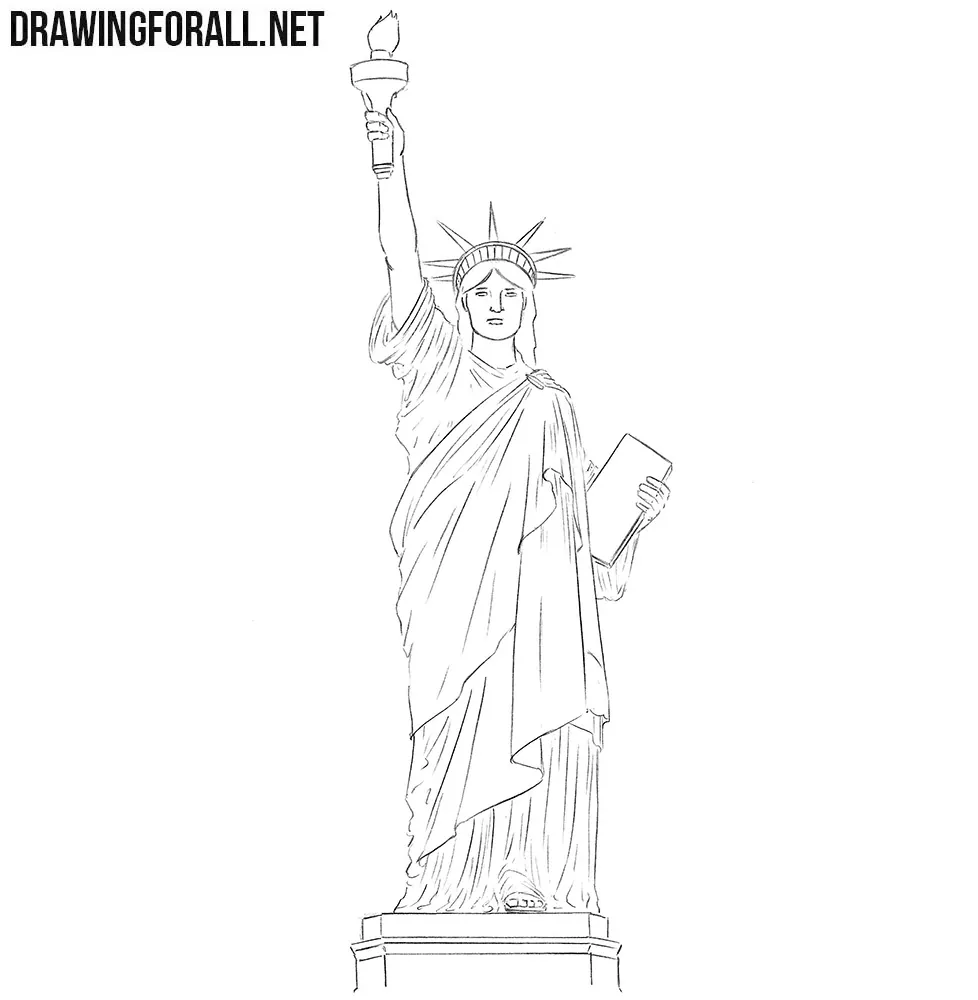
Step 8: Add shadows to the statue
The Statue of Liberty drawing is almost complete. To give it a finished appearance, add shadows using traditional hatching. First, determine the direction of the light and identify the areas that receive less of it. Then apply hatching along the folds of the robe, beneath the raised arm, and in other shaded areas. Follow the direction of the forms with your strokes to create volume.
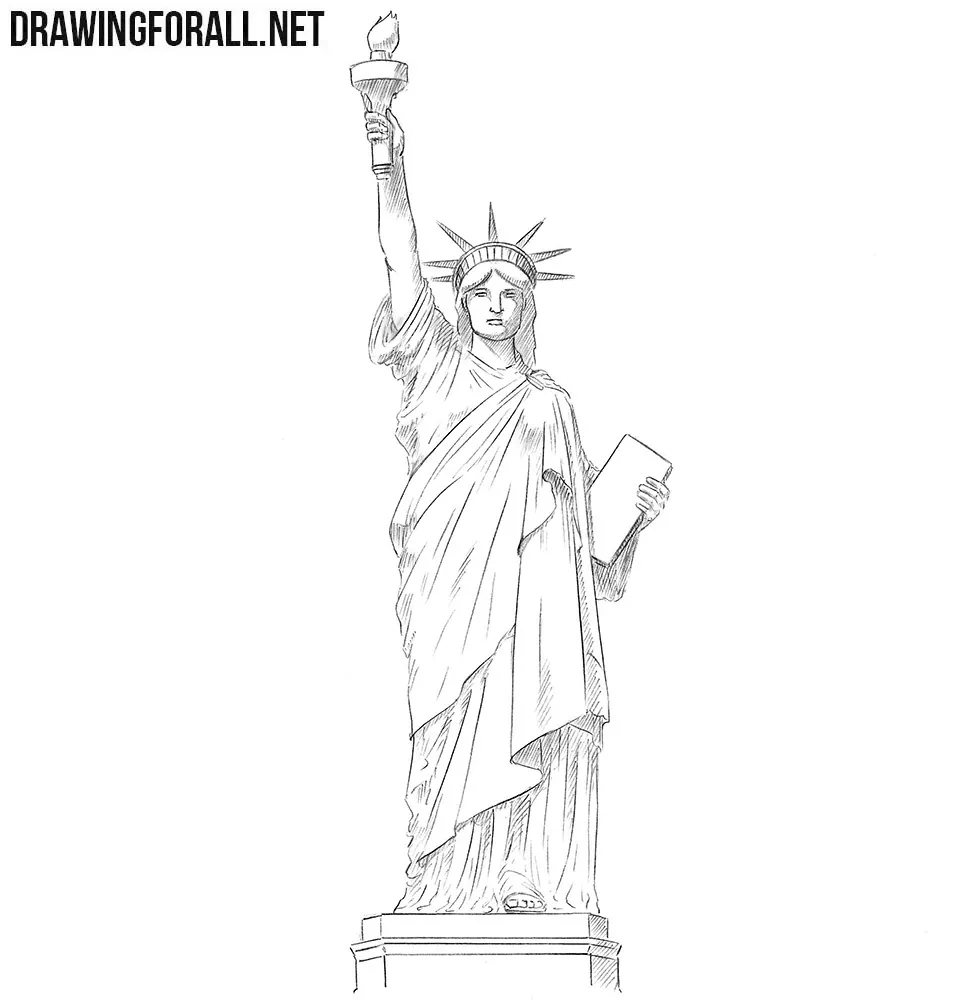
The Statue of Liberty is one of the most majestic symbols of modern civilization. But besides its symbolic role, the Statue of Liberty is also an excellent example of how modern art can build upon the artistic heritage of the past.
The Statue of Liberty was created in a classical style. Its appearance follows the characteristic features of ancient statues and the Renaissance works that followed them.
Thus, drawing the Statue of Liberty is an excellent exercise for developing your artistic skills, along with working on such classical subjects as drawing the head of Apollo or David.
In addition, existing works of architecture and sculpture like this are especially useful to draw in context. For example, you can draw the Statue of Liberty against the background of New York skyscrapers.
If this task seems a little too difficult, first try drawing an Egyptian pyramid with sandy hills in the background, and then return to the more complex drawing of the Statue of Liberty with the New York skyline behind it.


green bro …..wetty
Could you pleasssssssssssssssssssssssssssseeeeeeeeeeeeeeeeeeeeeeeeeeeeeeeee draw the eiffel tower🗼🗼🗼🗼🗼🗼
Also love the statue of liberty🗽🗽🗽
this looks nice