How to Draw a Pyramid
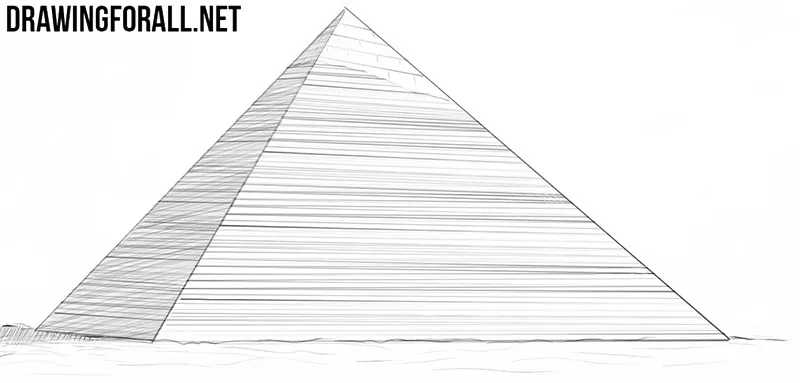
Ancient Egypt created a huge number of works of art, and the pyramids are among the most recognizable of them. In this tutorial, we will show you how to draw a pyramid and try to give it an authentic and convincing appearance.
Pyramids can differ slightly in shape, angle, and exterior depending on the specific structure, but this tutorial will help you draw both the Pyramid of Djoser and the Great Pyramid of Giza.
How to draw a pyramid step by step
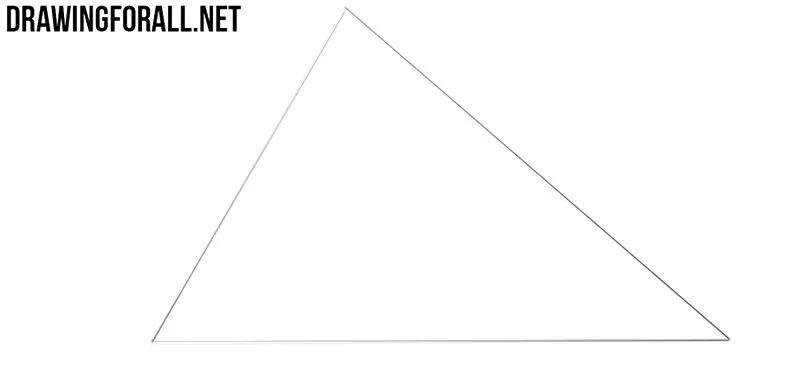
Step 1: Draw the front face
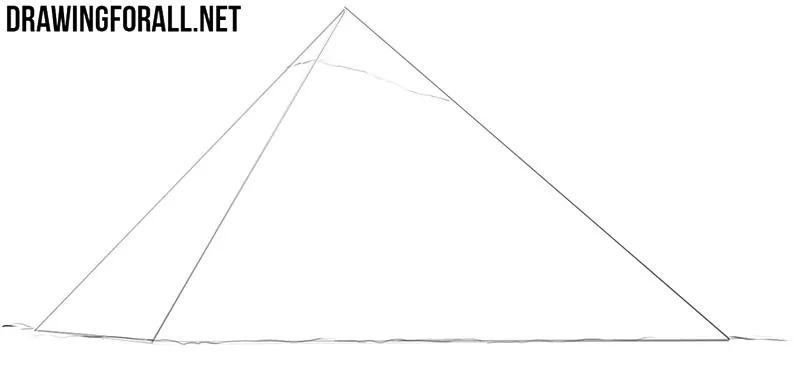
First, outline an irregular triangle that will serve as the front face of the future pyramid. You can take a ruler and use it to draw these three lines, or try to do it without one. Keep the sides straight and connect them at a single point at the top. We recommend learning to draw such forms without auxiliary tools.
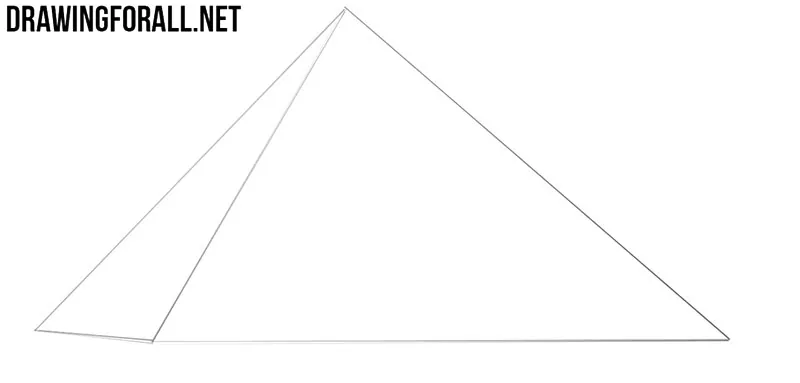
Step 2: Add the side face
Now, with the help of a pair of simple lines, outline the side face of the pyramid. Draw one line from the top point toward the side and connect it with the lower corner. Please note that the bottom edge should be almost horizontal. This will create the feeling that we are standing near the foot of the pyramid.
Step 3: Mark the casing and horizon
The Egyptian pyramids were originally covered with smooth casing stones, much of which disappeared over the centuries, while some remains can still be seen near the top of the Pyramid of Khafre. In this stage, draw the lower edge of this remaining casing near the top. Use an uneven line to separate it from the exposed stone surface below. At the bottom of the drawing, add a simple horizon line.
Step 4: Draw the stone texture
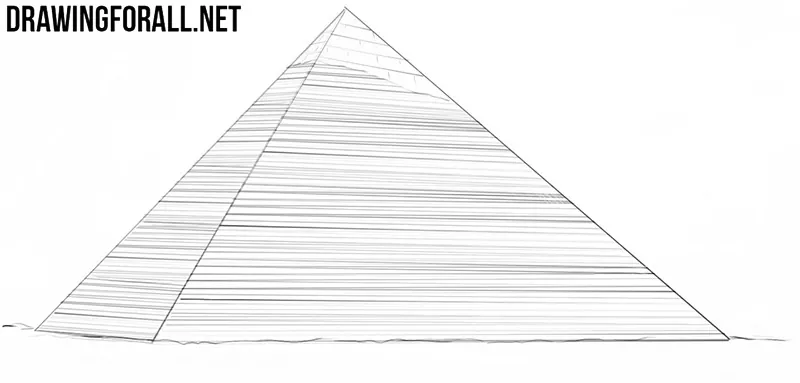
This will be the most painstaking stage of this pyramid drawing tutorial. Use a large number of straight lines to depict the texture of the stone blocks across the exposed surfaces. Place these lines in uneven rows. This will help the texture look more natural. On the remaining casing at the top, draw much cleaner and more regular lines.
Step 5: Add shadows and sand
Now let’s make the pyramid drawing look more dimensional. To do this, add hatching to the side face. Make it noticeably darker than the front surface. Next, draw the cast shadow on the ground beside the pyramid. Do not forget to add a few short lines and strokes to convey the texture of the surrounding sand.
Human civilization has existed for many millennia, and over the years the greatest states have left behind quite a few magnificent buildings.
And probably the most famous are the pyramids that were built in ancient Egypt. The pyramids were built as tombs for the pharaohs and also served as enormous monuments.
Even now, there are various myths and rumors about the pyramids. Some say that they are guarded by terrible mummies, while others say that the pyramids were built not by people but by aliens.
But we prefer a scientific approach and do not believe in all of this, and hope your pyramid drawing look as good as ours.
For a deeper and more advanced understanding of constructing pyramidal forms, be sure to visit our realistic pyramid drawing tutorial, where we show how to construct this geometric form on paper in an academic style.