How to Draw a Cloak
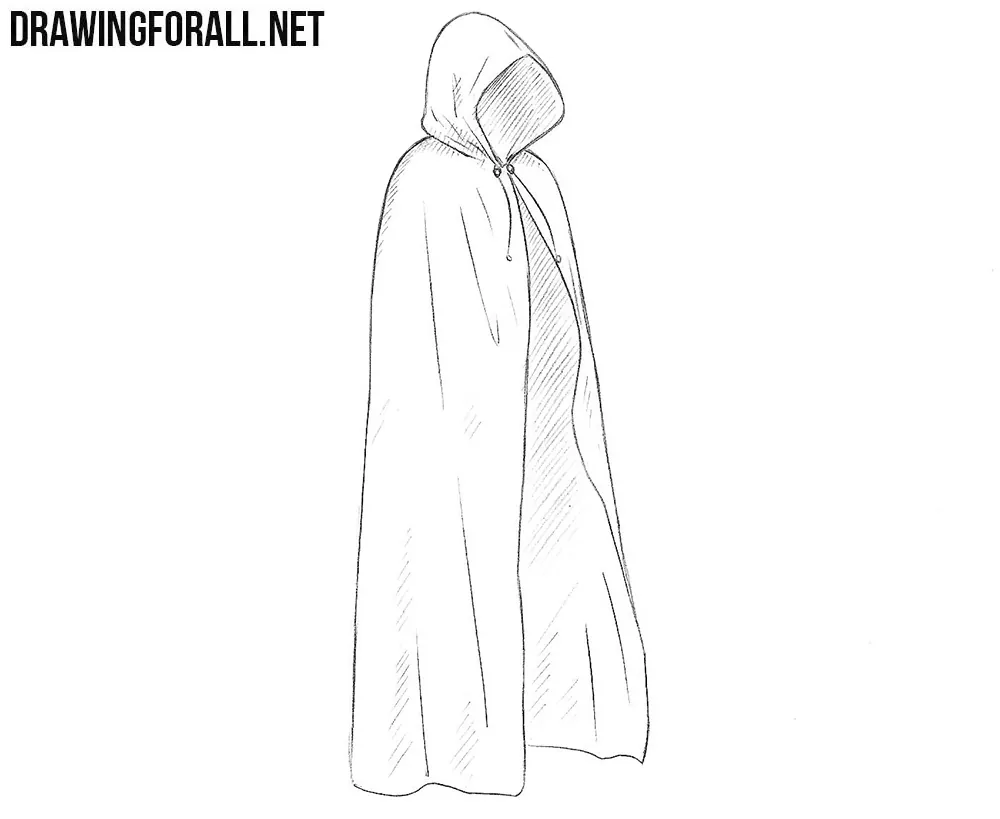
Hello, dear artists. What does the Red Riding Hood and Robin Hood have in common? Quite right – it’s a cloak with a hood. It is this clothing we will draw in this drawing lesson. So, let’s start the lesson on how to draw a cloak.
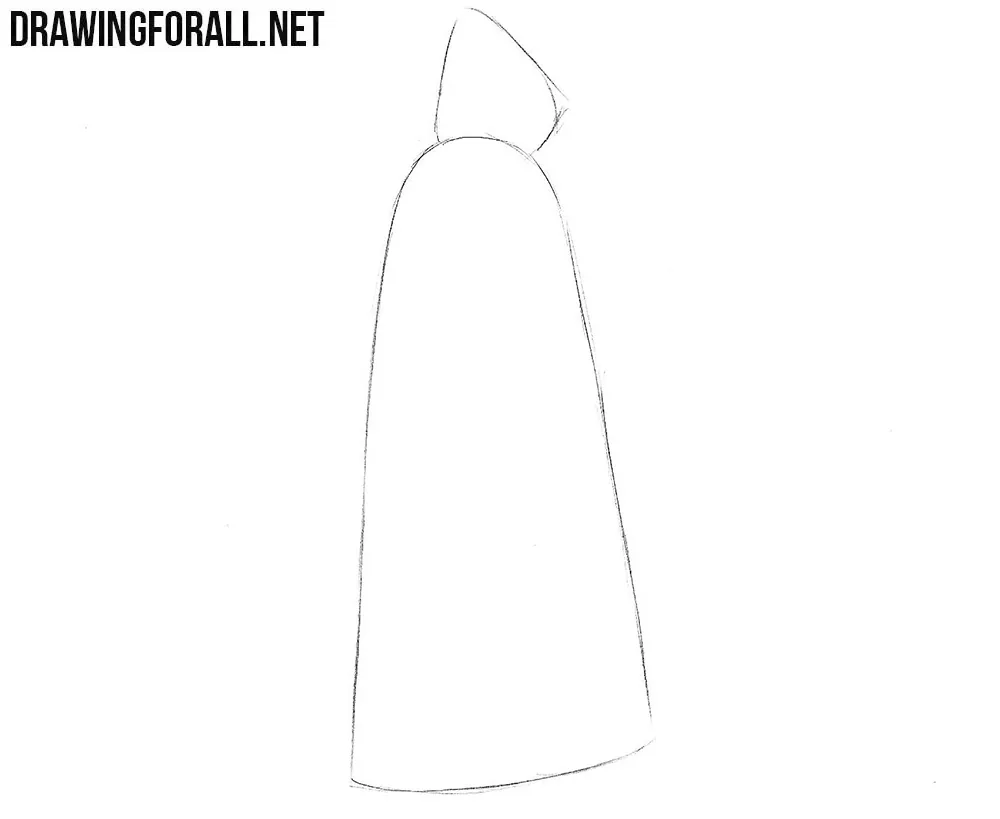
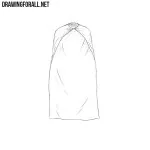
Step 1
Using very light lines sketch out the outlines of the cloak consisting of the upper part for the head and lower part for the body.
Step 2
Continuing to use very light lines, we draw an opening of the hood and a cut of the cloak.
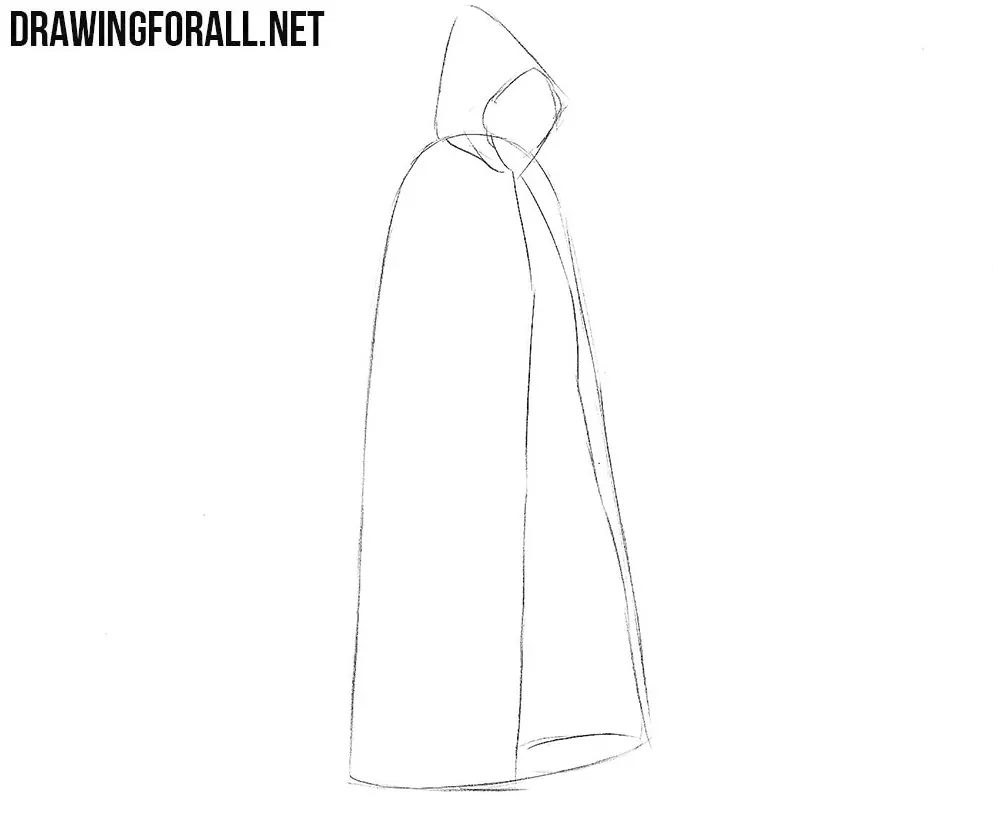
Step 3
Probably the simplest step of the lesson is how to draw a cloak where we need to add some folds.

Step 4
Now we need to start using clear and dark lines. With the help of them, we carefully draw out the outlines of the cloak, the folds and the thread in the area of the neck.
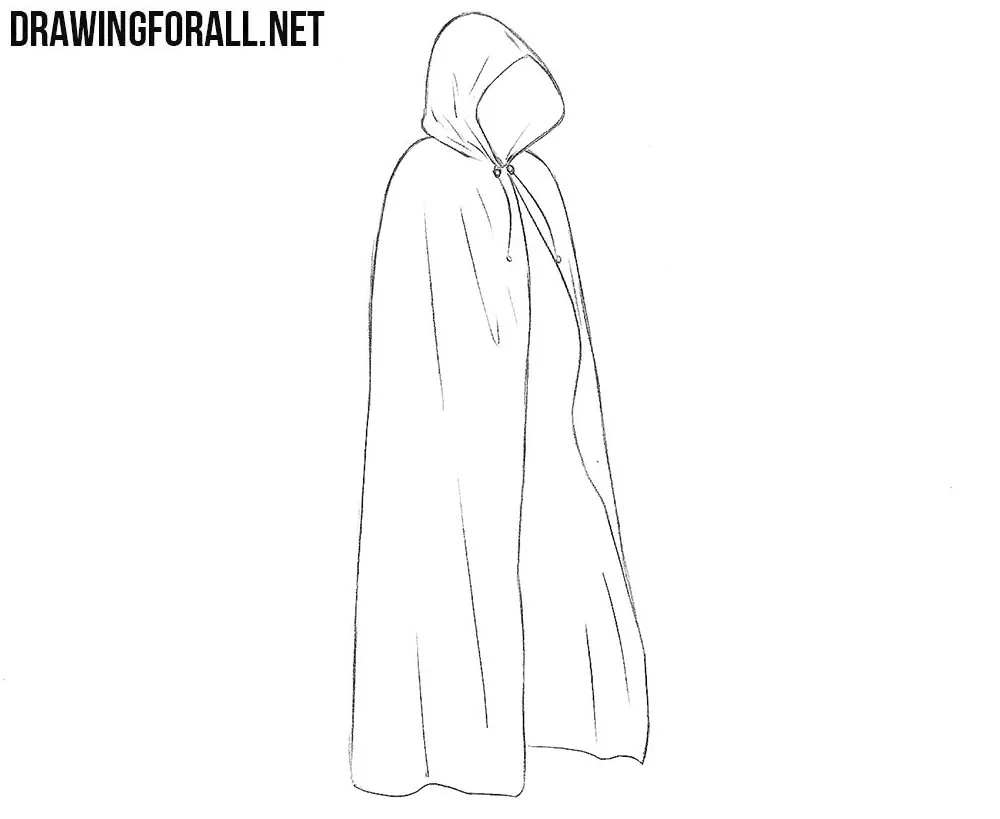
Step 5
The last steps of our drawing lessons are almost always devoted to working with shadows, and this lesson is no exception. Using hatching we add shadows to the inner areas of the cloak.
This lesson can be very useful if you want to draw a character who is dressed in a similar piece of clothing, whether it’s a wizard or the famous green goblin.


Thanks this was helpful.
Could you show us how to draw a steam-punk outfit for a male?